 by
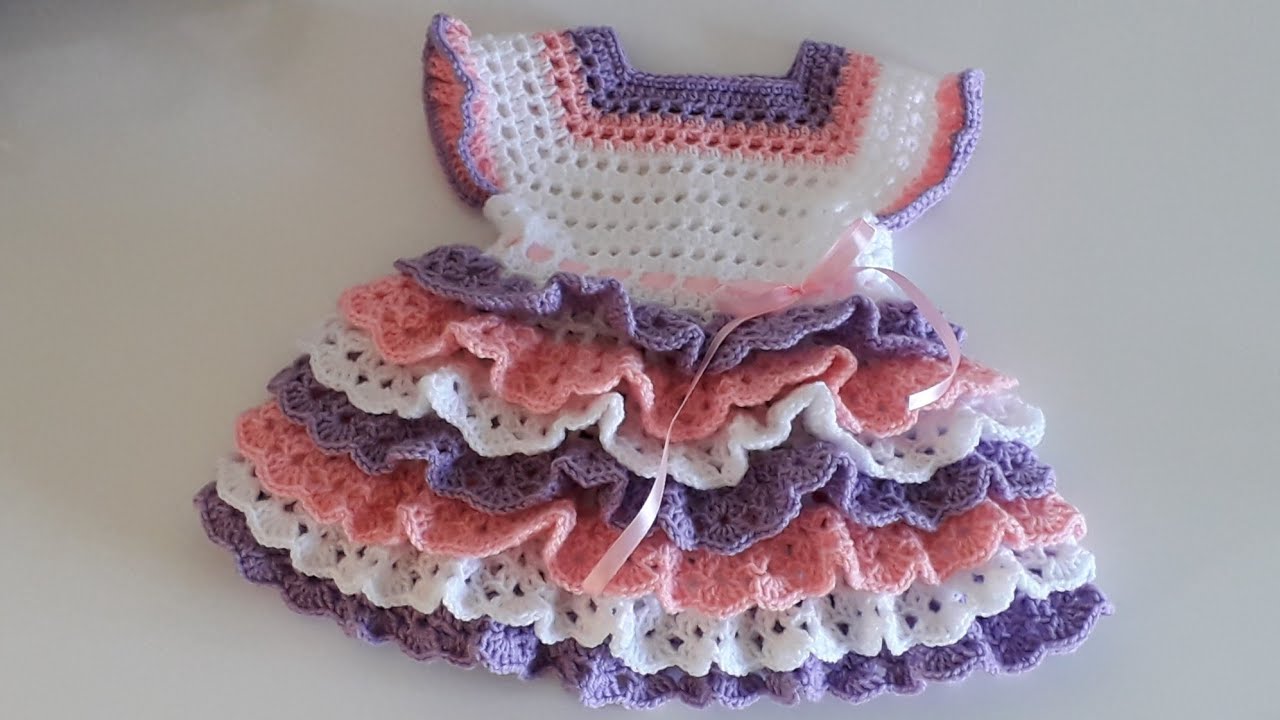
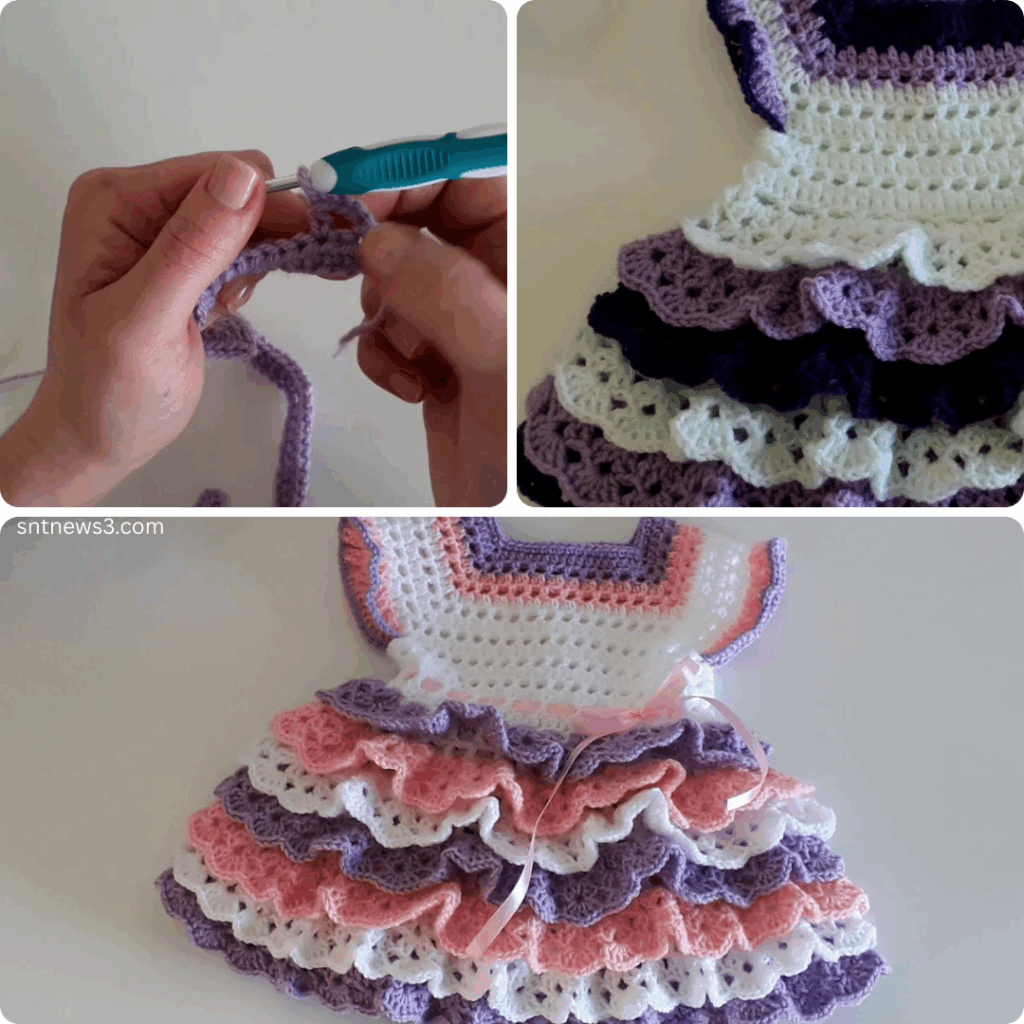
by A layered baby dress is an adorable and charming project that combines beauty and function. Whether for a special occasion like a birthday or simply a fashionable everyday outfit, crocheting this dress allows you to add a personal, handmade touch to a baby’s wardrobe. With some basic crochet knowledge and a bit of creativity, you can make a lovely, ruffled dress that’s soft, breathable, and utterly delightful.

🧶 Materials Needed
- Baby-weight (Light #3 or DK) yarn in at least two colors
- Crochet hook (typically 3.5 mm or as recommended for your yarn)
- Yarn needle
- Scissors
- Buttons (for back closure)
- Stitch markers (optional)
📘 Abbreviations (US Terms)
- CH – Chain
- SC – Single Crochet
- DC – Double Crochet
- HDC – Half Double Crochet
- SL ST – Slip Stitch
- ST – Stitch
- SK – Skip
- INC – Increase (2 stitches in one stitch)
🧵 Basic Construction Overview
This pattern is for a top-down layered dress, which starts from the yoke and works downward. The layers (or ruffles) are added in rows to give the skirt a tiered, frilly look.
🧸 Step-by-Step Instructions
1. Yoke (Top of the Dress)
- CH 52, join to form a circle (or work flat and add buttons later).
- Round 1: SC in each CH around.
- Round 2–4: DC in each ST around. Optional: Increase by 4–6 STS each round to widen the yoke.
- Create armholes by skipping STS on each side (e.g., SK 8–10 STS on both sides) and CH across to reconnect the front and back.
2. Waistband
- After armholes, continue working in DC rounds until the dress reaches just below the waist.
- This creates a base for attaching the ruffled skirt layers.
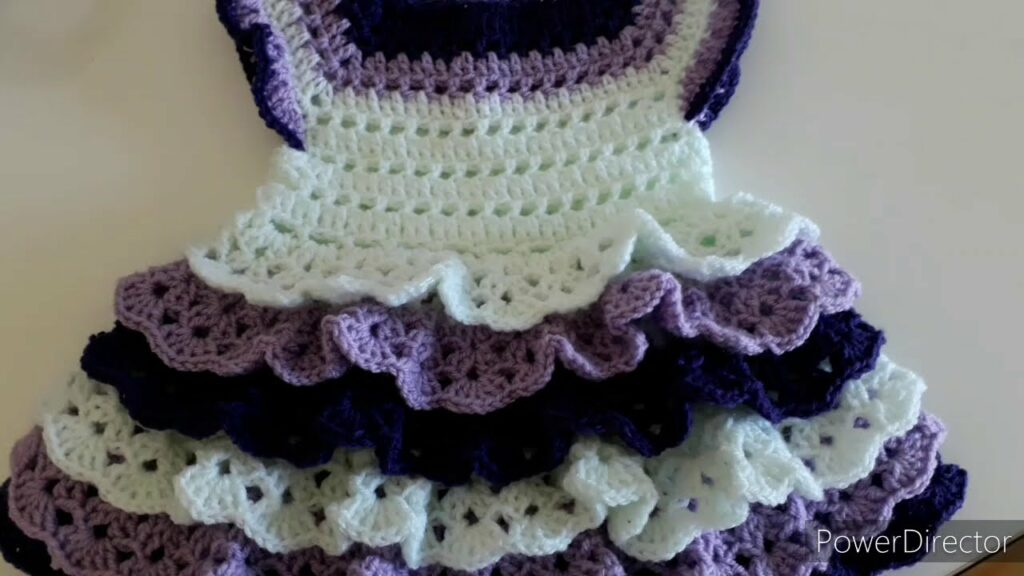
🌸 Layered Skirt
Each layer is crocheted separately and worked downward from the waistband in tiers.
First Layer
- Attach yarn to the back loop of the last waistband round.
- CH 3 (counts as DC), DC in same ST, 2 DC in each ST around.
- Continue 2–3 more rounds, working DC in each ST.
- Fasten off.
Second Layer
- Attach yarn to the front loop of the waistband round.
- Repeat the same steps for increasing and building the layer.
Third Layer (Optional)
- If you’d like a fuller dress, add another layer by working into a lower round.
Tip: Use different colors for each layer for a more playful and decorative look.
🎀 Finishing Touches
- Straps: CH and SC small straps over the shoulders if the neckline is too wide.
- Back Closure: Sew small buttons and make CH loops if needed.
- Edging: Add a scalloped or picot edging around the neckline, armholes, or bottom layer for a polished finish.
🎨 Design Variations
- Use variegated yarn for a colorful gradient.
- Add a crochet flower or bow to the waistband.
- Mix textures: try shell stitches or V-stitches in the layers.
🧡 Conclusion
Crocheting a layered baby dress is both rewarding and fun. It’s a perfect handmade gift or keepsake that’s bound to be cherished. With soft yarn, playful ruffles, and endless design possibilities, you’ll enjoy making this charming outfit—and maybe even a matching bonnet or booties!
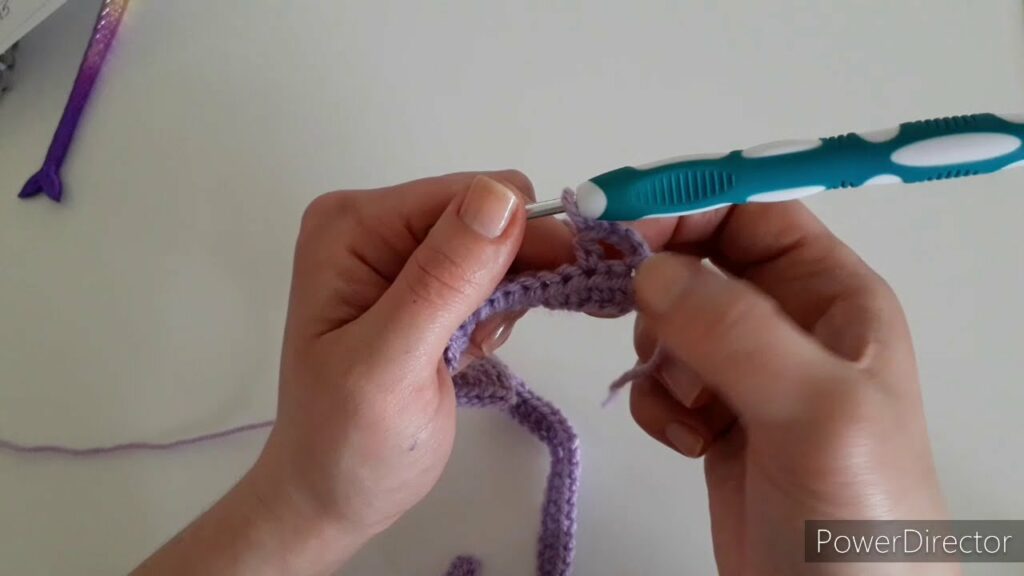
Video tutorial:
Keep stitching and spread the joy, one layer at a time! 🧶👗🍼