by
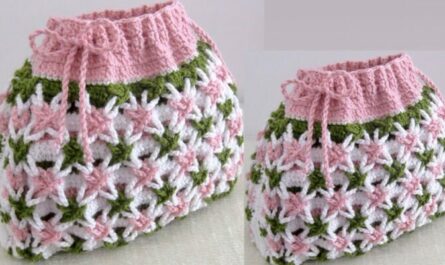
by There’s something timeless and heartwarming about crocheted baby shoes. Soft, sweet, and perfect for tiny toes, they make a thoughtful gift for baby showers, christenings, or everyday wear. In this tutorial, you’ll learn how to make beautiful crochet baby shoes from scratch – with easy-to-follow steps and options for customization.
🧵 Supplies You’ll Need
To create these adorable baby booties, you’ll need:
- Yarn: Soft baby yarn (lightweight or DK preferred; cotton or acrylic)
- Hook: 3.0 mm or 3.5 mm crochet hook
- Tapestry needle (for weaving in ends)
- Scissors
- Stitch marker (optional, but helpful for beginners)
- Buttons or ribbon (optional embellishments)
Recommended Yarn:
Look for soft, washable yarn labeled baby-safe. Cotton blends are breathable and gentle for sensitive skin.
🧶 Basic Crochet Stitches Used
If you’re a beginner, here are the basic stitches used in this pattern:
- ch – chain
- sl st – slip stitch
- sc – single crochet
- hdc – half double crochet
- dc – double crochet
- inc – increase (2 stitches in the same stitch)
- dec – decrease (crochet 2 stitches together)

📏 Sizing
This pattern fits newborn to 3 months (approx. 3.5″ / 9 cm sole). For larger sizes (3–6 months or 6–12 months), adjust by:
- Using a larger hook
- Adding an extra row to the sole
👣 Pattern Overview
We’ll crochet the shoes in three parts:
- The Sole
- The Upper Shoe Body
- The Strap & Finishing
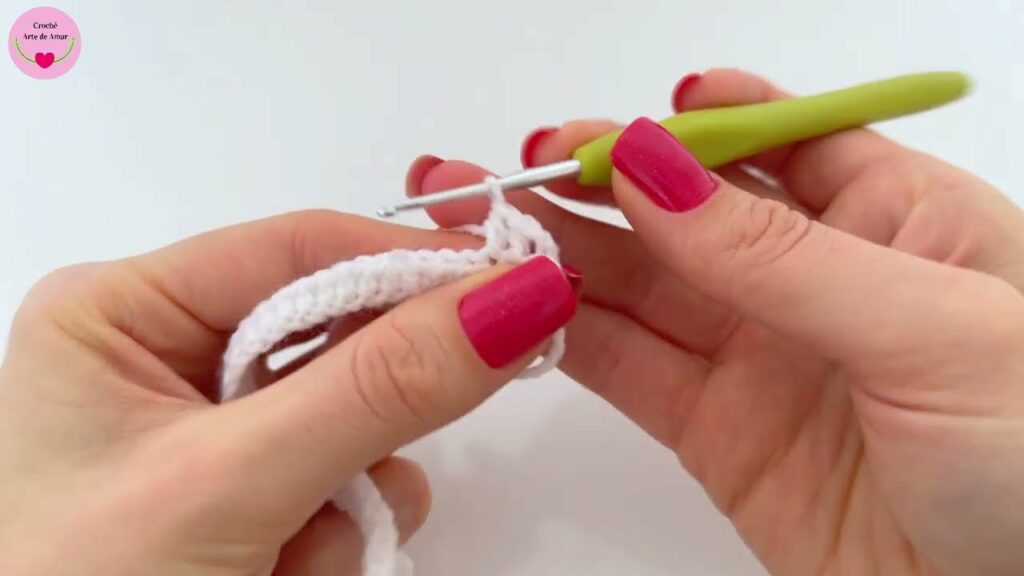
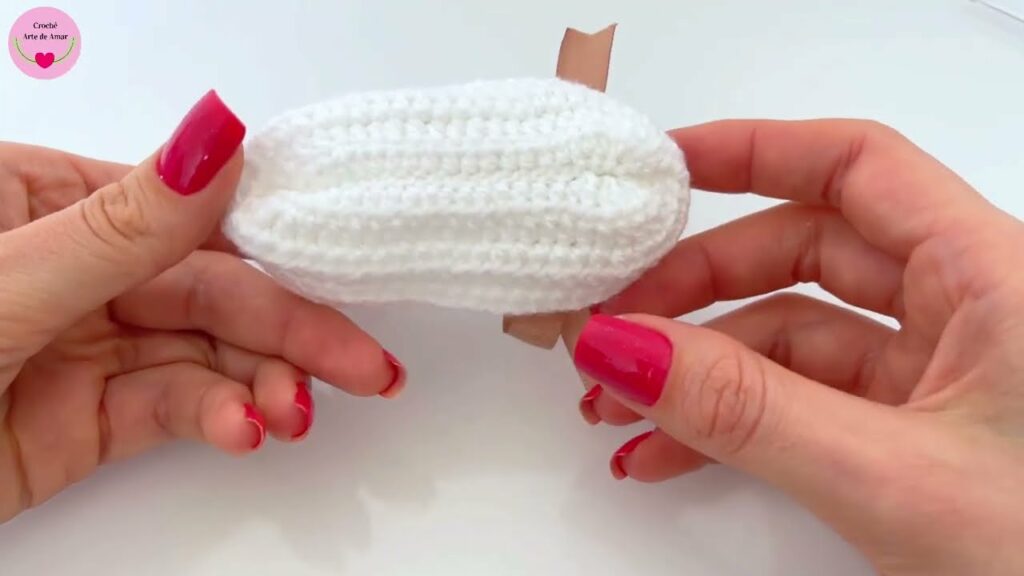
🧶 Part 1: Crochet the Sole
Start by making the base of the shoe – an oval-shaped sole.
plaintextCopyEditCh 10

Round 1: In 2nd ch from hook, sc 2 in same st, sc 7, 4 sc in last ch.
Now working on the opposite side: sc 7, 2 sc in last ch. (22 sts)

Round 2: 2 sc in first st, sc 7, 2 sc in next 4 sts (toe), sc 7, 2 sc in last 2 sts. (30 sts)

Round 3: sc in next, 2 sc in next, sc 7, (sc, 2 sc) x 4 at toe area, sc 7, (sc, 2 sc) x 2. (38 sts)

Fasten off and weave in tail.
🧤 Make a second sole for the other foot.
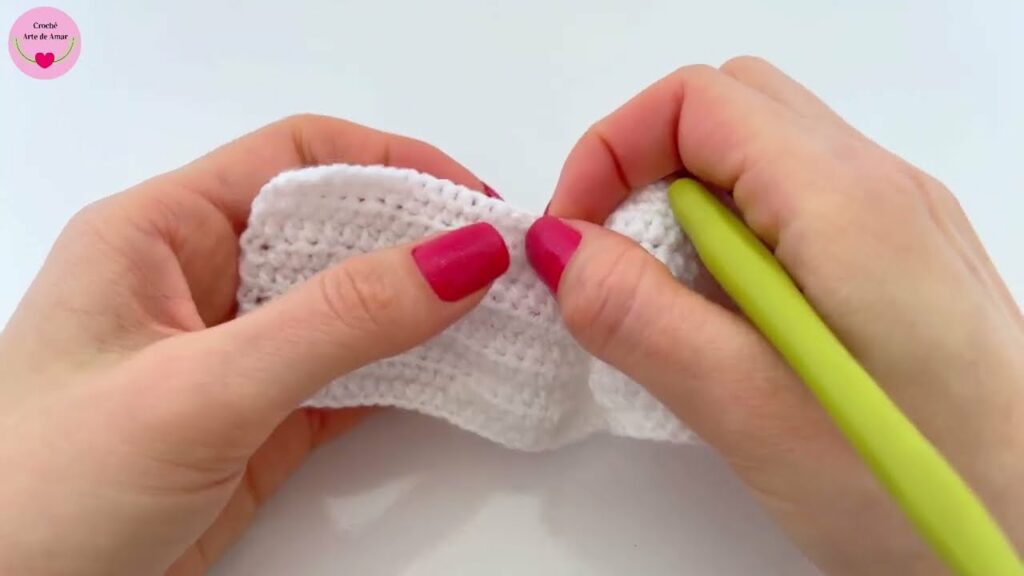
🧶 Part 2: Crochet the Upper Body
Join yarn at the back heel.
plaintextCopyEditRound 1: Working in **Back Loops Only (BLO)**, sc around the sole. Sl st to join. (38 sts)

Round 2: ch 1, sc around in both loops this time. Join.

Round 3: sc 10, hdc 6, dc 8, hdc 6, sc 8. (This shapes the shoe opening.)

Round 4: sc 10, hdc 4, dc2tog x 4 (decreasing across the toe), hdc 4, sc 8.

Round 5: sc 10, hdc 3, dc2tog x 2, hdc 3, sc 8.

Fasten off.
🪡 Optional: Repeat another round of decreases if you want a snugger fit at the toe.
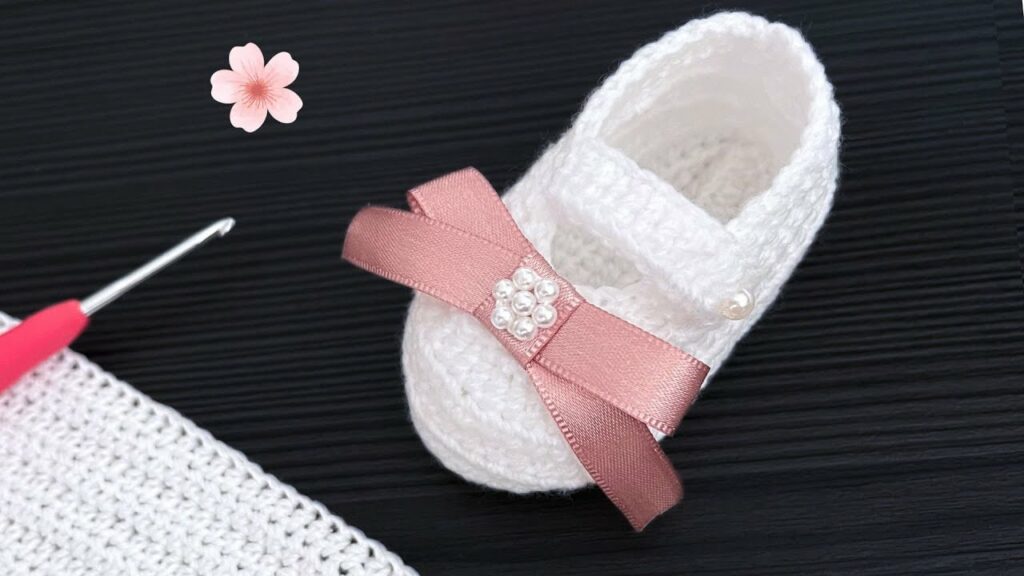
🎀 Part 3: Strap & Finishing
We’ll add a cute strap and fasten it with a button.
Strap (Worked separately and sewn on):
plaintextCopyEditCh 16

Row 1: sc in 2nd ch from hook and across. (15 sts)
Row 2: sc across.

Fasten off, leave long tail for sewing.
Sew one end of the strap to the inside side of the shoe. On the other side, sew a small button, or simply stitch the strap down for a fixed closure.
Optional Embellishments:
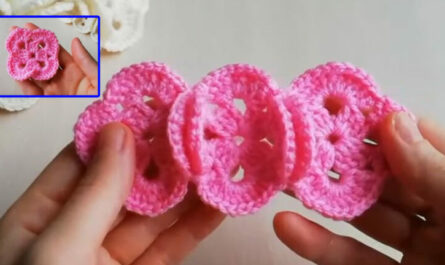
- Add a bow: Create a small bow using yarn or ribbon and sew to the toe.
- Crochet a flower: Use a mini flower pattern and attach it to the side.
- Decorate with pearls or beads (only for decorative use – not safe for unsupervised babies).
🧼 Washing & Care Instructions
Since baby items are often used and washed frequently, use washable yarn and follow these tips:
- Hand wash or machine wash on gentle cycle
- Use cold water and mild detergent
- Lay flat to dry
- Do not bleach or iron
💡 Tips for Success
- Use stitch markers to keep track of round beginnings.
- Make a gauge swatch to ensure correct sizing if you’re using a different yarn.
- Try your shoe on a doll or baby foot to ensure fit before finishing.
- Create multiple pairs in different colors for every outfit!
🧶 Summary
Creating beautiful crochet baby shoes is a fun and rewarding project – and once you’ve made one pair, you’ll want to make more! This easy pattern gives you a solid base to get creative, add cute touches, and gift something truly handmade with love.
Video tutorial: