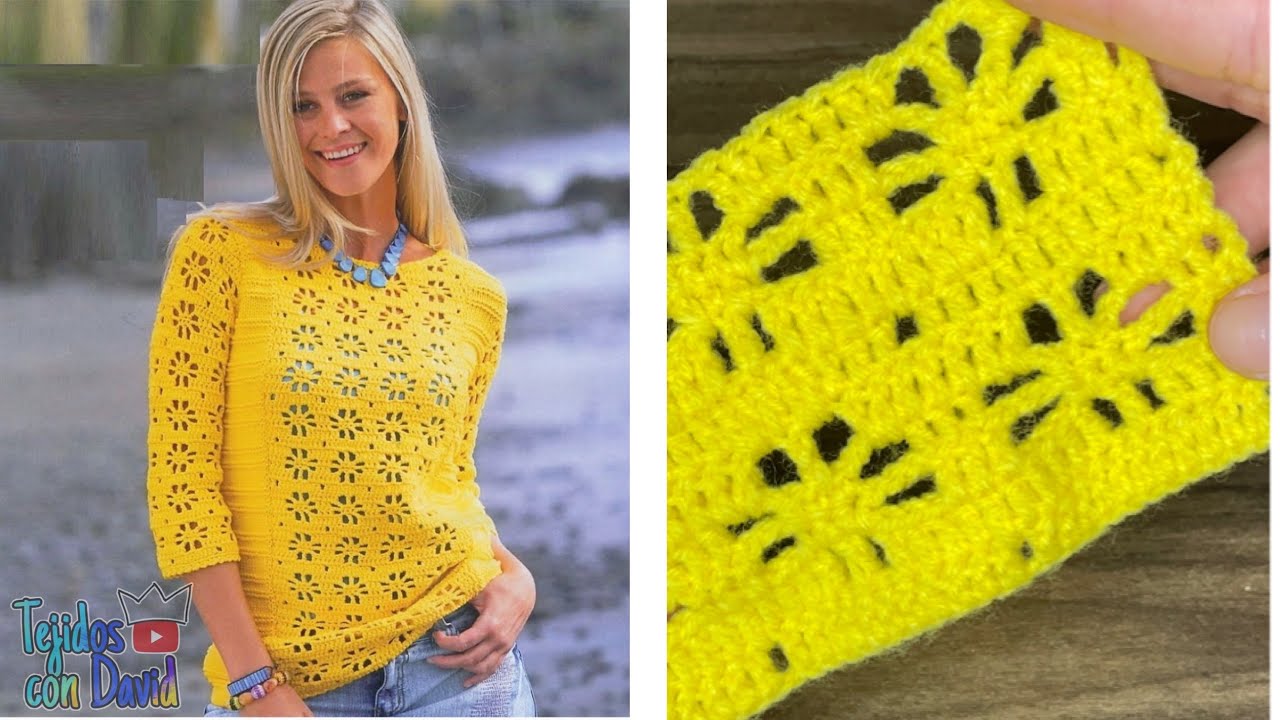
When it comes to crocheting a cozy, stylish, and flattering sweater, the stitch you choose makes all the difference. You want something that’s:
✅ Beautiful and textured
✅ Beginner-friendly
✅ Soft and flexible
✅ Not too open (for warmth) but still breathable
This tutorial will teach you the Suzette Stitch—a perfect blend of elegance and simplicity that’s ideal for sweaters, cardigans, and lightweight pullovers.
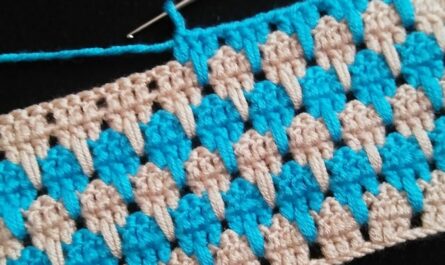
🌟 Why Choose the Suzette Stitch?
The Suzette Stitch creates a dense yet breathable fabric with a subtle texture that lies flat and works beautifully with cotton, acrylic, or wool yarns. It looks far more complex than it really is, making it a favorite among beginners and pros alike.
🧵 Materials You’ll Need
- Yarn: Worsted or DK weight yarn (smooth yarn is best for learning)
- Hook: 5.0mm (H-8) crochet hook or size recommended for your yarn
- Scissors
- Tapestry needle
- Stitch markers (optional)
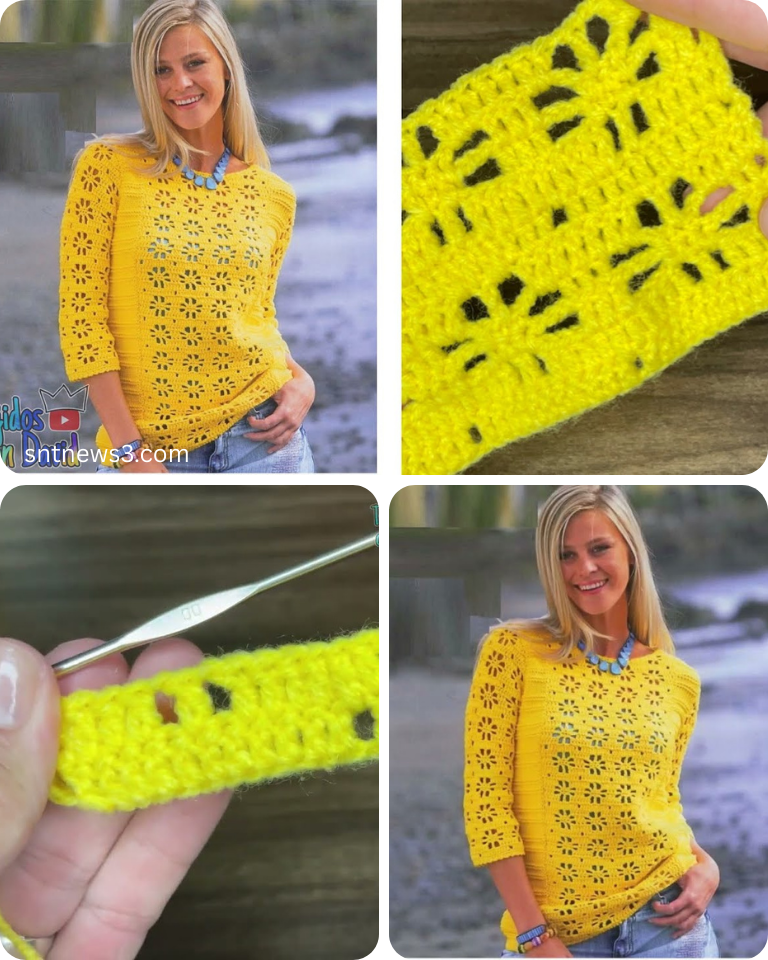
🧶 Stitches Used (All Basic)
- Chain (ch)
- Single Crochet (sc)
- Double Crochet (dc)
That’s it! If you know these three stitches, you can master this pattern easily.
📏 Gauge & Swatch (Recommended)
Before you begin a full sweater, it’s helpful to swatch your stitch:
- Create a small sample ~20 stitches wide using the pattern below.
- Measure your gauge (stitches and rows per inch).
- Use this info to size your sweater panels properly.
🪡 Step-by-Step: Suzette Stitch Pattern
🧵 Multiple of 2 stitches (plus 1 if you’re working flat)
🔹 Foundation Chain
- Chain an even number of stitches (e.g., 26).
- Add 1 more chain (for turning).
Example: Ch 27 for your first row.
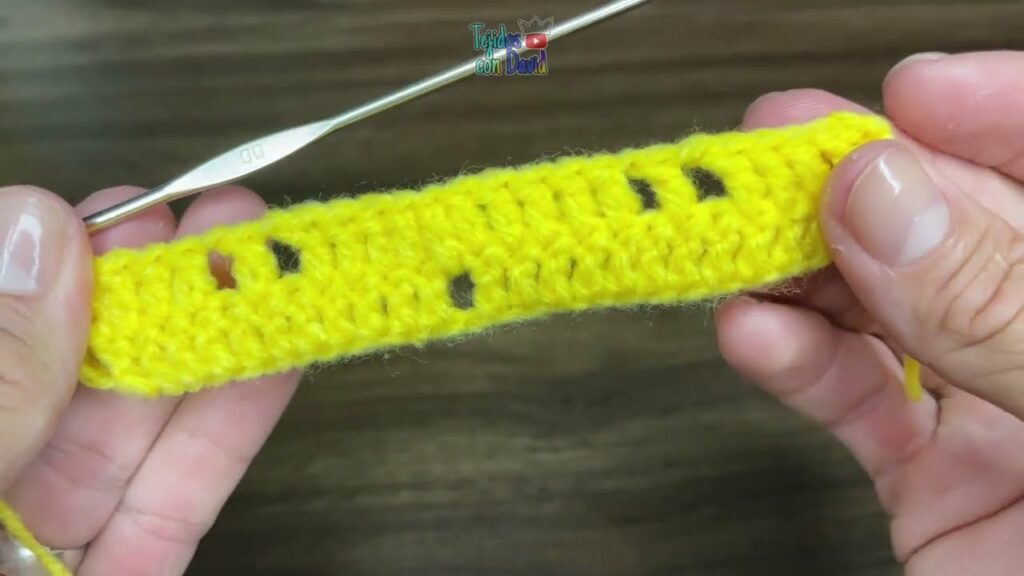
🔹 Row 1
- In the second chain from the hook, work:
- 1 single crochet (sc)
- 1 double crochet (dc)
(both in the same stitch)
- Skip the next chain.
- In the next chain, again work:
- 1 sc, 1 dc in the same stitch.
- Repeat: (skip 1 ch, work sc and dc in next ch) across the row.
- You should end with 1 stitch left. Skip it and turn your work.
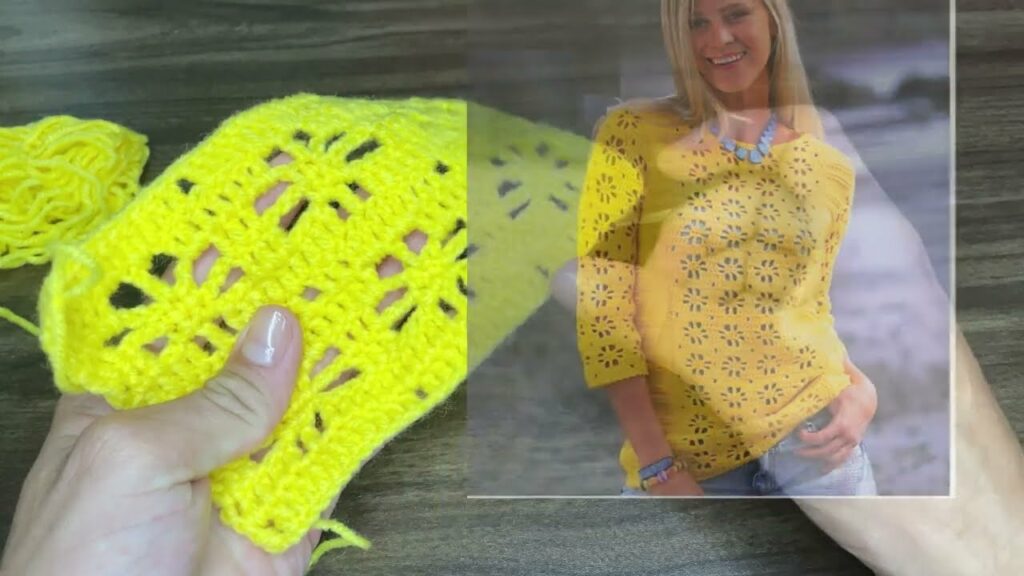
🔹 Row 2 (and every row after)
- Ch 1.
- In the first stitch of the row, work:
- 1 sc and 1 dc in the same stitch.
- Skip the next stitch (it will be a dc from the previous row).
- Continue across: (sc + dc in next stitch, skip 1) until end of row.
- End the row by skipping the last stitch, turn.
Repeat Row 2 until your fabric reaches the desired length.

✅ Tips for Success
- The Suzette Stitch grows quickly and creates a slightly stretchy, uniform texture.
- Be sure to count your stitches on each row to maintain your edge.
- You can easily change colors at the end of a row for stripes or color blocks.
- Use stitch markers on the first stitch of each row if you struggle to see your turning points.
🧥 How to Use This Stitch in a Sweater
You can use the Suzette Stitch for any basic sweater construction method:
1. Two Panel Sweater (Easiest for Beginners)
- Make one rectangle for the front, one for the back.
- Leave holes or shape armholes at the top.
- Stitch the sides and shoulders together.
- Optionally, add sleeves or edging around the neck.

2. Top-Down Raglan
- Start from the neck, increasing using Suzette clusters at four corners.
- Great for seamless sweaters with a clean yoke.
🧼 Care Instructions
- Follow the yarn label (especially if using wool or cotton).
- Hand wash or machine wash gently.
- Lay flat to dry to preserve the shape.
🎨 Stitch Variations
Want to try similar stitches once you master this?
- Lemon Peel Stitch: sc and dc alternated across the row instead of in the same stitch.
- Griddle Stitch: similar concept but staggered each row.
- Herringbone Half Double Crochet: for a more elegant, diagonal texture.
Video tutorial:
🌟 Final Thoughts
The Suzette Stitch is the perfect beautiful stitch for a beginner-friendly crochet sweater. It gives you structure, softness, and an upscale look — without needing advanced techniques. Whether you’re making your first handmade sweater or just swatching for fun, this stitch is a fantastic building block for wearable crochet.
