 by
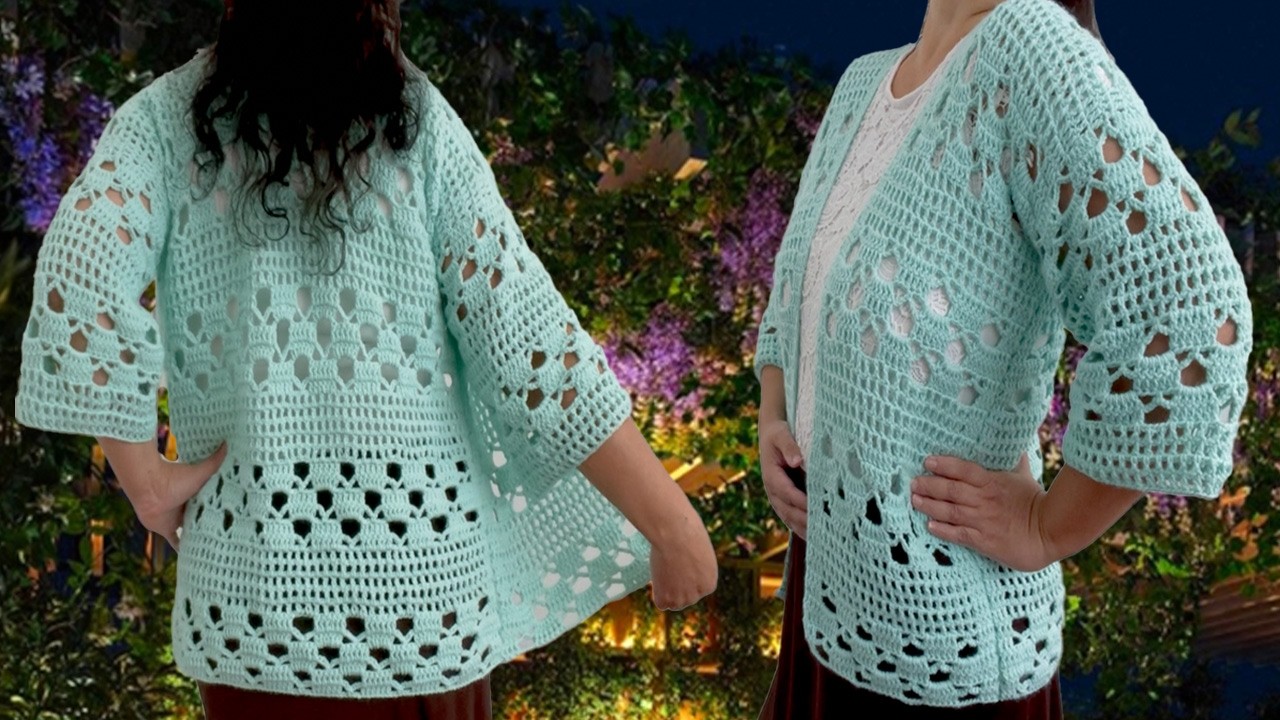
by Creating a one-piece blouse jacket cardigan sweater is a fantastic way to crochet a cozy, stylish garment with minimal sewing and shaping. This method involves working the entire body—including the front, back, and sleeves—in a continuous piece, making it an ideal project for beginners and seasoned crocheters alike.

Whether you’re crafting a lightweight layer for spring or a warm cover-up for colder months, this design is adaptable and easy to customize.
✨ Why Make It in One Piece?
- No sewing required – fewer seams, cleaner look
- Faster construction – work continuously
- Easier to shape – fewer pieces to align
- Customizable – adjust width, length, and sleeve size on the go
🧵 Materials You’ll Need
- Worsted or bulky weight yarn (depending on season and style)
- Crochet hook: 6.0 mm (or recommended for your yarn)
- Yarn needle
- Scissors
- Stitch markers (for shaping and sleeve placement)
- Measuring tape

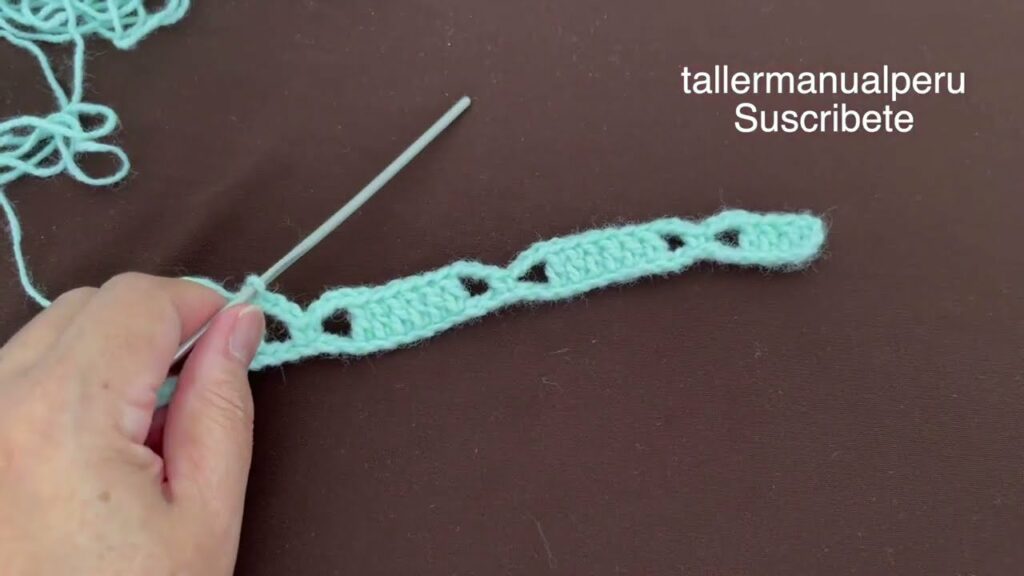
📘 Crochet Stitches Used (US Terms)
- CH – Chain
- SC – Single Crochet
- HDC – Half Double Crochet
- DC – Double Crochet
- SL ST – Slip Stitch
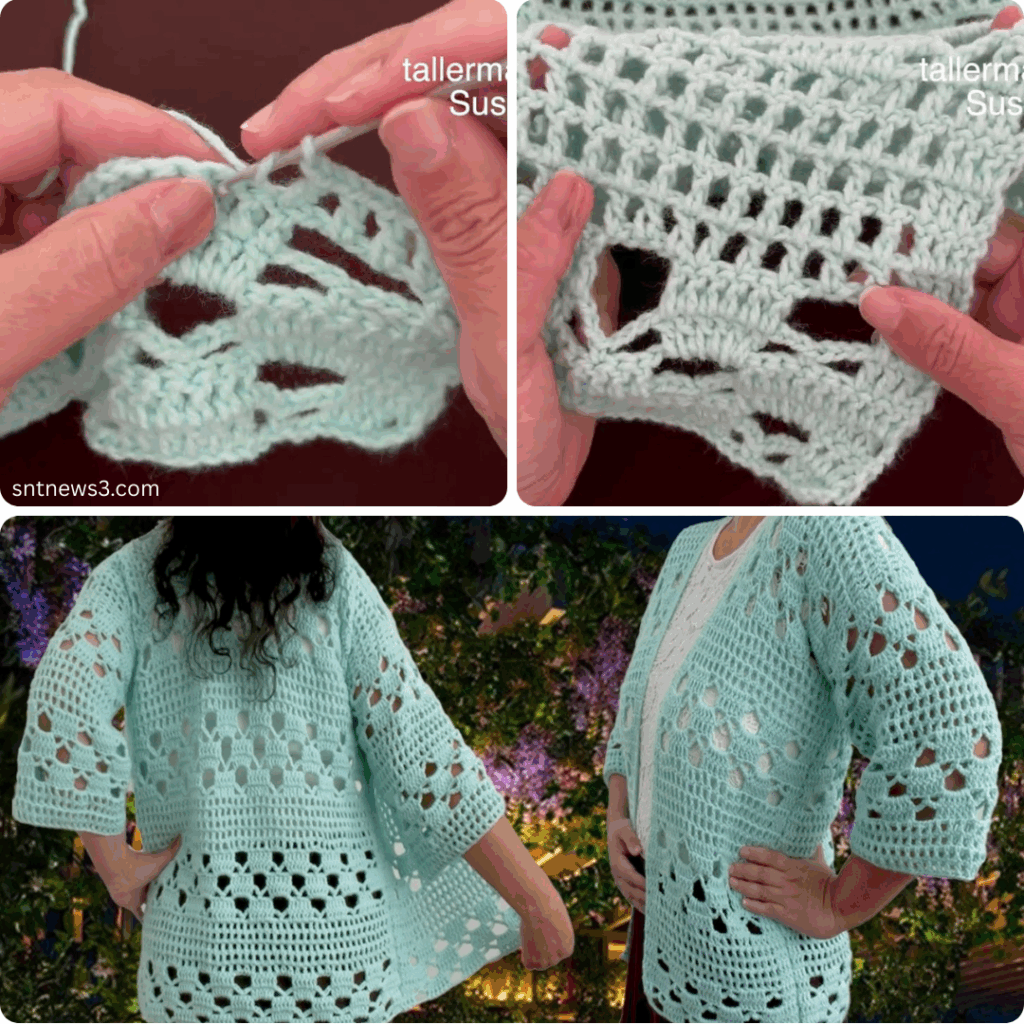
You can use any stitch pattern, but simple HDC or DC is ideal for beginners.
🧣 One-Piece Construction Overview
The basic idea is to start from the back panel, work your way to the shoulders and front panels, and extend out from the sides to create sleeves. No need for complicated shaping or joining panels.
🪡 Step-by-Step Instructions
1. Start with the Back Panel
- CH the width of the back (e.g., 60–80 chains for adult medium).
- Work in rows using HDC or DC until you reach the height from neck to underarm.
2. Create Front Panels
- Without cutting yarn, CH for the right front panel and continue stitching back along the existing row.
- At the end of the row, CH the same number of stitches to begin the left panel.
- Turn and stitch across all the stitches, including both front panels and the back.
Now you’ve created the full body width in one continuous piece.
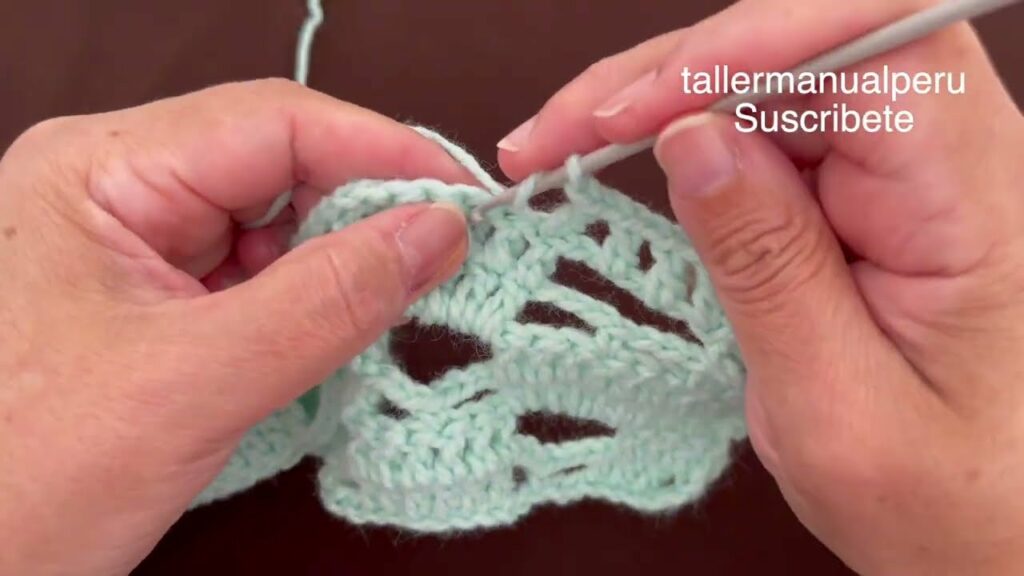
3. Add Sleeves
- From the sides of the cardigan, mark where you want the sleeves to begin.
- Attach yarn and CH the desired sleeve length from underarm.
- Work in rounds or rows to build up sleeve width.
- Optional: taper sleeves slightly by decreasing every few rows.
4. Shape the Neckline (Optional)
- For a rounded neckline, stop rows early on front panels.
- For a V-neck, decrease one stitch at the beginning of each front panel row.
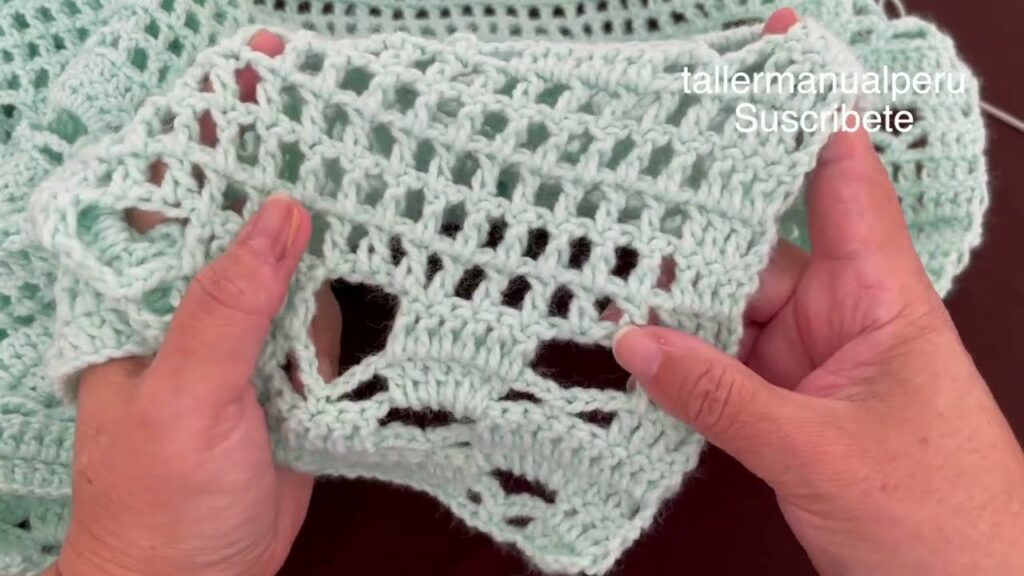
5. Add Edging and Collar
- Work SC or ribbed HDC edging around the cardigan for a polished look.
- Add length to the collar or cuffs if desired using front/back post stitches.
🌈 Style & Design Ideas
- Boho vibe: Use granny stitch or shell patterns.
- Elegant touch: Work with fine yarn and lacy stitches.
- Chunky look: Use bulky yarn for a warm winter layer.
- Add buttons, a belt tie, or toggles for closure options.
🧼 Care Tips
- Wash according to yarn label (hand wash or gentle machine wash)
- Dry flat to prevent stretching
- Store folded, not hanging, to maintain shape
🧶 Conclusion
Making a one-piece blouse jacket cardigan sweater is incredibly satisfying, beginner-friendly, and versatile. With just one continuous piece, you can create a beautifully draped garment that’s fashionable, functional, and customizable. Whether for daily wear or special gifting, this project is sure to become a favorite.
Video tutorial:
Happy Hooking and Stay Cozy! 🧵💛