 by
by Full Step-by-Step Written Tutorial
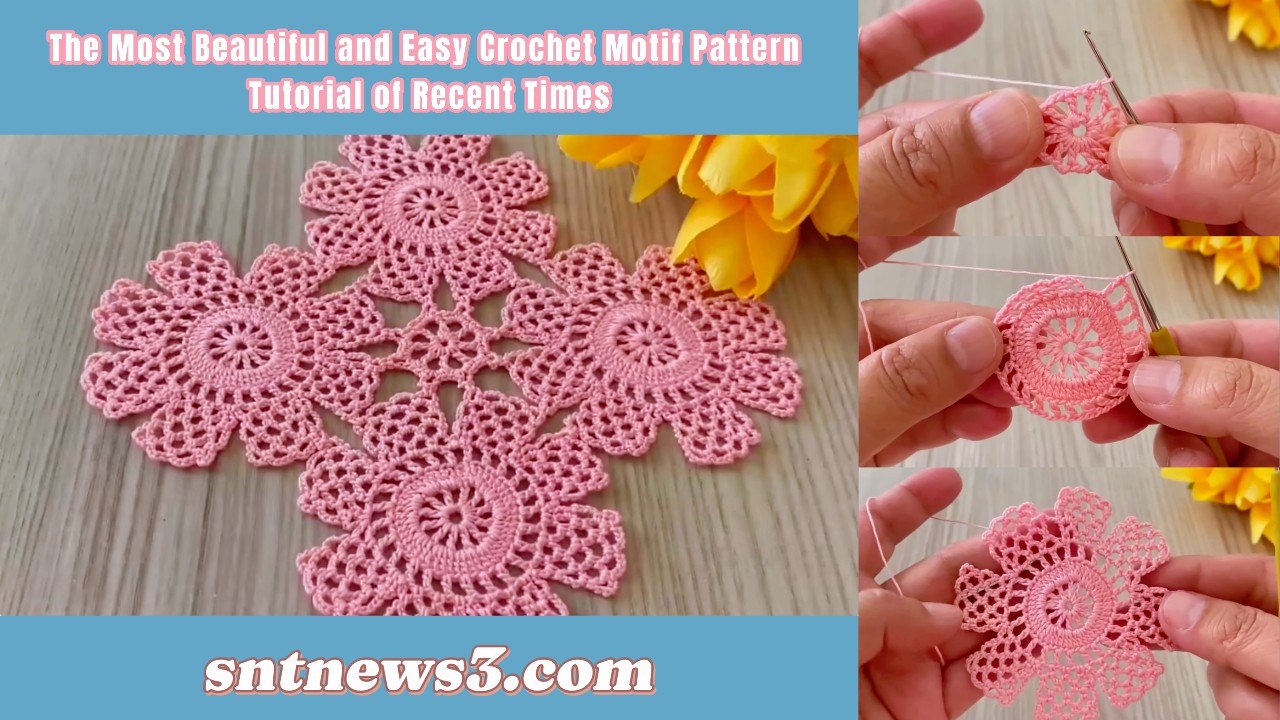
Beginner Friendly | US Crochet Terms
🧶 SKILL LEVEL
Beginner → Easy Intermediate
(Simple stitches, clean structure)
🧵 MATERIALS
- Yarn: Cotton or cotton-blend (Sport / DK recommended)
- Crochet hook: 3.0 – 4.0 mm
- Scissors
- Yarn needle
- Stitch markers (optional)
💡 Cotton yarn highlights the motif shape beautifully.
✂️ ABBREVIATIONS (US TERMS)
- ch = chain
- sl st = slip stitch
- sc = single crochet
- hdc = half double crochet
- dc = double crochet
- tr = treble crochet
- sp = space
- st = stitch
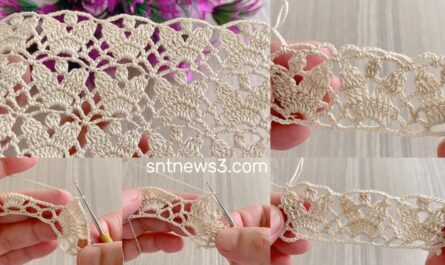
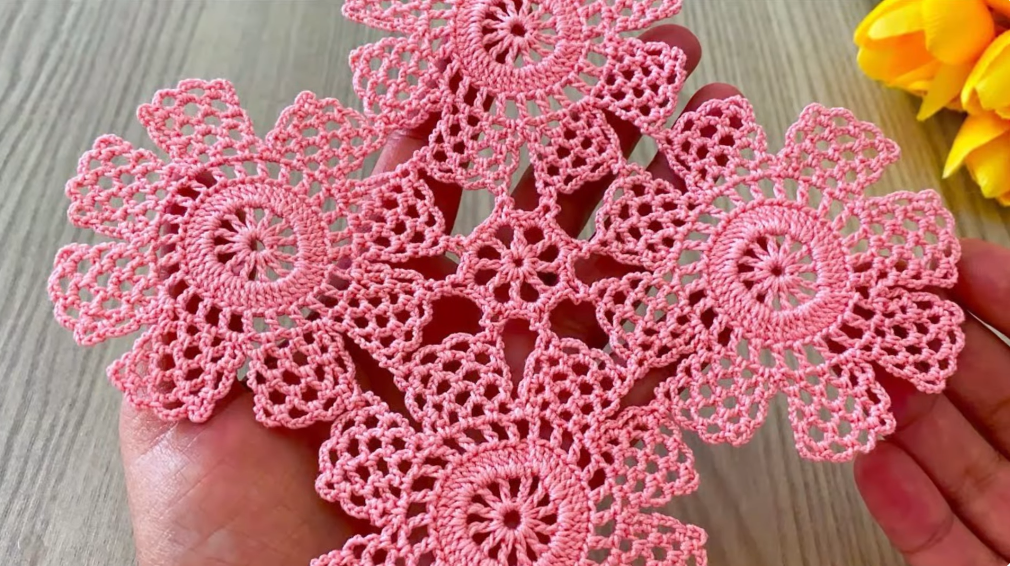
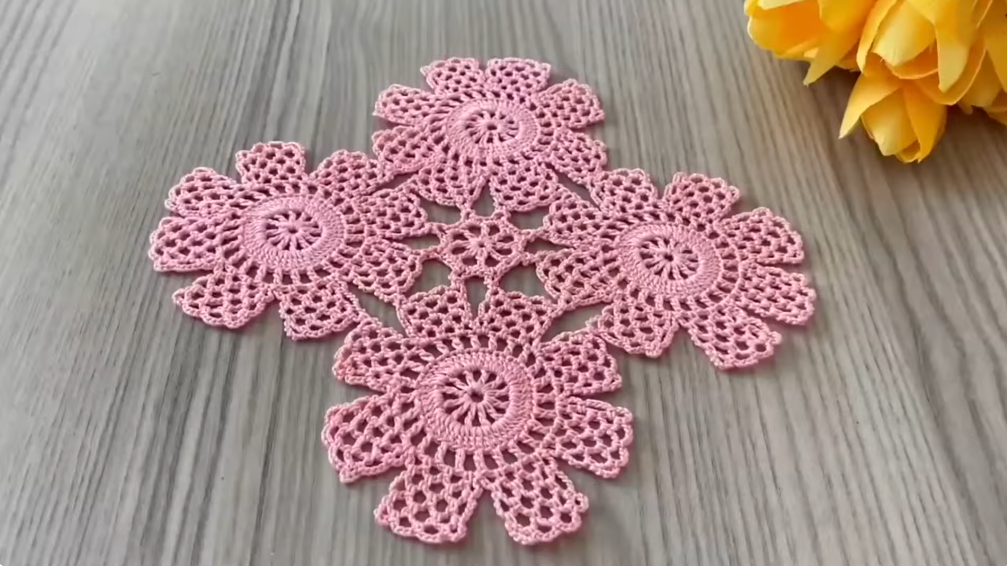
🌸 MOTIF FEATURES
- Soft floral look
- Symmetrical and flat
- Easy to remember rounds
- Perfect for joining
- Elegant yet beginner-friendly
🪡 PART A — MOTIF INSTRUCTIONS
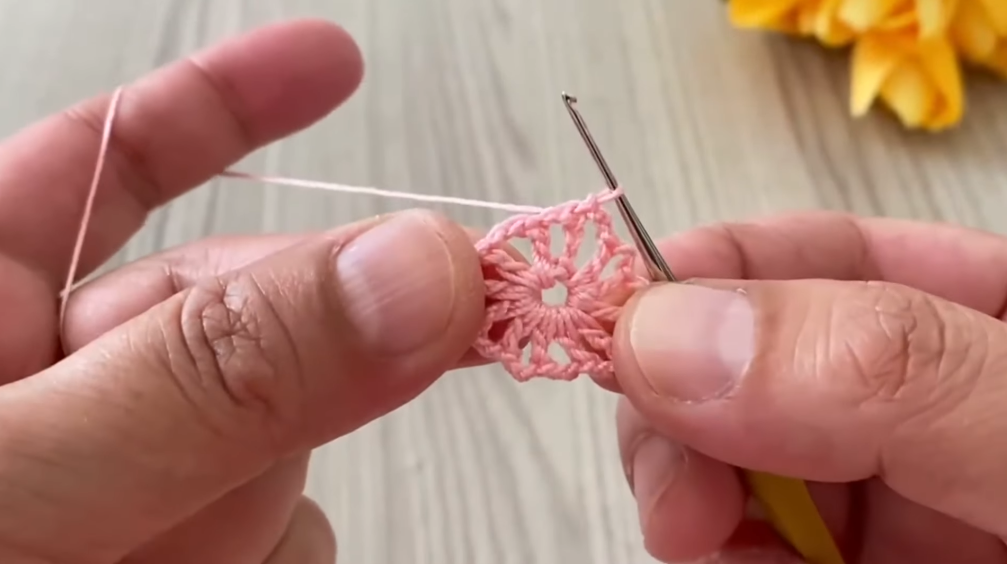
🔰 ROUND 1 – CENTER RING
- Make a magic ring
(or ch 4, sl st to first chain). - Ch 3 (counts as first dc).
- Work 11 dc into the ring.
- Pull ring tight.
- Sl st to top of ch-3.
✔ Total: 12 dc
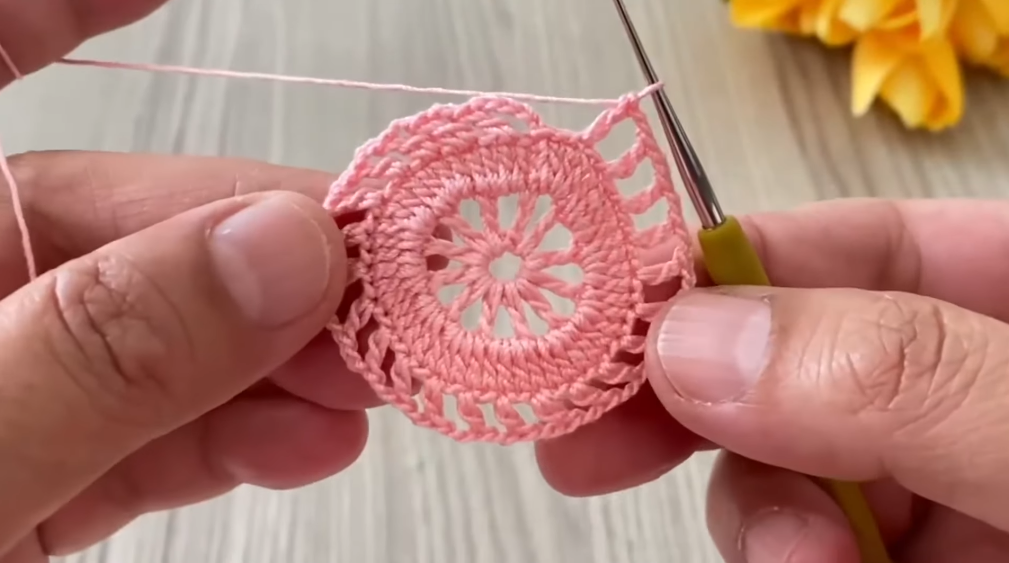
🌸 ROUND 2 – OPEN PETAL BASE
- Ch 3.
- Dc in same stitch.
- Ch 2.
- Skip 1 stitch.
- In next stitch: 2 dc.
- Ch 2.
- Repeat (2 dc, ch 2, skip 1) around.
- Sl st to join.
✔ Creates gentle open spaces
🌸 ROUND 3 – SOFT PETALS
- Sl st into first ch-2 space.
- Ch 3.
- Work 2 dc into same space.
- Ch 3.
- In next ch-2 space: 3 dc, ch 3.
- Repeat around.
- Sl st to close.
✔ Petal shapes appear 🌼
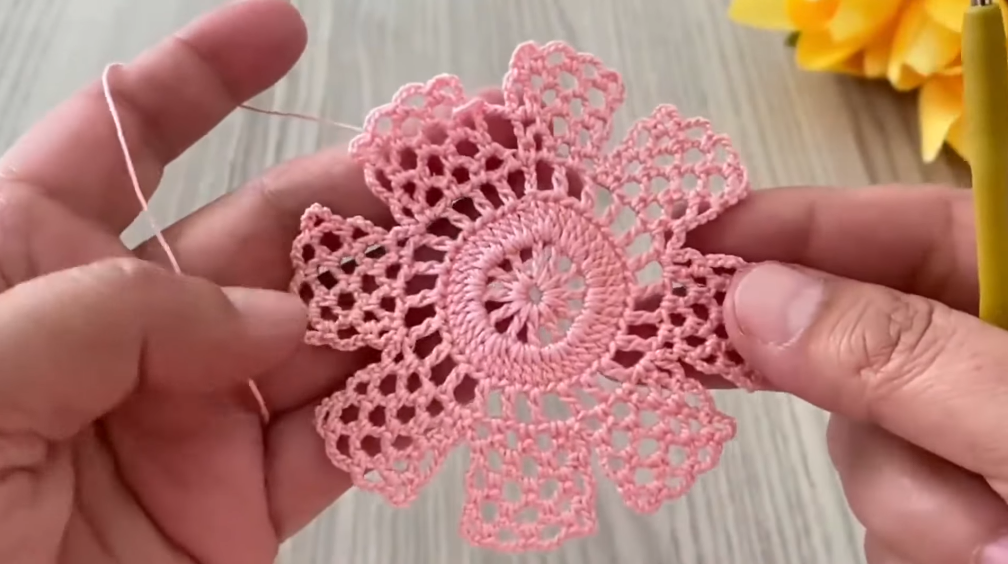
🌸 ROUND 4 – LACE FRAME
- Sl st into ch-3 space.
- Ch 1.
- Sc in same space.
- Ch 5.
- Sc in next ch-3 space.
- Repeat (sc, ch 5) around.
- Sl st to finish.
✔ Light and airy look
🌸 ROUND 5 – MOTIF BODY
- Sl st into ch-5 space.
- Ch 3.
- Work 4 dc into same space.
- Ch 2.
- In next ch-5 space: 5 dc, ch 2.
- Repeat around.
- Sl st to join.
✔ Motif becomes fuller and more defined
🌸 ROUND 6 – SHAPING ROUND
- Sl st to center dc of shell.
- Ch 1.
- Sc in same stitch.
- Ch 3.
- Skip next 2 dc.
- Sc in next dc.
- Repeat around.
- Sl st to join.
✔ Prepares motif for joining
🌸 ROUND 7 – FINAL EDGE
- Ch 1.
- Sc evenly around.
- In each ch-3 space work 2 sc.
- Sl st to finish.
- Fasten off.
✔ Flat, neat, professional edge ✨
📐 MOTIF SIZE (APPROX.)
- 10–14 cm (4–5½ in)
(depending on yarn & hook)
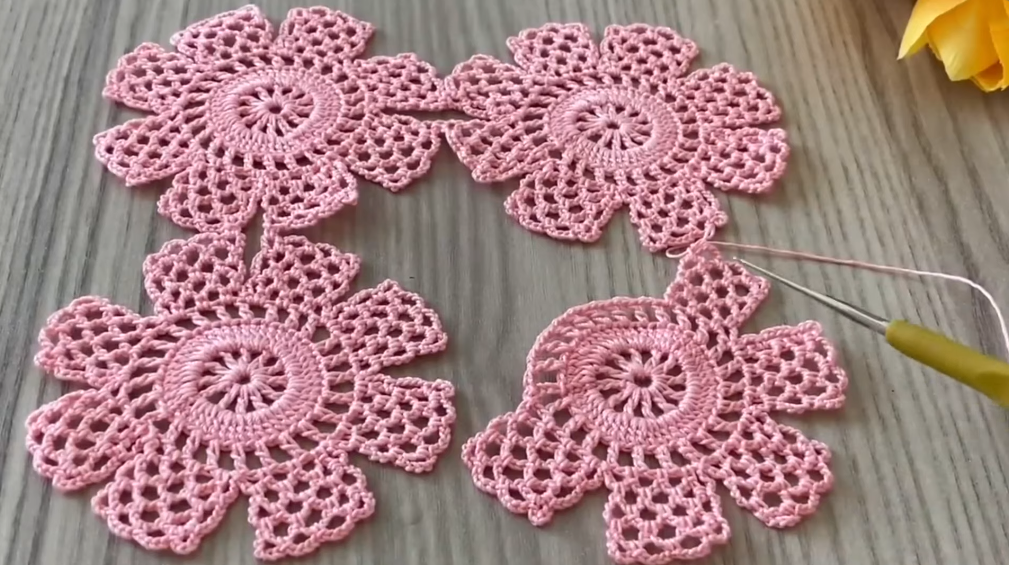
🪡 PART B — JOINING & ASSEMBLY
This motif is designed to join beautifully.
🌸 JOINING METHOD 1 — SEWING (VERY CLEAN)
- Block motifs first.
- Place motifs right sides together.
- Sew through back loops only using mattress stitch.
- Open seam and flatten.
✔ Nearly invisible join
🌸 JOINING METHOD 2 — SLIP STITCH JOIN
- Hold motifs side by side.
- Insert hook through both edges.
- Sl st evenly across.
- Do not pull tight.
✔ Decorative and strong
🌸 JOIN-AS-YOU-GO OPTION
- Join motifs during Round 7
- Ideal for blouses and large projects
🧵 PROJECT IDEAS
🌸 Table Runner
- Join motifs in straight rows
- Add simple sc or lace border
🌸 Blouse
- Join motifs loosely
- Leave armholes open
- Light yarn for drape
🌸 Shawl
- Diagonal layout
- Soft, flowing look
🌸 Blanket
- Square or rectangle grid
- Add wide decorative border
🌼 OPTIONAL BORDER
Simple Elegant Border
- Join yarn at any corner
- Sc evenly around
- Corners: (sc, ch 2, sc)
- Sl st to finish
Optional lace:
- (sc, ch 3, skip 2 sts) repeat
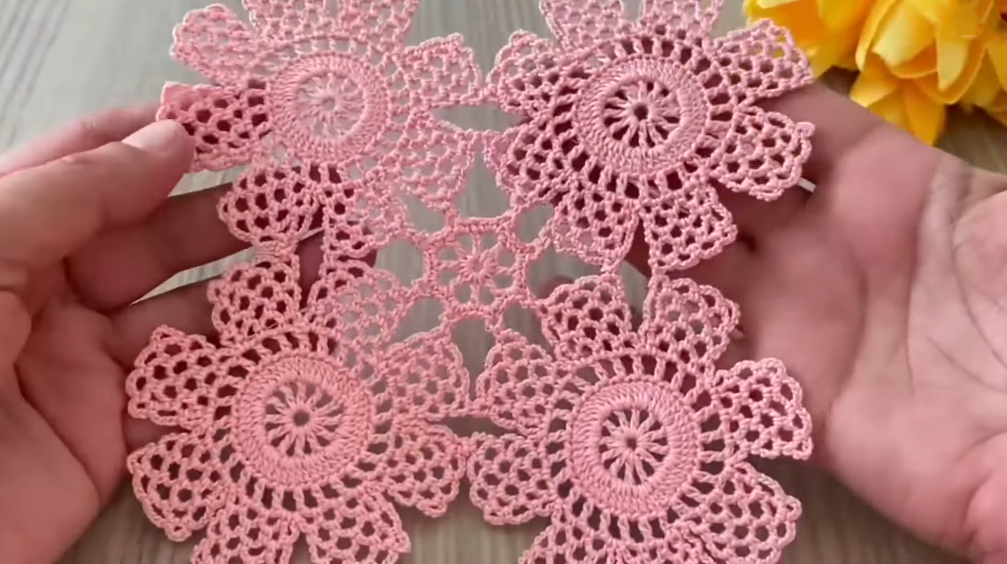
🌸 BLOCKING & FINISHING
- Weave in all ends
- Wet or steam block
- Pin motifs flat
- Let dry fully
✔ Blocking reveals the beauty of the motif 🌸
🧠 BEGINNER TIPS
- Keep chain stitches loose
- Count stitches every round
- Block before joining
- Practice one motif first
- Use stitch markers if needed
📋 QUICK CHEAT SHEET
- R1: 12 dc ring
- R2: ch-2 spaces
- R3: 3-dc petals
- R4: ch-5 lace
- R5: shell body
- R6–7: join-ready edge
🌟 WHY THIS MOTIF IS SO POPULAR
✔ Easy to crochet
✔ Elegant finish
✔ Beginner friendly
✔ Perfect for assembly
✔ Timeless design
VIDEO: