 by
by 🧶 Materials
- Cotton yarn or lightweight acrylic yarn
- Crochet hook 3–4 mm
- Scissors
- Yarn needle
Optional
- Stitch markers
- Blocking board
Cotton yarn is especially beautiful for motifs because it shows lace details clearly and helps the motif hold its shape.
✨ Abbreviations (US Terms)
- ch = chain
- sl st = slip stitch
- sc = single crochet
- hdc = half double crochet
- dc = double crochet
- tr = treble crochet
- sp = space
- rep = repeat
🌼 Pattern Overview
This motif is worked:
- In rounds
- From center outward
- Starting as a flower
- Then shaped into a square
Main stitches include:
- shell stitches
- chain arches
- corner increases
- decorative lace sections
✨ ROUND 1 — Center Ring
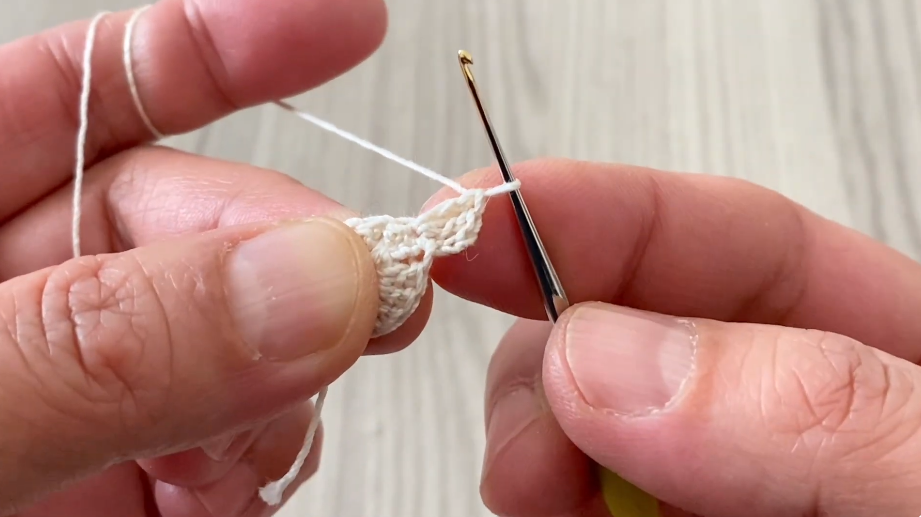
- Make a magic ring.
OR
- ch 4
- join with sl st to form ring
- Ch 3 (counts as first dc).
- Work:
- 15 dc into ring
- Pull ring closed.
- Join with sl st.
✔ Total = 16 dc.
✨ ROUND 2 — Create Flower Spaces
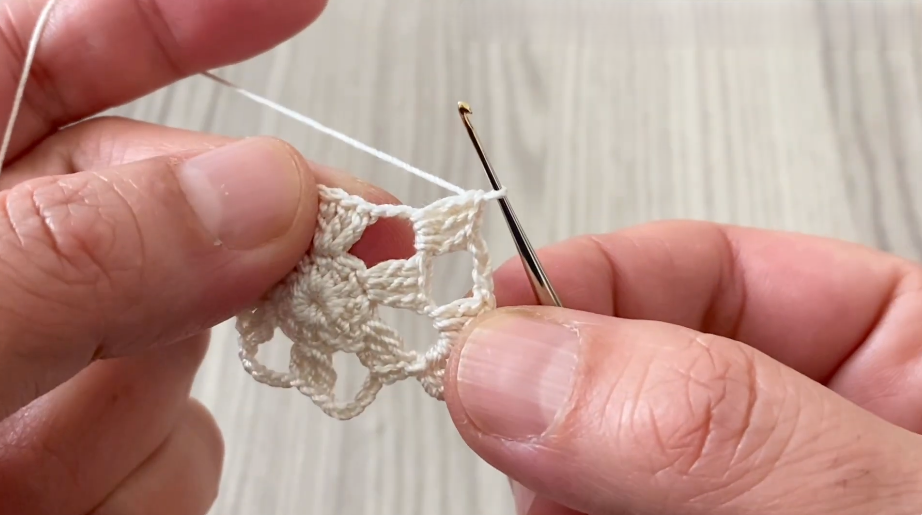
- Ch 1.
- In each stitch work:
- sc
- ch 2
- Repeat around.
- Join with sl st.
✔ Small chain spaces form around center.
✨ ROUND 3 — Flower Petal Round
Slip stitch into first ch-2 space.
In each space work:
- sc
- hdc
- 3 dc
- hdc
- sc
Repeat around.
Join with sl st.
✔ Soft flower petals appear.
The combination of different stitch heights creates rounded petal shapes.
✨ ROUND 4 — Lace Arch Round
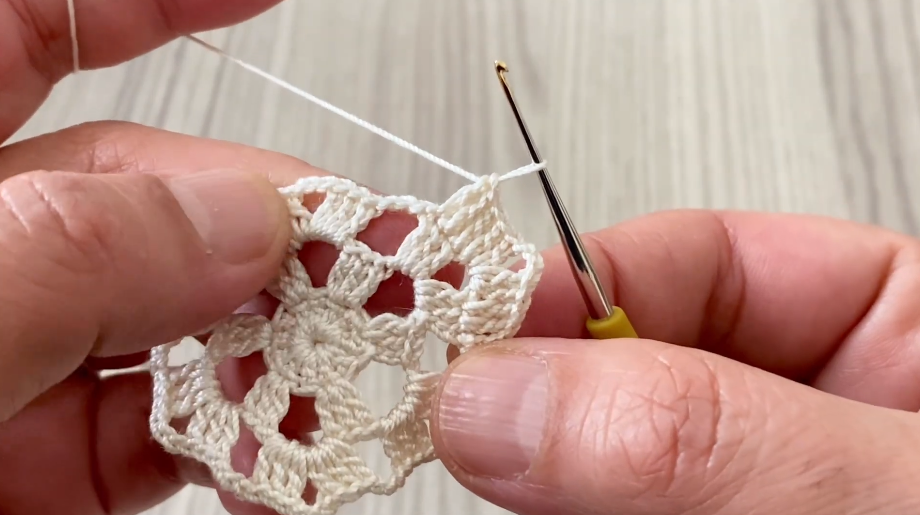
- Ch 1.
- Between petals work:
- sc
- ch 4
- Repeat around.
Join with sl st.
✔ Decorative arches surround the flower.
✨ ROUND 5 — Begin Square Shaping
This round transforms the flower into a square motif.
First Corner
Into first arch work:
- 3 dc
- ch 2
- 3 dc
Side Spaces
Into next arches work:
- 3 dc
Next Corner
Work:
- 3 dc
- ch 2
- 3 dc
Continue around.
Join with sl st.
✔ Four corners become visible.
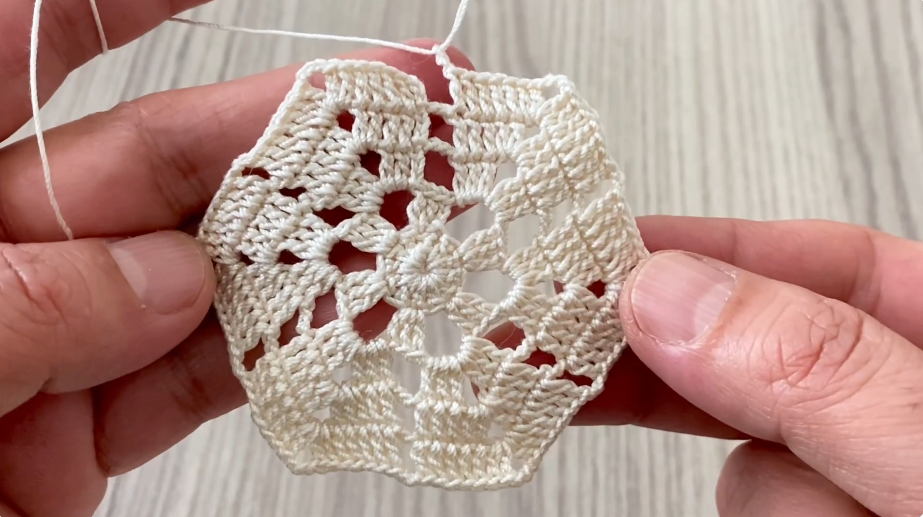
✨ ROUND 6 — Expand Square
Slip stitch into next space.
Ch 3.
Along Each Side
Work:
- 3 dc in each space
In Corners
Work:
- 3 dc
- ch 2
- 3 dc
Repeat around.
Join.
✔ Motif becomes larger and flatter.
✨ ROUND 7 — Decorative Lace Round
Side Sections
Work:
- 3 dc
- ch 2
in each space.
Corner Sections
Work:
- 3 dc
- ch 3
- 3 dc
Repeat around.
Join.
✔ Elegant lace openings appear.
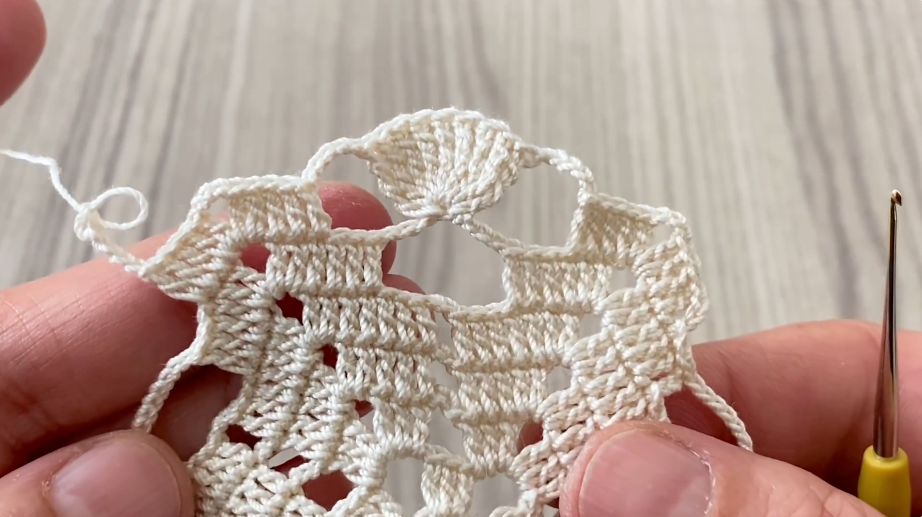
✨ ROUND 8 — Shell Decoration Round
Into each ch-2 space work:
- 5 dc
Between shell groups:
- sc
In corners:
- 7 dc
Repeat around.
Join.
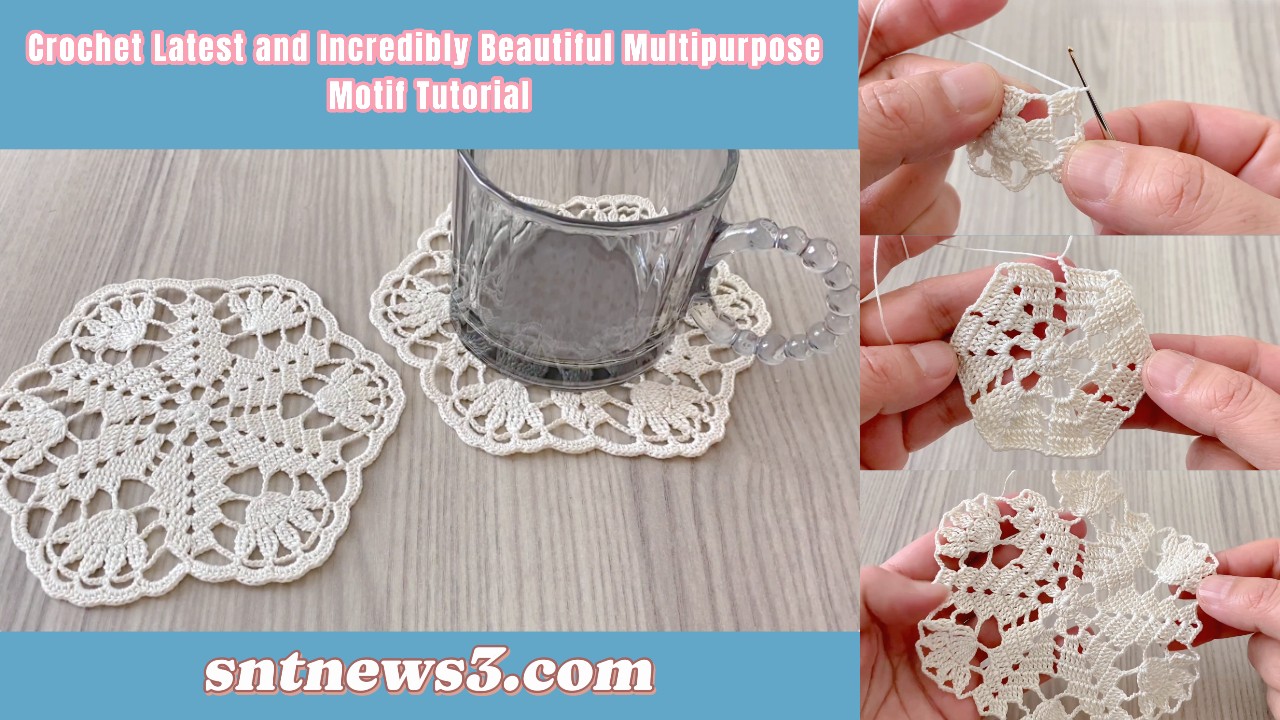
✔ Beautiful decorative shell edging appears.
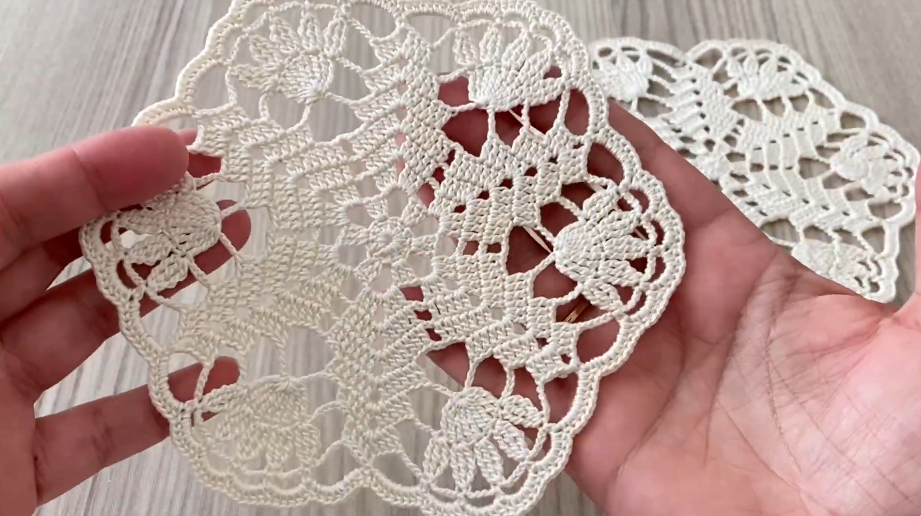
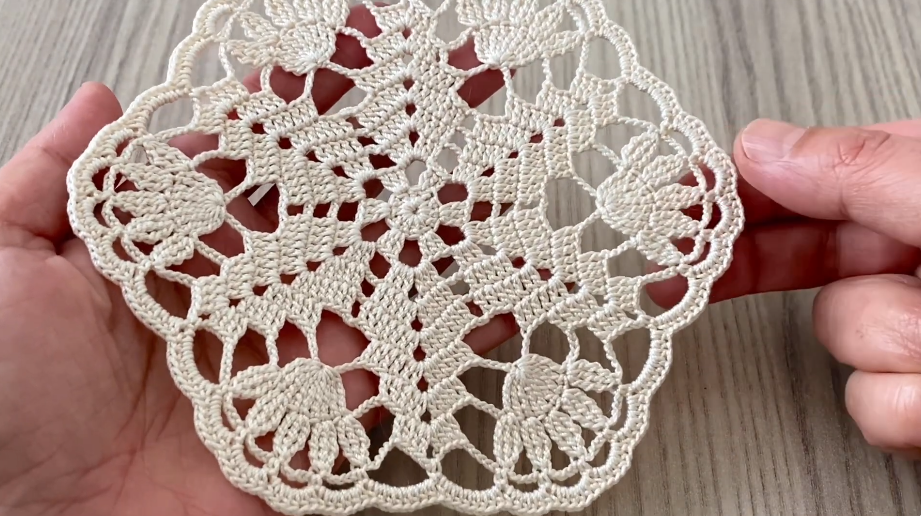
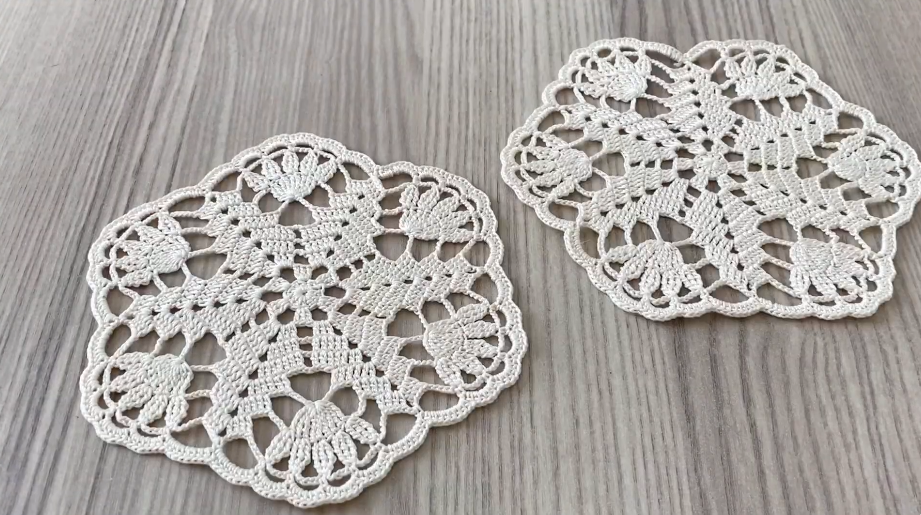
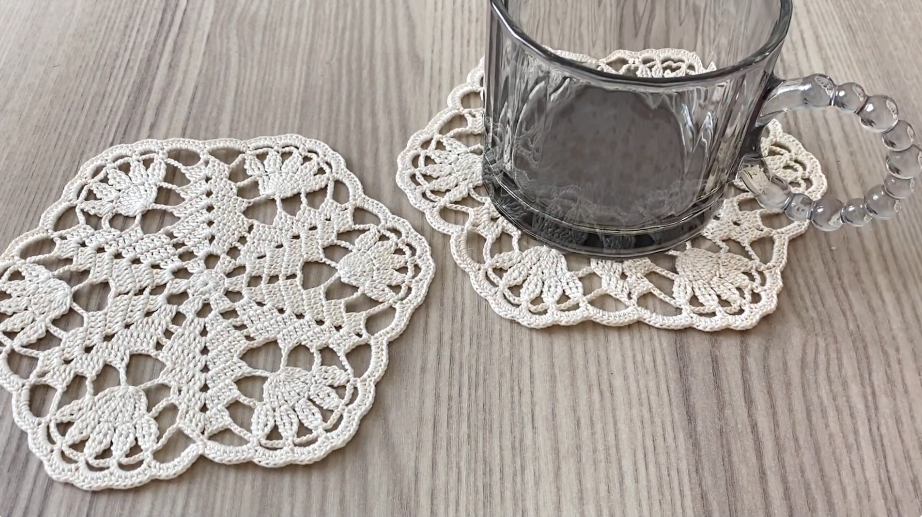
Shell stitches create the eye-catching texture seen in the finished motif.
✨ ROUND 9 — Outer Lace Frame
- Ch 4.
- Sc between shell groups.
- Ch 4.
- Repeat around.
At corners:
- ch 5
instead of ch 4.
Join.
✔ Delicate lace arches frame the motif.
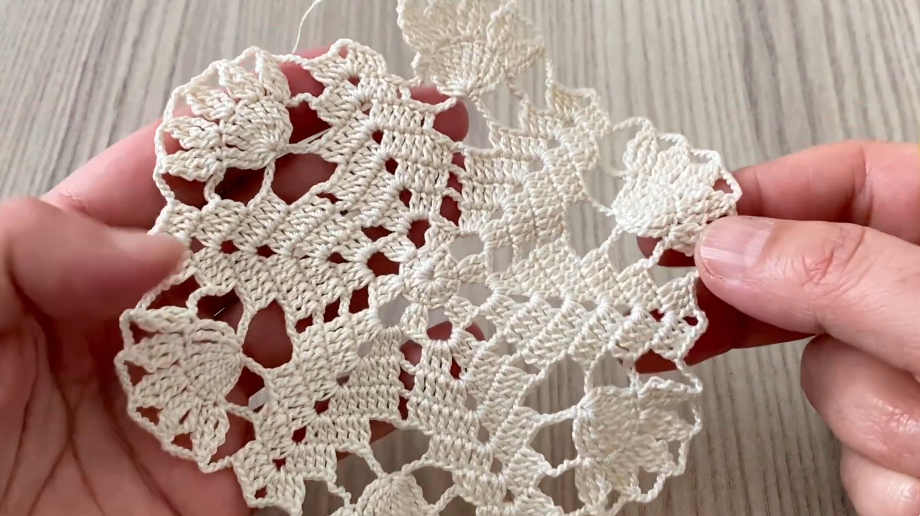
✨ ROUND 10 — Final Decorative Border
Into each arch work:
- 5 dc
Between groups:
- sc
Repeat around.
At corners:
- 7 dc
Join.
✔ Motif is fully completed.
🌸 Optional Picot Border
For extra elegance:
Work around motif:
- sc
- ch 3
- sl st into same stitch
Repeat around.
✔ Creates tiny decorative points.
🔗 Joining Motifs
To create larger projects:
Join motifs using:
Slip Stitch Join
Join through corner spaces.
OR
Whip Stitch Join
Sew motifs together after completion.
OR
Join-As-You-Go Method
Connect motifs during final round.
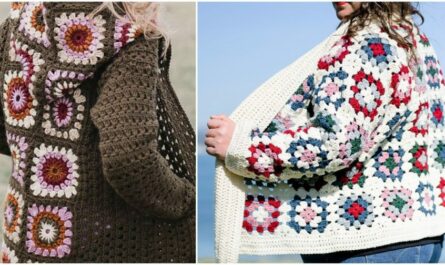
🧣 Shawl Version
Create multiple motifs.
Suggested:
- 20–40 motifs for medium shawl
- 50+ motifs for large shawl
Arrange into triangle or rectangle.
Join and add border.
🛏️ Blanket Version
Arrange motifs in rows.
Examples:
Baby Blanket
4 × 5 motifs
Throw Blanket
8 × 10 motifs
Large Blanket
10 × 12 motifs
Add decorative outer border.
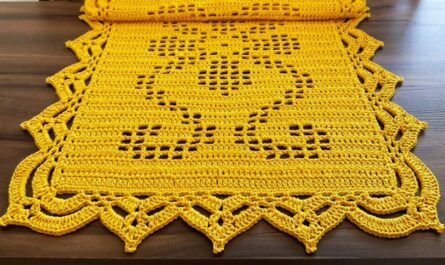
🍽️ Runner Version
Join motifs in a single long strip.
Example:
- 2 motifs wide
- 8–15 motifs long
Add lace edging around outer edge.
✂️ Finishing
- Cut yarn.
- Pull through.
- Weave in ends.
- Wet block or steam block.
Blocking helps:
- flatten the motif
- sharpen corners
- open lace spaces
This dramatically improves the final appearance.
💡 Helpful Tips
- Keep center ring tight.
- Use stitch markers at corners.
- Count corner groups every round.
- Work shell stitches into spaces, not stitches.
- Cotton yarn gives excellent stitch definition.
🌿 Perfect For
This motif is beautiful for:
- Shawls
- Blankets
- Table runners
- Tablecloths
- Cushion covers
- Bags
- Decorative panels
- Bedspreads
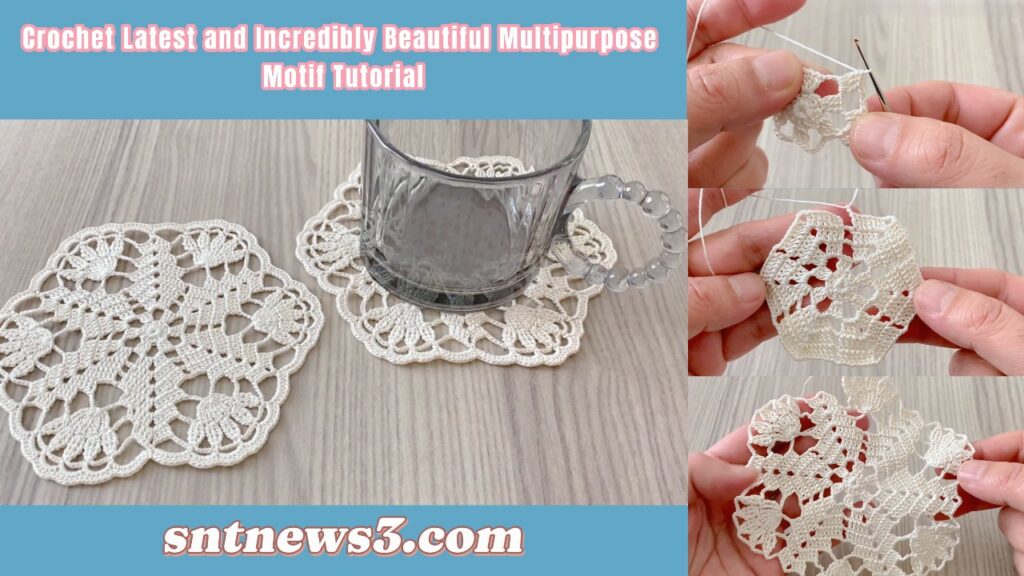
Because the motif is square, it joins neatly with additional motifs to create larger crochet projects.
❤️ Beginner Notes
Although the motif looks advanced, it is built from repeating combinations of:
- chain stitches
- single crochet
- double crochet
- shell stitches
The square shape is created simply by placing regular corner increases in four locations every round. After making one or two motifs, the stitch sequence becomes much easier to remember and repeat.
VIDEO: