 by
by 🧶 Materials
- Cotton yarn (recommended for lace projects)
- Crochet hook 2.5–4 mm
- Scissors
- Yarn needle
Optional
- Stitch markers
- Blocking pins
Cotton yarn is commonly preferred for pineapple lace because it gives crisp stitch definition and helps the motif keep its shape.
✨ Abbreviations (US Terms)
- ch = chain
- sl st = slip stitch
- sc = single crochet
- hdc = half double crochet
- dc = double crochet
- tr = treble crochet
- sp = space
- rep = repeat
🌸 Pattern Overview
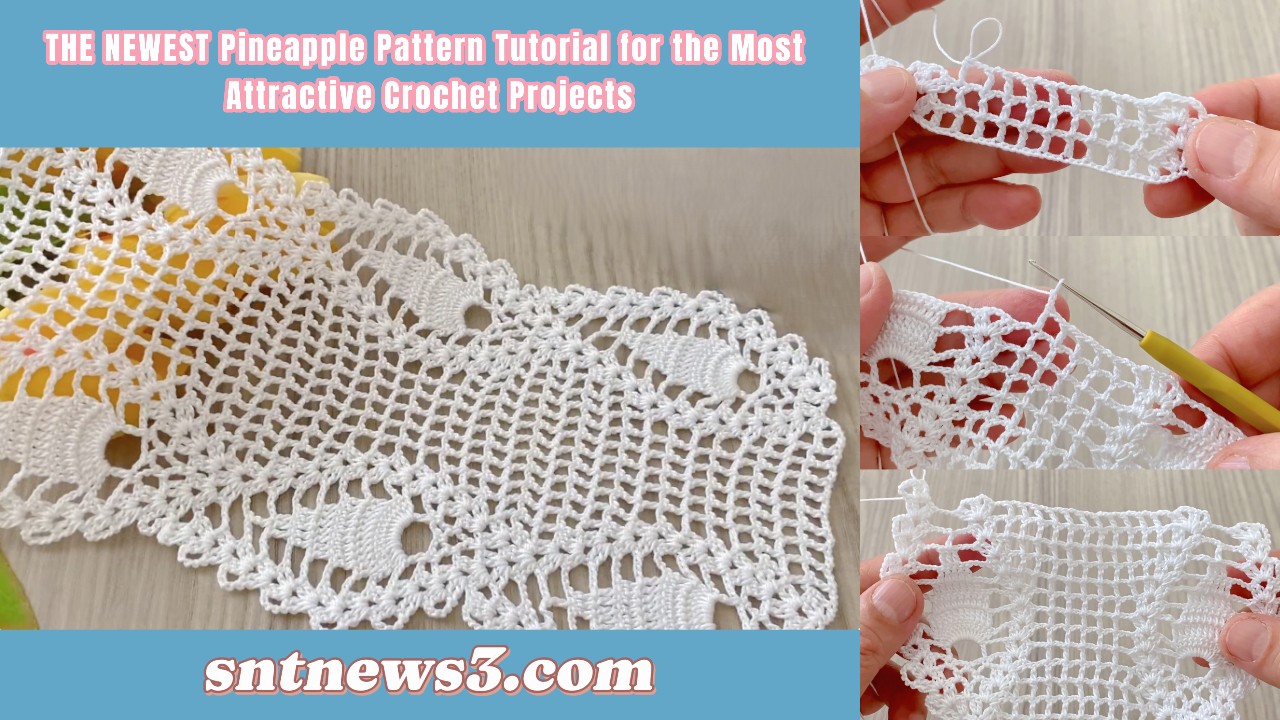
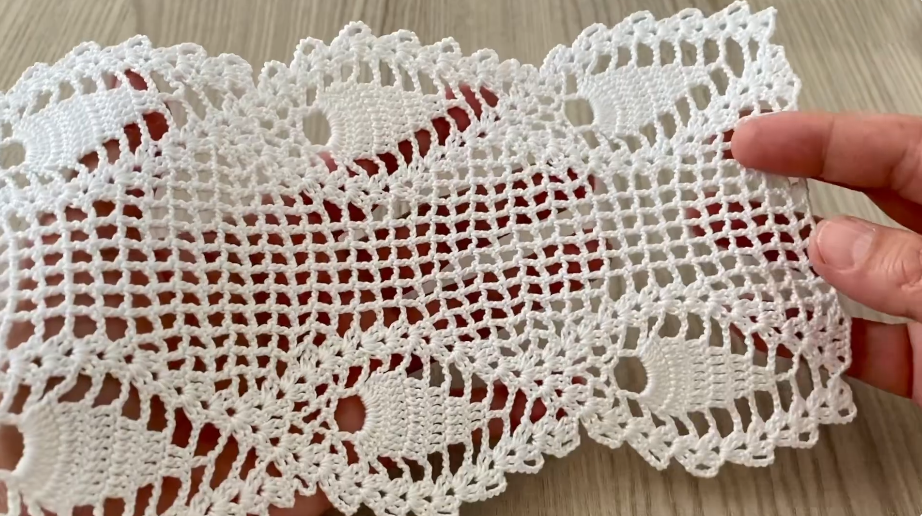
This pineapple design is built from:
- shell/fan stitches
- chain arches
- expanding lace sections
- narrowing pineapple points
The pineapple shape develops gradually over multiple rows.
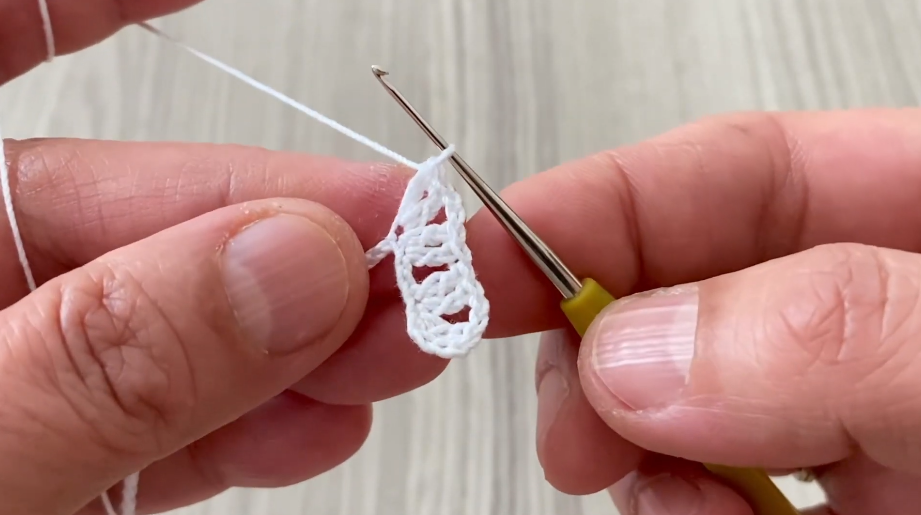
✨ FOUNDATION ROW
- Chain a multiple of:
12 + 3 chains
Example:
- 27 chains
- 39 chains
- 51 chains
- 63 chains
- Work 1 dc into 4th chain from hook.
- Dc across entire row.
- Turn.
✔ Creates the base row.
✨ ROW 1 – Create Pineapple Bases
- Ch 3.
- Skip 2 stitches.
- Work into next stitch:
- dc
- ch 2
- dc
- Skip 2 stitches.
- Repeat across.
- Finish with dc in last stitch.
- Turn.
✔ V-shaped spaces form the pineapple foundations.
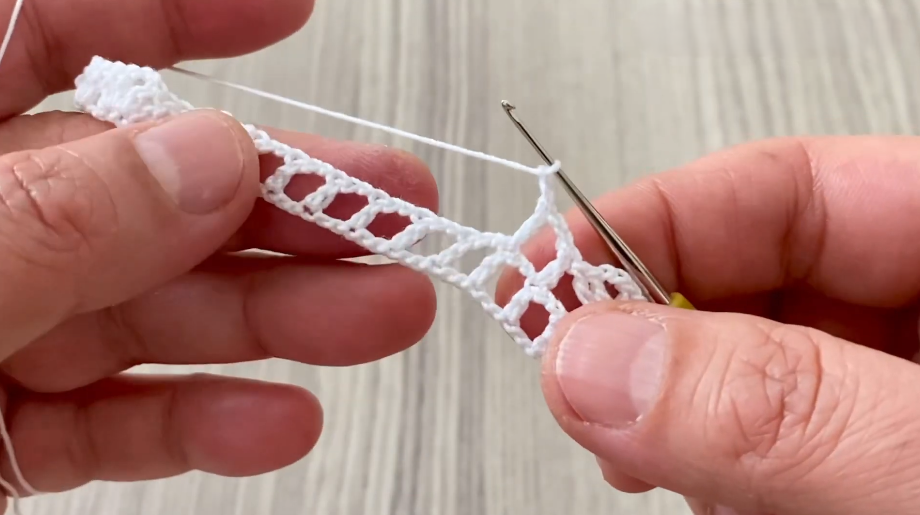
✨ ROW 2 – First Shell Formation
- Ch 1.
- Sc into first stitch.
- Into each ch-2 space work:
- 7 dc
- Between shell groups:
- sc
- Repeat across.
- Turn.
✔ Decorative shell fans appear.
These shell groups form the lower portion of each pineapple.
✨ ROW 3 – Create Pineapple Arches
- Ch 5.
- Sc into center dc of shell.
- Ch 5.
- Sc into center of next shell.
- Repeat across.
- Turn.
✔ Large chain arches form.
These arches become the open lace sections inside the pineapple.
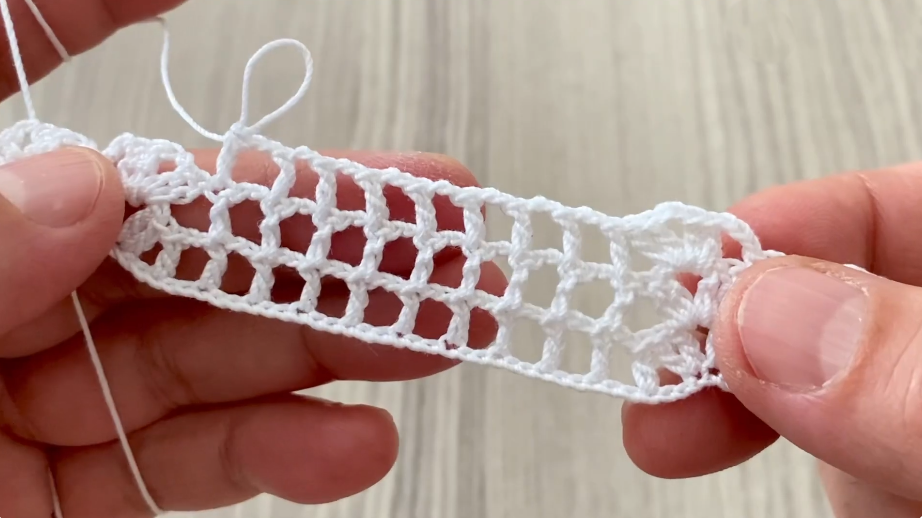
✨ ROW 4 – Lace Expansion
Into each chain arch work:
- 5 dc
- ch 2
- 5 dc
Repeat across.
Turn.
✔ Pineapple bodies begin widening.
✨ ROW 5 – Open Lace Row
- Ch 3.
- Work dc groups across.
- Place:
- ch 1
between groups.
- Repeat across.
Turn.
✔ Lace openings appear between motifs.
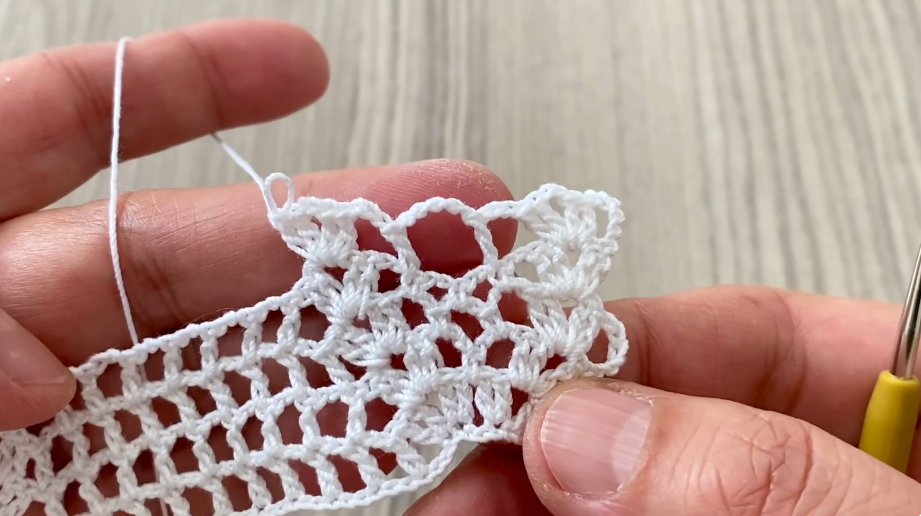
✨ ROW 6 – Pineapple Growth Row
Into each open space work:
- dc
- ch 2
- dc
Repeat across.
Turn.
✔ Pineapple sections continue expanding upward.
The shape becomes more visible with each increase row.
✨ ROW 7 – Decorative Shell Row
Into each V-space work:
- 5 dc
Between groups:
- sc
Repeat across.
Turn.
✔ Rounded shell texture returns.
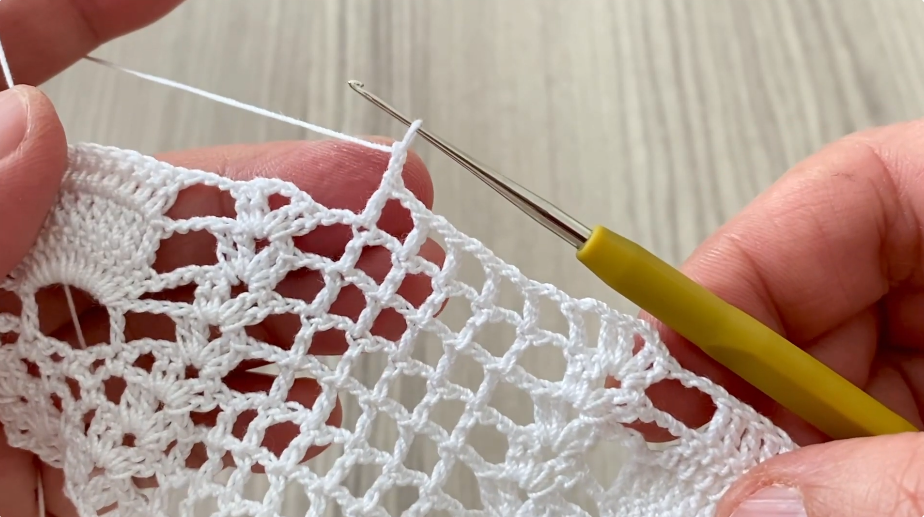
✨ ROW 8 – Narrowing Begins
👉 This row starts forming the upper pineapple point.
- Ch 4.
- Sc into center of shell.
- Ch 4.
- Repeat across.
Turn.
The arches become slightly narrower than previous rows.
✨ ROW 9 – Upper Pineapple Section
Into each arch work:
- 3 dc
- ch 2
- 3 dc
Repeat across.
Turn.
✔ Pineapple tips begin forming.
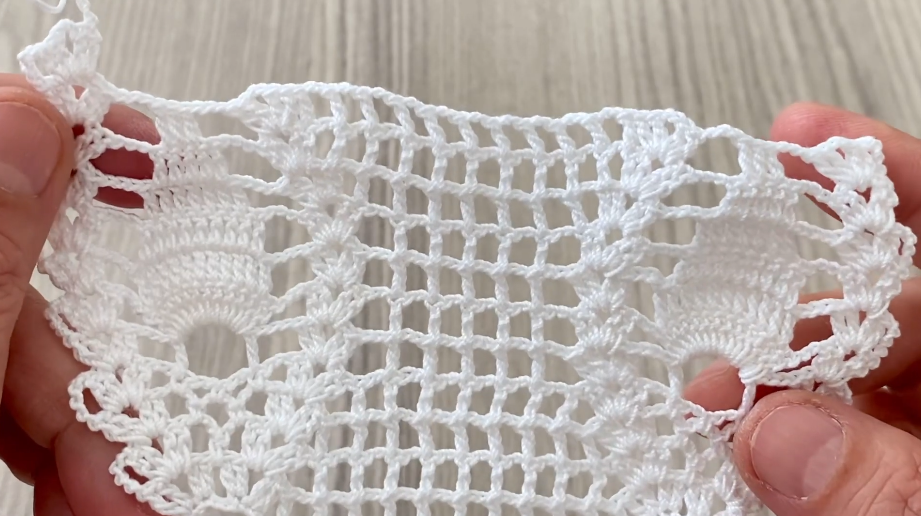
✨ ROW 10 – Final Pineapple Point
Work:
- dc groups
while reducing spaces toward center.
At top section:
- 3 dc
- ch 1
- 3 dc
Repeat.
Turn.
✔ Distinct pineapple tips appear.
The narrowing process creates the characteristic pineapple shape.
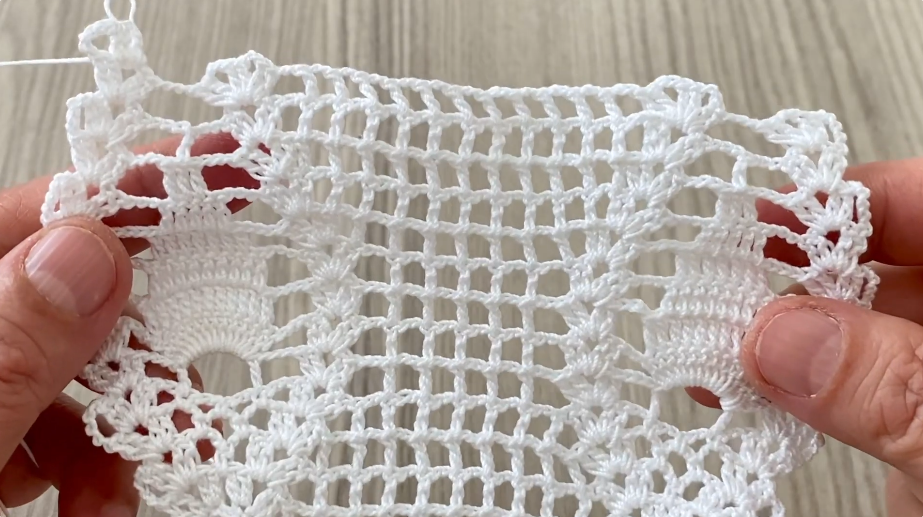
🔁 MAIN PATTERN REPEAT
Repeat Rows:
3–10
for additional pineapple sections.
Each repeat creates another row of pineapples stacked above the previous one.
🌼 Decorative Edge Option
For shawls, runners, and tablecloths:
Into edge spaces work:
- sc
- ch 3
- sl st in same stitch
Skip 2 stitches.
Repeat around.
✔ Creates elegant picot lace edging.
🧣 Shawl Version
For a triangular shawl:
Increase at both edges every repeat section.
Continue until desired width.
Add pineapple border around outer edges.
👚 Blouse Version
Create:
Front Panel
Rectangular pineapple lace panel.
Back Panel
Matching panel.
Join shoulders and sides.
Leave arm openings.
Add edging around:
- neckline
- sleeves
- bottom hem
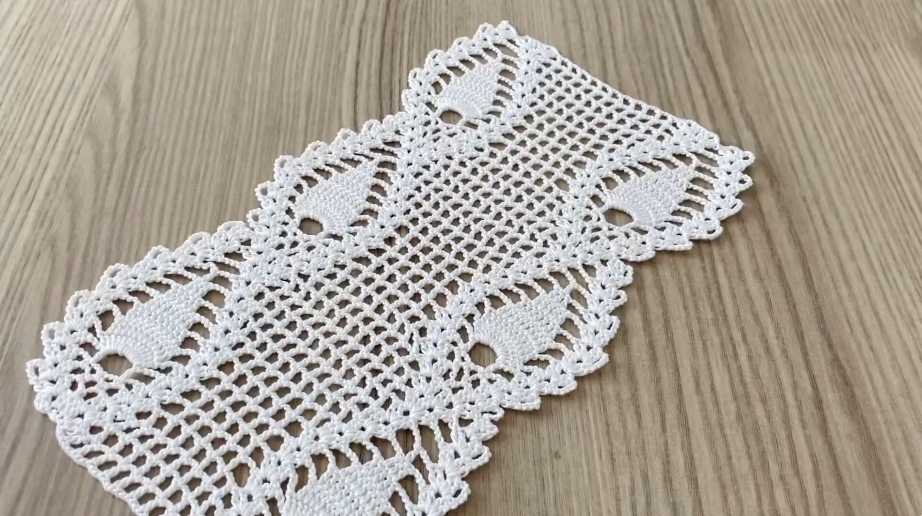
🍽️ Table Runner Version
Continue working straight rows.
Recommended width:
- 3–5 pineapple repeats
Continue length as desired.
Add decorative border around entire runner.
✂️ Finishing
- Cut yarn.
- Pull through.
- Weave in ends.
- Wet block or steam block.
Blocking is especially important for pineapple lace because it opens the chain arches and sharpens the pineapple shape beautifully.
💡 Helpful Tips
- Keep chain stitches loose.
- Use stitch markers for repeat sections.
- Count pineapple groups every row.
- Cotton yarn shows lace details most clearly.
- Blocking dramatically improves the finished appearance.
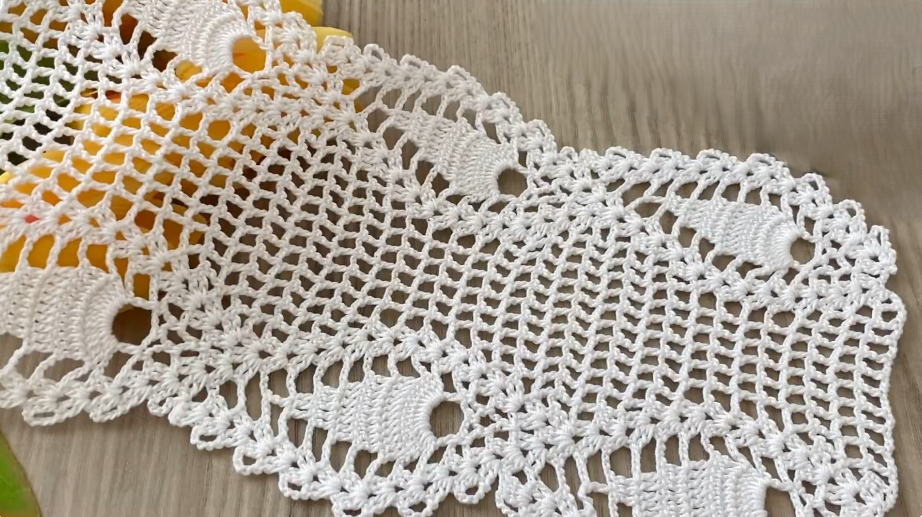
🌿 Perfect For
This pineapple pattern is beautiful for:
- Shawls
- Blouses
- Table runners
- Tablecloths
- Scarves
- Curtains
- Decorative lace panels
- Summer garments
Pineapple lace remains one of the most recognizable and elegant crochet stitch designs because of its flowing openwork and decorative structure.
❤️ Beginner Notes
Although pineapple lace looks very intricate, it is mainly built from repeating:
- chain stitches
- double crochet
- shell stitches
- simple increases and decreases
The pineapple shape appears naturally as the chain arches expand and then gradually narrow toward the top. Once you complete one full pineapple section, the rest of the pattern becomes much easier to follow and repeat.
VIDEO: