 by
by 🧶 Materials
- Cotton or acrylic yarn
- Crochet hook: 3–4.5 mm
- Scissors
- Yarn needle
Optional
- Different color border
- Beads or small decorations
🧵 Abbreviations (US Terms)
- ch = chain
- sl st = slip stitch
- sc = single crochet
- hdc = half double crochet
- dc = double crochet
- tr = treble crochet
- sp = space
- rep = repeat
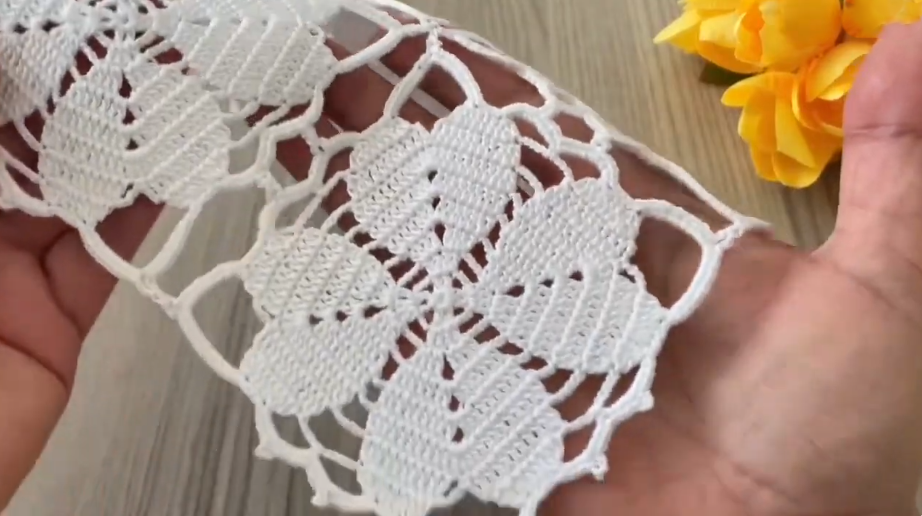
🌸 Pattern Overview
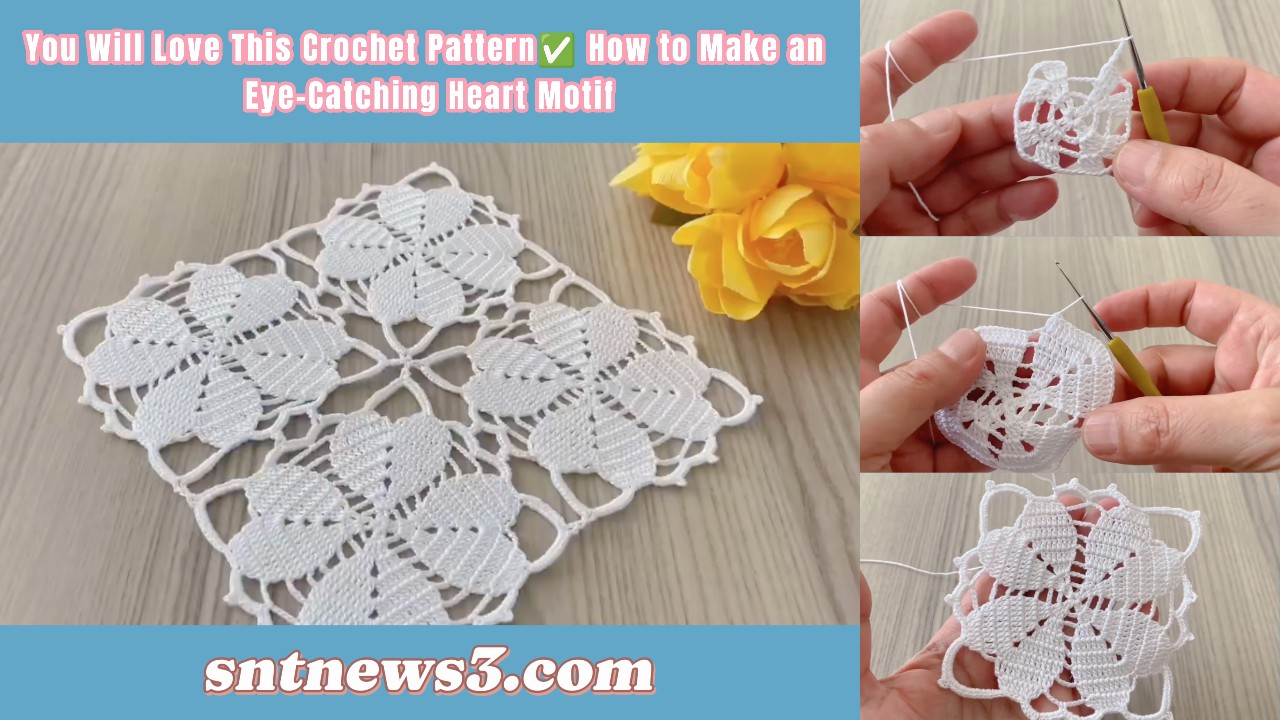
This heart motif is worked:
- From the center outward
- In rounds
- Using:
- shell stitches
- chain arches
- curved top shaping
- pointed bottom shaping
The heart shape is created by increasing stitches at the top curves while forming a centered point at the bottom.
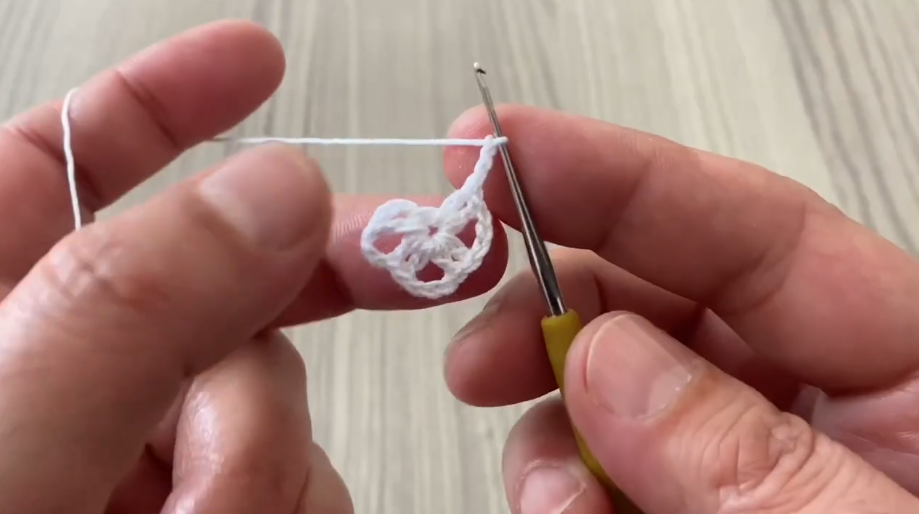
✨ ROUND 1: Create the Center Ring
- Make a magic ring
OR
- ch 4
- join with sl st to form a ring
- Ch 3 (counts as first dc)
- Work:
- 11 dc into ring
- Pull ring closed
- Join with sl st
✔ Total = 12 dc
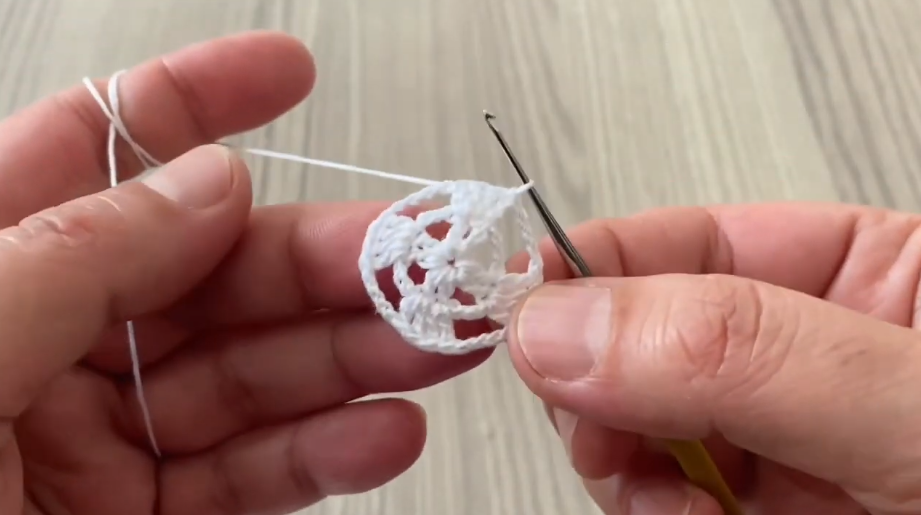
✨ ROUND 2: Create Foundation Spaces
- Ch 1
- In each stitch work:
- sc
- ch 2
- Repeat around
- Join with sl st
✔ Small chain spaces form around the center.
✨ ROUND 3: Create Flower-Style Petals
Slip stitch into first chain space.
In each ch-2 space work:
- 5 dc
Repeat around.
Join with sl st.
✔ Decorative shell petals form around the center.
Shell stitches create rounded curves that help form the soft heart shape later.
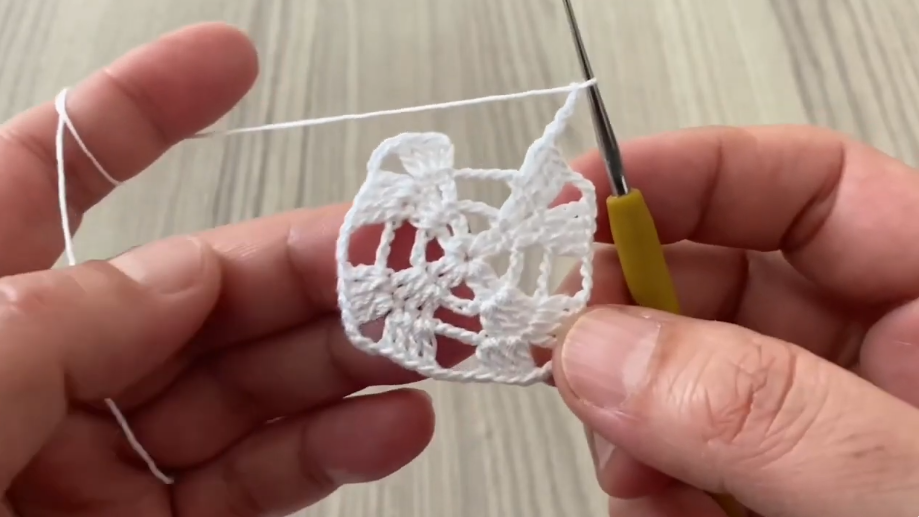
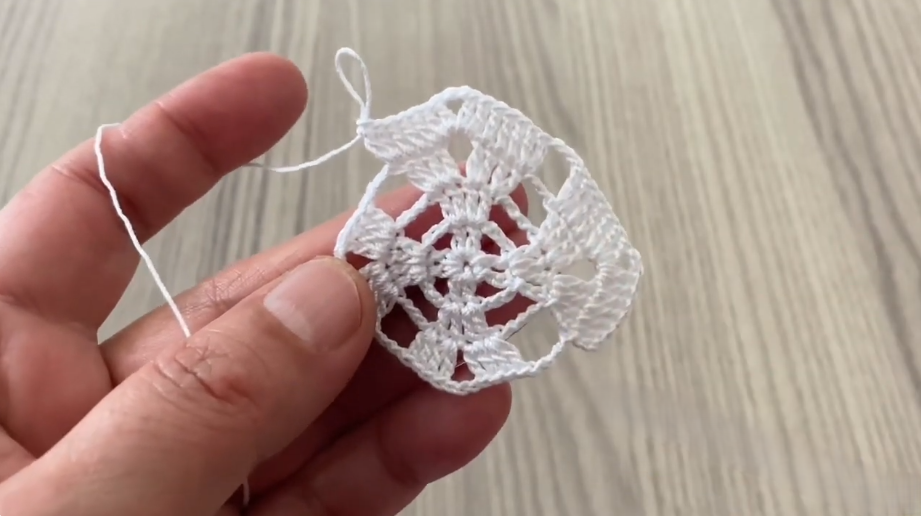
✨ ROUND 4: Create Heart Structure
This round begins shaping the heart.
Top Curve Section
Into selected upper petal spaces work:
- 3 dc
- ch 2
- 3 dc
Repeat for both upper sides.
Side Areas
Work:
- 3 dc in each space
Bottom Point
In the center lower space work:
- 3 dc
- ch 1
- 3 dc
✔ The motif begins looking like a heart.
The top increases create rounded heart lobes while the lower increase forms the point.
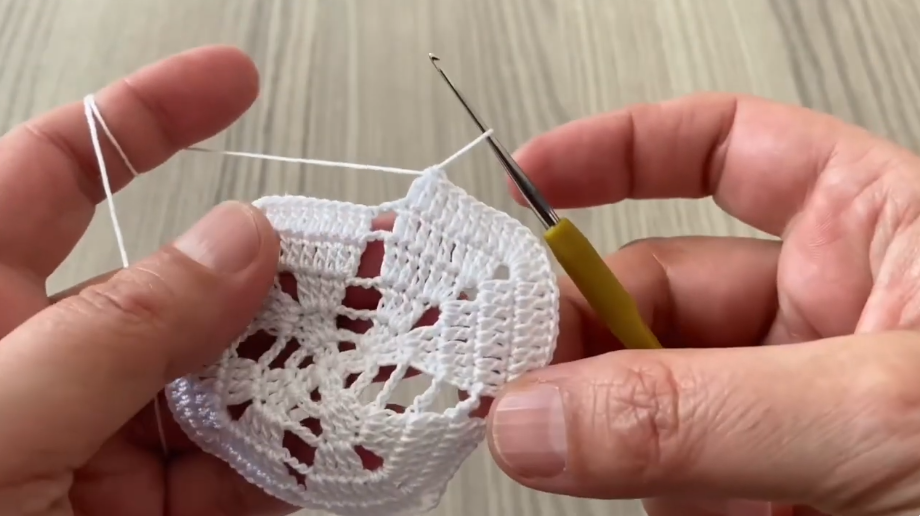
✨ ROUND 5: Expand the Heart Shape
Slip stitch into next space.
Ch 3.
Along sides
Work:
- 3 dc in each space
Top Curves
In each curve space work:
- 3 dc
- ch 2
- 3 dc
Bottom Point
Work:
- 3 dc
- ch 1
- 3 dc
Repeat around.
Join with sl st.
✔ Heart shape becomes much more visible.
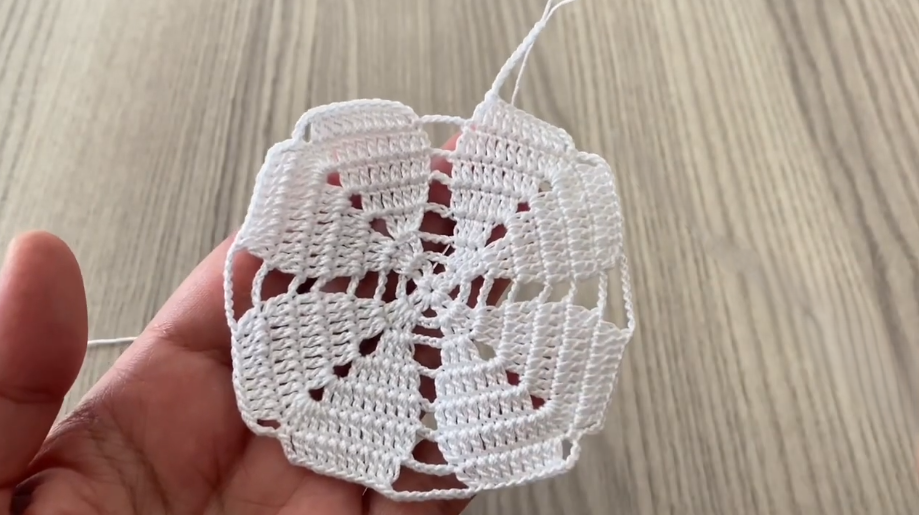
✨ ROUND 6: Decorative Lace Round
Side Spaces
Work:
- 3 dc
- ch 2
Upper Curves
Work:
- 3 dc
- ch 2
- 3 dc
Bottom Point
Work:
- 3 dc
- ch 1
- 3 dc
Repeat around.
✔ Open lace spaces add elegance and softness.
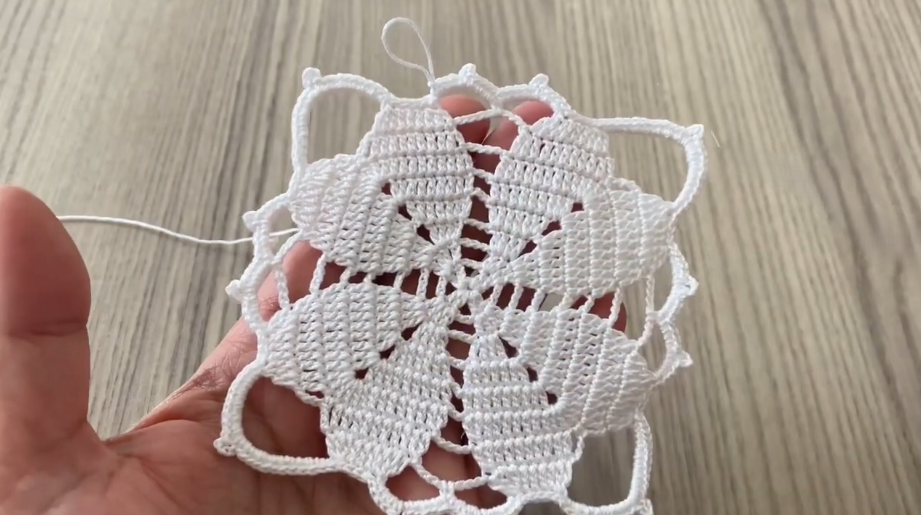
✨ ROUND 7: Shell Border
👉 This is the decorative finishing round.
Into each chain space work:
- 5 dc
Between shells:
- sc
Repeat around entire heart.
At the top curves:
- add an extra shell if needed for smooth shaping
✔ Beautiful scalloped edging appears around the heart.
✨ OPTIONAL PICOT BORDER
For a more delicate look:
Repeat around:
- sc
- ch 3
- sl st in same stitch
✔ Tiny decorative points appear around the edge.
Picot edging is often used on heart motifs because it enhances the lace appearance.
✂️ FINISHING
- Cut yarn
- Pull through loop
- Weave in all ends
- Shape heart gently by hand
- Block lightly if desired
Blocking helps define the top curves and sharpen the bottom point.
💡 Helpful Tips
- Keep the center ring tight
- Count stitches carefully around curve sections
- Use stitch markers at:
- top curves
- bottom point
- If the heart curls:
- use a slightly larger hook
- block after finishing
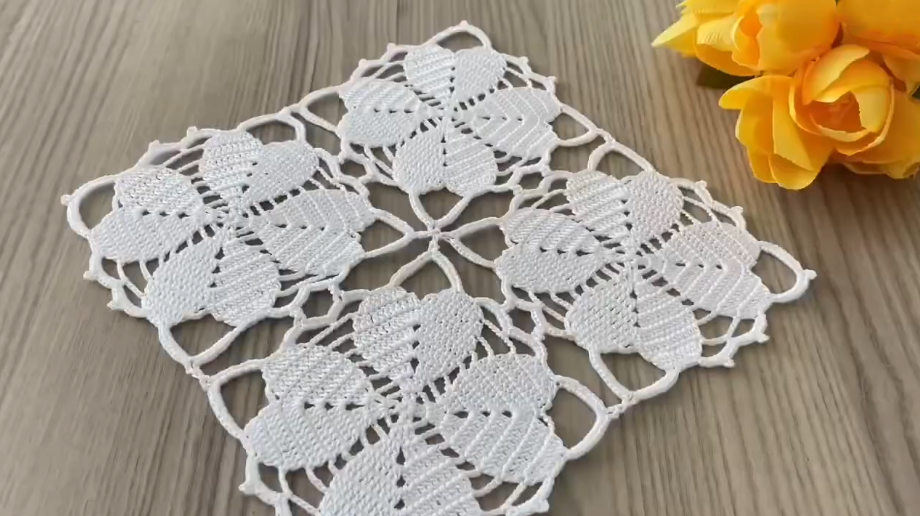
🌿 What You Can Make
This heart motif is beautiful for:
- Baby blankets
- Cushion covers
- Gift decorations
- Valentine’s projects
- Bags
- Shawls
- Table runners
- Wall decorations
- Appliqués
Heart motifs are popular because they can be used individually or joined together into larger crochet projects.
❤️ Beginner Insight
Although the motif looks detailed, it mainly uses:
- sc
- dc
- chains
- shell stitches
👉 The heart shape comes from strategic increases at the top and bottom rather than complicated stitches.
VIDEO: