by
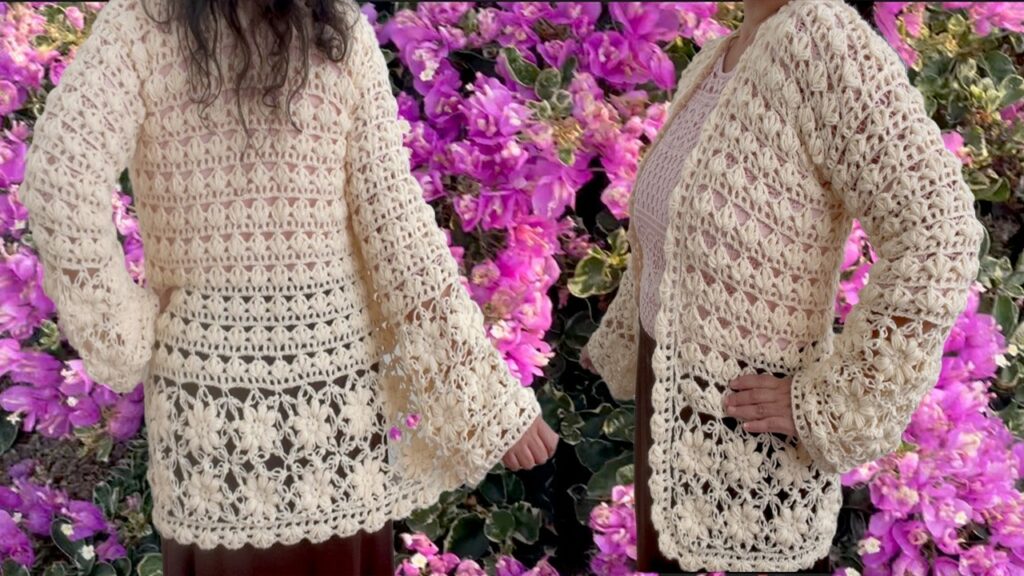
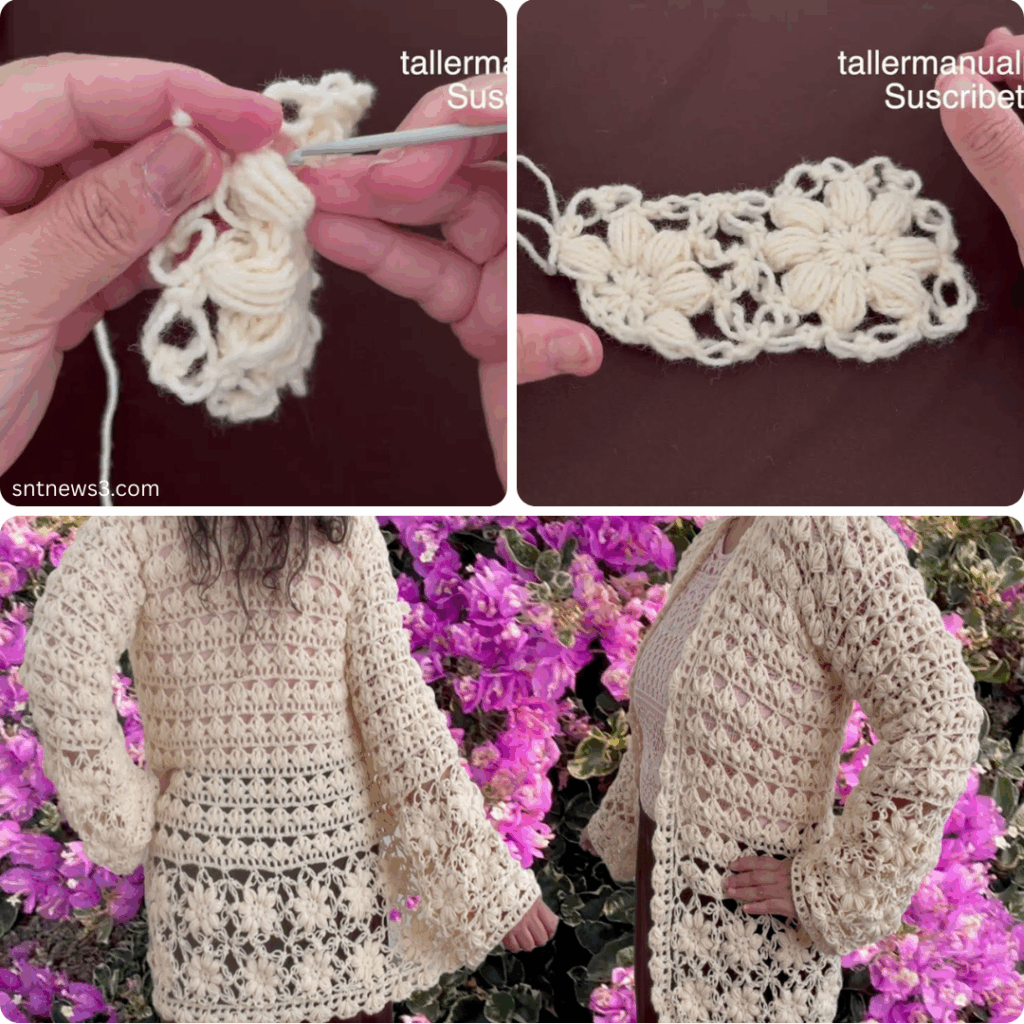
by Crocheting your own jacket, blouse, or sweater may sound like a complex task—but it’s much simpler than you might think! With basic stitches, the right yarn, and an easy-to-follow construction method, you can create stylish and comfortable garments perfect for layering or gifting. Whether you’re going for cozy, elegant, or casual, these garments can be made using simple patterns and minimal shaping.
👗 What Makes These Projects Easy?
- Worked in rectangles or one-piece construction
- Minimal shaping or sewing
- Uses beginner-friendly stitches like double crochet and half double crochet
- Easily customizable for size, length, and fit
🧶 Materials You’ll Need
- Medium-weight or worsted yarn (adjust for season or style)
- Crochet hook (usually 5.0 mm – 6.5 mm, depending on yarn)
- Scissors
- Yarn needle for weaving in ends
- Stitch markers
- Measuring tape
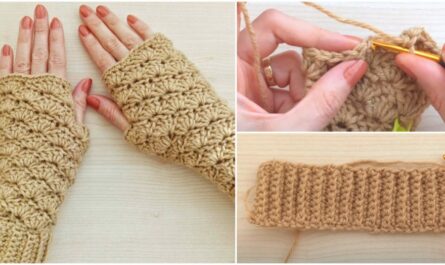
📘 Stitches Commonly Used (US Terms)
- CH – Chain
- SC – Single Crochet
- HDC – Half Double Crochet
- DC – Double Crochet
- SL ST – Slip Stitch
Most beginner garments rely on HDC or DC rows for speed and simplicity.
👚 Part 1: Easy Crochet Blouse
Construction Style: Front and Back Panels
- Measure and Chain:
CH the width you want for the front panel. - Work in Rows:
Use HDC or DC across each row. Repeat until you reach shoulder height. - Repeat for the Back Panel.
- Join Panels:
Use SL ST or SC to join the shoulders and sides, leaving armholes. - Add Sleeves (optional):
Attach yarn at the armhole and work in rounds for desired sleeve length. - Finish Edges:
Add a SC or ribbed border for a neat finish.
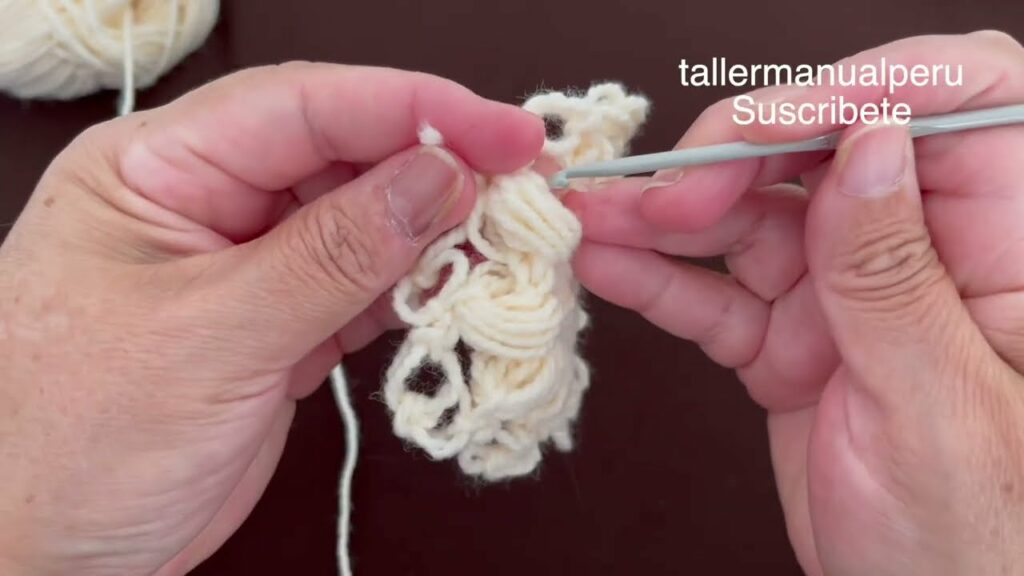
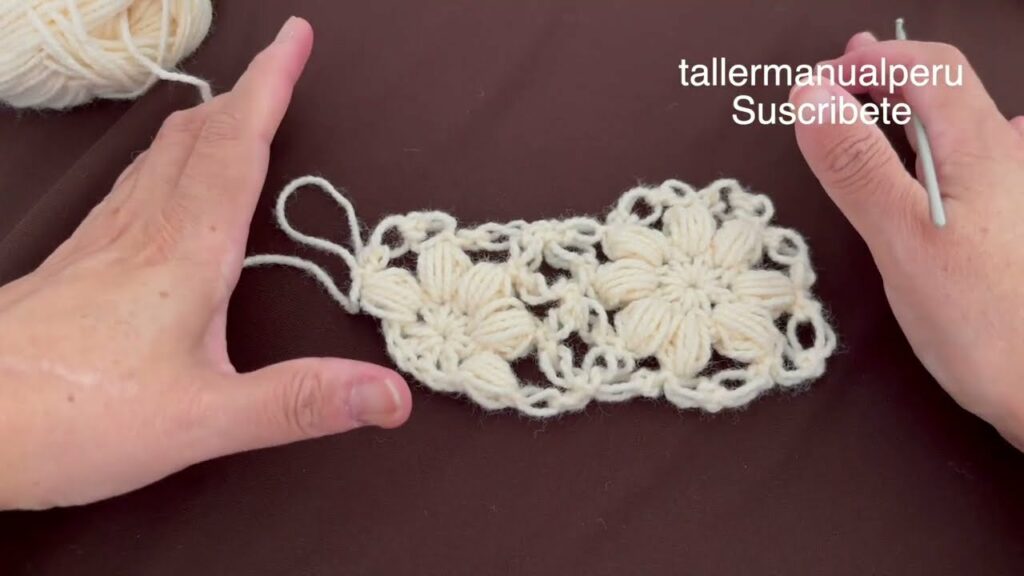
🧥 Part 2: Easy Crochet Jacket
Construction Style: One-Piece or Granny Stitch Rectangle
- Create a Large Rectangle:
Work one large rectangle using HDC or granny clusters. - Fold and Seam:
Fold the rectangle in half (like a taco) and seam the sides, leaving armholes. - Add Sleeves:
Work in the round from the armhole to desired sleeve length. - Add Collar and Border:
Crochet along the front edges to add a collar or button band.
🧵 Part 3: Easy Crochet Sweater
Construction Style: Front, Back + Sleeves (Classic Fit)
- Make Front and Back Panels:
Work 2 identical rectangles using DC or HDC. - Make Two Sleeves:
CH to your desired sleeve width and work in rows to sleeve length. - Assembly:
Sew or crochet together shoulder seams first, then attach sleeves, and finally seam down the sides. - Neckline and Hem:
SC around the neckline and hem for a clean look or add ribbing using front and back post stitches.
🌈 Design Ideas and Tips
- Use Color Blocks: Combine 2 or 3 colors for a trendy look.
- Add Texture: Try simple stitch variations like moss stitch or waffle stitch.
- Go Oversized: Size up for a relaxed, slouchy feel.
- Add Pockets: Crochet small squares and sew them onto the jacket or sweater.
- Use Wooden Buttons: For a rustic, handmade touch.
🧼 Care Instructions
- Follow the yarn label for washing instructions
- Hand wash or machine wash on gentle
- Lay flat to dry to preserve shape
✨ Conclusion
With a few rectangles, some yarn, and basic crochet knowledge, you can create beautiful handmade garments like a blouse, jacket, or sweater. These projects are approachable, fun, and perfect for crocheters looking to dive into wearables without complex shaping.
So grab your hook and yarn, and enjoy making your first (or next!) cozy creation!
Video tutorial:
Happy Crocheting! 🧵💛