 by
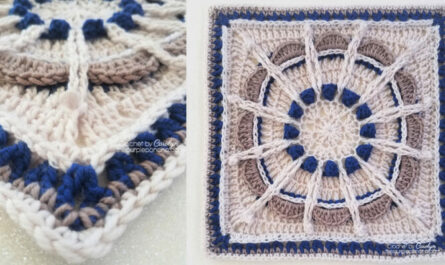
by There’s nothing quite like slipping your feet into a pair of warm, handmade slippers after a long day. And when those slippers are fast and easy to crochet, it’s even better! This project is perfect for beginners looking to create something practical and cozy, and a quick, satisfying make for more experienced crocheters who want to whip up a thoughtful gift or a new pair for themselves in no time.
Forget complicated patterns and endless rounds; these slippers prioritize simplicity without sacrificing comfort or charm.

Why Crochet Your Own Fast & Easy Slippers?
- Instant Comfort: Get cozy quickly! This pattern is designed for speed, so you won’t be waiting long to enjoy your new slippers.
- Beginner-Friendly: Uses basic stitches and straightforward shaping, making it a fantastic first wearable project.
- Highly Customizable: Easily adjust colors, add simple embellishments, or choose different yarn types to create a personalized pair.
- Thoughtful Gift: Handmade slippers are a cherished gift for birthdays, holidays, or just to show someone you care.
- Skill Booster: Practice working in rows, basic seaming, and creating a comfortable, textured fabric.
- Stash Buster: Perfect for using up those single skeins or leftover bits of yarn from larger projects.
Key Considerations Before You Start
Even for an easy project, a few choices will make a big difference in the comfort and durability of your slippers.
- Yarn Choice (Crucial for Comfort & Durability!):
- Fiber: For ultimate coziness and warmth, acrylic or wool/wool blends are excellent. Acrylic is soft, durable, and machine washable, making it very practical. Wool offers superior warmth and breathability. Cotton can work for lighter summer slippers but might not be as squishy.
- Weight: Bulky (Category 5) or Super Bulky (Category 6) yarn is highly recommended for speed and thickness. These yarns work up incredibly fast, creating a dense, warm fabric perfect for slippers. You can use worsted weight, but you’ll likely need to hold two strands together or go up a hook size and adjust the pattern slightly.
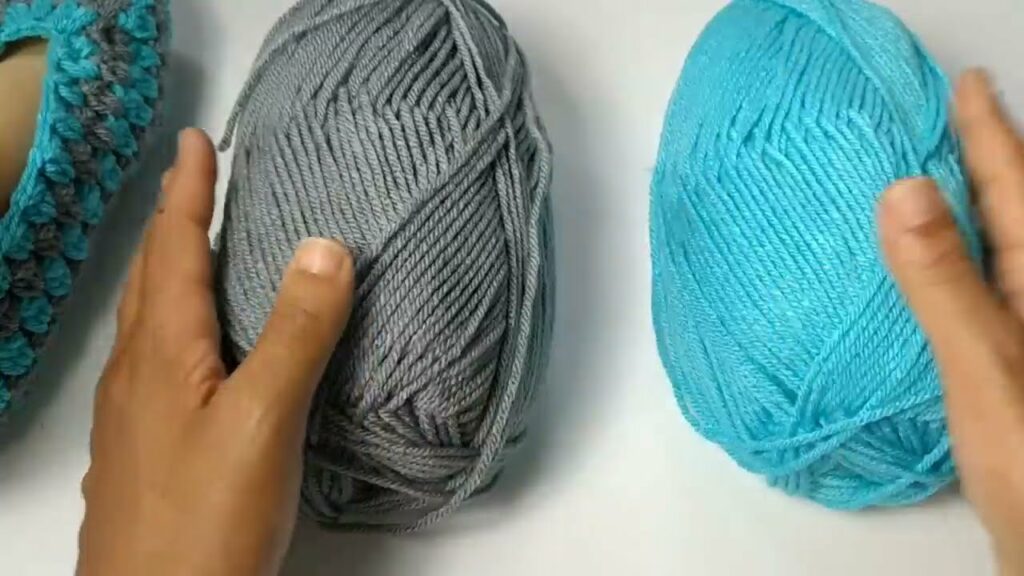
- Colors: Express yourself! Solids, variegated, or even stripes – anything goes.
- Hook Size: This will largely depend on your yarn weight. For bulky yarn, a 6.0mm (US J/10) or 8.0mm (US L/11) hook is common. For super bulky, an 8.0mm (US L/11) to 10.0mm (US N/P) hook will be ideal. Choose a hook that creates a dense fabric without being too stiff, ensuring your slippers are cozy and hold their shape.
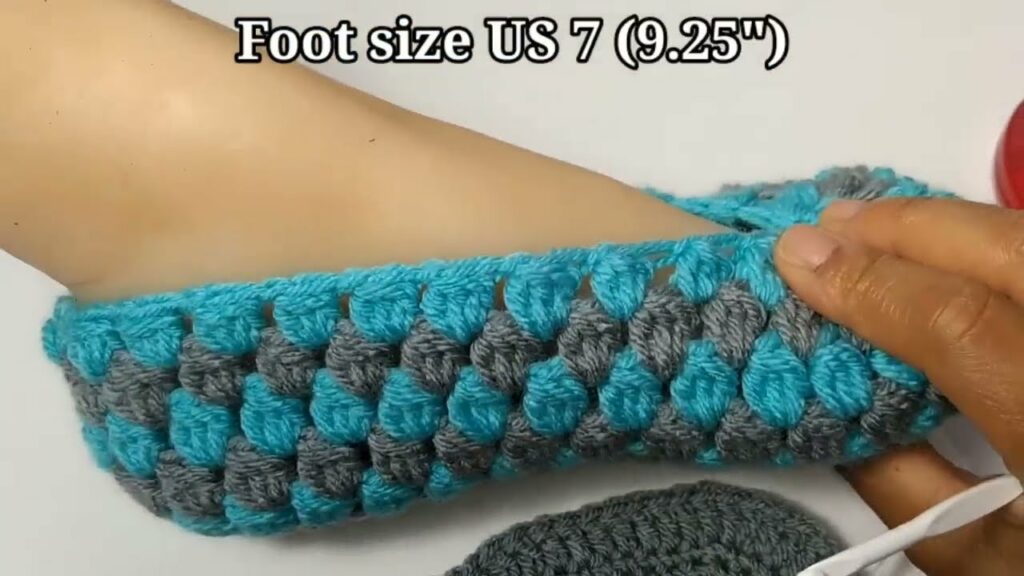
- Sizing: This tutorial will provide a general adult size, but slippers are very forgiving. You can easily adjust the length of your starting chain to fit smaller or larger feet.
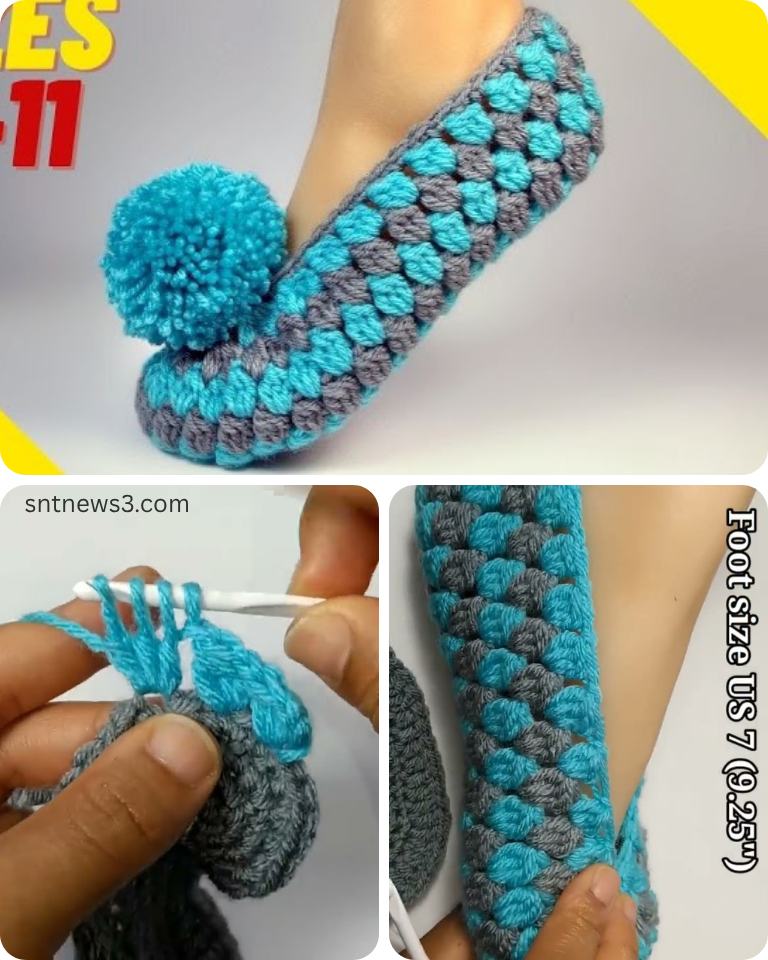
- Small/Medium Adult (Women’s US 5-8 / Men’s US 4-7): Approx. 9-9.5 inches (23-24 cm) sole length.
- Medium/Large Adult (Women’s US 9-11 / Men’s US 8-10): Approx. 10-10.5 inches (25-26.5 cm) sole length.
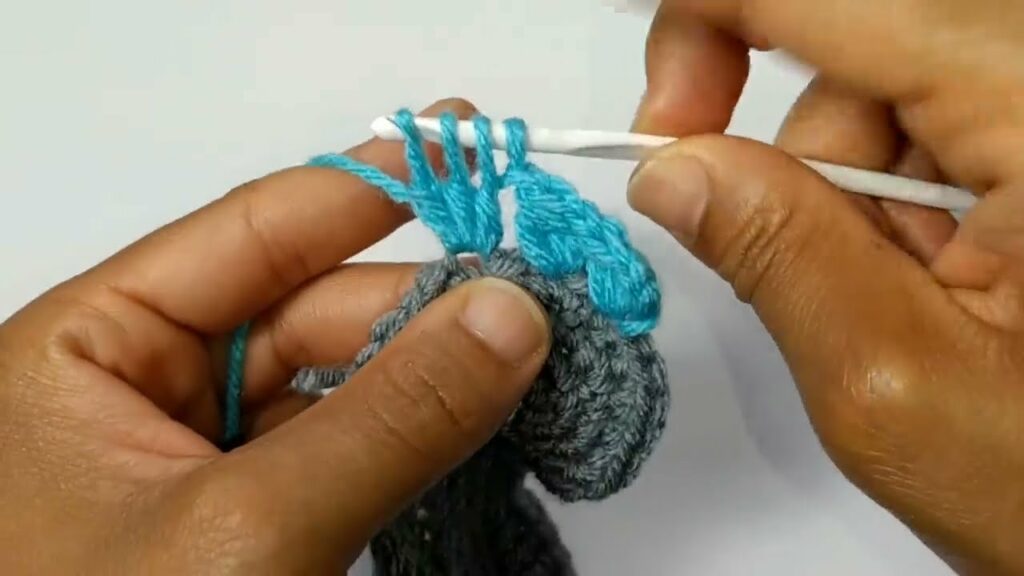
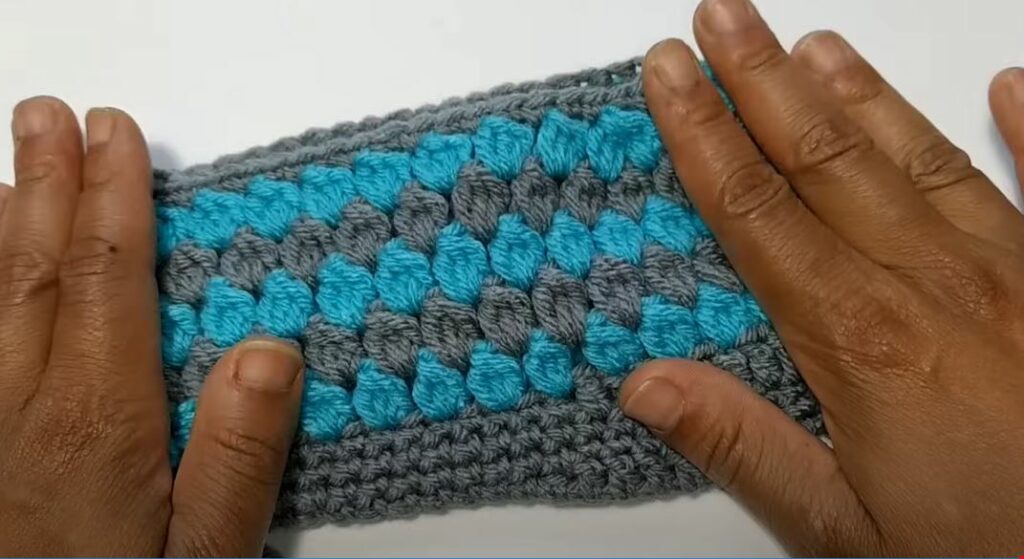
- Stitch Pattern: Simple, dense stitches are best for warmth and structure. We’ll use half double crochet (hdc), as it works up quickly and creates a lovely, textured fabric.
- Non-Slip Soles (Optional but Recommended): For safety, especially on slippery floors, consider adding non-slip grips. This can be done with:
- Liquid Latex/Puffy Paint: Apply dots or lines to the sole.
- Suede/Leather Patches: Cut and sew onto the sole.
- Grip Fabric: Cut and sew onto the sole.
Materials You’ll Need
- Yarn: Approx. 150-250 yards of Bulky (Category 5) or Super Bulky (Category 6) weight yarn. (One standard skein is often enough for a pair).
- Crochet Hook: Size J/10 (6.0mm) to N/P (10.0mm), depending on your yarn.
- Yarn Needle (Tapestry Needle): For weaving in ends and seaming.
- Scissors:
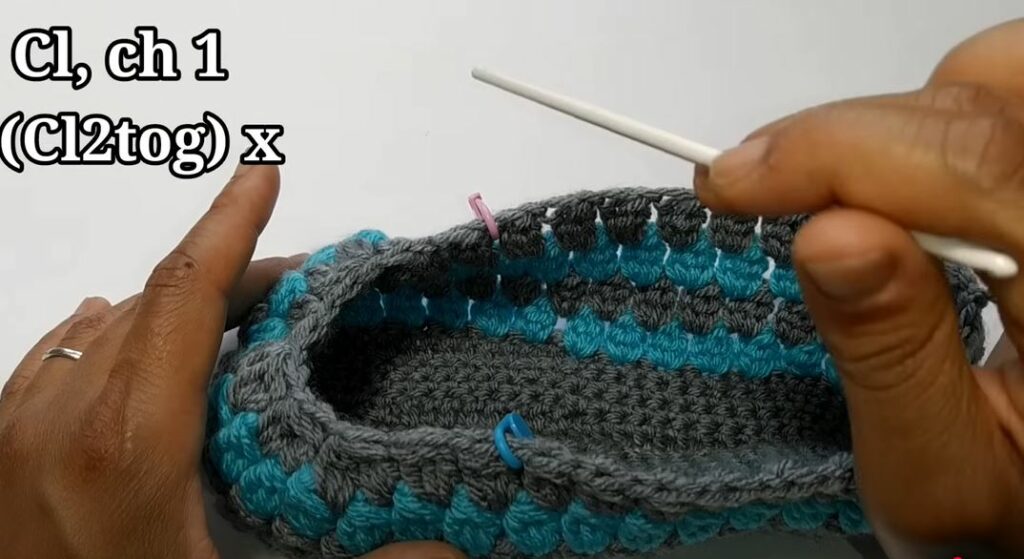
- Stitch Marker (optional): Helpful if you lose track of rows, but not essential for this simple pattern.
- Optional: Non-slip sole materials (liquid latex, suede patches, etc.).
Essential Crochet Abbreviations
- ch: chain
- sl st: slip stitch
- hdc: half double crochet
- st(s): stitch(es)
- FO: Fasten off (cut yarn and pull through loop)
- (): indicates stitch count at the end of a row
Fast & Easy Crochet Slippers Tutorial (Adult Size M/L – Approx. 10 inches / 25 cm)
These slippers are made by crocheting a flat rectangle that is then folded and seamed. It’s incredibly straightforward!
Gauge Check (Not Critical, But Helpful): A swatch of 10 hdc by 6 rows should be roughly 4×4 inches (10×10 cm) with your chosen yarn and hook. Don’t stress too much about exact gauge for slippers, but aim for a fabric that’s dense and not too holey.
Part 1: The Slipper Body (Simple Rectangle)
We’ll create one rectangle for each slipper. This rectangle will become the sole, sides, and top of your slipper.
- Starting Chain: Ch 28. (This chain determines the length of your slipper. For a smaller slipper, chain fewer stitches. For a larger one, add more. The final length of your rectangle will be the length of your foot.)
- If you want to make an Adult Small/Medium (9-9.5 inches), start with Ch 25.
- Row 1: Hdc in 2nd ch from hook and in each ch across. Turn. (27 hdc)
- Row 2: Ch 1 (does NOT count as a st). Hdc in each hdc across. Turn. (27 hdc)
- Rows 3 – 18: Repeat Row 2 until your rectangle measures approximately 7.5-8 inches (19-20 cm) in width. This forms the height of your slipper.
- The number of rows will vary based on your yarn and tension. You want the height to be enough so that when you fold it, it covers your foot comfortably.
- FO, leaving a long tail (approx. 20-24 inches / 50-60 cm) for seaming.
Part 2: Assembling the Slipper
This is where your rectangle magically transforms into a slipper!
- Fold the Rectangle: Lay your crocheted rectangle flat. Fold it in half lengthwise, bringing the starting chain edge up to meet the top edge of your last row. Ensure the wrong side is facing out.
- The fold you just made will be the bottom of your slipper’s heel.
- Seaming the Heel:
- Thread the long tail you left onto your yarn needle.
- Whip stitch or mattress stitch the two raw short edges together along the heel end. Stitch securely for about 1.5-2 inches (4-5 cm). This forms the back of your slipper.
- Seaming the Toe:
- With the remaining long tail, continue seaming along the open edge towards the toe.
- As you approach the end, gently cinch the seam. This means pulling your stitches tightly together to close the opening and create a rounded toe shape. You can do this by running your needle back and forth through the top loops of the stitches, then pulling firmly to gather them.
- Secure the seam tightly with a few extra stitches. FO, and weave in any remaining tail.
- Repeat for Second Slipper: Make an identical rectangle and assemble it in the same way for your second slipper.
Part 3: Finishing Touches
- Weave in All Ends: Neatly weave in any remaining loose yarn tails using your yarn needle. This gives your slippers a polished look and prevents unraveling.
- Turn Right Side Out: Flip your slippers right side out. Adjust the toe and heel shape with your fingers.
- Optional: Add a Cuff: If you want a slightly taller slipper, you can work a few rounds of single crochet around the ankle opening once the slipper is seamed.
- Attach yarn with a sl st to the back of the ankle opening.
- Ch 1. Sc evenly around the ankle opening (you might make 2 sc into the side of an hdc row, or 1 sc per row, to get a nice edge). Join with sl st.
- Ch 1. Sc in each sc around. Join. Repeat for 1-2 more rounds. FO.
- Optional: Non-Slip Soles: If desired, apply liquid latex dots or lines to the sole of the slipper, or sew on grip patches. Allow to dry completely before wearing.
Tips for Success & Making Them Extra Cozy:
- Consistent Tension: Try to maintain even tension throughout your hdc rows for a neat, uniform fabric.
- Measure Your Foot: If you’re unsure about the starting chain length, chain a bit more and simply measure the chain against the bottom of your foot. You want the chain to be slightly shorter than your foot length, as the hdc stitches will add a little extra length.
- Super Bulky = Super Fast: If you’re short on time, choosing a super bulky yarn (Category 6) will make these slippers work up incredibly quickly.
- Color Play: Use two different colors for a striped effect, or a self-striping yarn for effortless color changes.
- Add Embellishments: Sew on a small crocheted flower, a pom-pom, or an initial to personalize your slippers.
- Care Instructions: Always refer to your yarn label for specific washing instructions. Most acrylic and superwash wool yarns are machine washable on a gentle cycle, but laying slippers flat to dry will help them maintain their shape.
You’ve now created a pair of wonderfully warm, comfortable, and charming slippers that were genuinely fast and easy to crochet. Enjoy the cozy handmade comfort!
Video tutorial: