 by
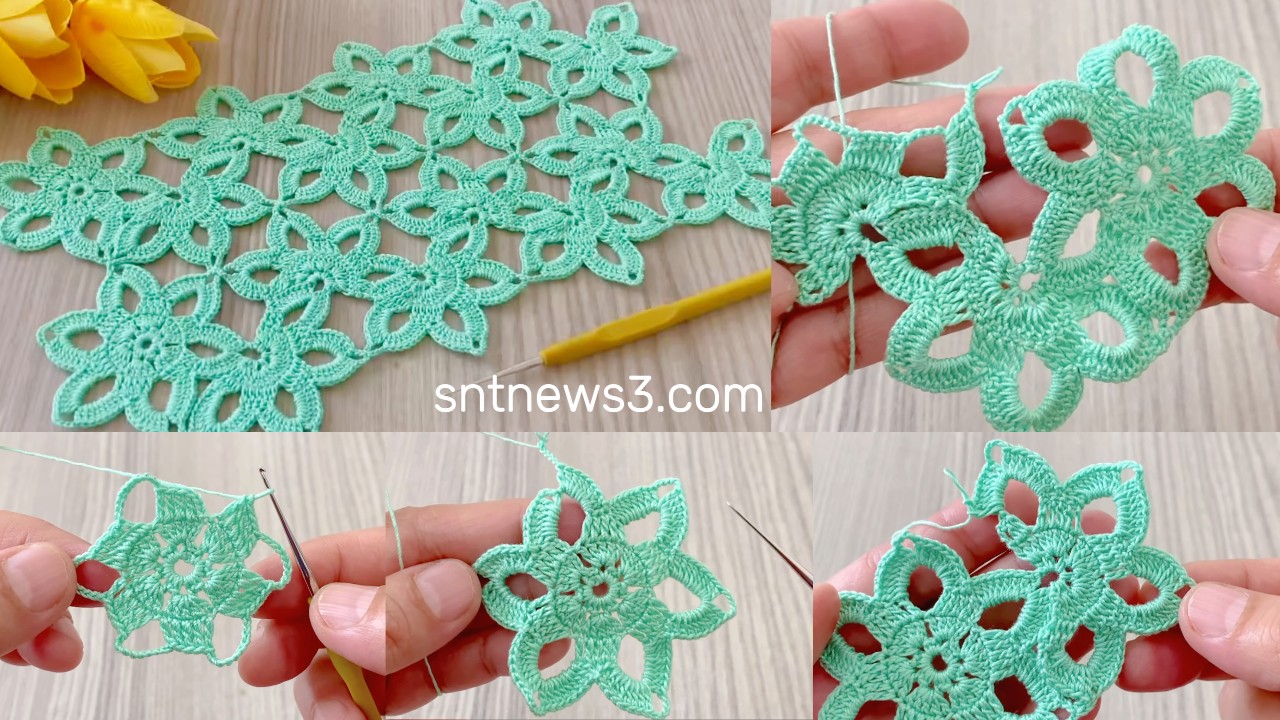
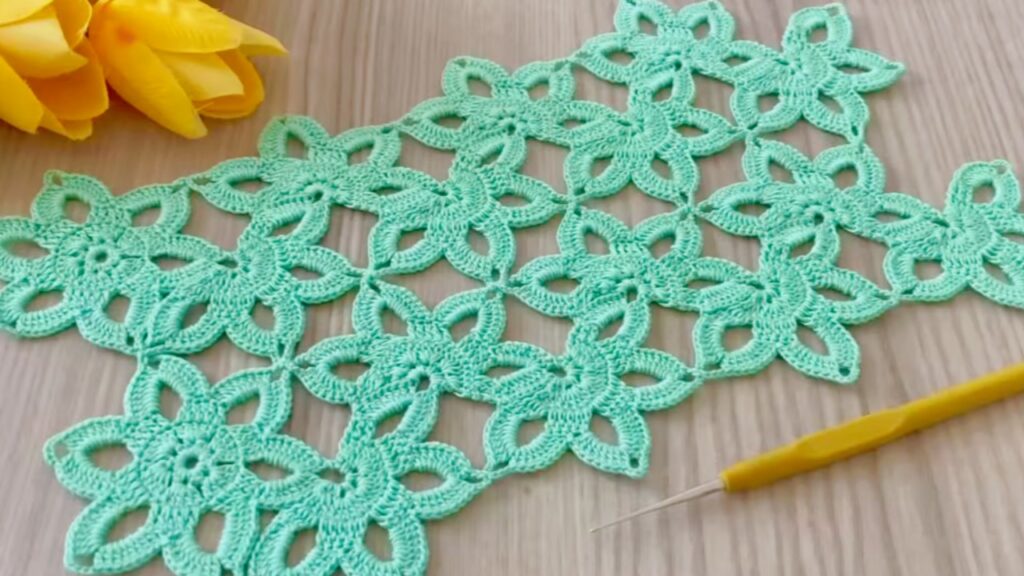
by This pattern is worked in one piece, meaning no joining motifs, no sewing, and no cutting yarn between rows.
It looks elegant and impressive, but it is made with basic stitches repeated calmly, perfect for beginners who want a beautiful result 🌷
🧶 MATERIALS (Beginner Friendly)
- Yarn:
- Cotton or cotton blend
- Weight: Sport (No.2) or DK (No.3)
- Light colors help beginners see stitches clearly
- Hook: 3.0 – 4.0 mm
- Scissors
- Yarn needle (for weaving ends)
📘 CROCHET TERMS (US TERMS)
Keep this list close while working:
- ch = chain
- sl st = slip stitch
- sc = single crochet
- hdc = half double crochet
- dc = double crochet
- sp = space
- ch-sp = chain space
- rep = repeat
📌 IMPORTANT BEGINNER NOTES
- Work slowly
- Count stitches and chain spaces
- If fabric curls → hook too small
- If fabric waves → hook too big
- This pattern grows row by row, very forgiving
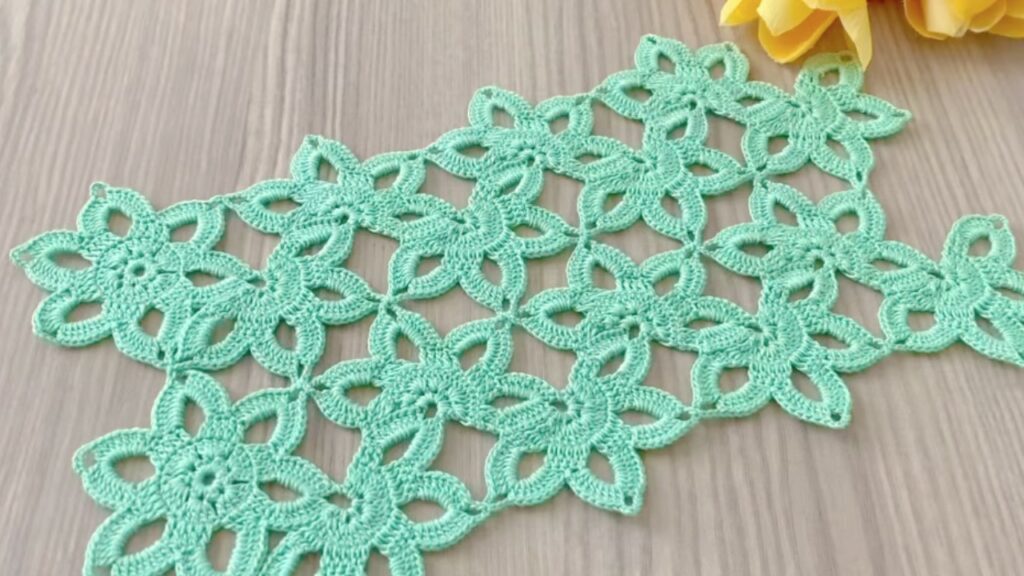
📐 FINISHED SIZE
- Width and length depend on how many repeats you make
- Suitable for:
- Shawl
- Blouse
- Tunic
- Runner
- Scarf
🟢 FOUNDATION CHAIN
This pattern uses a repeat of 6 + 3 chains
Example sizes:
- Small swatch: ch 39
- Shawl width: ch 153
- Runner: ch 201
👉 Always add 3 extra chains for turning
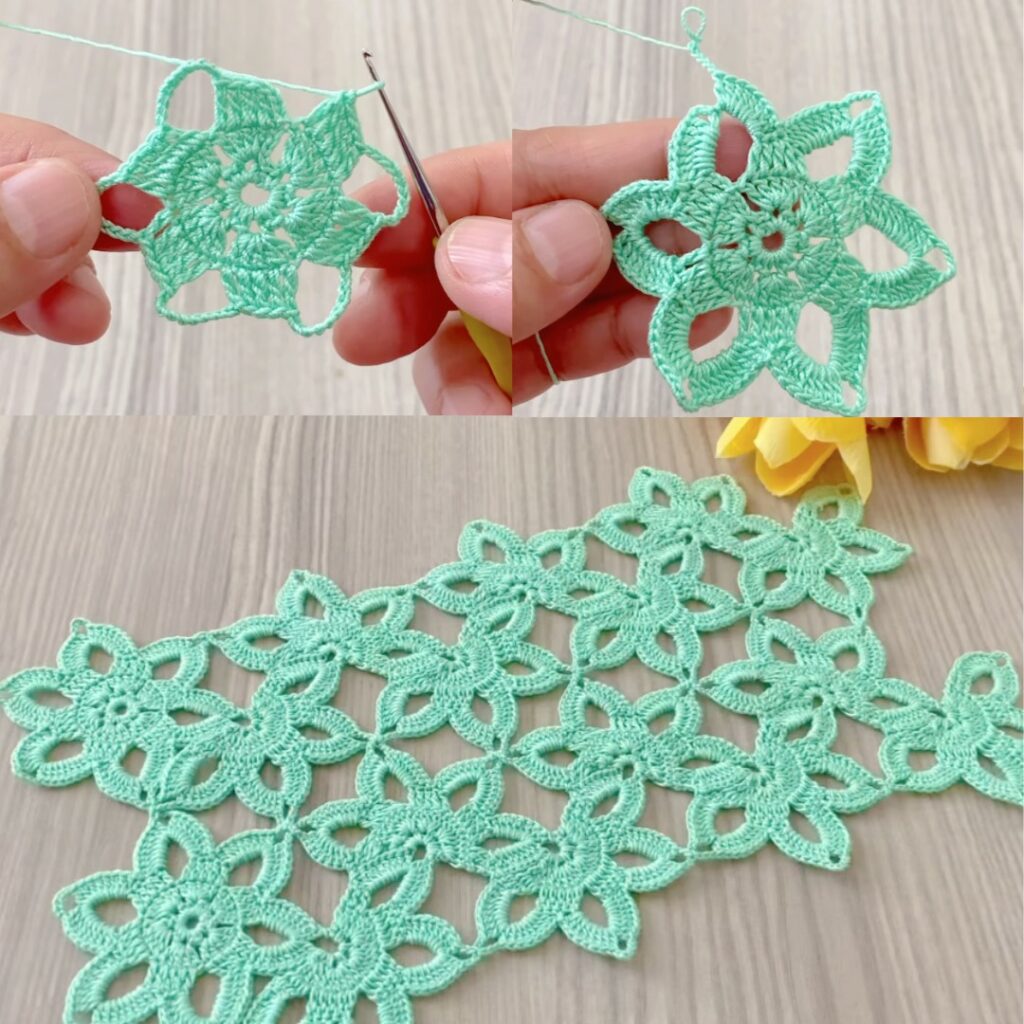
🟡 ROW 1 – BASE ROW
This row sets the foundation.
- Dc in 4th chain from hook
- Dc in next chain
- Ch 2, skip 2 chains
- Dc in next 2 chains
- Ch 2, skip 2 chains, dc in next 2 chains
- Repeat * to * across
- Turn work
✔ You created open spaces and solid blocks
🟡 ROW 2 – BEGIN THE PATTERN
This row starts the beautiful texture.
- Ch 3 (counts as dc)
- Dc in next dc
- Ch 2
- Dc in ch-2 space
- Dc in next 2 dc
- Ch 2, dc in ch-2 space, dc in next 2 dc
- Repeat across
- Turn
✨ Pattern begins to appear
🟡 ROW 3 – CREATE SOFT WAVES
This row adds elegance.
- Ch 3
- Dc in next dc
- Ch 3
- Skip ch-2 space
- Dc in next 2 dc
- Ch 3, skip space, dc in next 2 dc
- Repeat across
- Turn
🌸 You see airy arches forming
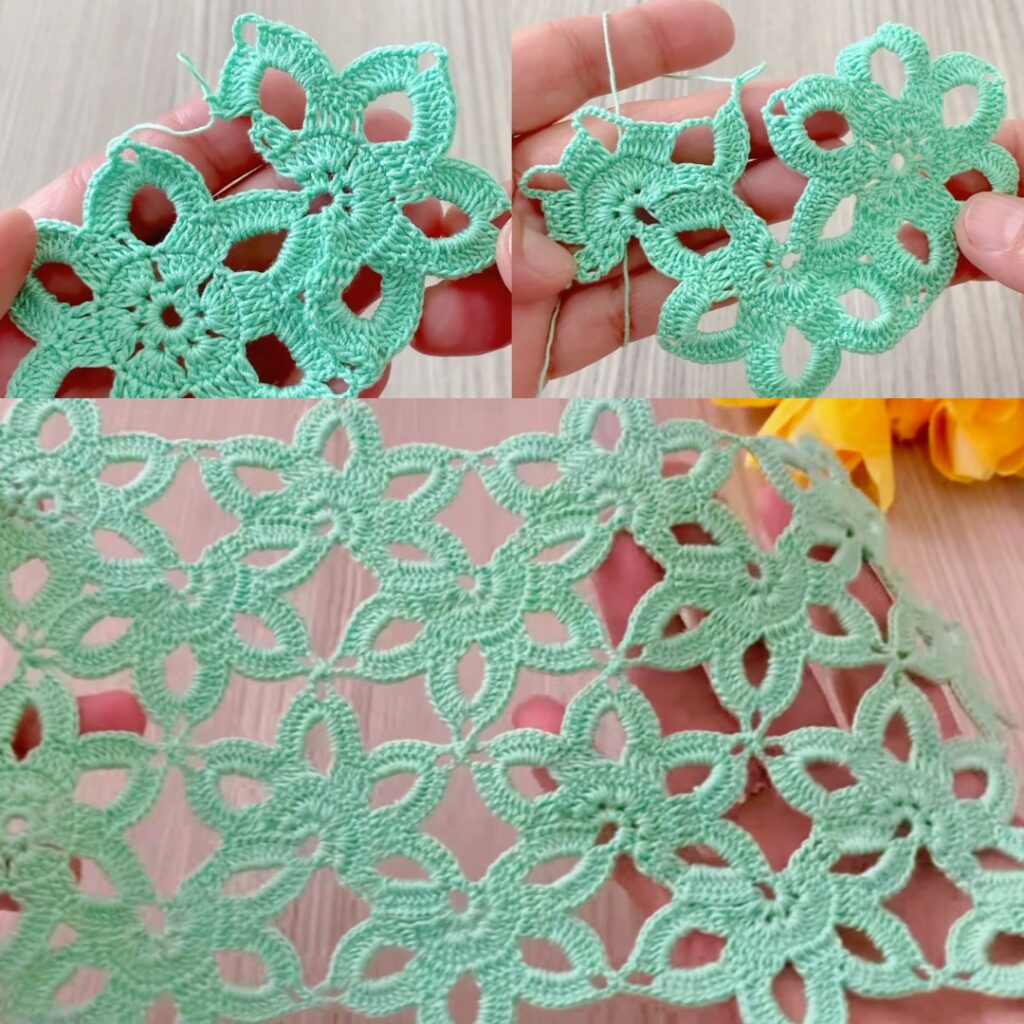
🟡 ROW 4 – FILL THE ARCHES
This row strengthens the pattern.
- Ch 3
- Dc in next dc
- Work 2 dc into ch-3 space
- Dc in next 2 dc
- 2 dc in ch-3 space, dc in next 2 dc
- Repeat across
- Turn
✔ Fabric becomes balanced and neat
🟡 ROW 5 – DECORATIVE ROW
This row creates the “WOW” effect.
- Ch 1
- Sc in first dc
- Ch 3
- Sc in space between dc groups
- Ch 3, sc in next space
- Repeat across
- Turn
✨ Very light and elegant
🟡 ROW 6 – STABILIZE
This row locks the lace.
- Ch 3
- Dc in sc
- 2 dc in ch-3 space
- Dc in sc, 2 dc in ch-3 space
- Repeat across
- Turn
✔ Pattern is now clearly visible
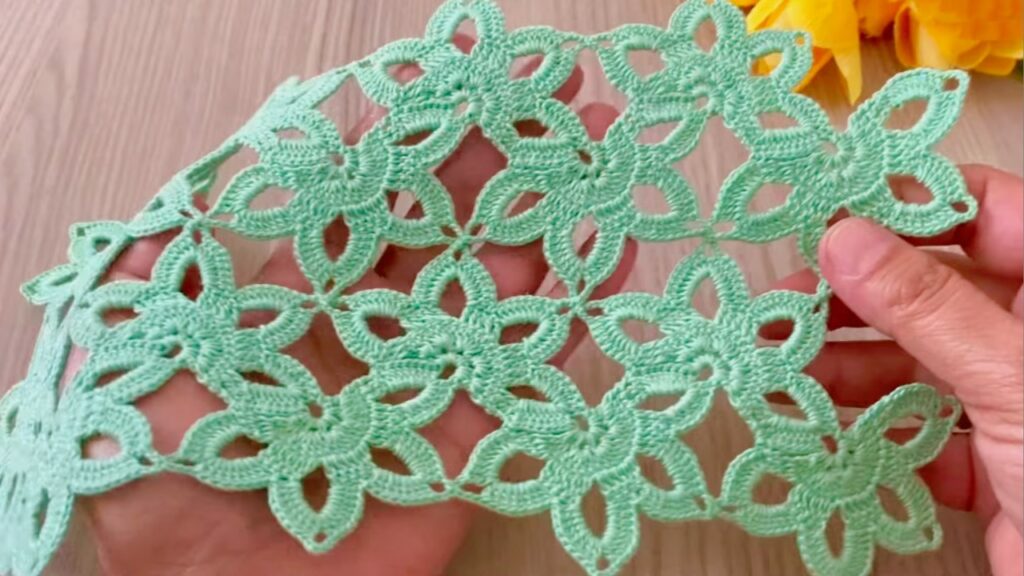
🔁 REPEAT PATTERN
Repeat Rows 3 – 6 until desired length.
👉 For:
- Shawl: 30–45 rows
- Blouse panel: measure to your body
- Runner: length of table
🟣 FINAL EDGE (OPTIONAL BUT BEAUTIFUL)
Simple Edge
- Sc evenly around
- (Sc, ch 1, sc) in corners
Fancy Picot Edge
- Sc, ch 3, sl st into same stitch
- Repeat around
🪡 BLOCKING (VERY IMPORTANT)
Blocking opens the lace and makes it professional.
- Lightly wet the piece
- Gently stretch edges
- Lay flat
- Let dry fully
✨ After blocking, the pattern looks stunning
👗 HOW TO TURN THIS INTO A BLOUSE
- Make two panels
- Sew sides together
- Leave space for armholes
- Add border around neckline
💡 BEGINNER TIPS
- Use stitch markers
- Count spaces instead of stitches
- Practice on a small swatch first
- Don’t worry if first rows look uneven
🌈 EASY VARIATIONS
- Bigger holes → increase chains
- Denser fabric → replace chains with dc
- Color changes every 2 rows → modern look
❤️ YOU CAN DO THIS
This stunning one-piece pattern uses only:
- Chains
- Single crochet
- Double crochet
That means beginners CAN succeed 🧡
VIDEO: