by
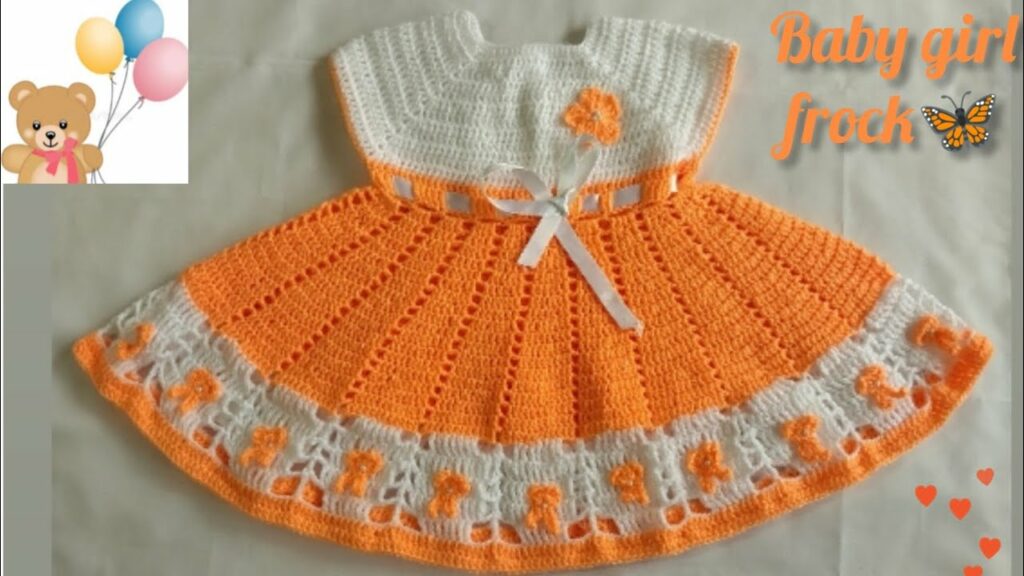
by A Complete Guide to Making a Beautiful Handmade Baby Frock
There’s something timeless and special about a hand-crocheted baby girl dress. Whether for a birthday, baptism, baby shower, or simply everyday wear, a crochet baby frock combines charm, elegance, and love in every stitch. In this guide, we’ll explore everything you need to know to crochet a baby girl’s dress frock—from yarn selection and design elements to a step-by-step pattern suitable for beginners to intermediates.
👗 Why Crochet a Baby Frock?
- Handmade elegance for photoshoots, events, or everyday wear
- Customizable with your choice of colors, patterns, and embellishments
- Lightweight and breathable—perfect for delicate baby skin
- A cherished keepsake that can be passed down
- Great gift idea for baby showers or first birthdays
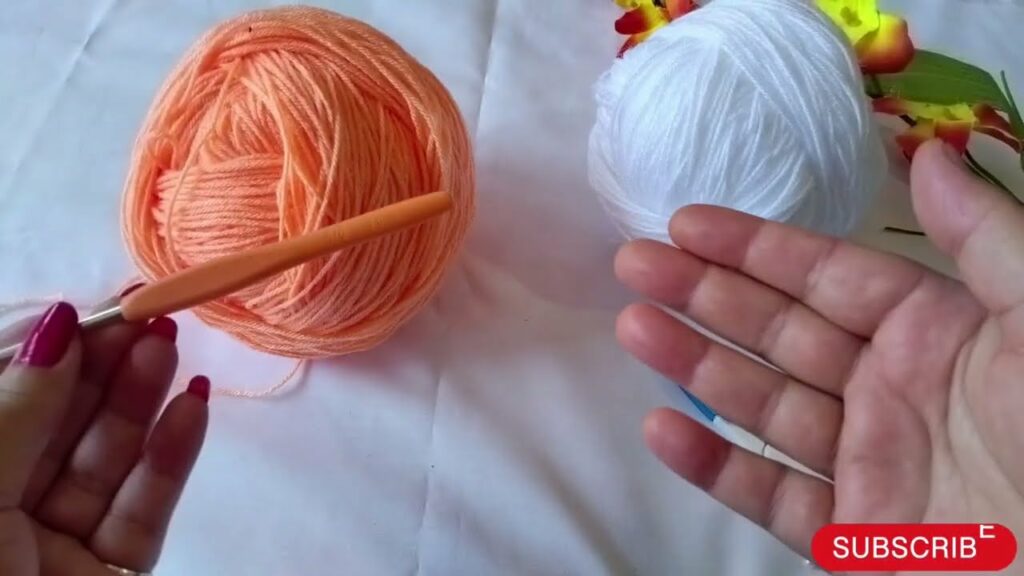
🧶 Materials You’ll Need
- Yarn: Soft, baby-friendly yarn (DK/Light Worsted Weight – Category 3 or 4)
Cotton, bamboo, or baby acrylic yarns are ideal. - Crochet hook: 3.5 mm to 4.5 mm (E to G)
- Buttons: For back closure (2–3 small baby-safe buttons)
- Scissors
- Tapestry needle
- Measuring tape
🧷 Skill Level: Beginner to Intermediate
You’ll need to know:
- Chain (ch)
- Slip Stitch (sl st)
- Single Crochet (sc)
- Double Crochet (dc)
- Shell Stitch (optional for flair)
- Working in rounds and rows
- Basic increasing and decreasing
📏 Sizing
Pattern provided for size: 0–6 months
(You can adjust the starting chains or rounds to make larger sizes.)
🧵 Simple Crochet Baby Girl Frock Pattern
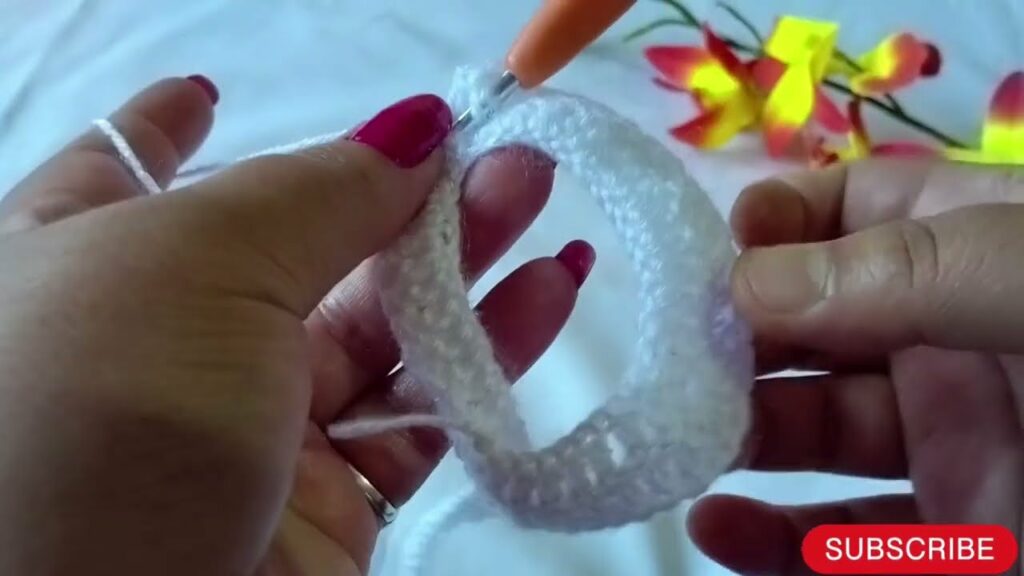
🎀 Yoke (Top of the Dress)
Foundation Chain:
Ch 56 (or adjust in multiples of 4 + 4 for size)
Row 1:
Dc in 4th ch from hook and in each ch across. Turn. (53 dc)
Row 2:
Ch 3 (counts as dc), dc in next 7, 2 dc in next st (increase), dc in next 12, repeat * * two more times, 2 dc in next st, dc in remaining sts. Turn.
Row 3–6:
Repeat Row 2, placing increases evenly in the same areas to form a rounded yoke.
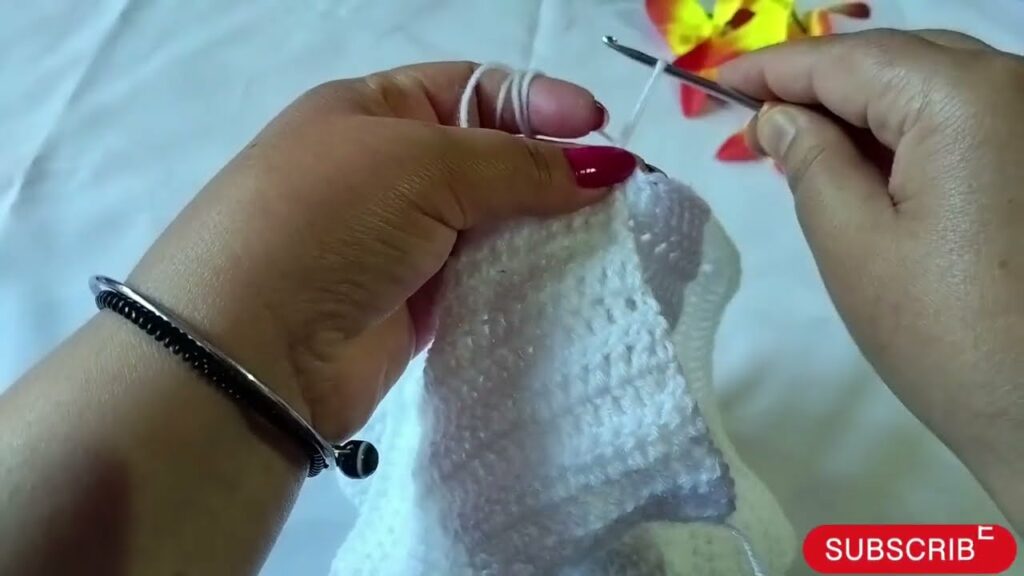
🧸 Armholes and Bodice Separation
Row 7:
Ch 3, dc across the front (about 1/4 of the total), skip stitches for the armhole (1/4), dc across the back (1/2), skip more stitches for the second armhole, dc to end.
Row 8–10:
Dc across the bodice (now working in one large circle under the armholes). Join with sl st at end of round.
💃 Skirt Section
Now working in rounds:
Round 1:
Ch 3, dc in same stitch, skip 2 sts, 5 dc in next st (shell stitch), skip 2 sts, dc in next, repeat around. Join.
Round 2–10 (or desired length):
Continue shell stitch rounds for a frilly, full skirt. Add more rows for longer dresses.
Final Row:
Sc or picot stitch around for decorative edging.
🎁 Back Closure
- Leave a small slit (about 1–2 inches) at the back of the yoke.
- Use sc to create buttonholes along one side.
- Sew buttons onto the opposite side.
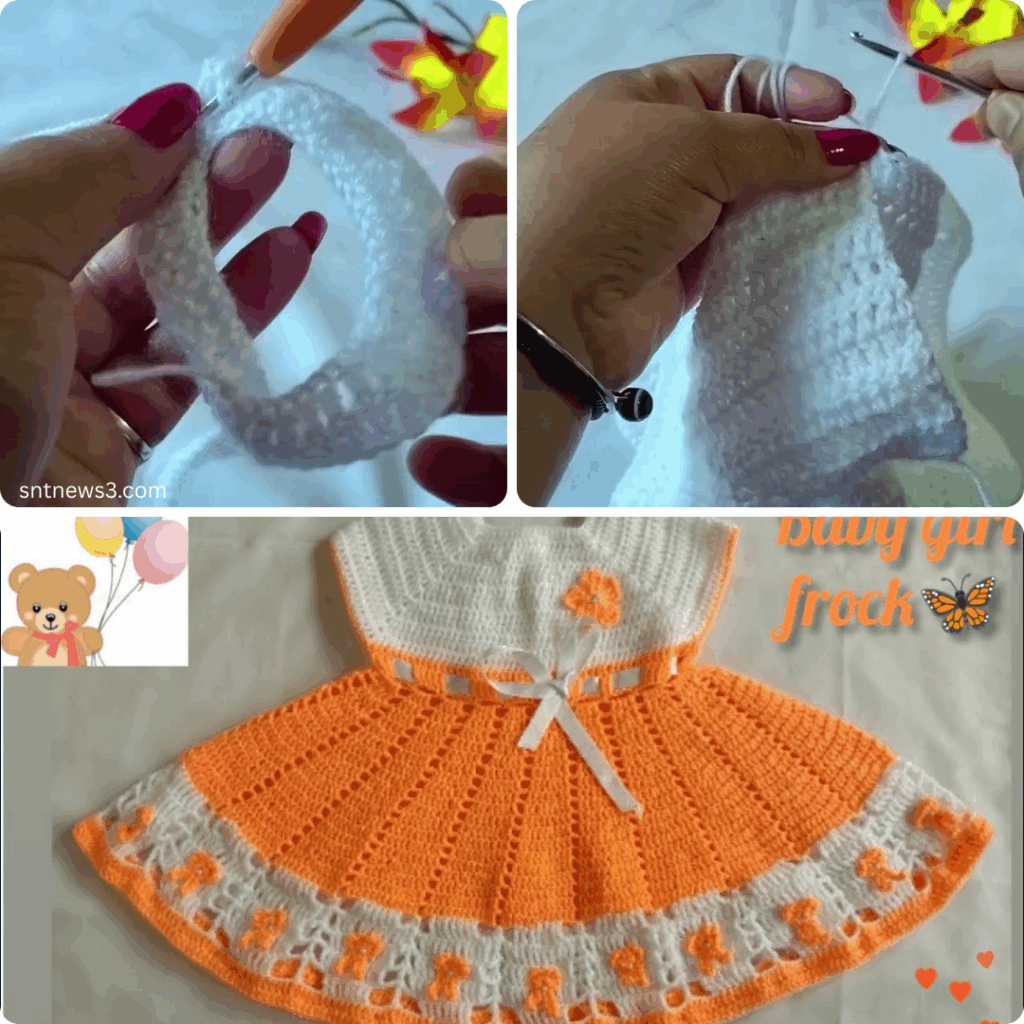
🌸 Embellishments (Optional)
- Crochet flowers or bows
- Ribbon weaving at the waist
- Contrasting color borders
- Appliqué or embroidered initials
Ensure everything is securely stitched to avoid choking hazards.
🧼 Washing Instructions
- Hand wash or machine wash on gentle
- Use mild, baby-safe detergent
- Air dry flat to retain shape
- Avoid bleach or high heat
💡 Customization Tips
- Make it sleeveless, add cap sleeves, or extend to long sleeves
- Add layers or tulle for a party dress
- Use variegated yarns for an ombré or rainbow effect
- Pair with matching baby booties or headband
📸 Perfect For…
- First birthdays
- Naming or baptism ceremonies
- Baby showers
- Family photos
- Everyday cuteness!
Video tutorial:
❤️ Final Thoughts
Crocheting a baby girl’s frock is more than a project—it’s a heartfelt gesture of warmth, care, and creativity. With soft yarn, a few hours, and a simple pattern, you can create a dress that’s not just beautiful, but meaningful. Whether you’re a grandmother, aunt, mother, or friend, a handmade crochet dress is a gift that will be cherished forever.