 by
by If you’ve ever dreamed of creating your own stylish, comfortable, and eco-friendly footwear, look no further than crochet shoes. Handmade crochet shoes are not only fashionable, but they are also practical and customizable to your taste. Whether you’re a seasoned crocheter or a beginner, this guide will walk you through everything you need to know to learn this perfect crochet shoe technique.

Why Crochet Shoes?
Crochet shoes blend comfort and creativity. They’re great for:
- Personal use: Soft, breathable, and perfect for lounging or light outdoor wear.
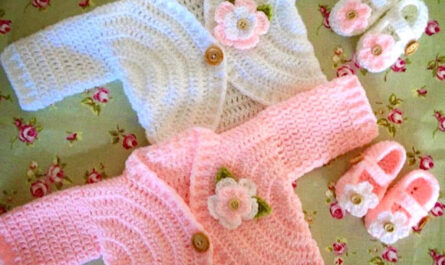
- Gifting: Unique and personal gifts for family and friends.
- Sustainable fashion: Reduce waste and avoid mass-produced footwear.
Materials You’ll Need
Before you begin, gather the following materials:
1. Yarn
- Recommended: Cotton or bamboo yarn (durable, breathable, and holds shape well)
- Weight: Worsted weight (medium #4) or DK weight (#3) depending on the pattern
2. Hook
- Typically 3.5mm to 5mm depending on yarn weight
- Check your pattern’s gauge for best results
3. Soles (optional)
- You can either crochet the sole or use ready-made soles with holes for stitching
- Rubber, cork, or jute soles add durability
4. Other Tools
- Yarn needle
- Stitch markers
- Scissors
- Measuring tape
- Non-slip fabric paint or dots (for safety if used indoors)
Step-by-Step Instructions
Here’s a general framework to crochet your perfect shoe. Adjustments can be made based on personal style or specific patterns.
Step 1: Crochet the Sole
The sole is the foundation of your shoe.
- Start with a chain that matches the length of your foot.
- Work single crochet (sc) or half double crochet (hdc) along the chain.
- Turn and increase around the toe and heel to form an oval shape.
- Continue crocheting in rounds until the sole is slightly larger than your foot’s outline.
- Create two soles per shoe if you want added thickness (stitch together later).
Tip: Reinforce the sole with a denser stitch or use T-shirt yarn for extra durability.
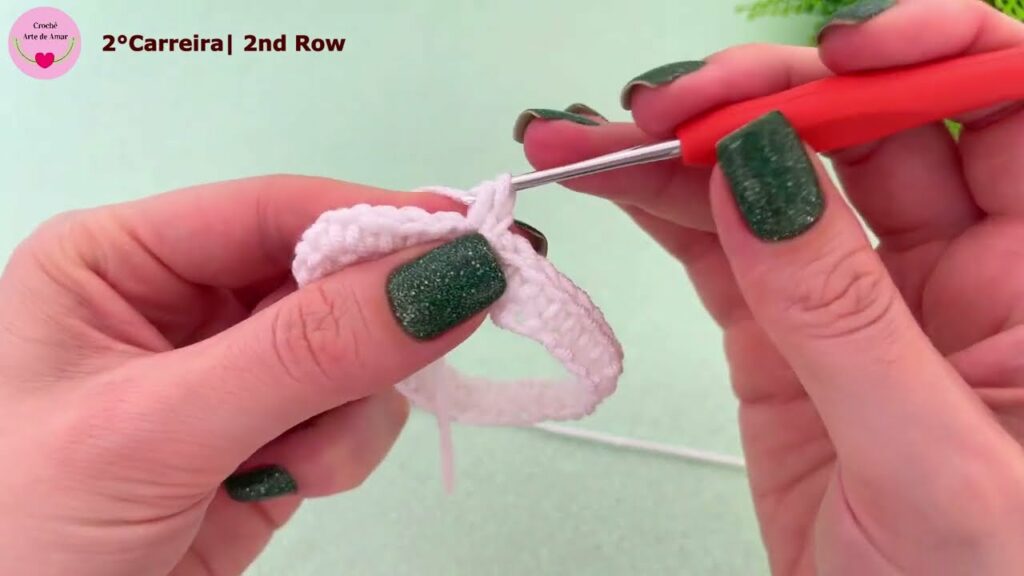
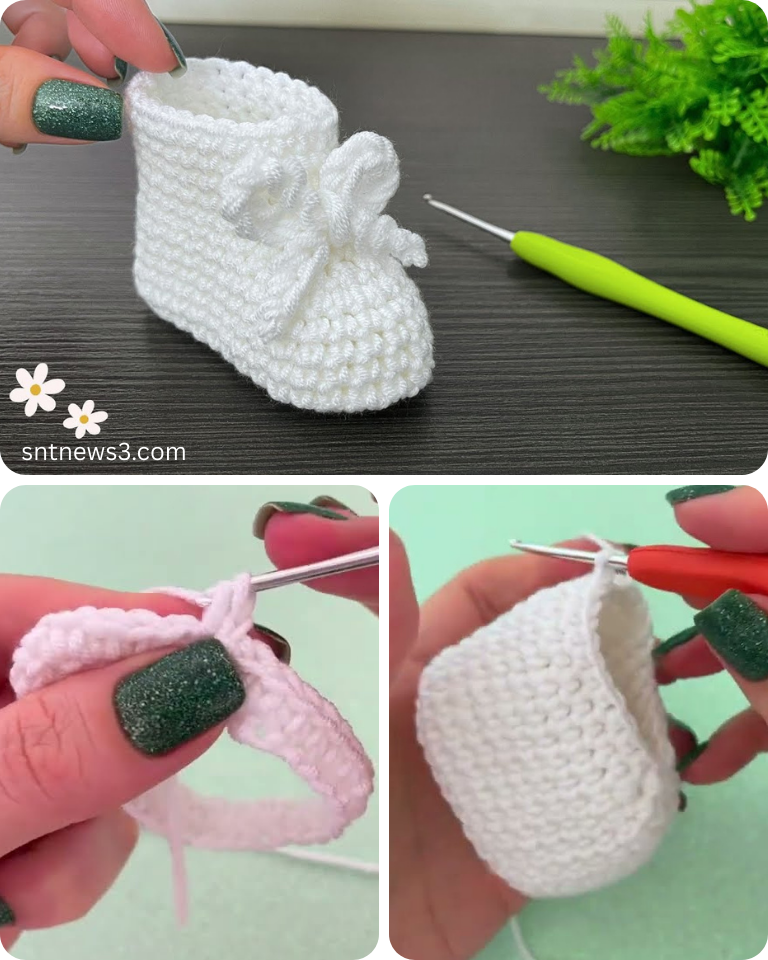
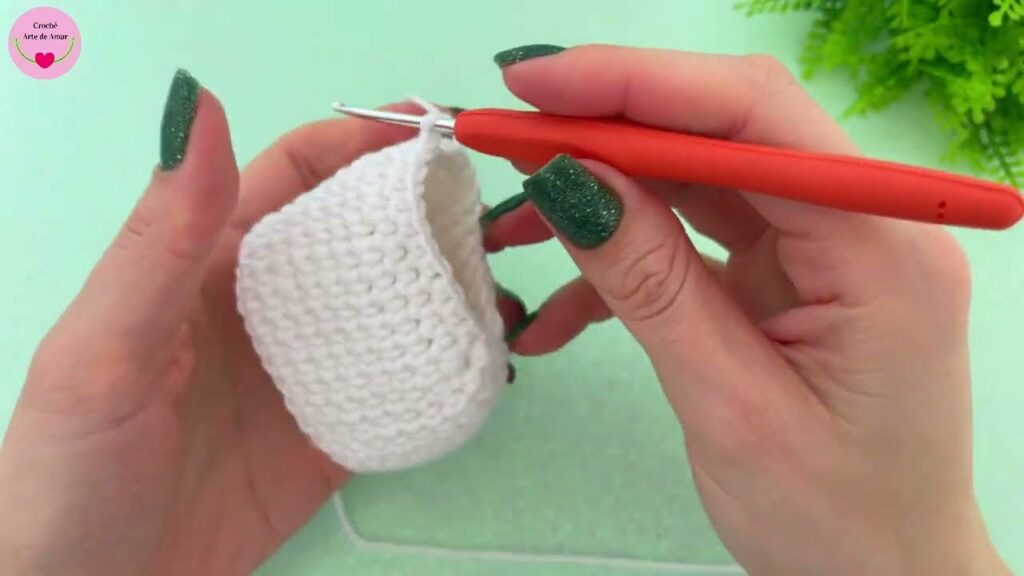
Step 2: Build the Sides
Once the sole is ready:
- Attach yarn at the heel and begin working in the round.
- Crochet single or half-double crochet stitches around the edge.
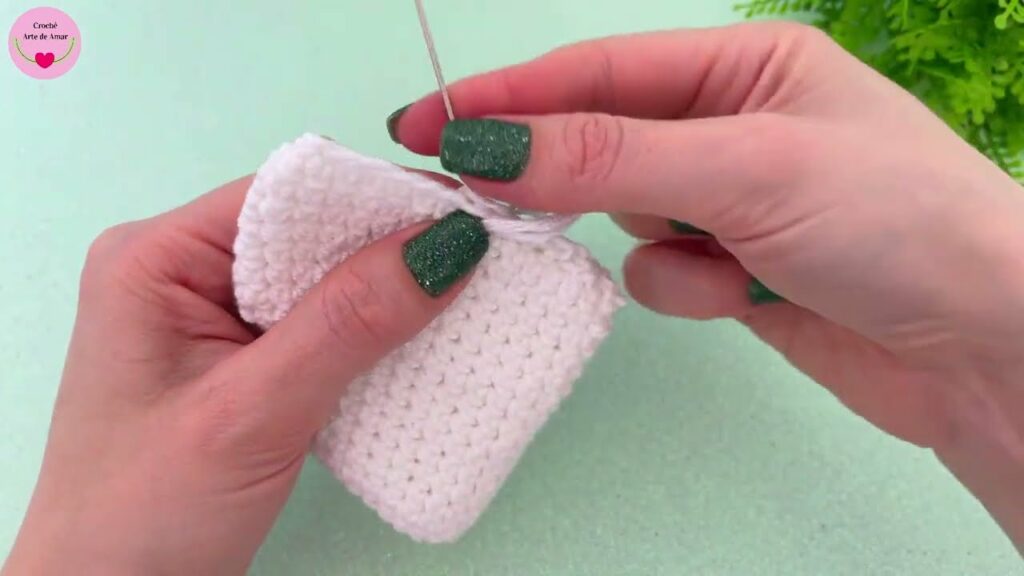
- Work upward row by row, checking fit as you go.
- Use decreases around the toe area to shape the front snugly.
- Keep the back slightly higher for a secure fit.
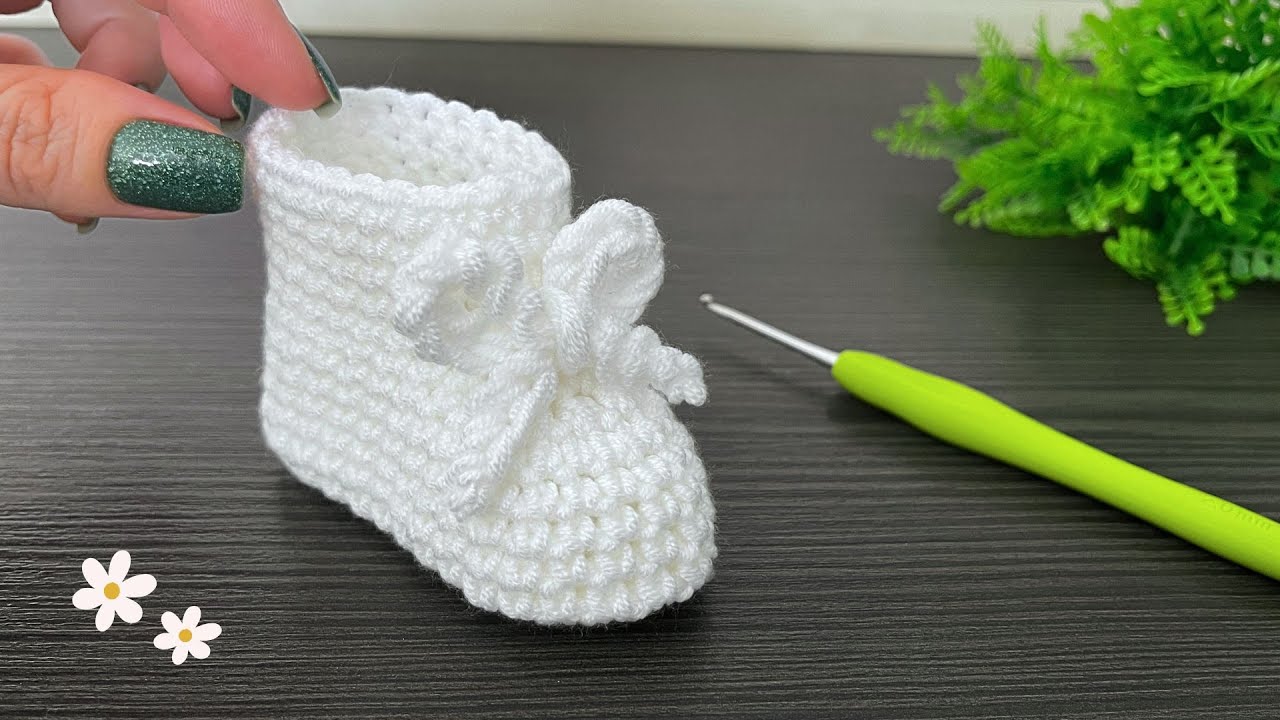
Step 3: Add Straps or a Top Piece
Design the top section of the shoe to your liking:
- Mary Jane style: Add a strap with a button across the instep.
- Slip-on style: Crochet a tongue that covers the top of the foot.
- Sandal style: Leave open areas and secure with side straps or ties.
Step 4: Finishing Touches
- Stitch the sole to the upper securely using a yarn needle.
- Add a border (e.g., crab stitch or reverse single crochet) for a clean edge.
- Sew on buttons, flowers, or beads for decoration.
- If needed, add non-slip paint to the bottom.
Tips for Success
- Check your gauge. Fit matters with shoes!
- Try on as you go. This ensures comfort and accurate size.
- Choose the right yarn. Durability is key—avoid fluffy or stretchy yarns.
- Reinforce where needed. The heel and toe endure the most pressure.
- Use stitch markers. Especially when shaping the toe or heel.
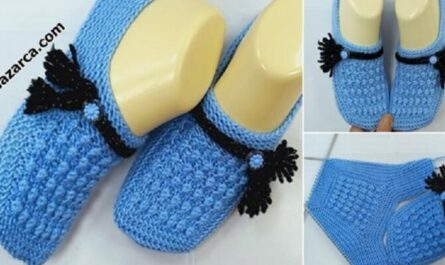
Customization Ideas
- Color blocking for trendy designs
- Ombre yarns for a stylish fade
- Open mesh designs for summer
- Bootie style for colder months
- Felt lining for added warmth and structure
Conclusion
Learning to make your own crochet shoes is a satisfying project that combines craft and functionality. Once you’ve mastered your first pair, you can adapt the technique to create boots, sandals, house slippers, and even baby booties. The possibilities are endless.
So grab your yarn and hook, and start creating your perfect pair of crochet shoes today!
Video tutorial: