 by
by Crocheted roses are timeless and charming, perfect for adding a handmade touch to accessories, gifts, or home décor. The best part? Even if you’re a beginner, you can make a gorgeous crochet rose in just a few simple steps.
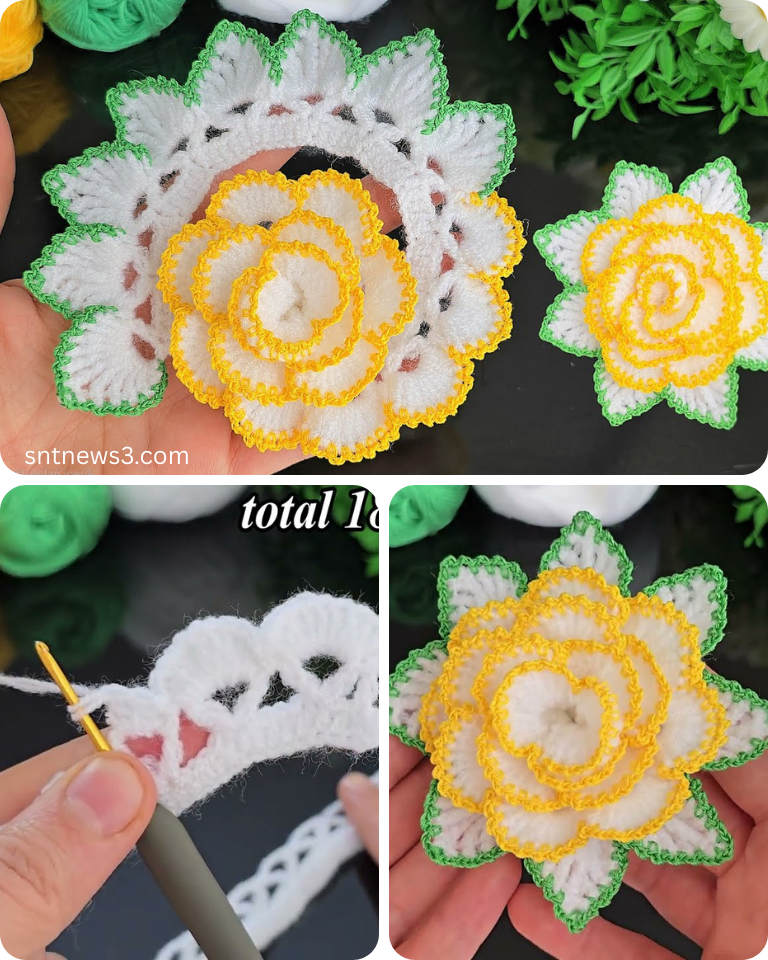
This guide walks you through how to create a very easy crochet rose flower, using basic stitches and minimal materials. Let’s get started!
🧶 Materials You’ll Need:
| Item | Recommendation |
|---|---|
| Yarn | Any medium (worsted weight) yarn – acrylic or cotton. |
| Hook | 4.0 mm (G) or 4.5 mm (US 7) crochet hook – adjust to yarn. |
| Scissors | For trimming ends. |
| Yarn needle | To weave in tails and sew the rose. |
| Optional | Hot glue gun (if attaching to hair clips, brooches, or décor). |
🧵 Abbreviations (US Terms):
| Abbreviation | Meaning |
|---|---|
| ch | chain |
| sc | single crochet |
| hdc | half double crochet |
| dc | double crochet |
| sl st | slip stitch |
| st(s) | stitch(es) |
🌸 Pattern Overview:
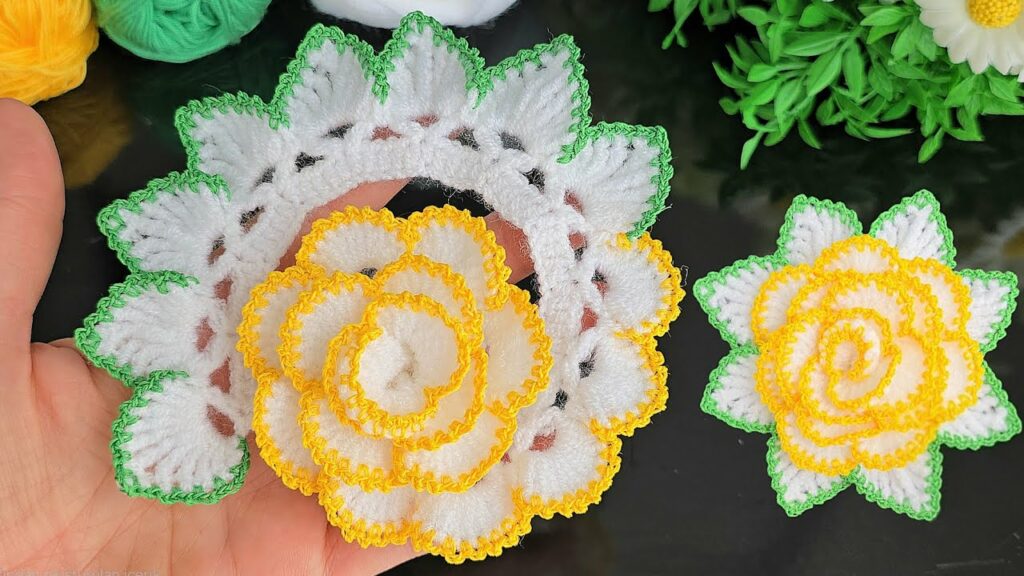
This crochet rose is made in one long strip, which is then rolled up and sewn to form the flower. You can easily adjust the size by changing the number of starting chains.
📏 Size:
- With worsted weight yarn and a 4.5 mm hook, the finished rose will be about 2.5–3 inches in diameter.
- Adjust your yarn/hook for larger or smaller roses.
🌹 Instructions – Very Easy Crochet Rose
Step 1: Make the Foundation Chain
Ch 51 (or any multiple of 3 + 1 if you want a larger or smaller flower).
This will create 17 petals. For more petals, add multiples of 3 to your chain.
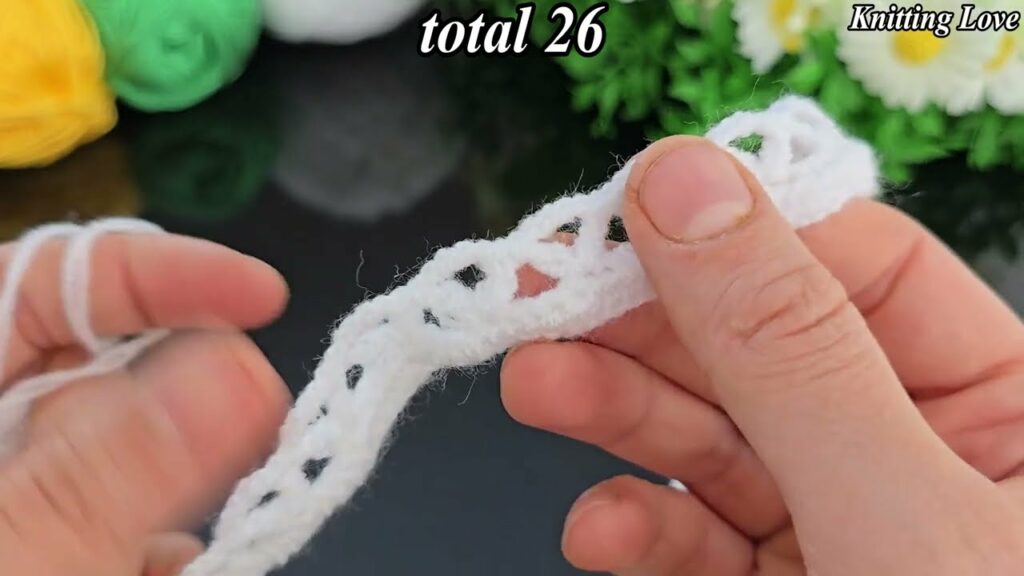
Step 2: Row 1 – Base for Petals
Starting in the 2nd ch from hook: sc in each ch across. (50 sc)
Ch 1, turn.
This creates a base row that gives the rose structure.
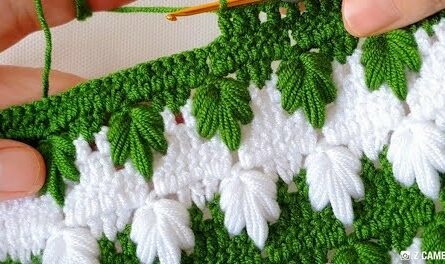
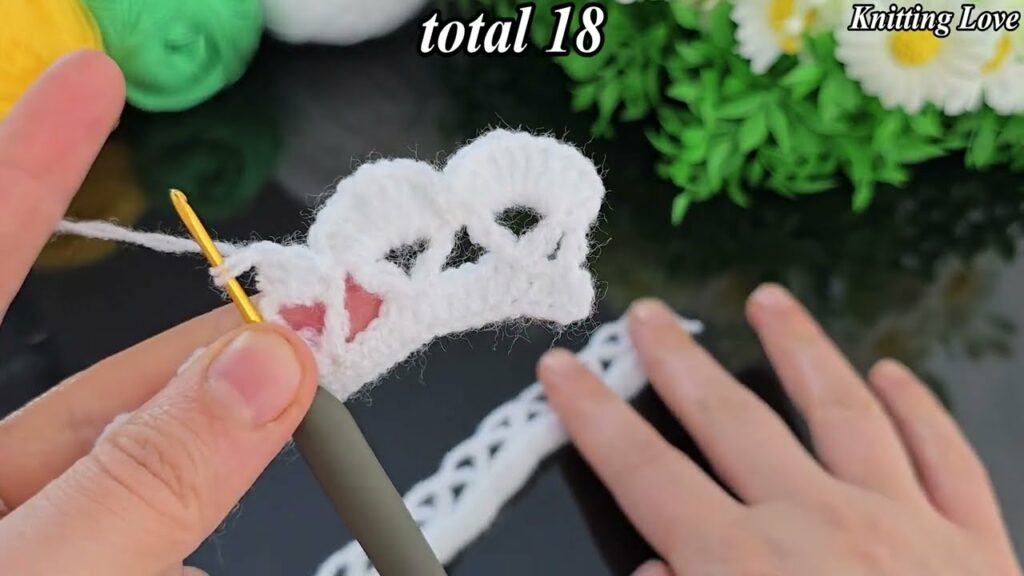
Step 3: Row 2 – Forming the Petals
You’ll now make the petals using a repeating shell pattern across the row:
*Skip 2 sts, (dc, hdc, dc) in next st, skip 2 sts, sl st in next st* — repeat across.
Explanation:
- Skip 2 stitches,
- In the next stitch, work 1 dc, 1 hdc, 1 dc — all in the same stitch (this creates a petal),
- Skip 2 stitches,
- Then sl st in the next stitch to anchor the petal.
Repeat this pattern until the end of the row. You should end with a sl st.
You’ll now have a long, wavy strip — it might curl a bit, and that’s normal!
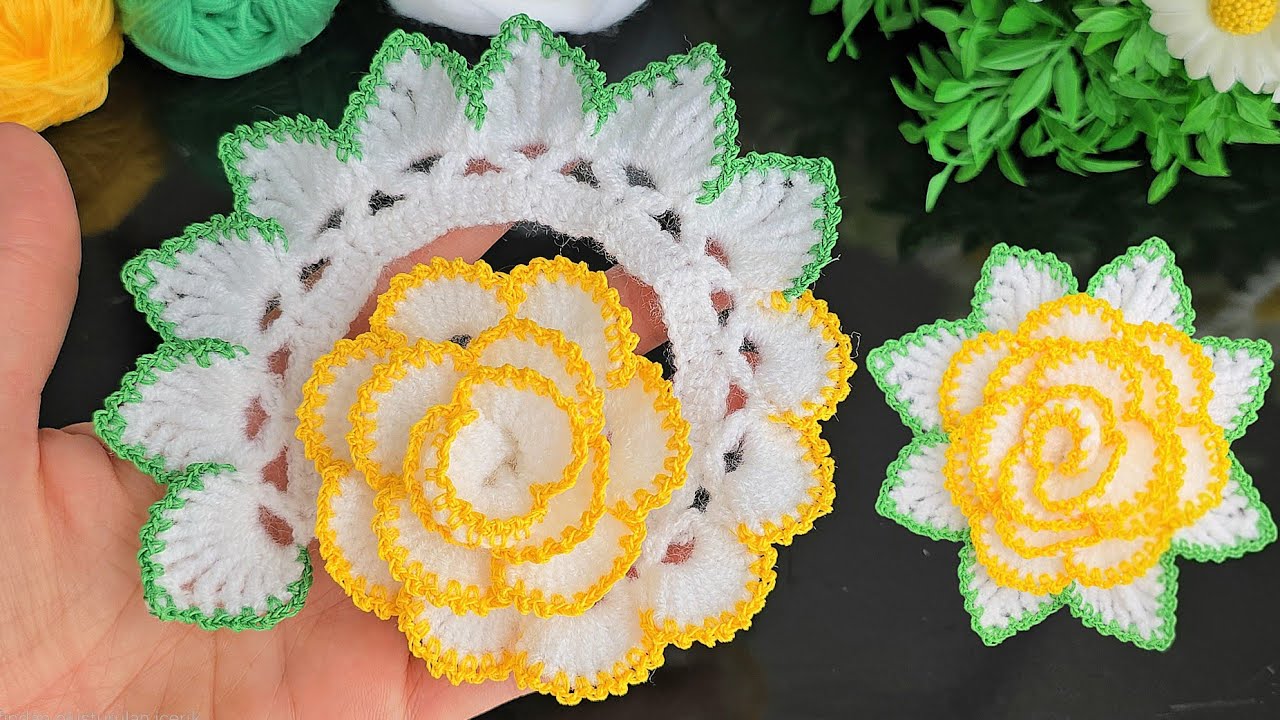
Step 4: Roll the Rose
- Start from the first petal you made.
- Begin rolling the strip tightly, petal by petal.
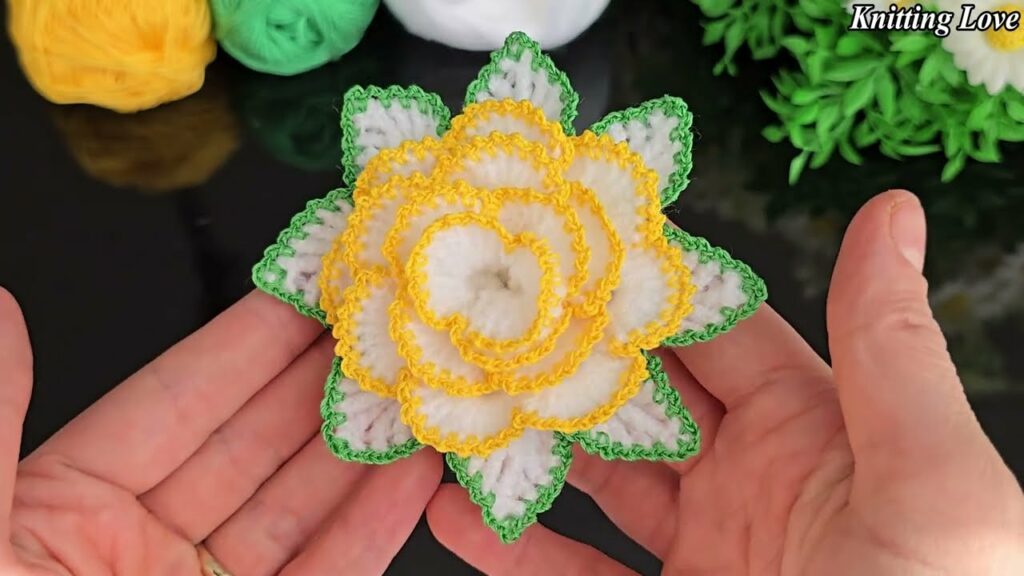
- Adjust the shaping as you go to create a spiral rose shape.
- When done, you’ll have a neat rose with a flat base.
Step 5: Sew the Base
- Thread your yarn needle with a long tail (leave this during your last stitch).
- Sew back and forth through the layers at the base of the flower to secure it in place.
- Weave in the ends.
🍃 Optional: Add Leaves
Here’s a very simple leaf pattern:
Ch 8.
Sc in 2nd ch from hook, hdc in next, dc in next 3, hdc in next, sc in last.
Ch 1, turn and work back along the other side of the chain:
Sc, hdc, dc in next 3, hdc, sc.
Sl st to join.
Sew the leaf to the underside of your rose.
🧼 Care Instructions
- Hand wash gently or spot clean if necessary.
- If using acrylic yarn, it’s generally machine washable.
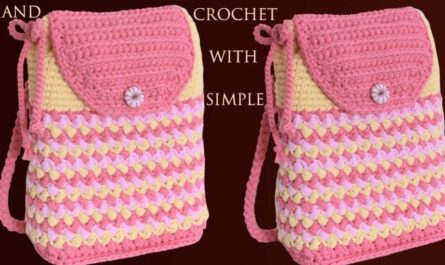
🎁 How to Use Crochet Roses:
- Sew onto hats, scarves, or bags.
- Use as brooches or hair clips.
- Make a bouquet or garland.
- Add to gift wrap or handmade cards.
🌟 Tips for Beginners:
- Practice the stitches beforehand: dc, hdc, sl st.
- Don’t worry if the petals look uneven — once you roll it, it all comes together!
- You can mix colors: try making a rose with a pink center and red outer petals.
Video tutorial:
🧶 Example Variations:
| Variation | How to Do It |
|---|---|
| Two-toned rose | Switch yarn colors halfway through the row. |
| Larger rose | Chain 60–75 to start. |
| Mini rose | Chain 30 for a small version. |
| Textured rose | Use velvet, boucle, or sparkly yarn. |
💬 Final Thoughts
This very easy crochet rose is a beautiful and satisfying project, perfect for beginners and great for practicing basic stitches. Once you make one, you’ll likely want to make a dozen! They’re fast, fun, and endlessly useful.