by
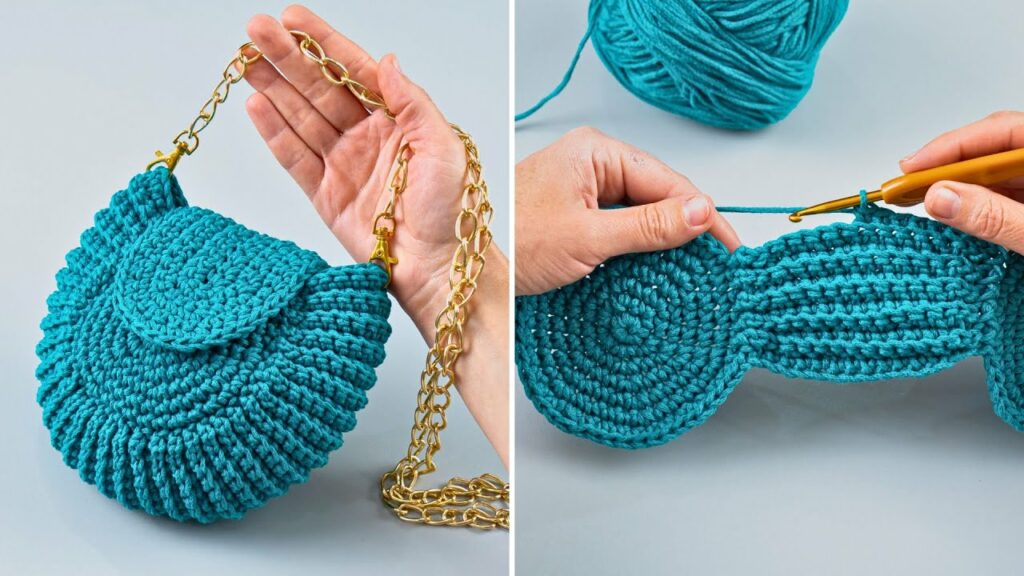
by Crocheting your own bag is not only fun but also practical. This easy crochet shoulder bag is a great project for beginners — it uses basic stitches, minimal shaping, and can be customized in size and style. Whether you want a casual tote or a stylish sling bag, this pattern gives you the perfect starting point.
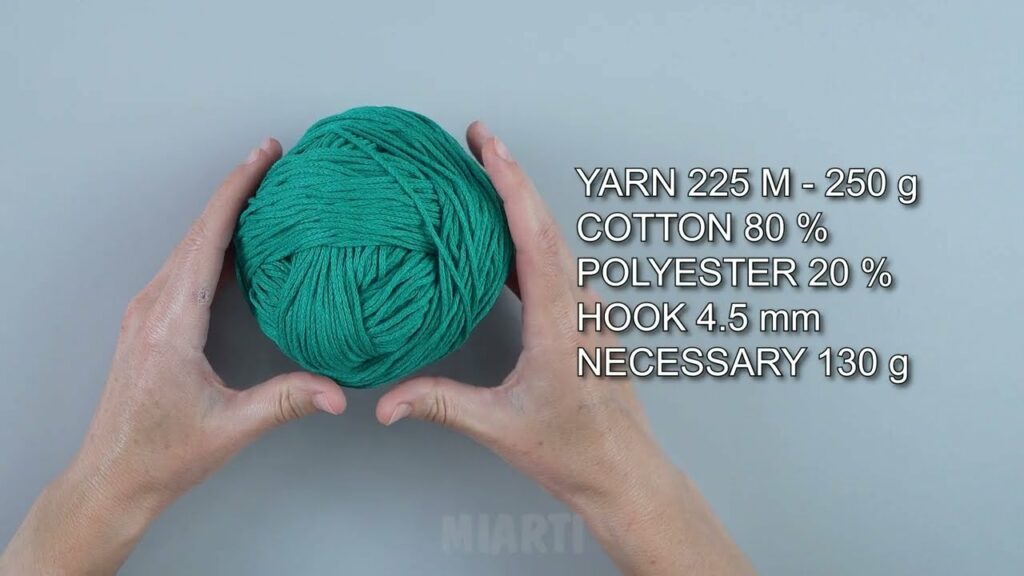
🧶 Materials Needed:
| Item | Details/Recommendation |
|---|---|
| Yarn | Worsted weight (Category 4) cotton yarn – durable and holds shape (e.g., Lily Sugar’n Cream, Paintbox Cotton Aran). |
| Hook | 5.0 mm (H-8) crochet hook – or size appropriate for your yarn |
| Scissors | For trimming yarn |
| Yarn needle | For weaving in ends |
| Optional | Magnetic clasp, button, fabric lining, strap rings |
🧵 Abbreviations (US Terms):
| Abbreviation | Meaning |
|---|---|
| ch | chain |
| sc | single crochet |
| hdc | half double crochet |
| dc | double crochet |
| sl st | slip stitch |
| st(s) | stitch(es) |
| rnd | round |
📏 Finished Size (Adjustable):
- Width: ~11 inches
- Height: ~10 inches
- Strap: ~30–36 inches (adjustable)
🧺 Pattern Overview:
You will crochet the bag body in one piece, either as a flat rectangle folded in half or in the round. We’ll use the flat method here, as it’s ideal for beginners.
The strap is crocheted separately and sewn on at the end.
✨ Let’s Start!
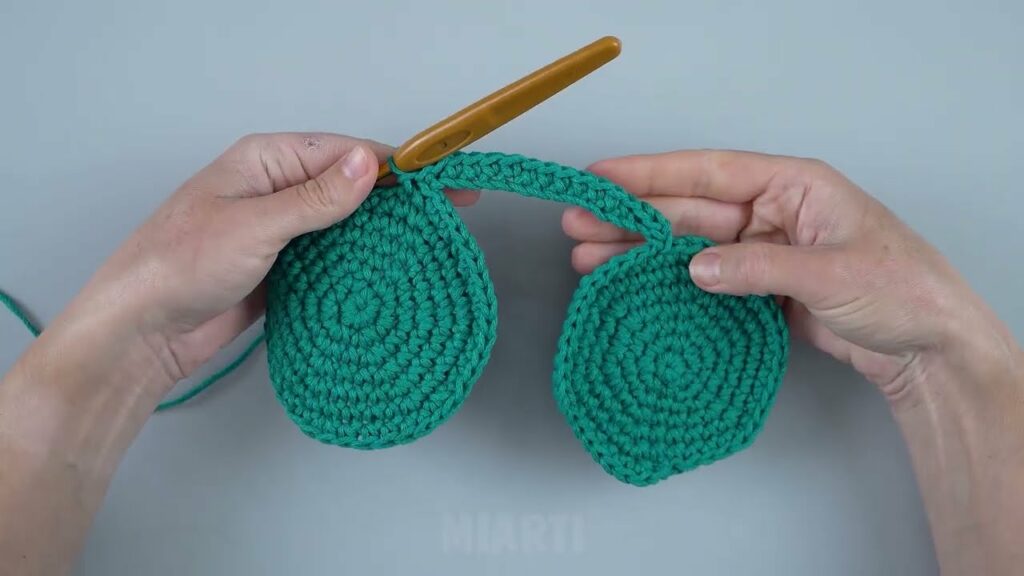
✅ Step 1: Create the Bag Base
We’ll make a flat rectangle using half double crochet (hdc) — a perfect stitch for texture and sturdiness.
EditCh 41 (this gives about 11 inches wide — adjust for desired width).
Row 1:
Hdc in 2nd ch from hook and in each ch across. (40 hdc)
Ch 1, turn.
Row 2–35 (or until desired height):
Hdc in each st across.
Ch 1, turn.
After 35 rows, your rectangle should be about 10–11 inches tall.
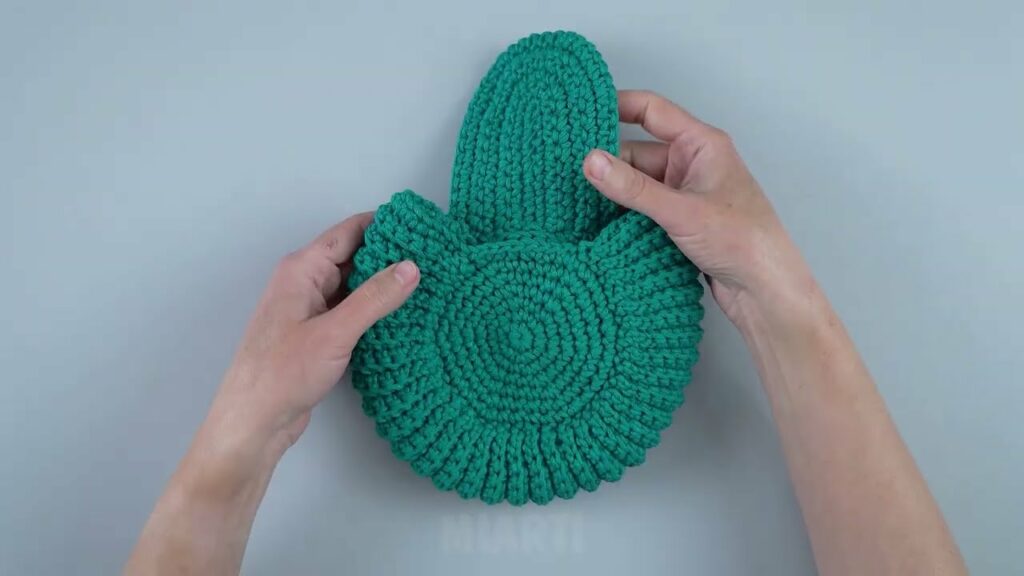
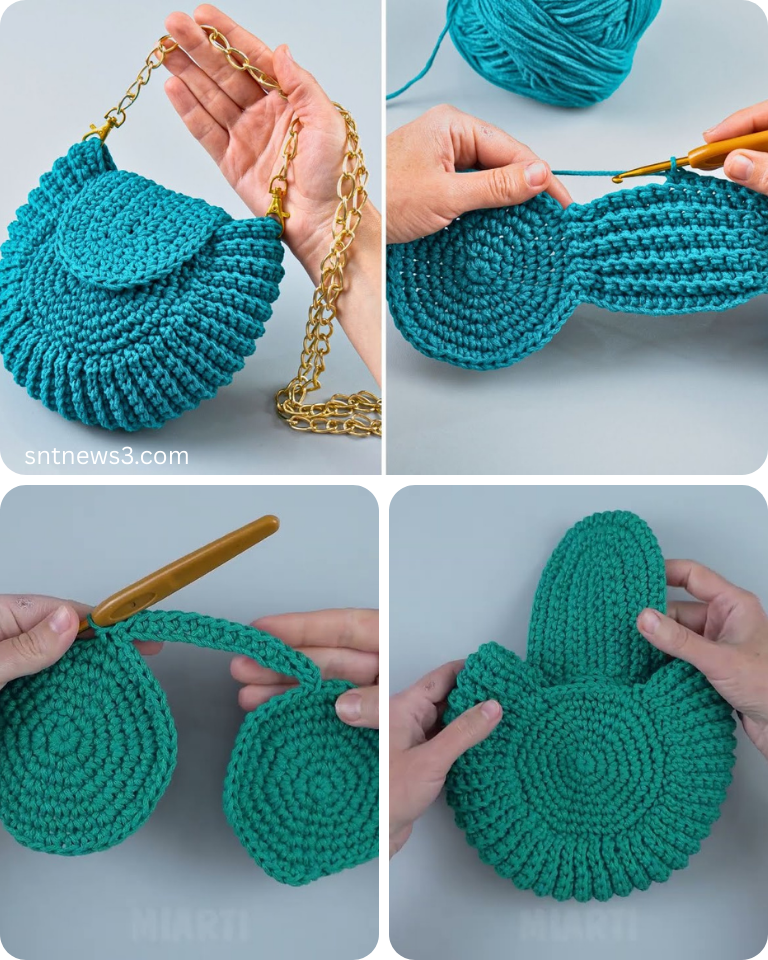
✅ Step 2: Fold and Seam the Sides
- Fold your rectangle in half width-wise (like a book).
- Seam both sides using slip stitch, whip stitch, or single crochet.
- Whip stitch with a yarn needle gives a clean edge.
- Or use sl st for a decorative ridge.
You now have a basic bag shape!
✅ Step 3: Add the Strap
You can make a simple shoulder strap with chains and single crochet:
Option 1: Basic Strap
Ch 101 (for ~30–36 inches strap).
Row 1: Sc in 2nd ch from hook and across (100 sc).
Fasten off, leave long tail for sewing.
- Sew one end of the strap to each side of the bag opening.
- Reinforce the connection with extra stitching.
Option 2: Thick Strap
For a sturdier strap:
Ch 101
Row 1: Hdc in 2nd ch from hook and across.
Row 2: Ch 1, turn, hdc across.
Fasten off and sew ends to the bag.
✅ Step 4: Optional Edging Around Bag Opening
Add a clean, polished edge around the top:
Join yarn to one corner of the bag opening.
Sc evenly around the opening (about 1 sc per row end).
Sl st to join.
Fasten off, weave in ends.
✅ Step 5: Optional Button or Clasp
- Sew on a button and loop (ch 10, sl st back to base).
- Attach a magnetic clasp for a modern closure.
- You can also line the bag with fabric for extra structure (optional for beginners).
🧼 Washing & Care Tips:
- Cotton bags are machine-washable (cold water, gentle cycle).
- Lay flat to dry to maintain shape.
- Avoid heavy overloading to prevent stretching.
🧶 Customize Your Bag
| Idea | How to Do It |
|---|---|
| Stripes | Alternate colors every few rows. |
| Color block | Use a contrasting color for the top half or bottom. |
| Tassels or Fringe | Add to the sides or bottom for a boho vibe. |
| Lining | Hand-sew fabric inside for a cleaner, more finished look. |
| Crochet a small rectangle and sew it inside or outside. |
✅ Summary of Steps:
- Crochet a rectangle using hdc.
- Fold and seam the sides.
- Crochet and attach a strap.
- Add edging and optional closure.
- Customize to your liking.
Video tutorial:
💬 Final Thoughts
This easy crochet shoulder bag is the perfect project to build your confidence and create something stylish and functional. With just basic stitches and a little time, you’ll have a handmade accessory to be proud of.
Once you’ve mastered this one, you can experiment with textures, colors, and embellishments to make each bag uniquely yours.