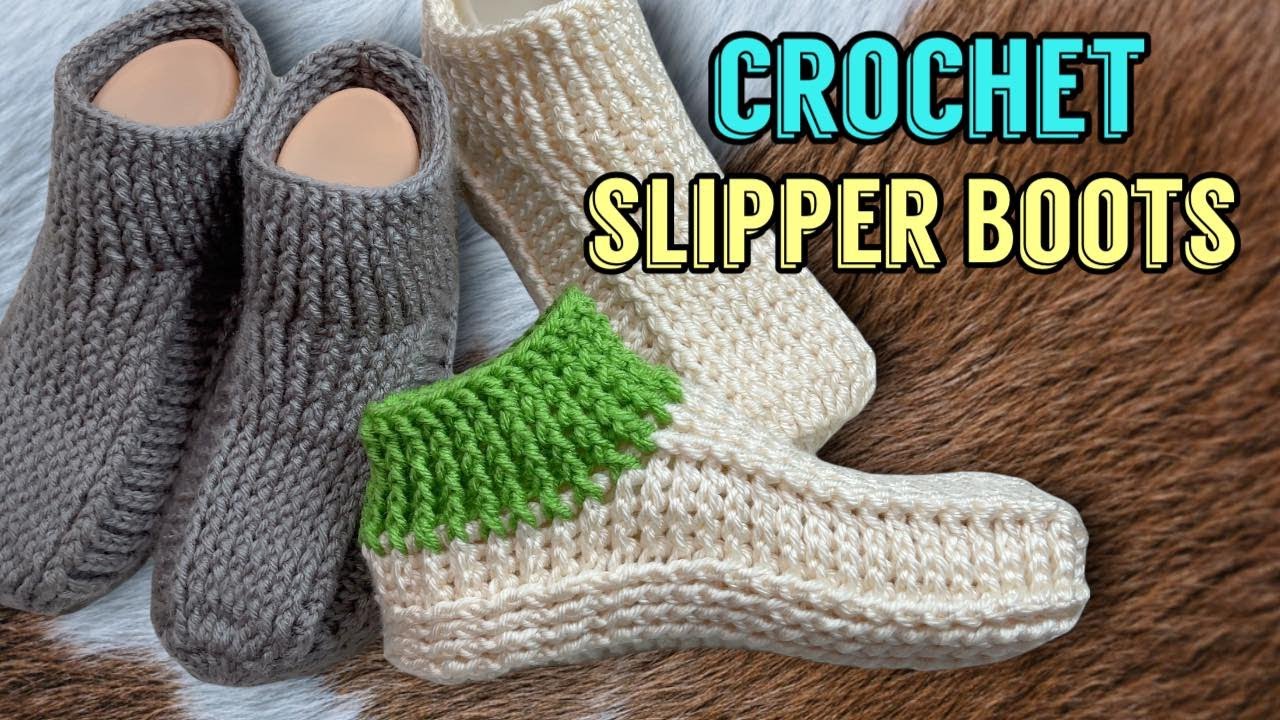
 by
by Crochet slipper boots are the perfect blend of comfort, warmth, and handmade charm. Whether you’re relaxing at home on a cold day or making a thoughtful gift, these cozy house slippers are a rewarding project for any crocheter. This guide will walk you through how to crochet your own slipper boots from start to finish — with clear steps, tips, and customization ideas.

🧶 Why You’ll Love Crochet Slipper Boots
- ✅ Quick project – make in a day!
- ✅ Beginner-friendly stitches
- ✅ Cozy and stylish
- ✅ Great for gifting
- ✅ Customizable in size and color
📦 Supplies You’ll Need
| Item | Description |
|---|---|
| Yarn | Worsted weight yarn (Category 4); ~200g (acrylic or wool blend) |
| Hook | 5.0 mm (H) crochet hook |
| Tapestry Needle | For sewing and weaving in ends |
| Scissors | Sharp yarn scissors |
| Stitch Markers | Optional, for tracking rows or rounds |
| Non-slip soles | Optional (for grip and durability) |
🧵 Crochet Stitches Used (US Terms)
- ch – chain
- sc – single crochet
- hdc – half double crochet
- dc – double crochet
- sl st – slip stitch
- BLO – back loops only
🩰 Finished Size
This pattern can be easily adjusted. Instructions below are for an adult medium (US women’s size 7–9). Increase or decrease rows/stitches for custom sizing.
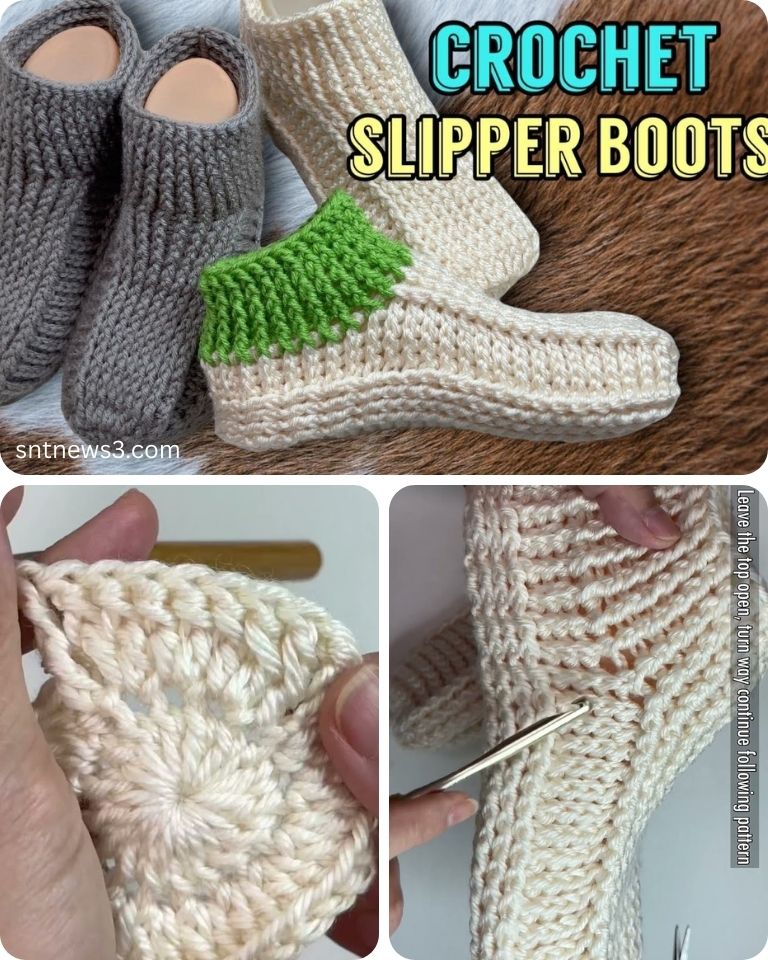
👣 Step-by-Step Pattern – Crochet Slipper Boots
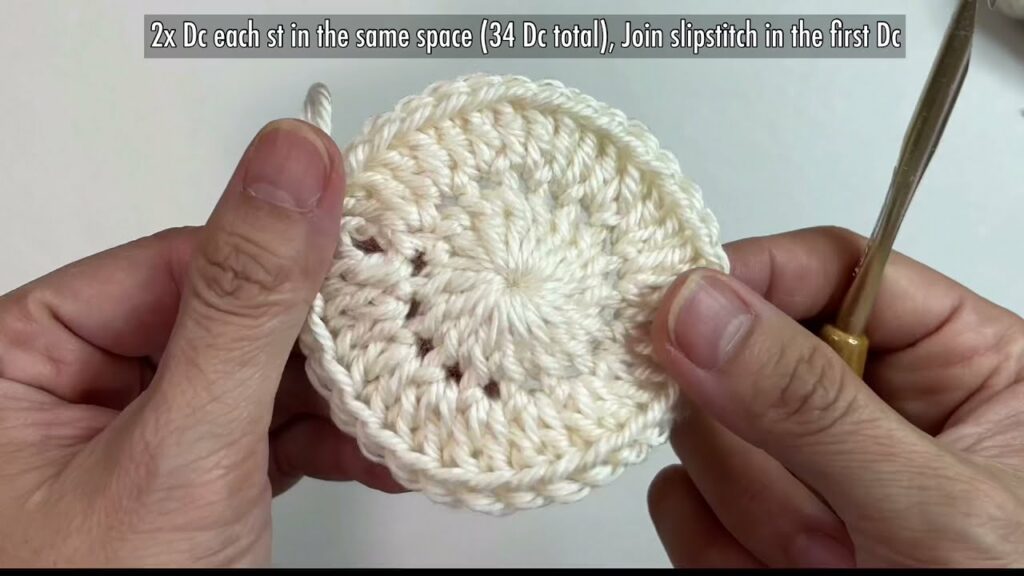
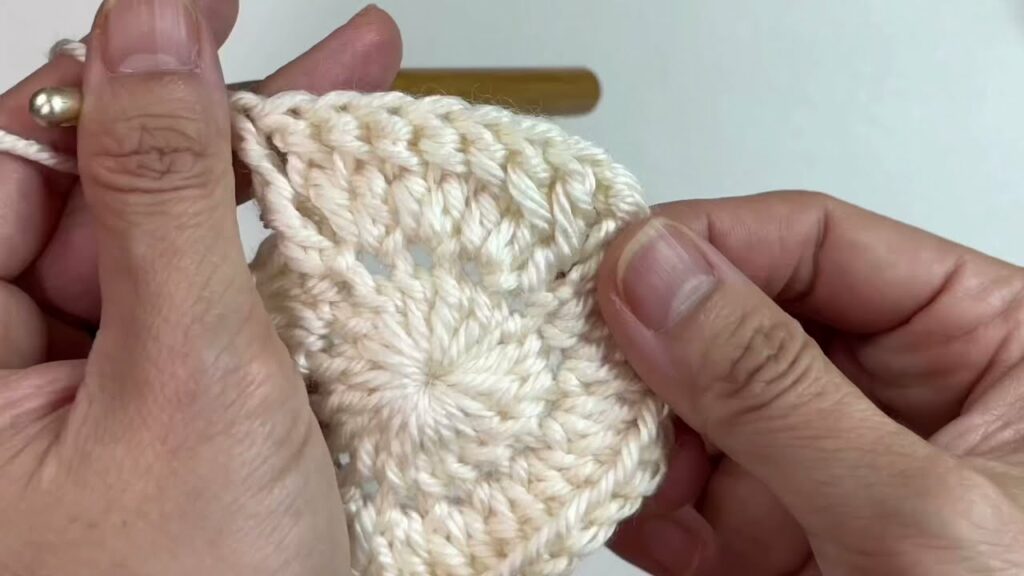
✅ Step 1: Sole of the Slipper
We’ll start with an oval base for the foot:
- Ch 18
- Round 1: Hdc in 2nd ch from hook and across (16 hdc), 3 hdc in last ch. Turn and continue on the other side of the chain, hdc across, 2 hdc in last ch. Sl st to join.
(Total: 38 hdc) - Round 2: Ch 1, hdc around, placing 2 hdc in each of the 3 heel and toe stitches. Sl st to join.
(Total: ~44 hdc) - Round 3: Repeat one more round, increasing slightly only at toe and heel if needed.
🔹 This creates a cushioned and firm base. You can add an extra row for larger sizes.
✅ Step 2: Build the Sides (Foot Opening)
- Round 4: Ch 1, hdc in BLO around to create an edge that folds upward. Join.
- Rounds 5–8: Hdc around in both loops. Join.
(This forms the sides of the foot)
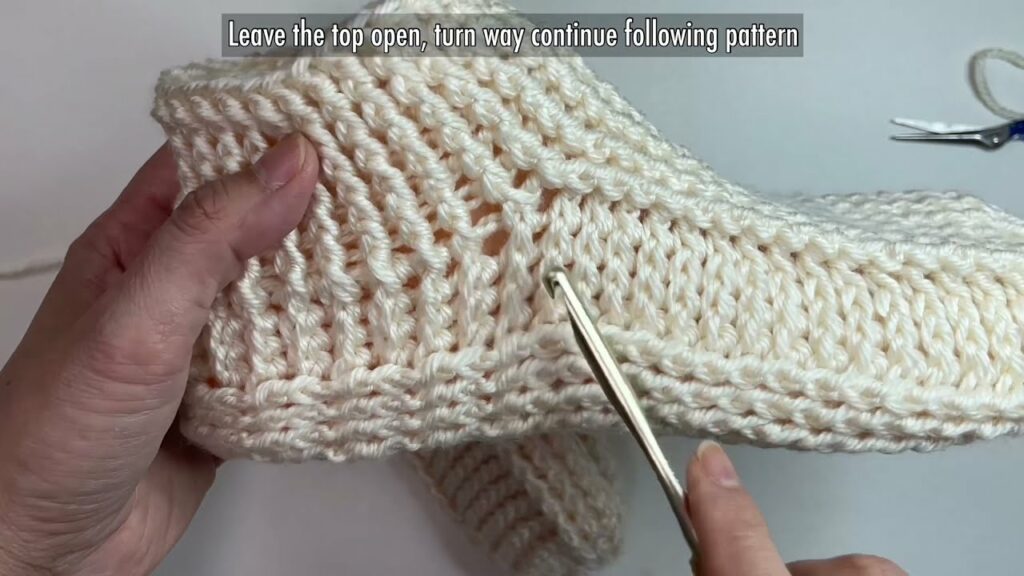
✅ Step 3: Shaping the Top (Toe Box)
- Round 9: Start decreasing over the toe:
- Hdc in next 10 sts, (hdc2tog over next 2 sts) x6, hdc to end. Sl st to join.
- Round 10: Repeat with fewer decreases: (hdc2tog x4 over center toe area)
- Round 11: Hdc around with no decrease.
- Try the slipper on. If toe is snug, continue; if loose, add more decreases.
✅ Step 4: Ankle and Boot Section
- Round 12: Ch 2, dc in each st around. Join.
- Rounds 13–17: Dc in each st (you can also use fpdc/bpdc for a ribbed boot look).
- Adjust number of rows based on how high you want your slipper boots to be.
Optional Cuff:
- Switch to sc in BLO for 2–3 rounds for a clean, snug cuff that hugs the ankle.
✅ Step 5: Second Slipper + Finishing
- Repeat the pattern for the second boot.
- Fasten off yarn, weave in all ends with a tapestry needle.
- Optional: Sew non-slip fabric or puffy paint to bottom for grip.
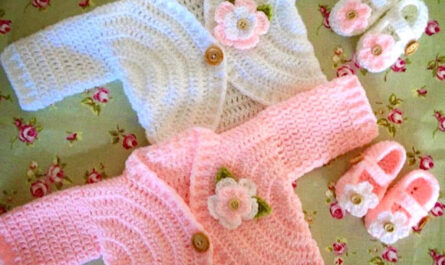
🎨 Customization Ideas
- Color Blocking: Use a different color for the cuff or sole.
- Add Buttons or Pom-Poms: Sew a cute accent on the side.
- Use Faux Fur Yarn: Around the cuff for a wintery, fluffy edge.
- Add a Bow or Crochet Flower: For a feminine touch.
🛋️ Care Tips
- Machine washable yarn: Choose a washable acrylic or wool blend for easy care.
- Wash in cold water, lay flat to dry.
- Avoid tumble drying to prevent shrinking or distortion.
💡 Pro Tips
- Use a smaller hook for tighter stitches and more durability.
- Add a felt or cork insole inside for extra warmth and comfort.
- To make for men or kids, simply adjust starting chain and rounds accordingly.
Video tutorial:
🌟 Conclusion
Crochet Slipper Boots are the perfect cozy project – warm, functional, and full of personality. With this simple pattern and your creative touch, you can whip up a pair in a weekend and enjoy warm toes all season long.
They also make excellent handmade gifts that people truly appreciate — because nothing says “I care” like warm feet wrapped in yarny goodness.