by
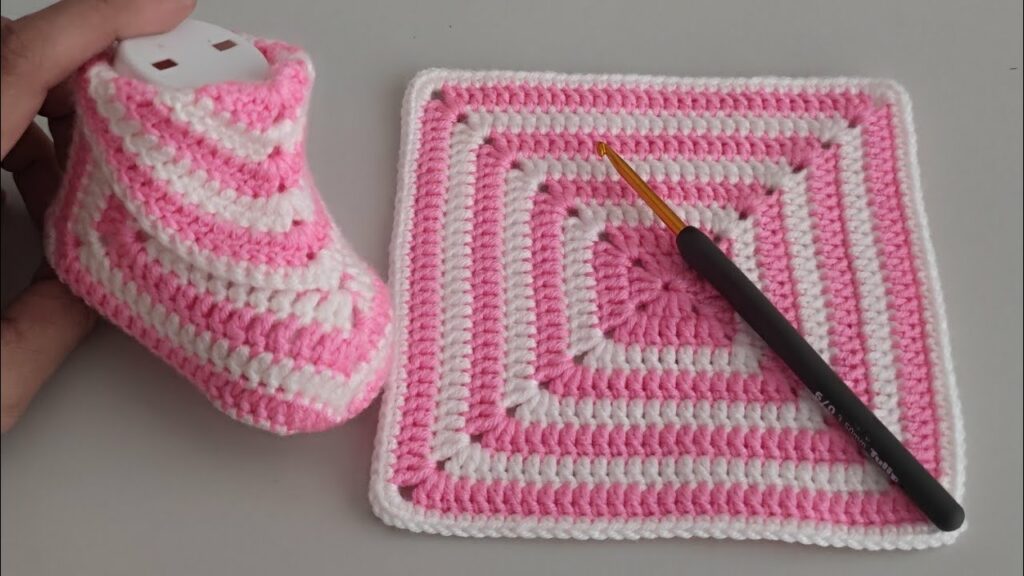
by Crocheting for babies is always a heartwarming experience, and nothing is cuter than a pair of tiny, handmade baby shoes. If you’re looking for a beginner-friendly and charming project, baby shoes made from granny squares are a must-try. They’re soft, colorful, customizable—and best of all, incredibly easy to make!
This tutorial will guide you through making your own pair of adorable baby booties using granny squares, step by step.
🧶 Why You’ll Love This Project
- ✅ Beginner-friendly – only basic crochet stitches used
- ✅ Quick to make – each shoe takes about an hour or less
- ✅ Great gift idea for baby showers and newborns
- ✅ Customizable with colors, buttons, ribbons, or appliqués
- ✅ Uses classic granny squares in a creative way
📦 Materials You’ll Need
| Item | Description |
|---|---|
| Yarn | Soft DK or light worsted cotton or baby yarn (Category 3) |
| Hook | 3.5 mm (E) or 4.0 mm (G) crochet hook |
| Tapestry Needle | For sewing and weaving in ends |
| Scissors | Small and sharp |
| Stitch Markers | Optional |
| Buttons/Ribbon | Optional (for embellishment or closure) |
📏 Finished Size
- Fits approximately 0–6 months
- Adjust hook size or yarn weight for different sizing
🧵 Stitches & Terms (US Crochet Terms)
- ch – chain
- sl st – slip stitch
- sc – single crochet
- dc – double crochet
- granny square – cluster of 3 dc stitches with ch spaces
🧸 Step-by-Step Pattern: Granny Square Baby Shoes
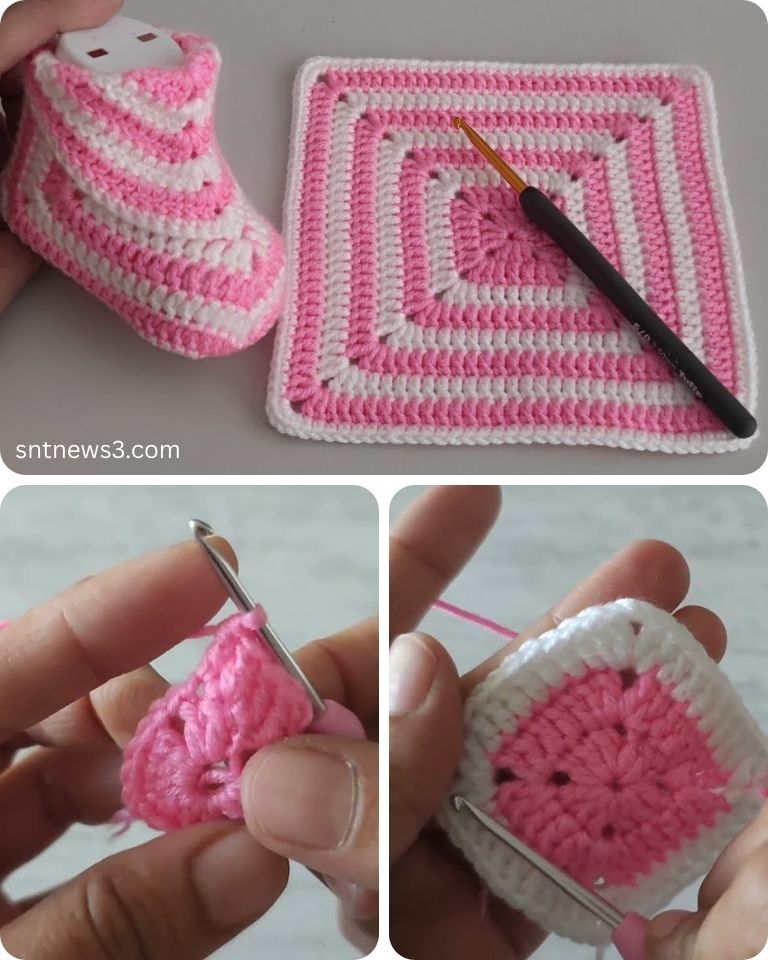
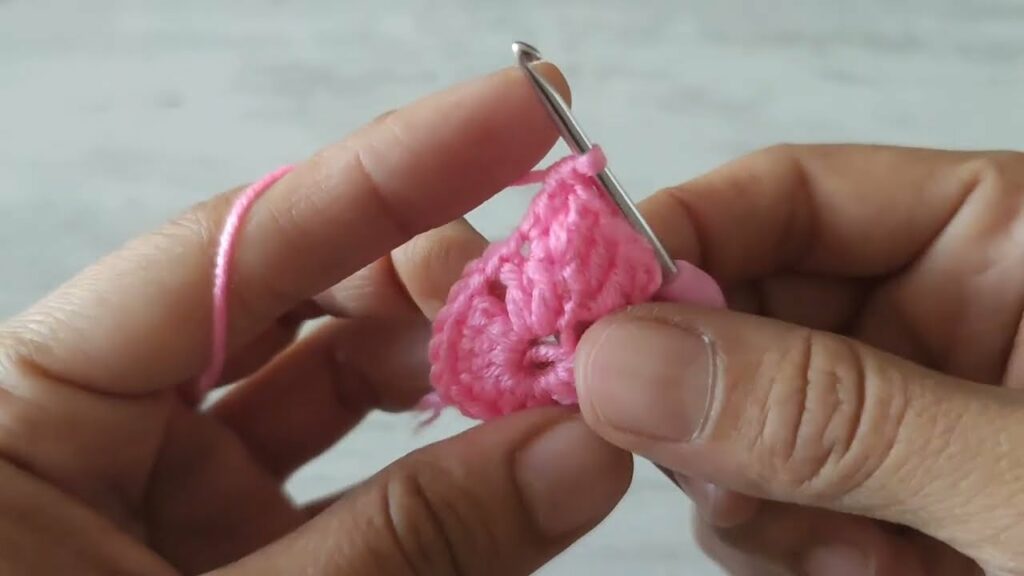
✅ Step 1: Make 3 Small Granny Squares per Shoe
Each baby shoe uses 3 granny squares, so make 6 total.
Granny Square Pattern (Small 2-Round Square):
- Make a magic ring, or ch 4 and sl st to form a ring.
- Round 1: Ch 3 (counts as dc), 2 dc into ring, ch 2, (3 dc, ch 2) x3. Sl st to top of ch-3 to close.
- Round 2: Sl st to corner space. Ch 3, (2 dc, ch 2, 3 dc) in corner. (Ch 1, 3 dc in next space, ch 1, 3 dc, ch 2, 3 dc in next corner) repeat around. Sl st to join.
🌸 Use multiple colors for each round if desired, or stick to one for a clean look.
Make 6 of these granny squares total.
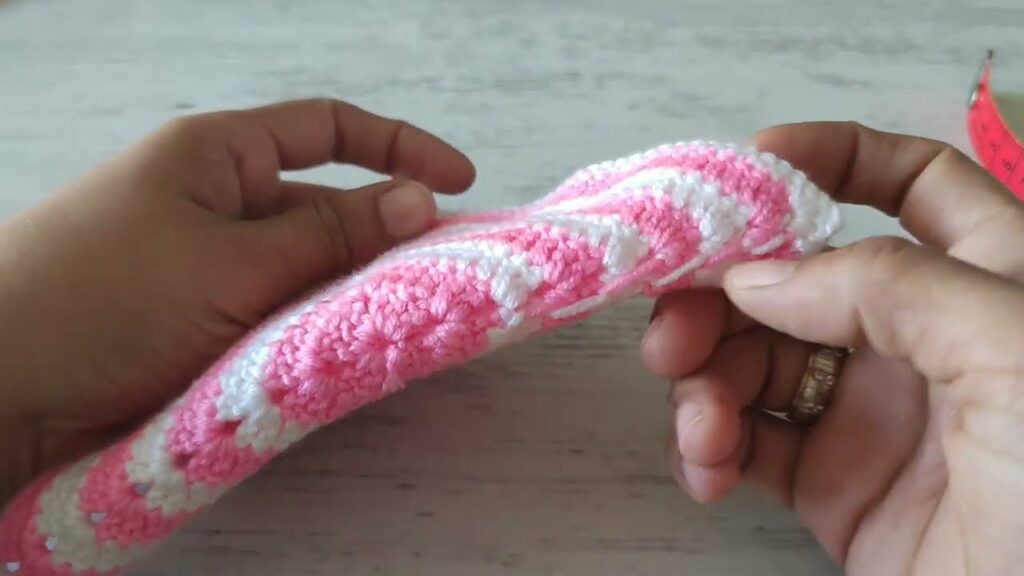
✅ Step 2: Assemble the Shoe
Here’s how you’ll place the squares:
- 1 square = Toe
- 2 squares = Sides (folded up and joined around heel and ankle)
Assembly Instructions:
- Toe: Choose one square for the front.
- Side Squares: Fold the other two squares slightly and attach them on either side of the toe square.
Use sl st or whip stitch to seam the squares together on the wrong side, forming a slipper-like shape.
- Back Heel Join: Seam the two back ends of the side squares together to close the heel area.
You now have a cute little bootie shape forming!

✅ Step 3: Add Top Border (Optional)
Add a simple edging to neaten the opening:
- Join yarn at any point of the ankle opening.
- Round: Sc evenly around the ankle opening. Sl st to join.
- Optional: Add a second round in contrasting color for a pop of style.
✅ Step 4: Add Closure or Decoration
- Sew a small button on each side and crochet a loop closure.
- Use a ribbon to tie around the ankle.
- Add mini crochet flowers, bows, or other cute appliqués.
🎨 Customization Ideas
- 🌈 Colors: Make rainbow granny squares, soft pastels, or classic neutrals.
- 💠 Textured Yarn: Use velvet or chenille for a plush feel.
- 🌼 Appliqués: Crochet little hearts or flowers and sew them onto the toe.
- ❄️ Winter Edition: Line with fleece or faux fur yarn around the ankle.
💡 Tips for Success
- Keep your tension consistent so the squares stay uniform.
- Use cotton or acrylic yarns that are soft but sturdy.
- Weave in all ends carefully, as baby items should have no loose threads.
- Add a non-slip fabric dot on the bottom if the baby is starting to stand.
👣 Care Instructions
- Use machine-washable yarn if possible.
- Wash on gentle cycle in a garment bag or hand-wash.
- Lay flat to dry to maintain shape.
Video tutorial:
🍼 Final Thoughts
The Granny Square Baby Shoe is a heartwarming project that combines the timeless charm of granny squares with practical babywear. Whether you’re creating these for a newborn in the family or as part of a baby shower gift set, these little shoes are guaranteed to steal the show.
With just a few simple stitches and a handful of granny squares, you’ll have a pair of cozy, adorable slippers that look far more advanced than they actually are.