by
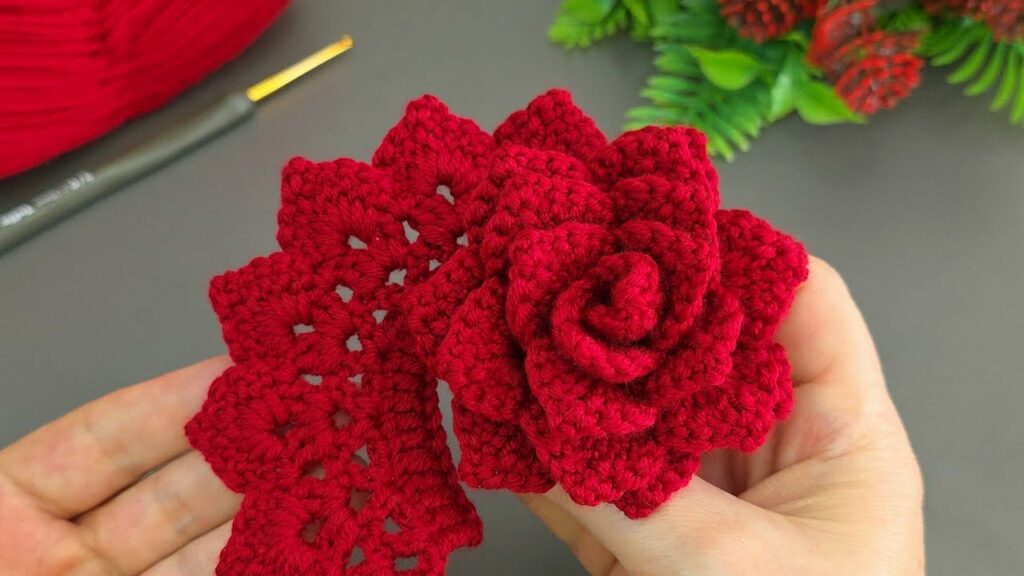
by Crocheting a rose is a beautiful way to add a handmade touch to your crafts. Whether you’re making a bouquet, decorating a hat, or creating a brooch, crochet roses are charming, quick to make, and a fantastic project for all skill levels. In this step-by-step guide, you’ll learn how to crochet a simple rose in under 30 minutes!
🧶 Materials You’ll Need
Before you begin, gather the following:
- Yarn: Worsted weight or light worsted (any color you like)
- Crochet Hook: Size H/8 (5.0mm) is a good starting point
- Scissors
- Yarn Needle (for weaving in ends)
- Optional: Green yarn (for leaves and stem), floral wire, hot glue
📏 Finished Size
The finished rose will be approximately 2–3 inches wide, depending on your yarn and tension.
🌼 Abbreviations (US Terms)
- ch – chain
- sc – single crochet
- dc – double crochet
- sl st – slip stitch
- st(s) – stitch(es)
🌹 Step-by-Step Instructions
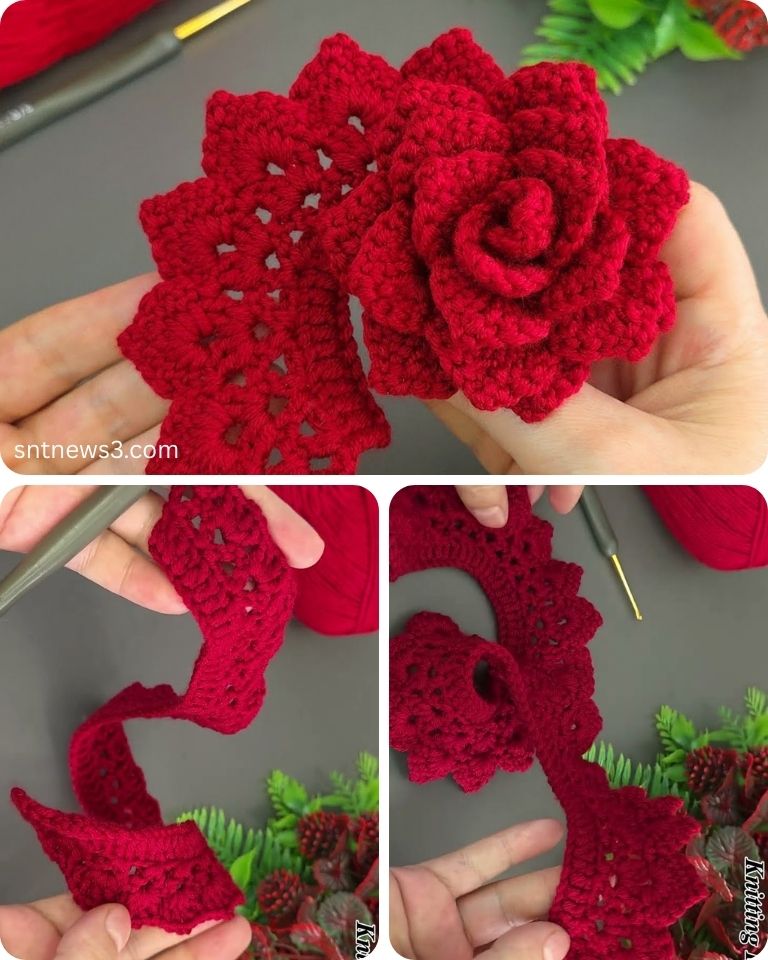
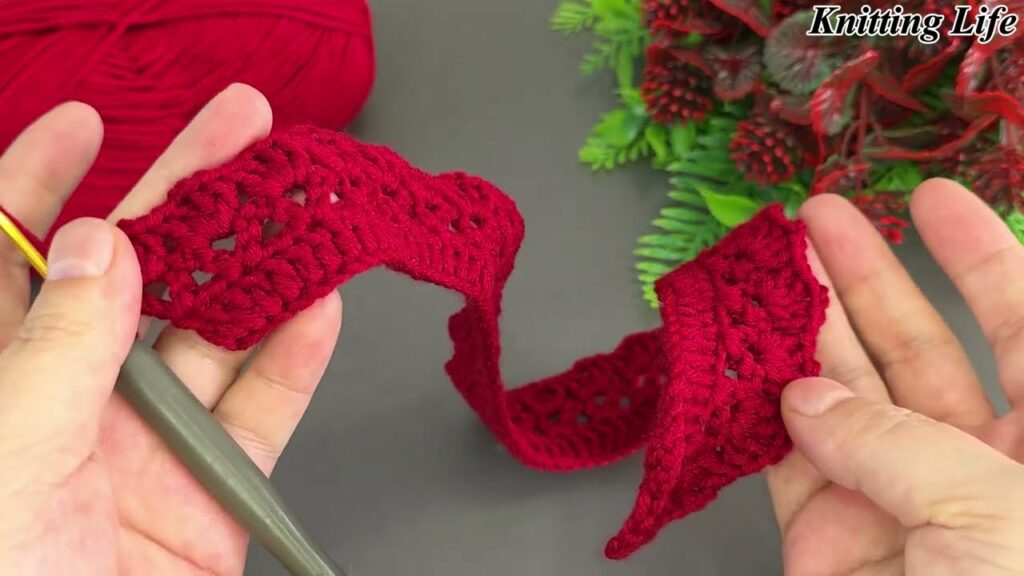
Step 1: Make the Base Strip
This is the long strip that will form the rose petals.
- Ch 51 (this will give you 10 petals; feel free to adjust for more or fewer petals).
- In the 2nd ch from the hook, sc.
- Continue to sc in each ch across. (You should have 50 sc total.)
- Ch 3, turn.
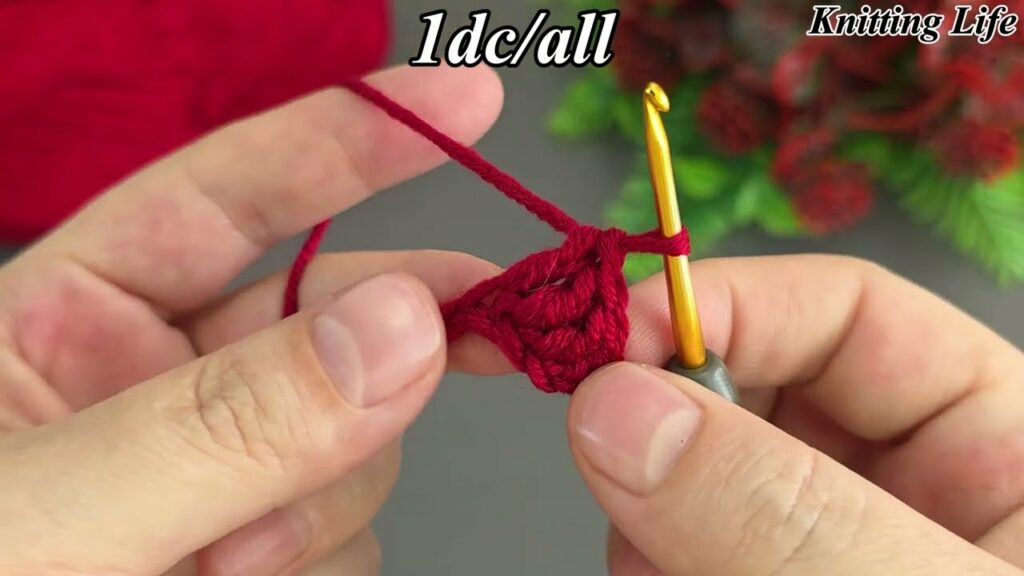
Step 2: Form the Petals
You’ll now crochet in groups to make petals along one side of the strip.
- In the first sc, make 2 dc, then ch 1, sl st in the same sc.
- Skip 1 stitch, and in the next:
- 2 dc, ch 1, sl st in same stitch.
- Repeat this petal-making process across the row.
- Each petal takes 1 stitch and skips 1 in between.
- You should end up with around 10 petals.
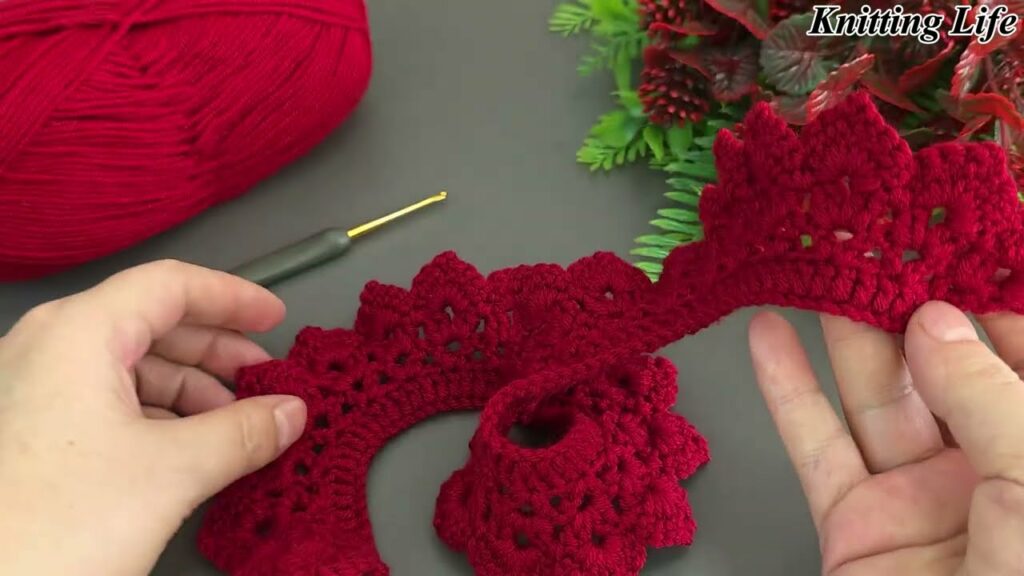
Step 3: Shape the Rose
Now comes the fun part—rolling the strip into a rose!
- Start rolling tightly from one end (this becomes the center of the rose).
- As you roll, spiral the petals outward to give a blooming effect.
- Once you’re happy with the shape, secure the base of the rose using a yarn needle and matching yarn.
- Stitch through the bottom layers to hold the flower together.
- Knot and weave in the ends.
🍃 Optional: Add Leaves or a Stem
If you want a more realistic rose, crochet a couple of simple leaves:
Leaf Pattern (Make 1–2):
- Ch 6.
- Sc in 2nd ch from hook, hdc in next, dc in next 2, 3 dc in last ch.
- Rotate and continue on other side of the chain:
- Dc in next 2, hdc in next, sc in last.
- Fasten off and leave a tail to sew to rose.
You can also wrap floral wire with green yarn and attach it to create a stem.
✅ Tips for Success
- Use a stitch marker if you’re new to keep track of rows.
- Try using variegated yarn for a unique, multi-color rose.
- Make roses in different sizes by adjusting the starting chain and hook size.
Video tutorial:
🧺 Final Thoughts
Crocheting a rose is a rewarding and quick project, ideal for gifts, décor, or just practicing your skills. Once you get the hang of this basic rose, you can experiment with more advanced floral designs, use different yarn textures, or combine multiple roses into bouquets and wreaths.
So grab your yarn, follow these simple steps, and start crocheting your beautiful rose today!