by
by Below is a single, easy-to-follow, beginner-friendly pattern lacy motif used for blouses, shawls, runners and trims. It’s written round-by-round, includes exact stitch groupings you can check as you go, plus joining, blocking and troubleshooting tips so you can crochet the whole project start-to-finish.
Tools & finished size
- Yarn: sport / DK (cotton for crisp lace; cotton-blend or acrylic for softer drape)
- Hook: 3.0–4.5 mm (choose to match yarn & desired drape)
- Notions: tapestry needle, blocking pins/mat, scissors, stitch markers (optional)
- Finished motif (blocked): ≈ 9–13 cm (3.5–5 in) depending on yarn & hook — make 1 test motif to confirm.
Abbreviations (US)
- ch = chain
- sl st = slip stitch
- sc = single crochet
- hdc = half double crochet
- dc = double crochet
- tr = treble crochet
- pic = picot (ch 3, sl st into base)
- sp = space
- st(s) = stitch(es)
- (…) = repeat

Design summary
A round floral medallion → puffy petals → tidy round → lacy arches with inner ribs → optional side/corner loops to convert to a square → scalloped picot edge. Use one motif repeated and joined to make blouse panels, shawls, runners or a continuous lace border.
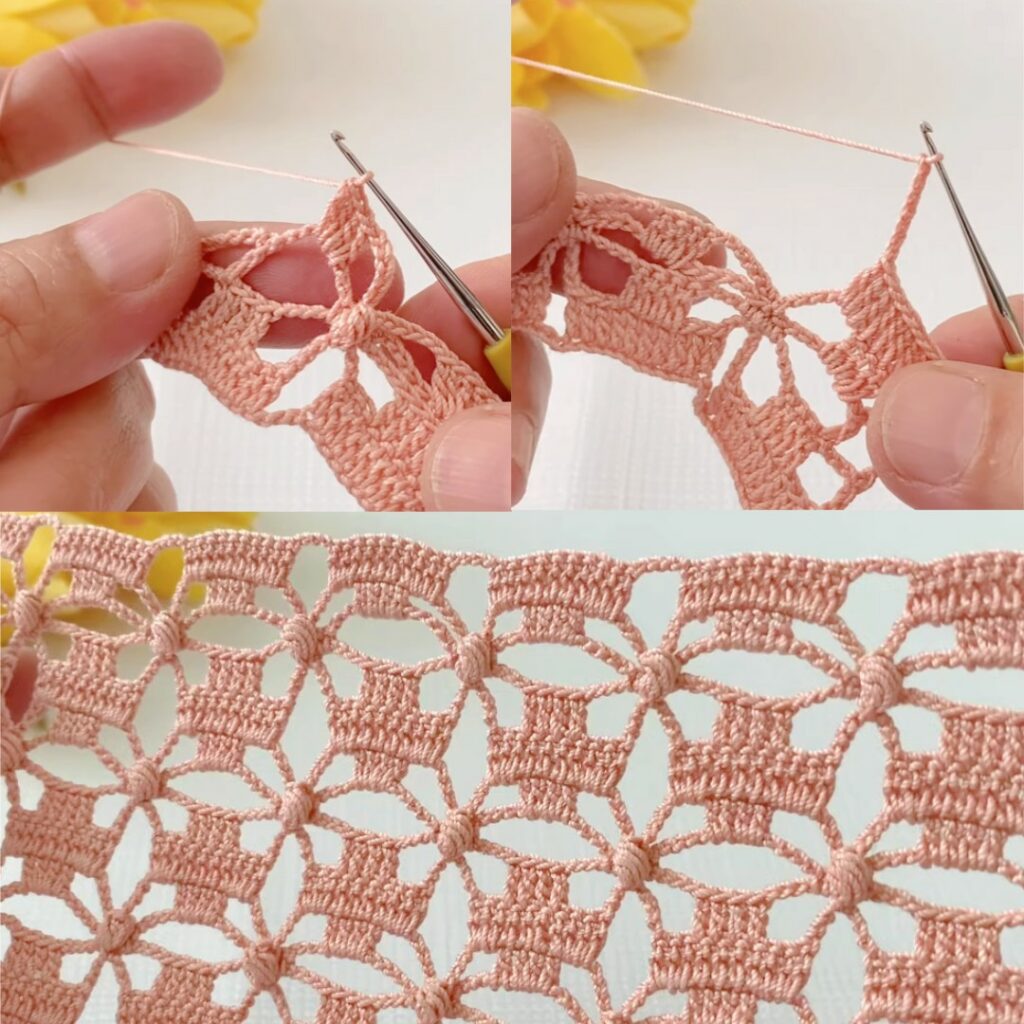
Round-by-round pattern (exact)
Round 1 — foundation center
- Make a magic ring.
- ch 3 (counts as dc), work 15 dc into the ring. (ch-3 + 15 dc = 16 dc.)
- Pull ring closed; sl st to top of ch-3 to join.
Check: 16 dc.
Round 2 — chain loop base (petal scaffold)
- ch 4, skip next dc, sc in next dc — repeat around.
You will form 8 ch-4 spaces separated by sc. Join with sl st.
Check: 8 ch-4 loops.
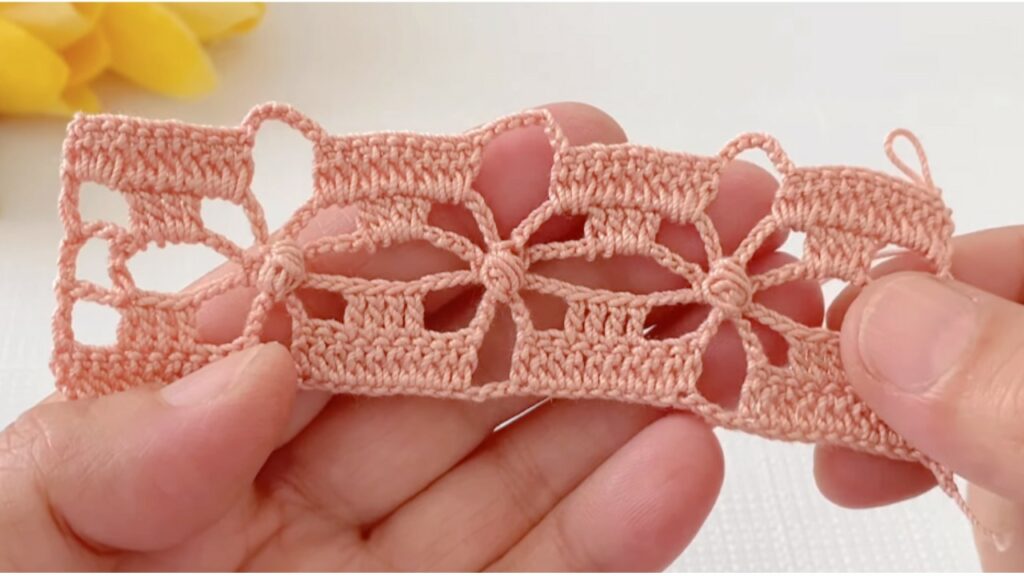
Round 3 — puffy petals (8 petals)
- In each ch-4 space work: (sc, hdc, 7 dc, hdc, sc) — all into the same space (one petal).
- After each petal sl st into next ch-4 space and repeat for all 8 petals. Join.
Check: 8 petals visible.
Variation for smaller petals: use 5 dc instead of 7 dc.
Round 4 — tidy sc round
- Rejoin between any two petals. Work sc evenly around the petal bases to make a smooth circular boundary — aim for about 9–12 sc distributed per petal area so the motif lies flat.
- Join with sl st.
Check: smooth circle (no cupping/ruffling).
Round 5 — large lacy arches (frame)
- From each petal tip: sl st to outer tip → ch 7 → anchor into the sc round between the next petals with (tr, ch 2, tr, ch 2, tr) worked into that sc/space → sl st back to petal tip.
- Repeat around to create 8 large arches. (Adjust ch-6/7/8 to suit your yarn/hook so arches sit neatly.) Join.
Check: 8 evenly spaced arches.
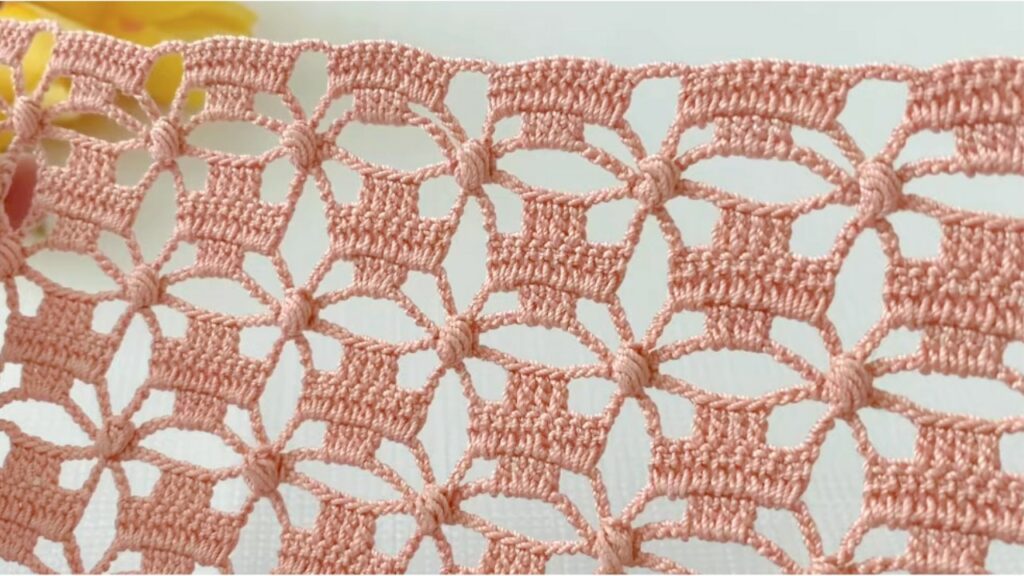
Round 6 — decorative ribs inside arches
- Into each ch-arch work: sl st to arch base → ch 3 → dc into top of first tr → ch 1 → dc into top of middle tr → ch 1 → dc into top of last tr → ch 3 → sl st into arch base.
- Repeat for all arches and join. (Simpler alt: 3 dc separated by ch-1 inside each arch.)
Check: three ribs per arch.
Round 7 — (optional) side & corner loops — make motif joinable
- If you plan to join motifs in a grid (blouse/runner), mark four quarter points (every 2 petals). Rejoin at a quarter.
- Work each side between corners as: sc X, (sc, ch 4, sc) repeated Y times, sc X and at the corner make ch 6 (corner loop).
- Choose X & Y so all four sides have the same counts — e.g., sc 10, (sc,ch4,sc) × 3, sc 10 → ch 6 corner. Adjust to make sides balanced.
- Join and fasten off.
Check: four corner loops and even side loops for matching joins.
Round 8 — outer scallop & picot finish
- Rejoin and work the edge: sc 3, (pic: ch 3, sl st into same st), sc 4 across each small outer curve — adjust counts so scallop sits flat. Place picots evenly to create the dotted scallop.
- Join, fasten off, weave in ends, and block.
Check: scallops even, picots crisp after blocking.
Blocking & finishing
- Pin motif to blocking board/towel into desired shape — if you used Round 7 pull corner loops outward to form crisp corners. Pin every picot for sharp points. Lightly mist with water (or steam) and allow to dry completely. Blocking is essential for lace to open and to get accurate joins.
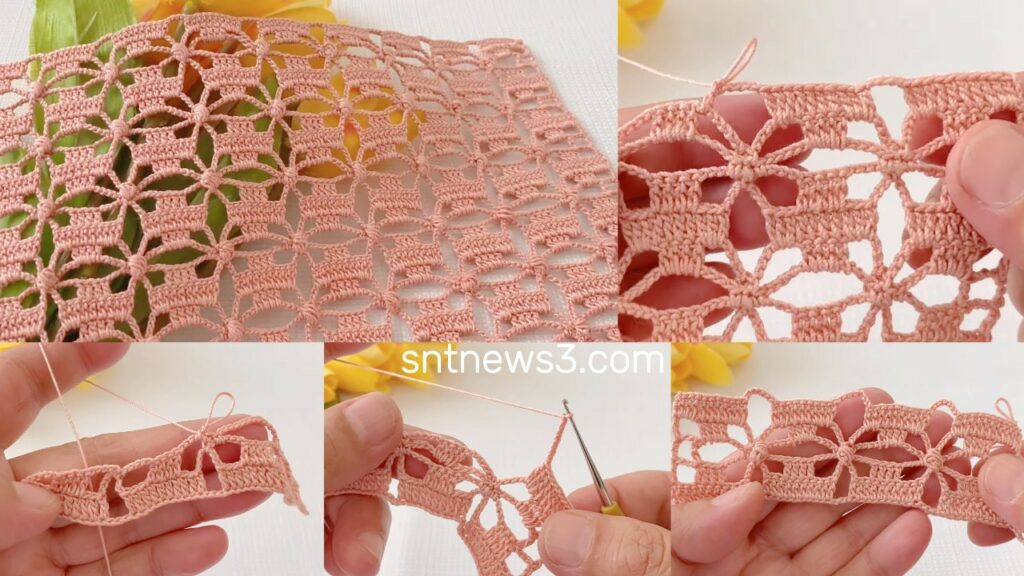
Joining motifs (two methods)
1) Join-As-You-Go (JAYG) — recommended for one-piece garments & flat seams
- Crochet the first motif completely. For each subsequent motif work up through Round 7. On Round 8 (outer scallop), when you reach an outer stitch that should meet an adjacent finished motif, sl st into the corresponding stitch/picot of the finished motif instead of the usual stitch — this attaches the new motif to the existing one. Join at side loops and corners to make strong, flat seams.
2) Sew-after (block then sew)
- Make and block motifs. Lay them in the layout. Use a tapestry needle and matching yarn to sew through side-loop anchors or outer sc rounds (mattress stitch or whipstitch) for a flexible seam.
Project ideas & quick construction notes
Blouse (one-piece, JAYG)
- Measure one blocked motif width M. Half-chest = desired half circumference. Motifs across top row ≈ round(half-chest ÷ M). Build top row, leave center joins open for neckline as needed, add rows downward joining as you go. For armholes leave the side joins unworked for the desired armhole depth. Finish neck & armholes with 2 rounds sc + picot or eyelet.
Shawl
- Rectangular: join motifs into a rectangle (e.g., 6×10).
- Triangular: build rows 1,2,3… from a top point or make a rectangle and cut/trim edges for triangle effect. Add scallop border.
Runner / Table
- Join motifs in long strips. Add 2–3 rounds sc and a scallop/picot border for weight & neatness.
Troubleshooting (quick)
- Cupping (edges pull up): loosen tension, use slightly larger hook for petal/arch rounds, re-block.
- Ruffling/waves: shorten arch chains (ch-6 instead of ch-7) or reduce sc in Round 4.
- Join gaps: add an extra sl st at join points or block motifs before joining; JAYG is easiest on blocked motifs.
- Unbalanced sides: check that Round 7 counts (if used) are identical on all sides before joining.
Quick variations & styling
- Two-colour motifs: change color after Round 3 (petals) to highlight petals vs frame.
- Bigger motif: use thicker yarn / larger hook, or change 7 dc → 9 dc and ch-7 → ch-9.
- Smaller motif: finer yarn / smaller hook, or 7 dc → 5 dc and reduce arch chains.
- Simpler beginner version: replace Round 5–6 archwork with ch-5 loops and 3 dc inside each loop for easier lacy effect.
- Edge only: omit Rounds 1–3 and adapt arch/rib repeat into a continuous lace edge for hems.
VIDEO: