 by
by Skill Level: Intermediate
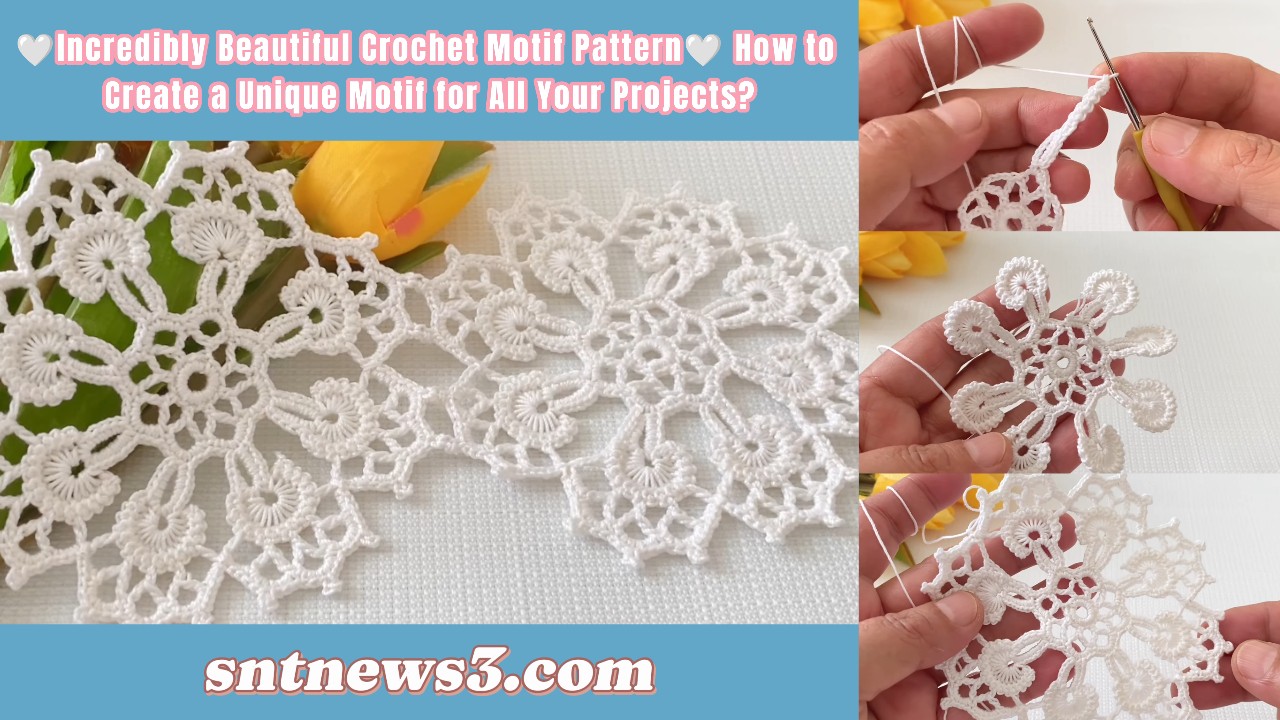
Worked in Rounds
Uses: Blankets, Runners, Shawls, Blouses, Decorative Panels
📌 ABBREVIATIONS (US TERMS)
| Abbreviation | Meaning |
|---|---|
| ch | chain |
| sl st | slip stitch |
| sc | single crochet |
| hdc | half-double crochet |
| dc | double crochet |
| tr | treble crochet |
| sp | space |
| st | stitch |
| rep | repeat |

🪄 BEFORE YOU BEGIN
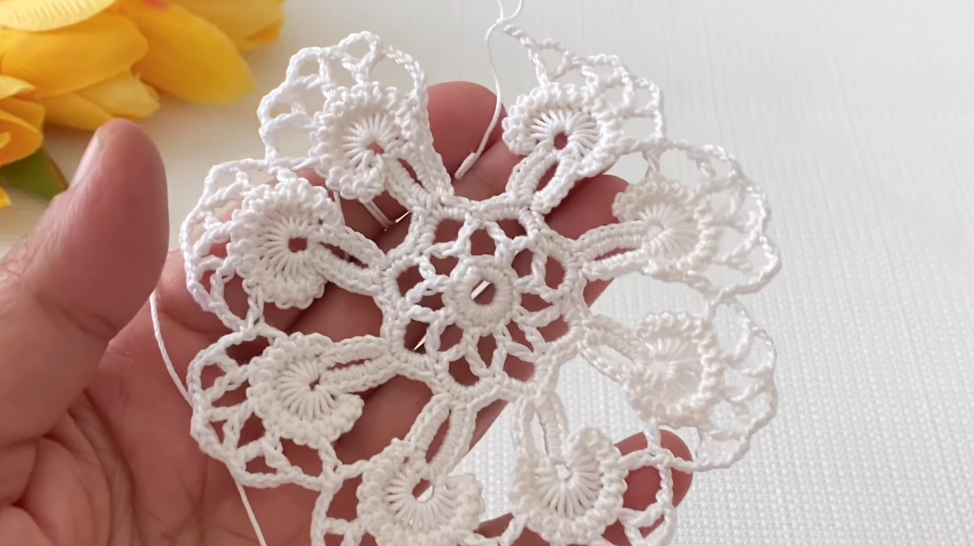
✔ This motif is worked in rounds from the center outward.
✔ You will see repeated shell and chain space stitches to create texture and lacy details.
✔ Use a stitch marker to mark the start of each round.
🟠 ROUND 1 — MAKE THE CENTER CIRCLE
- Make a magic ring (adjustable loop).
- Ch 3 — this counts as your first dc.
- Dc 11 into the magic ring. You will have 12 dc total including the first ch-3.
- Pull the tail to close the center ring tightly.
- Sl st to the top of the beginning ch-3 to join.
✔ This completes a flat center circle — the base of your motif.
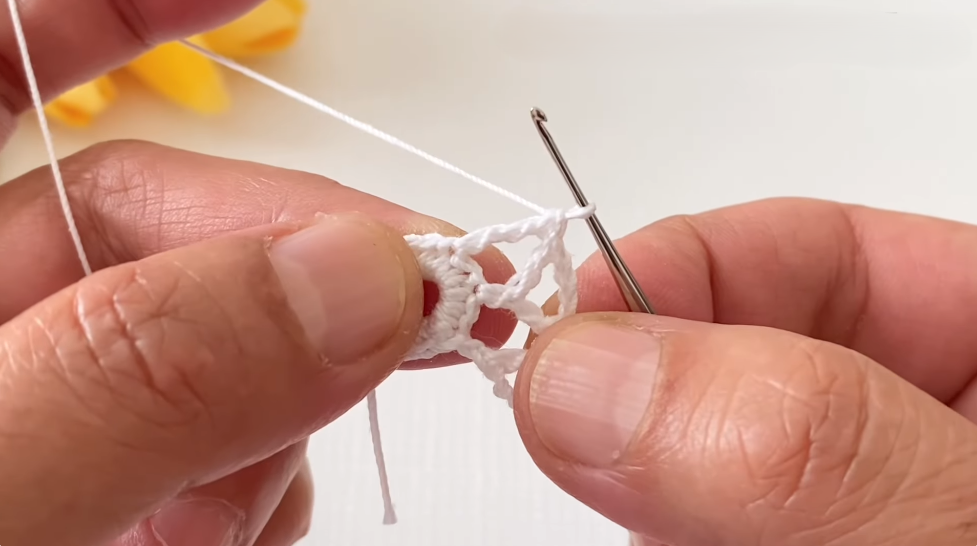
🟡 ROUND 2 — FOUNDATION SHELLS
- Ch 1, sc in the same stitch.
- Ch 5, skip 1 stitch, sc in next stitch.
- Ch 5, skip 1 stitch, sc in next — repeat this ch 5 + sc around until you’ve worked all stitches.
- Sl st to first sc to join.
You now have ch-5 arches around the center — these will hold the shells next.
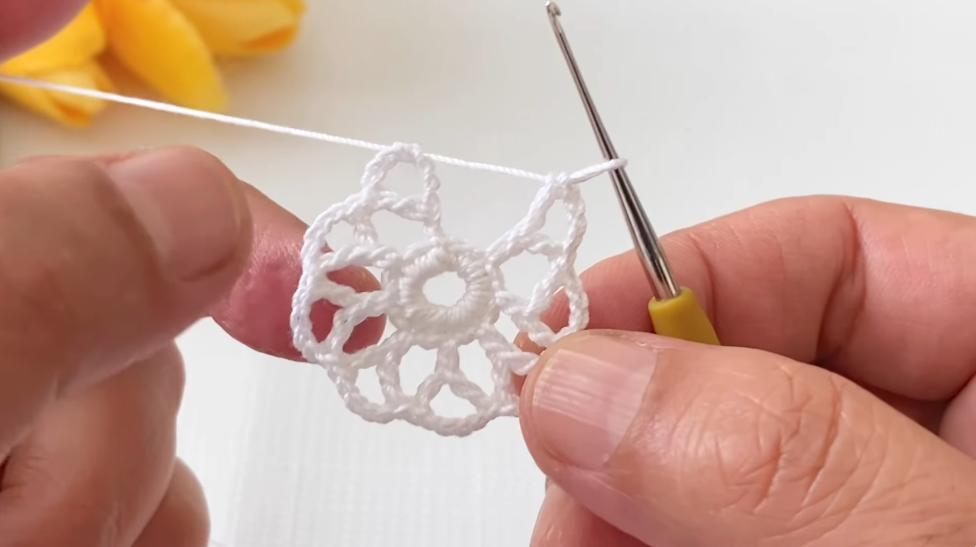
🔵 ROUND 3 — PETAL SHELL CLUSTERS
- Sl st into first ch-5 space.
- Ch 3 (counts as dc), then dc 4 in the same ch-5 space — a total shell of 5 dc.
- Sc in the next ch-5 space.
- Dc 5 in the next ch-5 space.
- Repeat sc + shell around.
- Sl st to top of beginning ch-3 to join.
✔ You’ve created shell clusters alternating with single crochet for texture.
🟣 ROUND 4 — OPEN LACE SPACES
- Ch 1, sc in the first dc (not shell).
- Ch 4, skip 2 dc, sc in next stitch.
- Ch 4, skip 2 dc, sc — repeat around the shell section.
- Sl st to first sc.
This round introduces airy chain spaces that make your motif light and open.
🟢 ROUND 5 — SECOND LAYER OF SHELLS
- Sl st into the first ch-4 space.
- Ch 3, work dc 4 in the same ch-4 space.
- Ch 3, sc in next ch-4 space.
- Ch 3, work dc 5 in the next ch-4 space.
- Repeat around.
- Sl st to start to join.
✔ Two layers of shells give your motif dimension.
🟤 ROUND 6 — EXPANDING THE MOTIF
- Ch 3 (counts as dc), dc next 4 stitches.
- Ch 3, sc in the chain space below.
- Ch 3, dc next 5 stitches.
- Repeat around.
- Sl st to join ends.
This gives your motif a more defined outer edge as it grows outward.
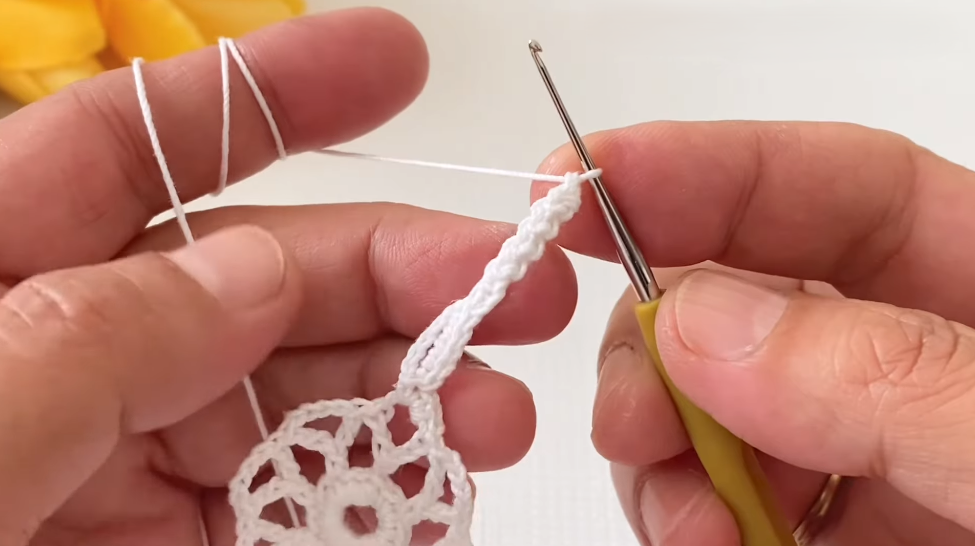
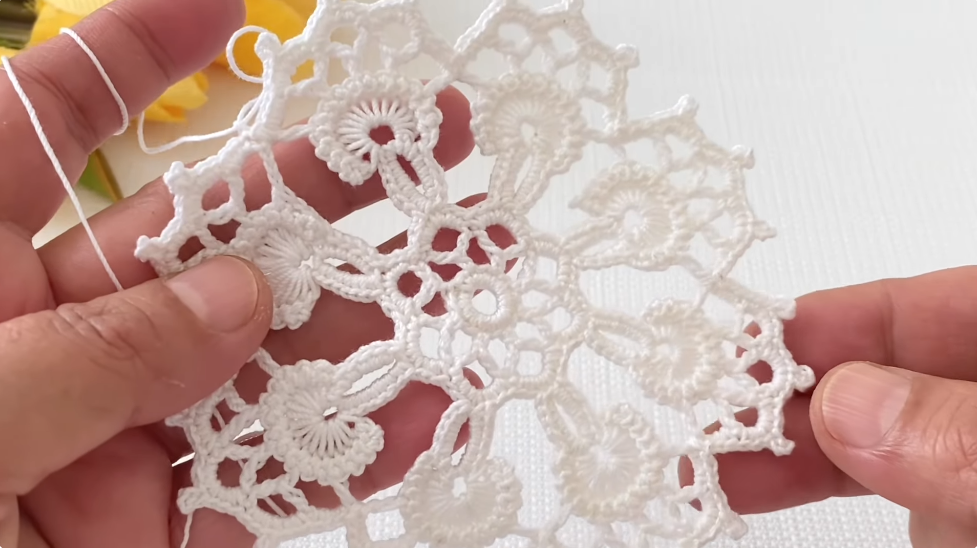
🟨 ROUND 7 — LACE EXTENSION
- Ch 3, dc next 4 stitches.
- Ch 5, sc in next chain space.
- Ch 5, dc next 5 stitches.
- Repeat around.
- Sl st to join.
This adds elongated chain loops and a lacy feel.
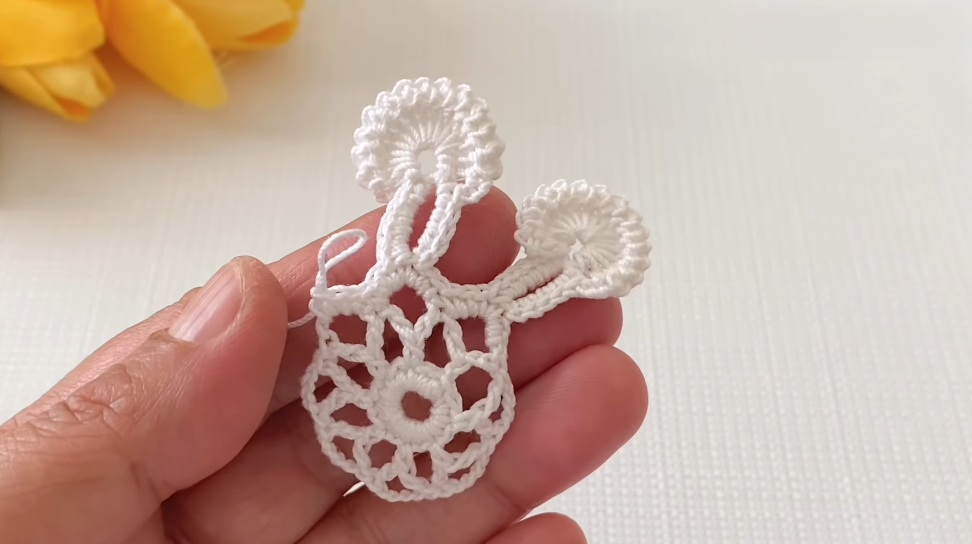
🟧 ROUND 8 — FINAL EXPANSION
- Ch 3, dc next 4 stitches.
- Ch 7, sc in next chain space.
- Ch 7, dc next 5 stitches.
- Repeat around.
- Sl st to join.
✔ Your motif now has a dramatic lacy outer look.
🔹 OPTIONAL BORDER — PICOT FINISH
- Ch 1, sc in next stitch.
- Ch 3, sl st into second chain from hook (picot made).
- Sl st in next stitch.
- Sc in next stitch.
- Repeat sc + picot + sc around edges.
- Sl st and fasten off.
This finishes the motif with a delicate picot edge that also makes joining motifs easier.
🧵 WEAVING IN ENDS & BLOCKING
- Use a tapestry needle to weave in all ends neatly on the way back.
- Lightly dampen the motif and pin it to shape — this opens up lace and flattens edges, especially if you plan to join motifs into blankets or garments.
🪡 JOINING MULTIPLE MOTIFS
To assemble larger pieces (runners, shawls, blouses):
🔹 Join-as-You-Go (Recommended)
While making the last round of a new motif:
- When you reach an edge that connects to a finished motif, sl st into its picot or sc edge instead of working normally.
- Continue until edges are connected evenly.
🪢 Sew Together
- Lay finished motifs side by side.
- Use yarn and a tapestry needle to sew them along edges.
- This method gives very sturdy seams.
💡 PROJECT IDEAS WITH YOUR MOTIF
✨ Blankets & Throws — join motifs in grids
✨ Runners & Table Mats — long strips
✨ Shawls & Wraps — triangular or rectangular panels
✨ Blouses & Vests — motif panels as garment pieces
✨ Home Decor — cushion covers, wall hangings
🧠 TECHNIQUE TIPS
✔ Ensure consistent tension so all motifs match size.
✔ Use stitch markers to mark round beginnings.
✔ If motifs buckle, add or remove chains in lace rounds to balance.
✔ Block motifs before joining for neat alignment.
VIDEO: