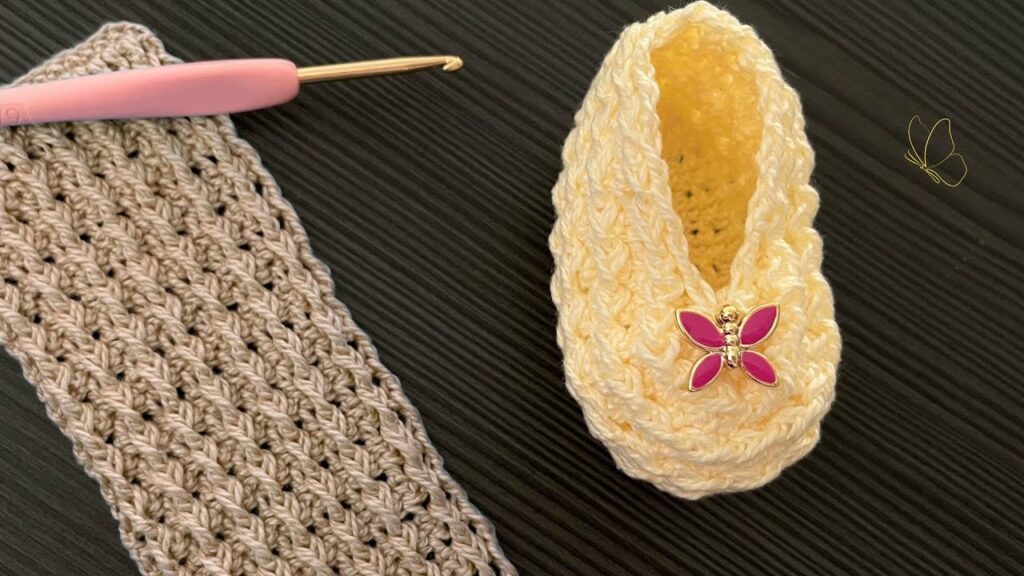
by
by Handcrafted baby shoes are not just functional—they’re works of love, warmth, and design. Among the many crochet techniques available, relief stitches stand out for their ability to add texture, depth, and visual interest. When used in baby shoe designs, these stitches create an exquisite, three-dimensional look that transforms a simple bootie into a miniature masterpiece.
Whether you’re a seasoned crocheter or a curious beginner, making baby shoes with relief stitch offers the chance to create something truly special.
👣 What Are Relief Stitches?
Relief stitches are a group of crochet stitches worked around the post of a stitch instead of through the top loops. This method creates raised ridges, cables, or ribbed textures that “pop” out from the fabric.
There are two common types:
- Front Post (FP): Yarn is worked in front of the post of a stitch
- Back Post (BP): Yarn is worked behind the post of a stitch
These can be applied to double crochet (dc) or treble crochet (tr) to form:
- Ribbing
- Braids or cables
- Decorative patterns
🧶 Why Use Relief Stitch in Baby Shoes?
Using relief stitches in baby booties or shoes:
- Adds structure: Helps the shoe hold its shape better
- Enhances design: Creates an elegant, luxurious texture
- Feels soft: Maintains comfort while adding detail
- Gives flexibility: Perfect for combining with other stitches
🧶 Crochet Baby Shoes with Relief Stitch – Step-by-Step Pattern
👶 Size:
Fits 0–3 months (approximately 9 cm / 3.5” sole)
🧵 Materials Needed:
- Yarn: Soft worsted weight or baby DK yarn (cotton or acrylic)
- Hook: 4.0 mm (G)
- Yarn needle
- Scissors
- Stitch marker (optional)
- Buttons/ribbon (optional for decoration)
📚 Abbreviations (U.S. Terms):
- ch – chain
- sc – single crochet
- hdc – half double crochet
- dc – double crochet
- fpdc – front post double crochet
- bpdc – back post double crochet
- sl st – slip stitch
- st(s) – stitch(es)
- sc2tog – single crochet 2 together (decrease)
🥾 Instructions
🧭 Part 1: Sole
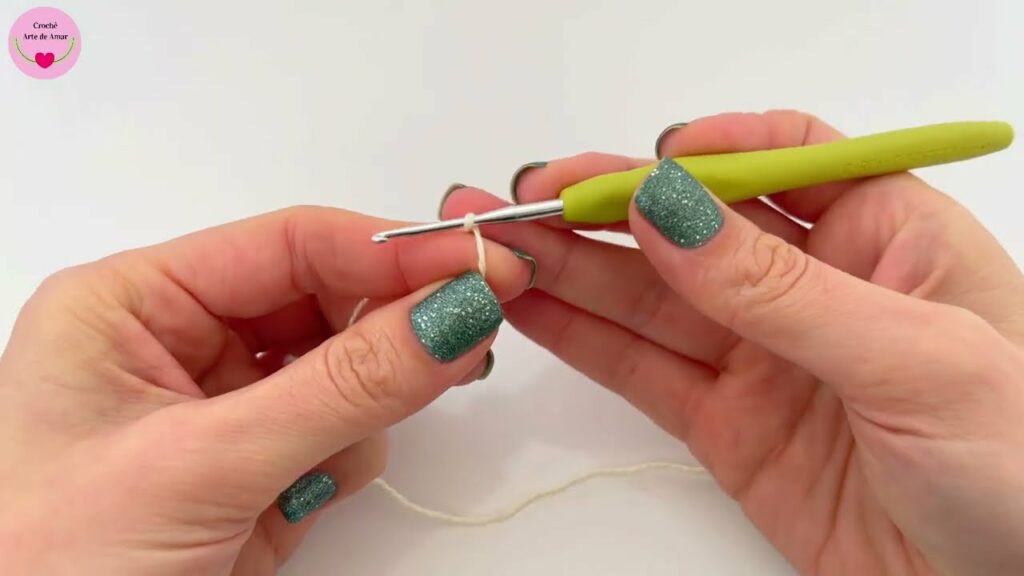
Round 1: Ch 10. In 2nd ch from hook, 2 hdc. Hdc in next 7 sts. 5 hdc in last ch. Rotate to work on opposite side. Hdc in next 7 sts, 3 hdc in last st. Join with sl st. (24 sts)

Round 2: Ch 1, 2 hdc in first 2 sts, hdc in next 7 sts, 2 hdc in next 5 sts, hdc in next 7 sts, 2 hdc in last 3 sts. Join. (34 sts)

Round 3: Ch 1, sc in each st around. Join. (34 sts)
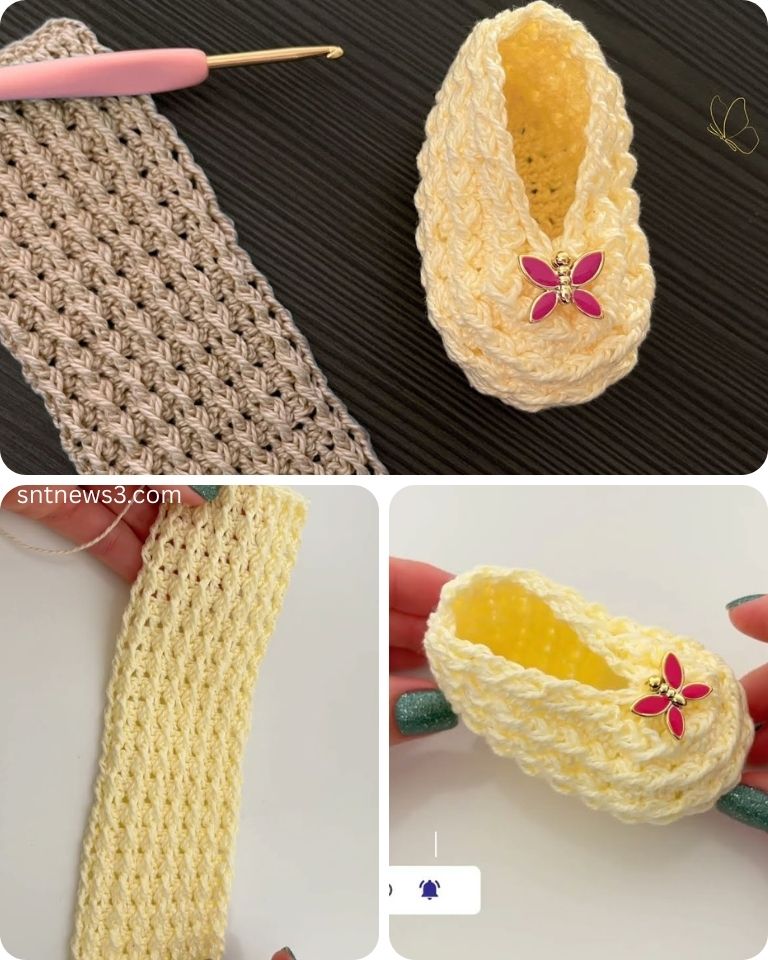
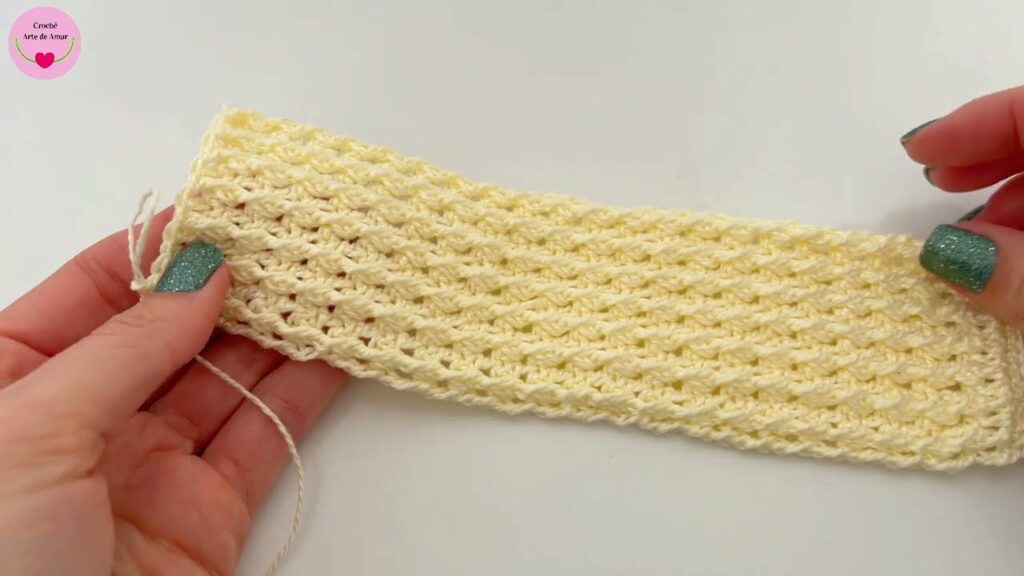
👟 Part 2: Upper (Textured Relief Section)
Round 4: Ch 2 (counts as dc), *fpdc in next st, bpdc in next st*, repeat around. Join. (34 sts)

Round 5: Ch 2, repeat *fpdc in fpdc, bpdc in bpdc* around. Join. (34 sts)

Round 6: Ch 1, sc in next 12 sts, sc2tog 5 times, sc in last 12 sts. Join. (29 sts)

Round 7: Ch 1, sc in next 10 sts, sc2tog 4 times, sc in last 11 sts. Join. (25 sts)
🧦 Part 3: Ribbed Cuff
Round 8: Ch 2, *fpdc in next st, bpdc in next st*, repeat around. Join. (25 sts)

Round 9–10: Repeat round 8. (Optional: Add more rounds for higher boot style)

Fasten off and weave in ends.
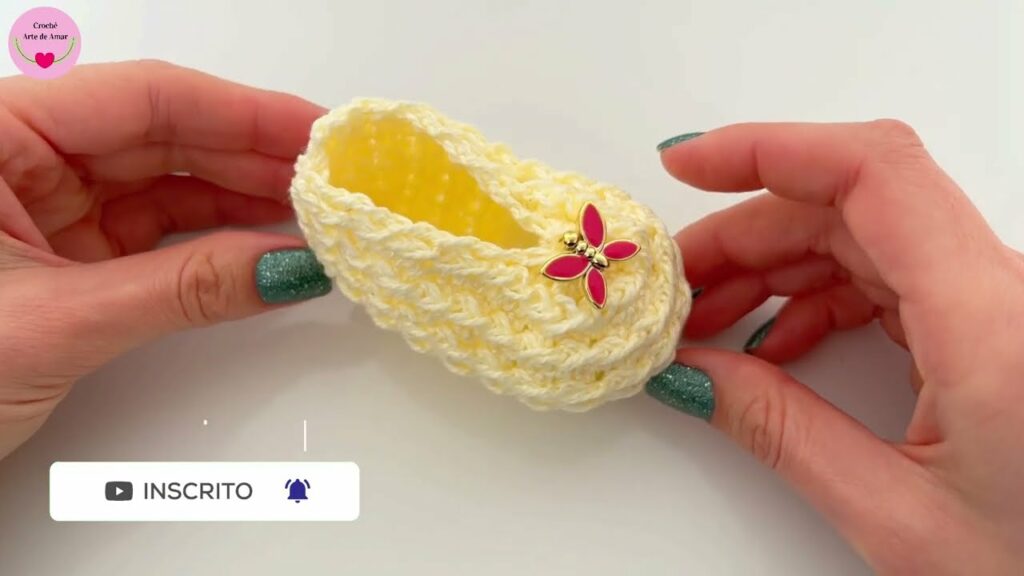
🎀 Optional: Add a Strap or Button
- Attach a strap by chaining 10–12, then sl st to opposite side of the shoe.
- Add a small button or bow for decoration (securely sewn on—baby-safe!).
🎁 Perfect for Gifting
Relief stitch baby shoes make thoughtful, eye-catching gifts for:
- Baby showers
- Christenings or religious ceremonies
- First birthdays
- Handmade keepsakes for memory boxes
Pair them with a matching hat or headband using the same relief stitch for a complete set!
🧼 Care & Maintenance
- Use yarns that are machine-washable and gentle on baby skin
- Wash in cold water and lay flat to dry to preserve the shape and stitch definition
- Avoid harsh detergents or fabric softeners
Video tutorial:
❤️ Conclusion
Baby shoes with very beautiful relief stitch combine the best of texture, design, and comfort. They showcase the skill and creativity of the maker while offering soft protection and style for a baby’s delicate feet. With a bit of practice and imagination, you can create elegant shoes that will be cherished and remembered.
These tiny shoes don’t just walk into hearts—they stomp in with style!