 by
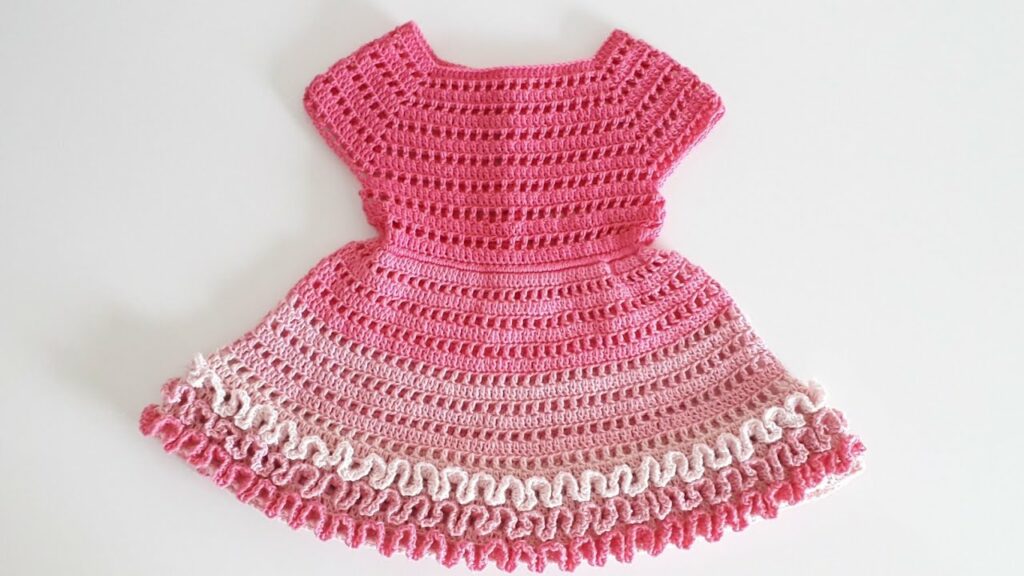
by Crocheting your own summer dress can be one of the most rewarding and stylish projects you take on. Not only do you get the satisfaction of making your own clothes, but you also get to customize it to your body and style. This guide will walk you through the process of crocheting a simple summer dress, covering everything from yarn selection to assembly and finishing touches.
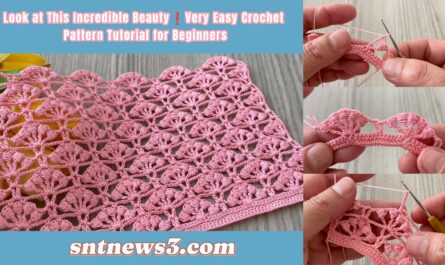
🧵 Why Crochet a Summer Dress?
Summer dresses are typically lightweight, breathable, and often feature open, lacy designs that suit warmer weather. When you crochet your own, you can:
- Customize the fit and length
- Choose your favorite colors
- Use breathable natural fibers like cotton
- Save money on designer summer pieces
- Practice new crochet stitches and garment-making skills
🧶 Materials You’ll Need
Before you start, gather the following materials:
1. Yarn
Choose a lightweight (category 2 or 3) yarn, preferably in cotton or bamboo blends. These fibers are breathable and perfect for summer.
Recommended Yarns:
- Lion Brand Coboo (cotton/bamboo blend)
- Drops Cotton Light
- Bernat Softee Baby Cotton
2. Crochet Hook
Check your yarn label for the recommended hook size. Typically, you’ll need:
- 3.5 mm to 4.5 mm (E–7 to G–7) hook for lightweight yarn
3. Measuring Tape
To ensure the dress fits your body measurements.
4. Scissors and Yarn Needle
For cutting yarn and weaving in ends.
5. Stitch Markers
Useful for marking your rounds or stitch patterns.
🧍♀️ Step 1: Measure and Plan
Before you crochet a single stitch, take the following measurements:
- Bust
- Waist
- Hips
- Length from shoulder to hem
Decide on the style:
- Tank top dress?
- Halter?
- Off-shoulder?
- Flared or fitted skirt?
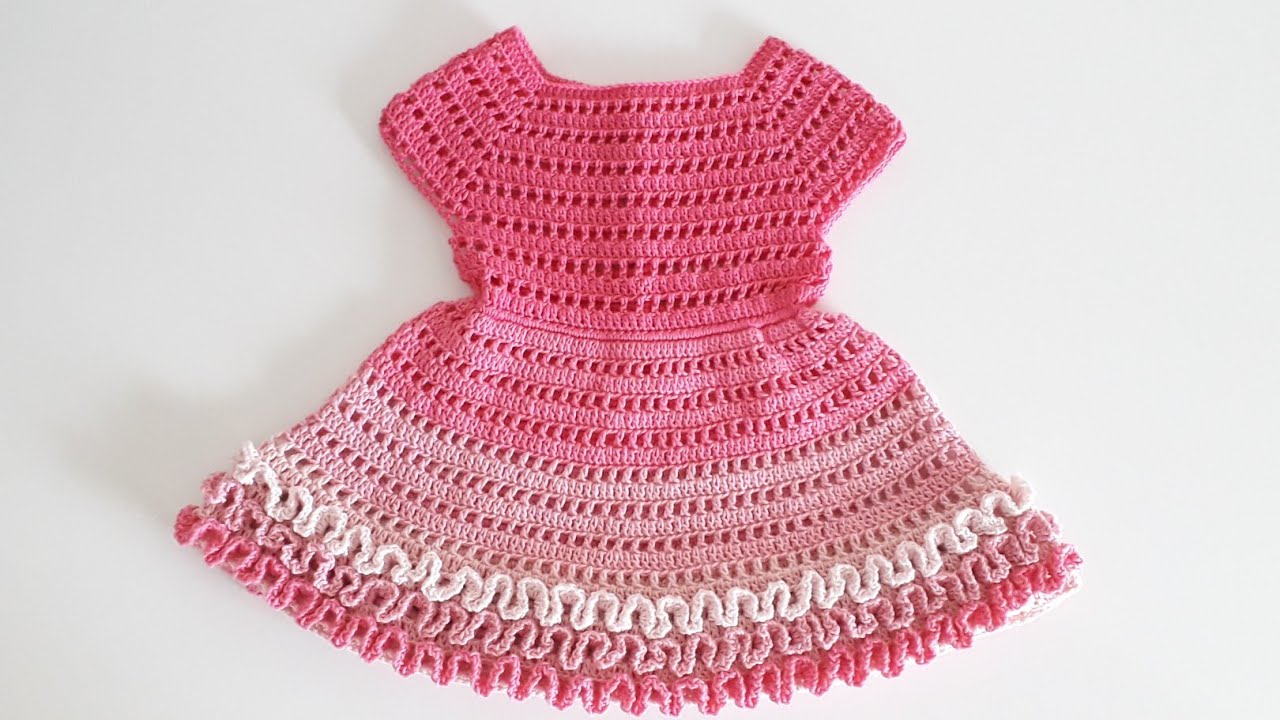
For this tutorial, we’ll focus on a simple A-line tank summer dress with a basic stitch pattern.
🔁 Step 2: Choose a Stitch Pattern
Stick with simple stitches that drape well:
- Double Crochet (dc): Fast, loose, breathable
- Half Double Crochet (hdc): A bit denser, still stretchy
- V-Stitch: A decorative, airy pattern using dc stitches
- Mesh Stitch: Alternating dc and chain stitches for a lacy look
For this tutorial, we’ll use a combination of half double crochet (hdc) for the bodice and V-stitch for the skirt.
🧩 Step 3: Construct in Parts (Top + Skirt)
You’ll make this dress in two main parts:
- The bodice (top) worked in rows or rounds
- The skirt (attached to the bodice) worked in rounds
🟡 Part 1: The Bodice
- Make a Foundation Chain:
Chain enough stitches to fit snugly around your bust. Example: Bust = 36 inches; Gauge = 5 hdc/inch ⇒ 36 × 5 = 180 chains - Join in the Round:
Make sure the chain is not twisted. Join with a slip stitch to form a circle. - Work Evenly in HDC:
- Hdc in each stitch around for about 8–10 inches (or from bust to waist)
- Try it on occasionally to check fit
- Create Armholes and Neckline (Optional):
If you want a tank top style:- Split for front/back panels after desired bodice height
- Work flat for a few inches, leaving room for the armholes
- Seam the shoulders together
🟢 Part 2: The Skirt
- Attach Yarn to Bottom of Bodice:
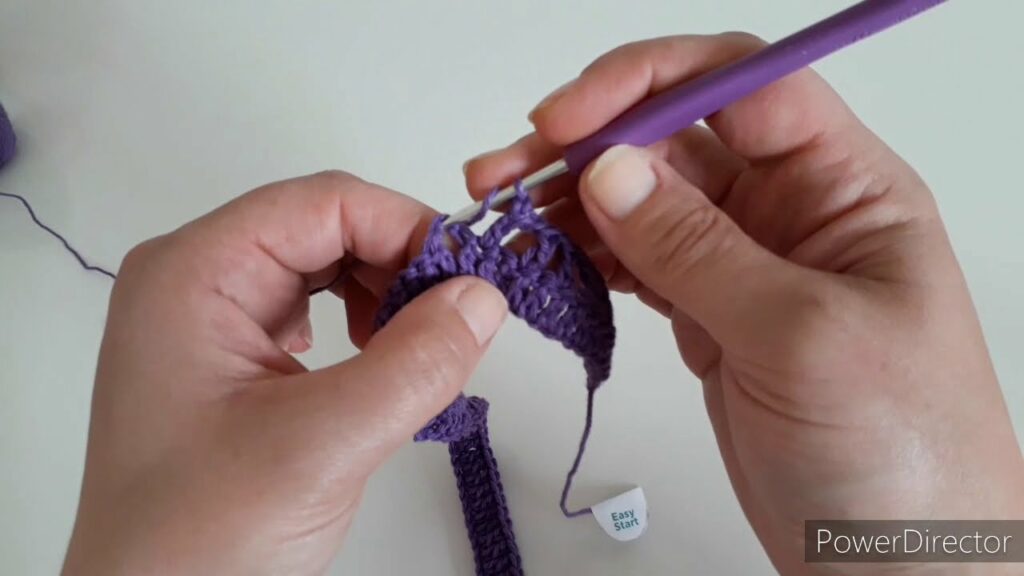
Join with a slip stitch. - Start V-Stitch Pattern:
- V-stitch: (dc, ch 1, dc) in same stitch
- Skip 1–2 stitches between V-stitches depending on your desired fullness
- Increase as You Go:
To create an A-line shape:- Every 4–5 rows, add an extra V-stitch by skipping fewer stitches
- Work in Rounds:
Continue for desired length (typically 18–24 inches from waist to hem) - Finish Hem:
- Optionally add a shell or picot edge for a decorative hem
🧵 Step 4: Finishing Touches
1. Try It On
Check the overall fit. Make adjustments if needed.
2. Weave in All Ends
Use a yarn needle to hide all yarn tails securely.
3. Block the Dress
Soak in cool water, gently squeeze, lay flat to dry and shape. Blocking improves drape and evens out stitches.
4. Add Optional Elements
- Straps (for spaghetti-strap style)
- Ties or drawstrings at the waist
- Belt loops
- Crochet belt or sash
🧠 Tips for Success
- Swatch First: Always make a gauge swatch before starting to avoid sizing issues.
- Use Stitch Markers: Especially for the beginning of rounds or pattern repeats.
- Customize Fit: Try on the dress as you go and adjust for your body type.
- Choose Breathable Yarn: Cotton or bamboo blends are ideal for hot weather.
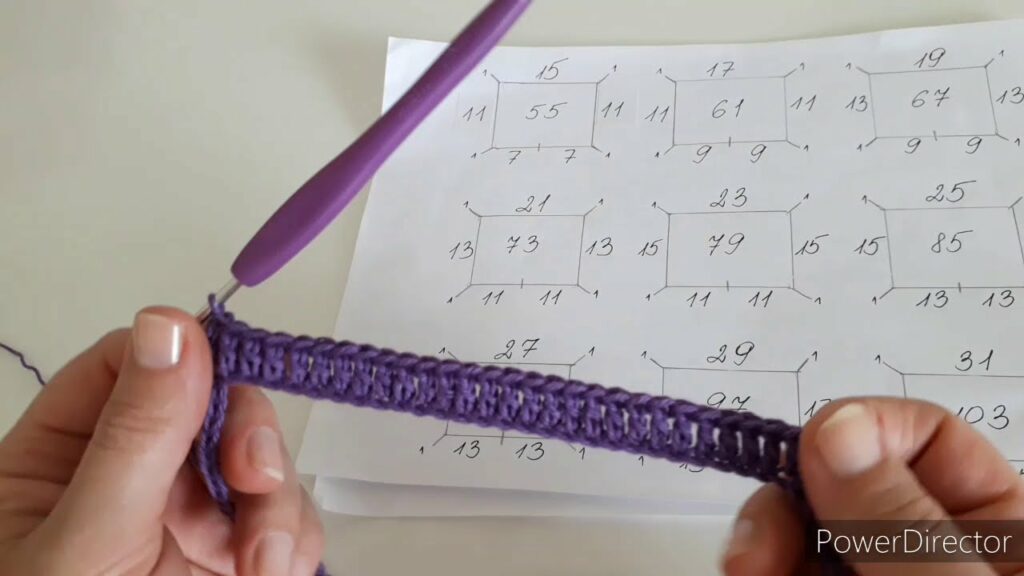
🧷 Simple Pattern Overview (Example Sizing: M)
Bodice:
- Ch 180 (join in round)
- Rnd 1–20: Hdc in each st around (adjust number of rows for length)
- Split for front/back (optional) and work flat for 5 more rows
- Seam shoulders
Skirt:
- Attach yarn to bottom of bodice
- Rnd 1: (Dc, ch 1, dc) in same st, skip 2 repeat around
- Rnd 2–until desired length: Work V-stitch pattern, increasing every few rounds for flare
Finishing:
- Weave in ends
- Block
- Add straps or decorations
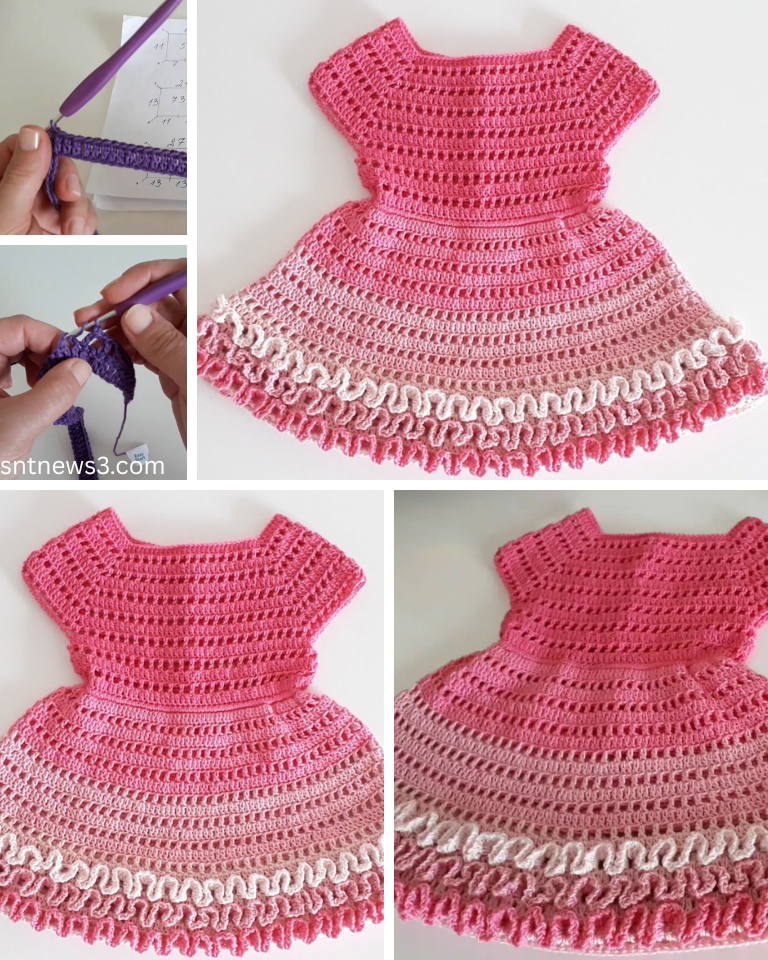
👗 Conclusion
Crocheting your own summer dress is both a fun challenge and a creative expression. With a little patience and planning, even beginner crocheters can make a beautiful, custom-fit piece perfect for beach days, casual outings, or warm evenings. This simple design leaves plenty of room for personalization, so don’t be afraid to experiment with colors, stitch patterns, and lengths.
Whether you’re lounging by the pool or heading out for a picnic, your handmade summer dress is sure to turn heads—and you’ll have the satisfaction of saying, “I made this!”
Video tutorial: