 by
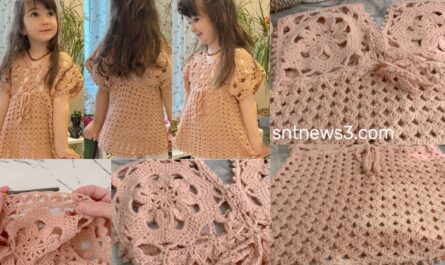
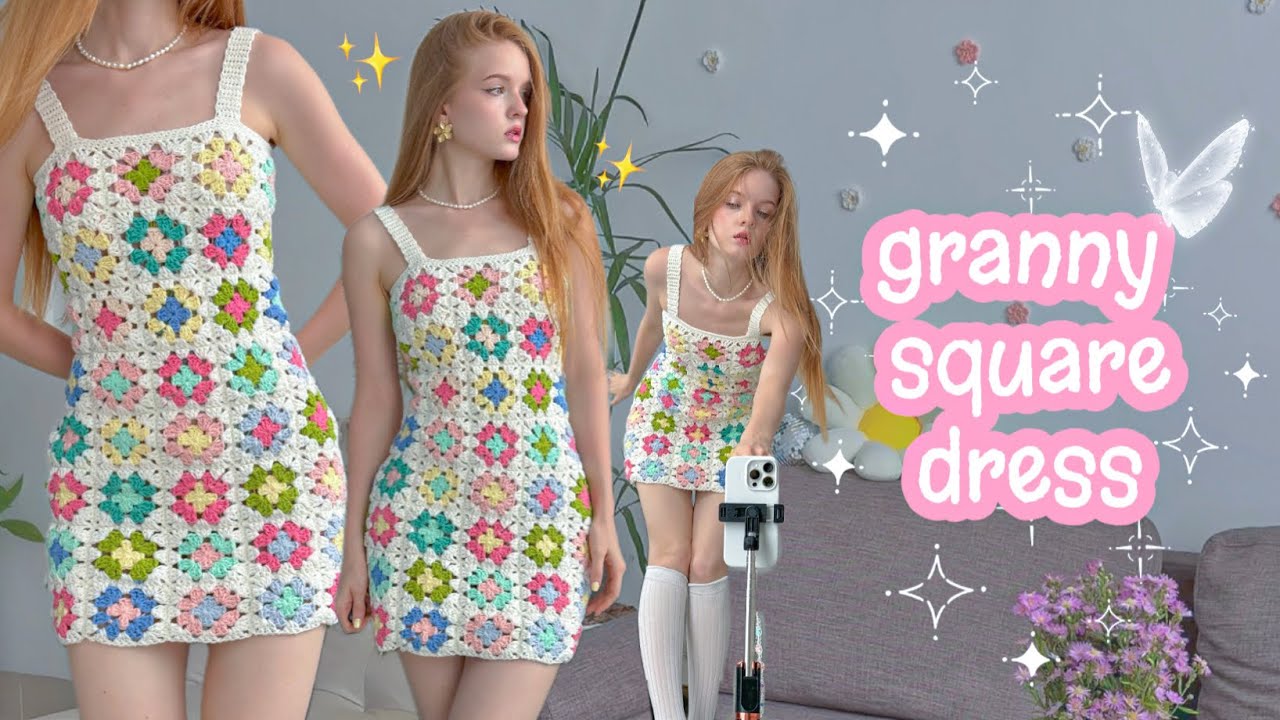
by Crochet fashion has made a stunning comeback, and nothing captures the beauty of handmade style quite like a granny square dress. Once considered vintage, granny squares have taken on a fresh, modern life with bold colors, minimalist palettes, and inventive designs.
A granny square dress is not only fashionable—it’s also a fantastic project for crocheters of all levels. This article will guide you through the process of creating your own granny square dress from start to finish.

🌼 What is a Granny Square Dress?
A granny square dress is a garment made primarily by stitching together multiple granny squares—small, usually square motifs made in the round. These squares are then joined to form a bodice, skirt, or entire dress.
They can be:
- Fitted or flowy
- Mini, midi, or maxi length
- Strapless, halter, tank-style, or long-sleeved
The beauty of this dress lies in its modularity and customizability—you can make it in any size, with endless color combinations.
✨ Why Make a Granny Square Dress?
- Beginner-Friendly: Learn to make a basic granny square, and you can build from there.
- Portable: You can work on individual squares anywhere.
- Custom Fit: Add or remove squares to adjust the size.
- Eco-Friendly: Great for using up yarn scraps.
- Boho-Chic Look: Perfect for summer festivals, beach cover-ups, or everyday wear.
🧶 Materials You’ll Need
Here’s what you’ll need to crochet your granny square dress:
1. Yarn
- Fiber: Cotton is great for breathable summer dresses. Acrylic works for cooler months.
- Weight: DK (3) or Worsted (4) for structure. Choose lighter weights for a flowier finish.
Examples:
- Paintbox Cotton DK
- Lion Brand 24/7 Cotton
- Scheepjes Catona
2. Crochet Hook
- Size depends on your yarn—usually 4 mm to 5 mm (G to H).
- Always check the yarn label and make a swatch for gauge.
3. Other Supplies
- Scissors
- Tapestry needle
- Stitch markers (optional)
- Measuring tape
- Buttons or elastic (if making a fitted waist or closure)

🧵 How to Crochet a Granny Square Dress – Step-by-Step
🟡 Step 1: Choose a Dress Style
Before crocheting, decide on a dress style. Options include:
- Tube dress: Squares joined in a rectangular tube
- Tank dress: Straps or solid top added to square bodice
- Wrap dress: Open front, belted at waist
- A-line or flared skirt: Add increasing rows of squares for fullness
- Long sleeve or halter: Customize top/sleeve sections
For this guide, we’ll walk through a classic sleeveless granny square dress with a fitted bodice and slightly flared skirt.
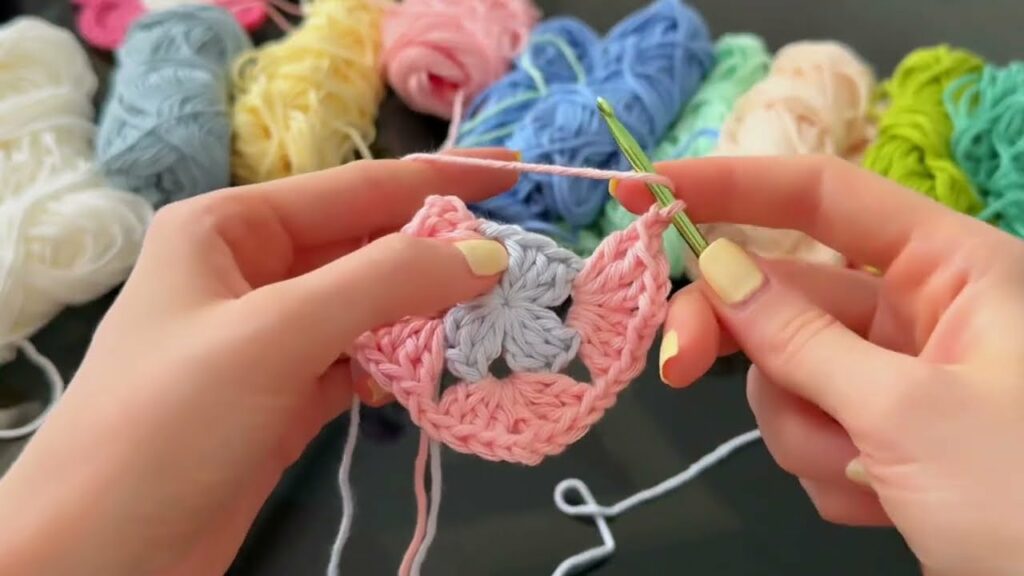
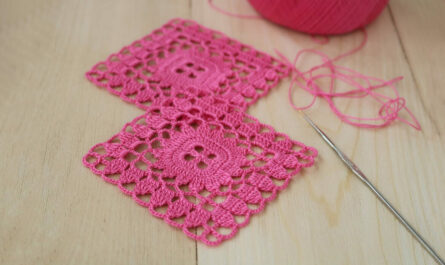
🔶 Step 2: Make Your Granny Squares
🔸 Basic Granny Square Pattern (Traditional 3-round)
- Start with a magic ring, or chain 4 and join to form a ring.
- Round 1:
- Ch 3 (counts as dc), 2 dc into ring, ch 2
- (3 dc into ring, ch 2) repeat 3 more times
- Join to top of beginning ch-3 with sl st
- Round 2:
- Sl st into next 2 dc and into ch-2 space
- Ch 3 (counts as dc), 2 dc, ch 2, 3 dc in same corner
- (3 dc in next space, ch 2, 3 dc in same space) in remaining corners
- Join with sl st
- Round 3:
- Continue same pattern: 3 dc in each space, ch 2 in corners
- Join with sl st
Make as many rounds as desired. 3–5 rounds is standard. We’ll assume 4-round squares (~4 inches each) for this dress.
🔸 Make Enough Squares
Use your own body measurements to estimate:
- Bust / Square width = Number of squares across bodice
- Length / Square height = Number of rows
Example: Bust = 36″, square = 4″ wide → 36 ÷ 4 = 9 squares across
Length = 32″, square = 4″ tall → 32 ÷ 4 = 8 rows
You’ll likely need around 60–100 squares depending on your size and style.
🟢 Step 3: Block Your Squares
Before joining, block all your squares. This makes them the same size and flattens them for even joining.
- Steam block with an iron (do not touch acrylic directly!)
- Or pin to a board and spray with water
Let them dry fully.
🔗 Step 4: Join the Squares
Choose a joining method:
💠 Popular Joining Methods:
- Slip Stitch Join: Lay squares flat and slip stitch through both edges.
- Whip Stitch Join: Sew together with yarn needle.
- Join-as-you-go (JAYG): Crochet squares directly to each other in final round.
Tips:
- Join squares row by row first, then join rows together.
- Decide if you want visible seams (contrasting yarn) or invisible (matching yarn).
🧍♀️ Step 5: Assemble the Dress
🔸 Bodice
- Lay out enough squares to wrap around your bust.
- Join squares into a tube.
- Add straps by:
- Using single crochet rows
- Braiding yarn
- Adding additional squares to shoulders
🔸 Waist Shaping (Optional)
- Add a row of half double crochet or single crochet to the bottom edge of the bodice to create a foundation for the skirt.
- You can work some decrease rows here for a fitted waist.
🔸 Skirt
- Continue joining squares in wider rows for an A-line shape.
- For a straight skirt, keep the row size consistent.
- For extra flair, alternate square orientation (diamond layout).
🎀 Step 6: Finishing Touches
✅ Add Edging
- Add a border around neckline and hem using:
- Shell stitch
- Picot edge
- Scallop stitch
- Single crochet for clean lines
✅ Weave in All Ends
- Use a tapestry needle to tuck in any loose yarn tails.
✅ Add Lining (Optional)
- For more coverage, add a fabric lining.
- You can sew a lightweight cotton slip or attach a lining to the inside with hand stitching.

🧠 Tips for Customizing
- Use gradient yarns for a color-change effect across squares.
- Try solid granny squares for a modern look.
- Mix different square designs (e.g., sunburst, flower center, puff stitch).
- Use black or white borders to unify multi-colored squares.
- Add ties, drawstrings, or buttons to adjust fit.
🪡 Maintenance and Care
- Hand wash or machine wash on gentle cycle (depending on yarn).
- Dry flat to avoid stretching.
- Store folded to avoid pulling on seams.
📏 Granny Square Dress Size Chart (Approximate)
| Size | Bust (inches) | Squares Across | Squares Down (Mini) | Squares Down (Midi) |
|---|---|---|---|---|
| S | 32–34 | 8–9 | 6 | 8 |
| M | 36–38 | 9–10 | 6–7 | 8–9 |
| L | 40–42 | 10–11 | 7 | 9–10 |
| XL | 44–46 | 11–12 | 7–8 | 10–11 |
Adjust based on your square size (measure one blocked square before estimating).
🌟 Final Thoughts
A granny square dress combines the charm of traditional crochet with modern fashion sensibilities. Whether you want a bright festival-ready piece or a neutral-toned everyday dress, the modular nature of granny squares makes your options endless.
Once you get the hang of making and joining squares, you’ll discover how flexible and fun this type of project really is. It’s also an amazing stash-buster—and a conversation starter!
So grab your hook, pick your palette, and start stitching your very own handmade dress masterpiece.
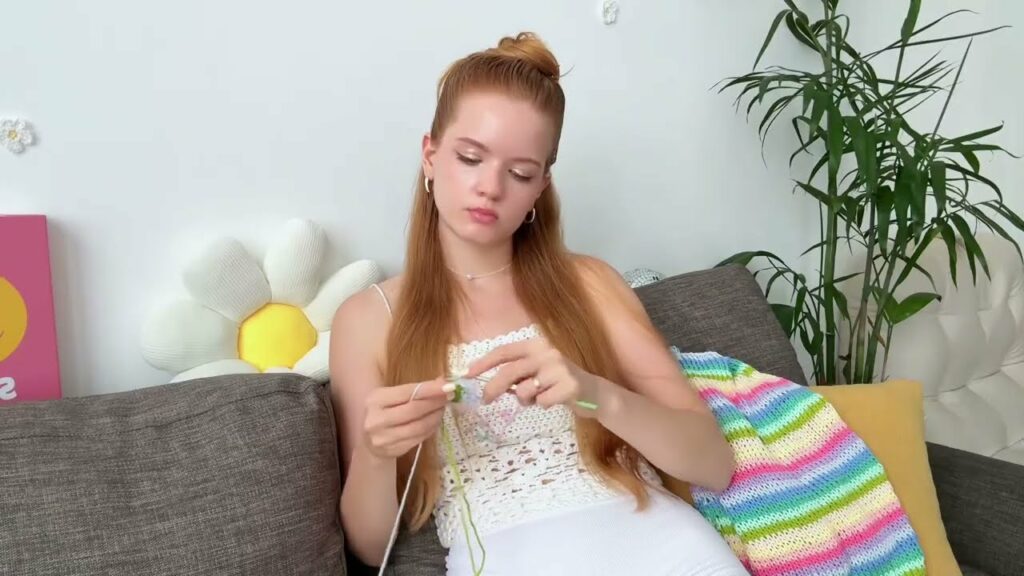
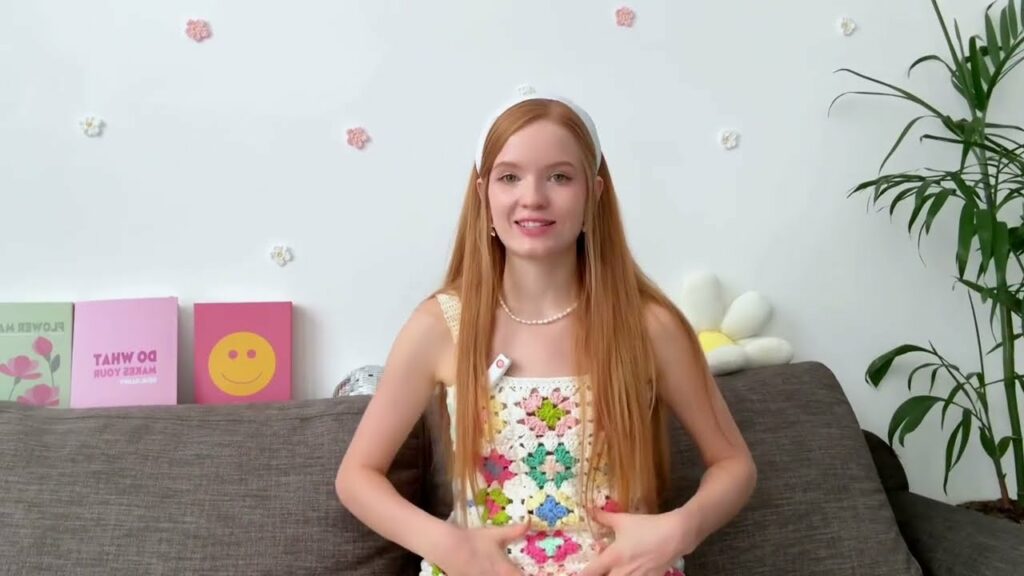
Video tutorial: