 by
by 🧶 MATERIALS
- Medium-weight yarn (cotton, acrylic, or blend, suitable for garments)
- Crochet hook sized to yarn (e.g., 4.0 mm – 4.5 mm)
- Scissors
- Tapestry needle (for weaving ends)
- Optional stitch markers (to mark your starting points)

📌 STITCH ABBREVIATIONS (US TERMS)
| Abbrev | Meaning |
|---|---|
| ch | chain |
| sl st | slip stitch |
| sc | single crochet |
| hdc | half-double crochet |
| dc | double crochet |
| tr | treble crochet |
| sp | space |
| st | stitch |
| rep | repeat |
🚩 STITCH NOTES
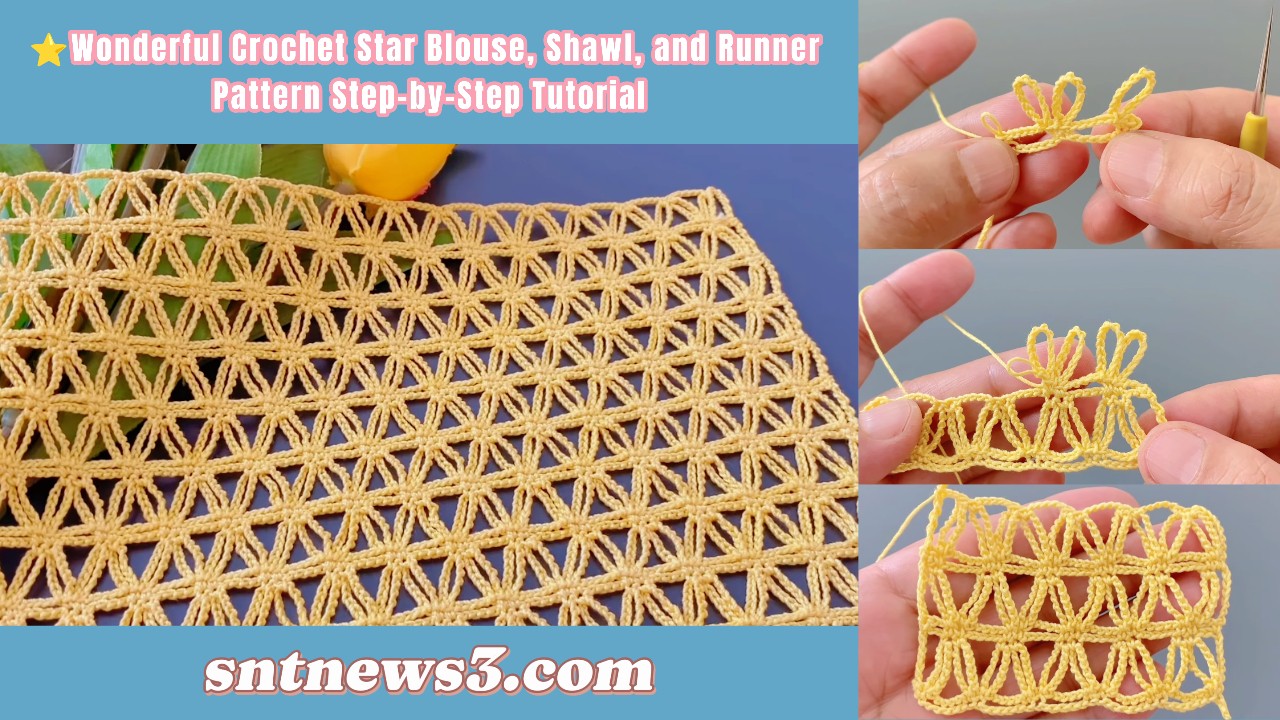
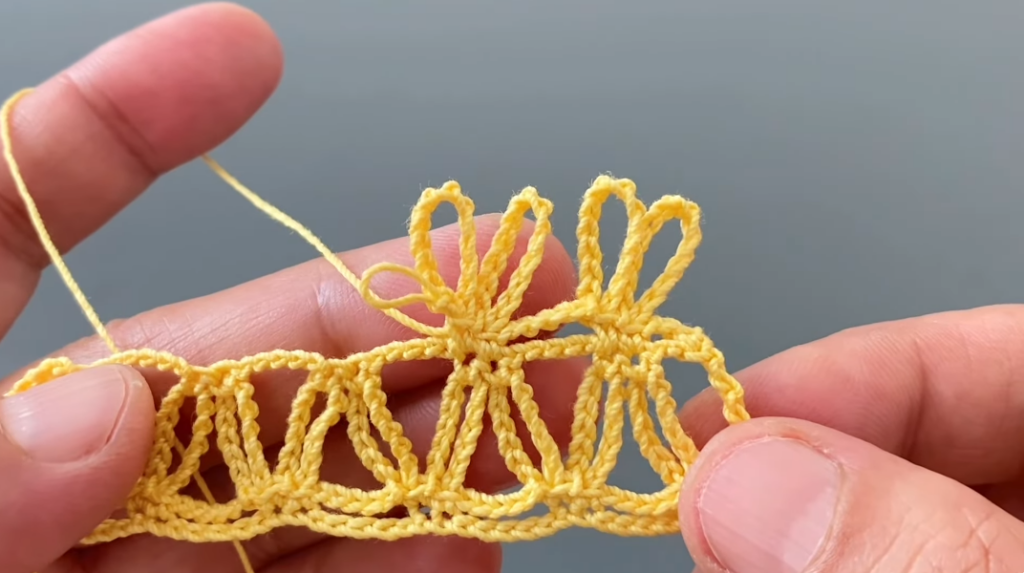
This stitch pattern is a textured star-inspired motif, worked in rows to create an open-lace panel that repeats across the width of your project. It uses combinations of clusters and open spaces to form a pattern that looks like stars or shells when repeated.
The repeat works over a multiple of 4 + turning chains so you can adjust width to fit blouse pieces or runner length.
🧵 FOUNDATION ROW — SET UP PANEL
- Decide how wide you want your panel to be (for a blouse front, shawl width, or runner width).
- Chain a multiple of 4 + 3 (for turning).
- For example, if you want a panel 40 cm wide, chain long enough that the pattern repeat fits evenly.
- Example: ch 52 + 3 turning ch.
- Turn your work.
🟢 ROW 1 — BASE
- Sc in second chain from hook and in each ch across.
- Turn.
This gives a neat edge and a stable base for lace rows.
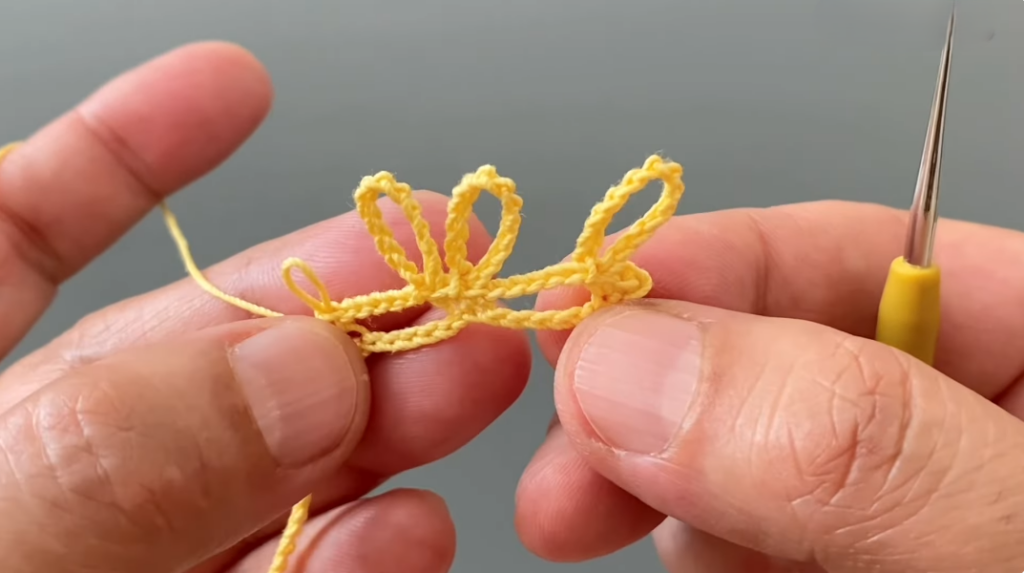
🔵 ROW 2 — STAR & OPEN SPACES
- Ch 3 (counts as first dc).
- Dc in next st.
- Ch 1, skip 1 st — this creates an open space.
- Dc 2 together — in the next two stitches, insert hook, pull up loops, then insert hook into following stitch and pull up loop, yarn over and pull through all loops — this is a cluster stitch forming part of the “star” effect.
- Ch 1, skip 1 st.
- Dc in next st.
- Repeat from step 2 across to last 2 sts.
- Dc in last 2 sts.
- Turn.
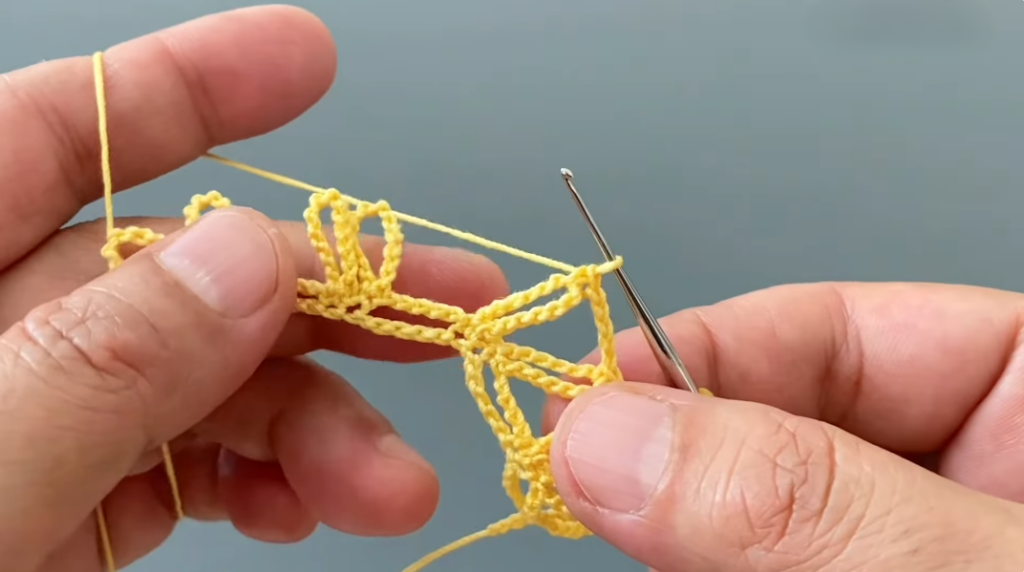
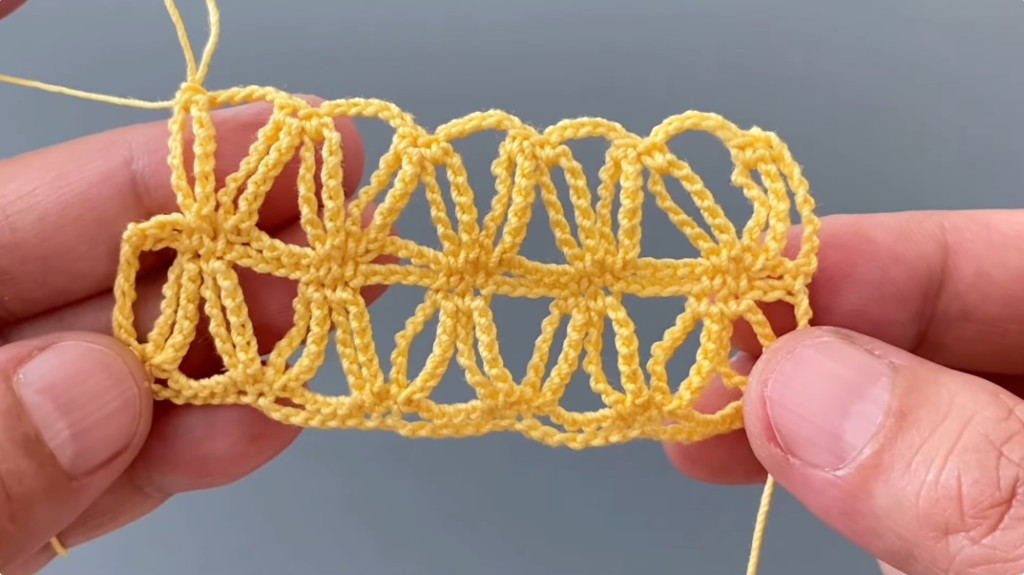
🟡 ROW 3 — BUILD TEXTURE
- Ch 3 (counts as dc).
- Dc in next st.
- Ch 1, skip 1 st.
- Dc 2 together into the next two sts (cluster).
- Ch 1, skip 1 st.
- Dc in next st and repeat across row.
- Turn.
Now your panel should have a texture of clusters separated by airy spaces — this is what creates the “starry” lace look.
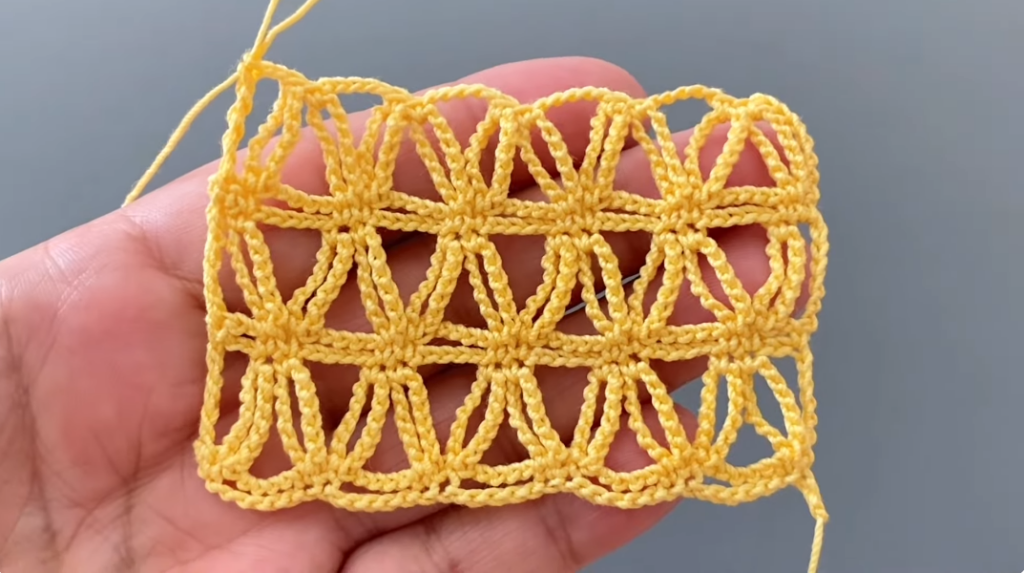
🔶 ROW 4 — REPEAT PATTERN
Work exactly like Row 2:
- Ch 3, dc, ch 1, skip, dc2tog, ch 1, skip, dc … repeat across.
- Turn.
Continue alternating between Row 2 and Row 3 until your piece has reached the desired length for your garment or runner. Work even and consistent tension so your lace stays flat.
🪡 SHAPING & PANEL USE
This star lace panel is great for different projects:
🧥 Blouse:
- Work two identical panels (front and back).
- For armholes, stop when panel reaches underarm height, then shape by decreasing stitches slightly at the edges (work one less rep of the cluster sequence so panels taper).
- Sew shoulders together; attach side seams leaving space for armholes and neckline.
- Add edging around neckline and sleeve edges with sc or hdc for neat finish.
🧣 Shawl:
- Continue panel until desired length (e.g., 170-180 cm).
- Add a border using picot or shell edge (sc base + ch-3 picots at intervals) for a decorative finish.
🌀 Runner:
- Work a long, narrow panel (e.g., table runner).
- Add a border around all edges.
- Optionally, join more panels side-by-side for a wider runner.
✨ FINISHING
Weaving Ends
- Use a tapestry needle to weave loose ends neatly on the back of your work.
Blocking
- Wet block your panel: pin it on a flat surface, gently stretch it to open up the lace pattern, and let it dry. This makes the lace sit flat and neat.
🧠 TIPS FOR INTERMEDIATE CROCHETERS
✔ Keep turning chains consistent — they are essential for straight edges.
✔ Mark pattern repeats with stitch markers if you’d like smoother rows.
✔ If your panel pulls inward, loosen tension or use a larger hook one size up.
✔ To join panels for garments, align motifs carefully and edge with simple sc or slip-stitch joins.
📘 Final Thoughts
This star-inspired textured lace panel gives you a versatile fabric you can turn into:
- Stylish blouses
- Elegant shawls
- Decorative table runners
- Lightweight scarves
…and more — all with a sophisticated, airy stitch pattern that’s both beautiful and practical.
VIDEO: