 by
by 🧶 Materials
- Medium-weight yarn (cotton or acrylic)
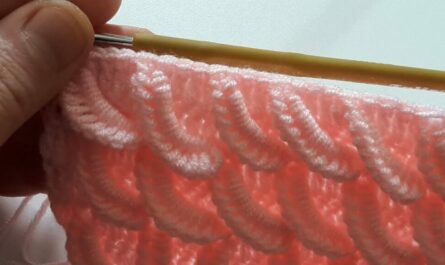
- Crochet hook sized to yarn (e.g., 4.0 mm / G-6)
- Scissors
- Tapestry needle
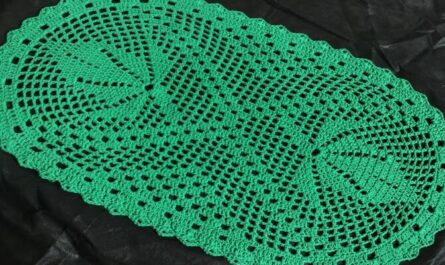
You can use any colors you like — this pattern looks great in solid or variegated yarn.
📌 Stitches & Abbreviations (US Terms)
| Abbreviation | Meaning |
|---|---|
| ch | chain |
| sl st | slip stitch |
| sc | single crochet |
| dc | double crochet |
| tr | treble crochet |
| sp | space |
| st | stitch |
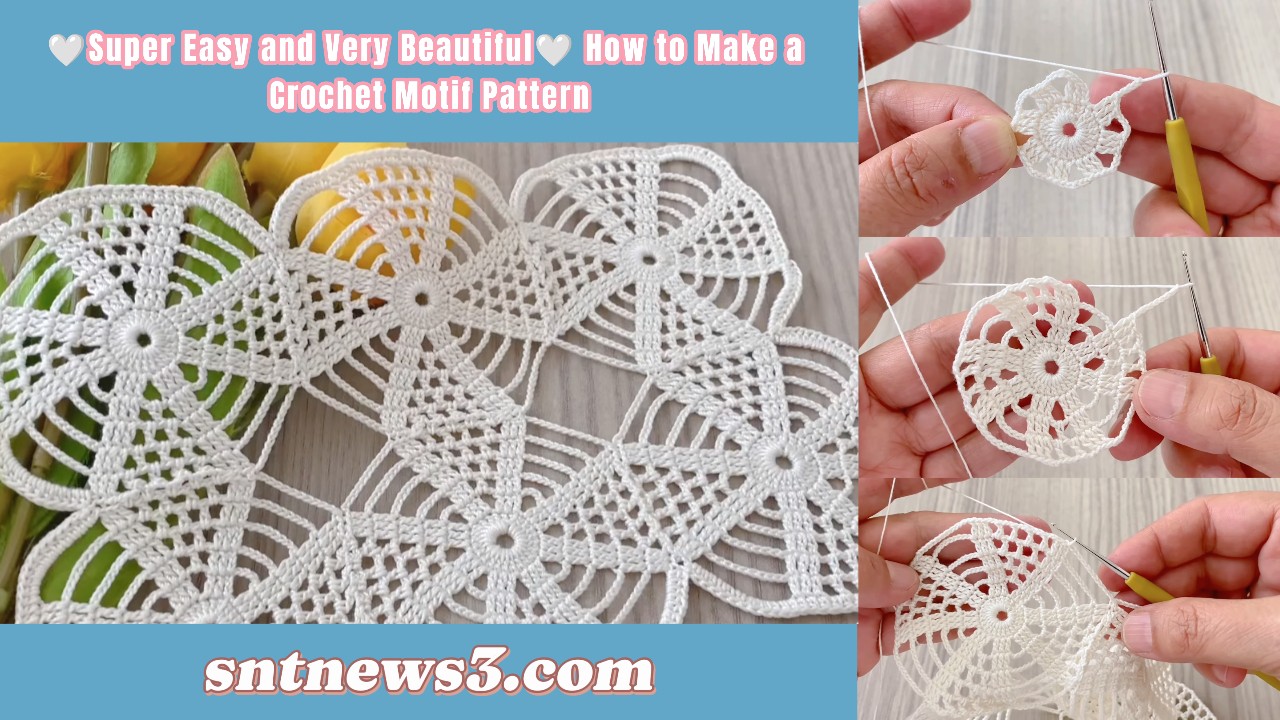
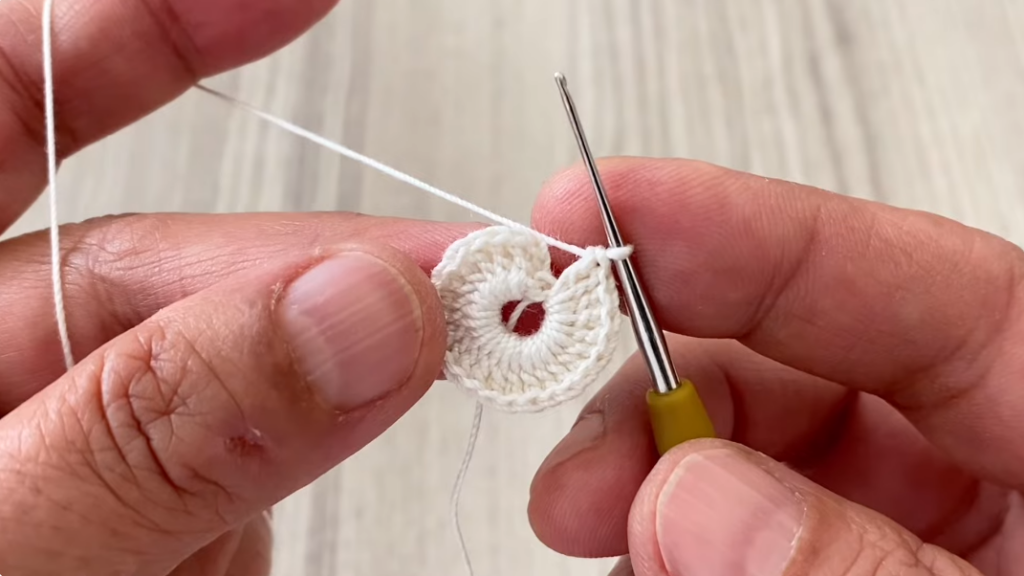
🟡 ROUND 1 — START CENTER
- Create a magic ring
This forms a neat center circle you’ll build your motif from. - Chain 3
This counts as your first double crochet (dc). - Work 11 dc into the magic ring
You should now have 12 dc including the starting ch-3. - Pull the tail tight
Close the center fully so no hole shows. - Join with sl st to top of beginning ch-3.
✔️ You now have a tight, solid round of dc stitches forming the motif base.
🟢 ROUND 2 — CHAIN LOOPS
- Ch 1 (doesn’t count as a stitch)
- Sc in same stitch
- Ch 5
- Skip next stitch
- Sc in next stitch
- Ch 5
- Repeat steps 4–6 around
You will make 6 chain-5 loops around Round 1.
- Join with sl st into first sc.
💡 These chain loops are foundational “arches” you will build petals from.
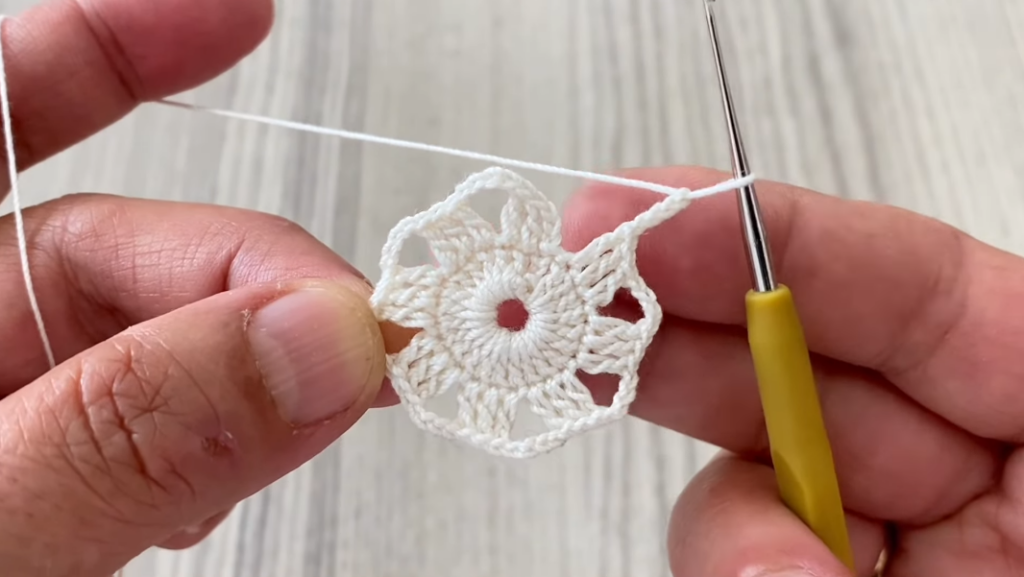
🔵 ROUND 3 — FORM PETALS
- Sl st into first chain-5 space
- Ch 3 (counts as dc)
- Work 4 dc into same chain-5 space (5 dc total there)
- Sc into next chain-5 space
- Repeat until all chain spaces are filled
- Join with sl st to top of first ch-3
✔️ You’ve created 6 little petal clusters.
🟠 ROUND 4 — ADD LACE SPACES
This round gives your motif a delicate, lacy look.
- Ch 1
- Sc in first dc
- Ch 4
- Skip 2 dc
- Sc in next dc
- Ch 4
- Repeat around
- Join with sl st to starting sc
You are making chain-4 arches between petals.
🟣 ROUND 5 — SECOND PETAL LAYER
- Sl st into first chain-4 space
- Ch 3 (counts as dc)
- Work 4 dc in same space
- Ch 3
- Sc in next chain-4 space
- Ch 3
- Work 5 dc in next chain-4 space
- Repeat around
- Join with sl st
✔️ The motif now looks like layered, doubled petals.
🔶 ROUND 6 — BUILD HEIGHT
- Ch 3
- Dc in next 4 sts
- Ch 3
- Sc in next space
- Ch 3
- Dc in next 5 sts
- Repeat around
- Join with sl st
This round broadens and shapes your motif outward.
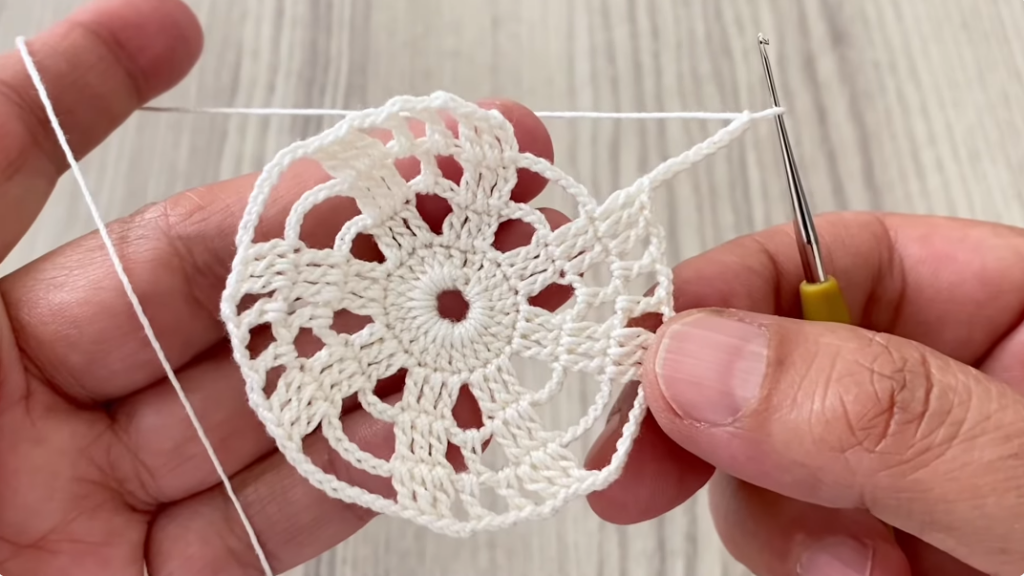
🔷 ROUND 7 — EXPAND LACE
- Ch 3
- Dc over next 4 sts
- Ch 5
- Sc in chain space below
- Ch 5
- Dc in next 5 sts
- Repeat around
- Join with sl st
The lacy look becomes more pronounced here.
🔶 ROUND 8 — FINAL LACE & PETAL EXPANSION
- Ch 3
- Dc in next 4 sts
- Ch 7
- Sc in next chain space
- Ch 7
- Dc in next 5 sts
- Repeat around
- Join with sl st
Your motif should appear wide and decorative now.
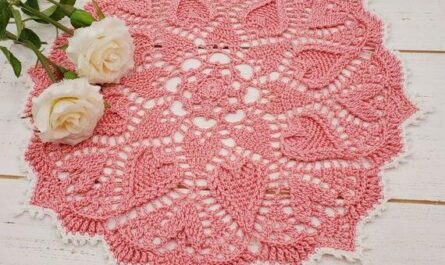
✨ FINAL EDGE — PICOT BORDER
To make a neat decorative edge:
- Ch 1
- Sc in next st
- Ch 3
- Sl st into 2nd chain from hook (picot made)
- Sl st in next stitch
- Sc in next stitch
- Repeat around
- Fasten off and weave in ends.
This gives a soft scalloped, decorative finishing edge.
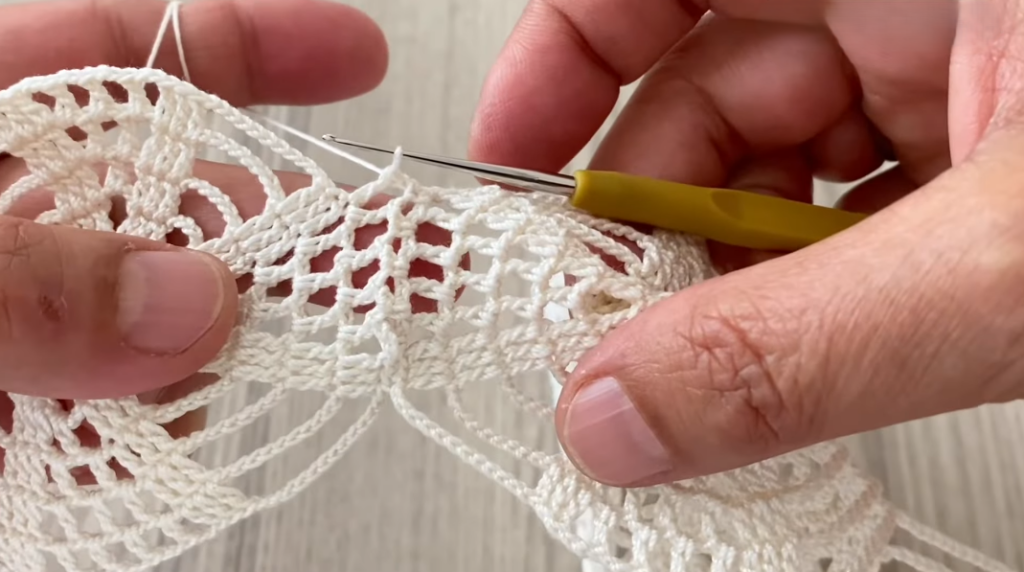
🧵 WEAVING ENDS
Use a tapestry needle to weave all yarn tails into your motif back. This hides them neatly.
📌 NOTES & TIPS
✔ Count your stitches each round so your motif stays flat.
✔ Keep tension consistent — not too tight or loose.
✔ Blocking (wet or steam) will open up lace details and make motifs sit flat.
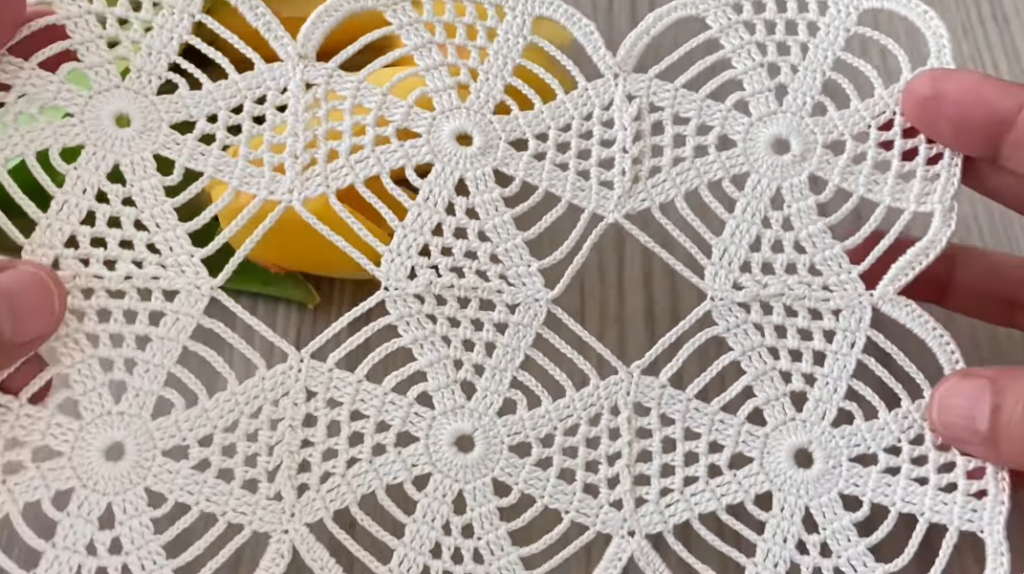
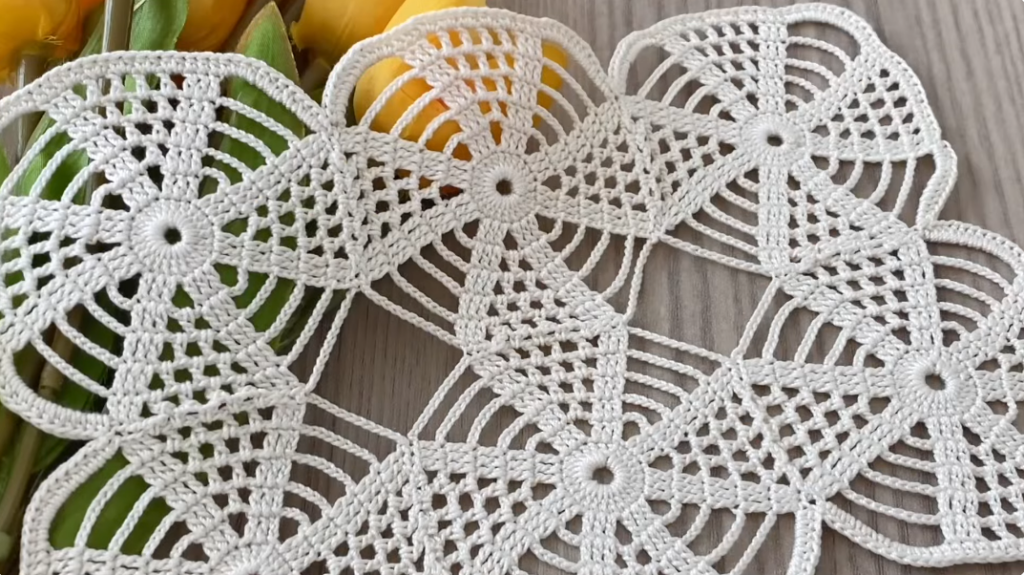
You can now join multiple motifs together to make blankets, table runners, bags, or other beautiful projects!
VIDEO: