 by
by 🧶 Materials
- Quality medium-weight yarn (cotton or acrylic recommended)
- Crochet hook appropriate for your yarn weight (e.g., 4.0 mm)
- Scissors
- Tapestry needle for weaving ends
- Optional stitch markers
📌 Abbreviations (US Terms)
| Abbrev | Meaning |
|---|---|
| ch | chain |
| sl st | slip stitch |
| sc | single crochet |
| dc | double crochet |
| tr | treble crochet |
| sp | space |
| st | stitch |
| rep | repeat |
🟡 ROUND 1 — CENTER START
- Make a Magic Ring so you can tighten the center later neatly.
- Ch 3 (counts as first dc).
- Dc 11 into the ring — you now have 12 dc including the ch-3.
- Pull the tail to close the ring securely.
- Join with sl st to the top of ch-3.
✔ This forms a dense, flat circle at the motif’s core.
🟢 ROUND 2 — ARCH BASE
This round creates loops that form the foundation for the next layer.
- Ch 1 (doesn’t count as a stitch).
- Sc in same st.
- Ch 5, skip 1 st, sc in next st, ch 5 — repeat all around.
- You should have 6 ch-5 loops.
- Join with sl st to first sc.

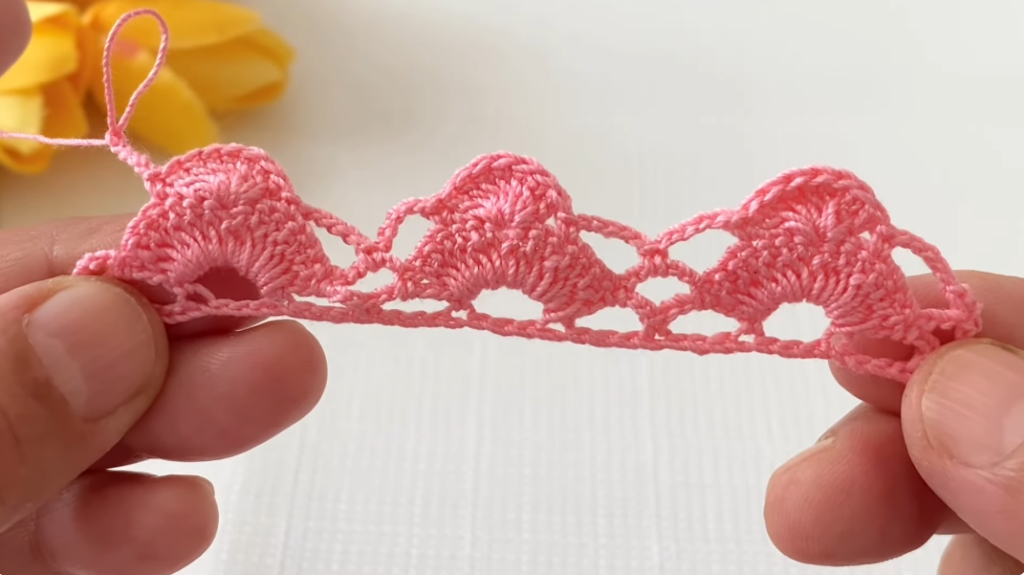
🔵 ROUND 3 — FIRST PETAL FORMATION
This round shapes decorative petal clusters.
- Sl st into first ch-5 loop.
- Ch 3 (counts as dc).
- 4 dc in same loop.
- Sc in next ch-5 loop.
- 5 dc in next ch-5 loop.
- Repeat Sc + 5 dc around alternating loops.
- Join with sl st at top of first ch-3.
✔ Now you see six decorative petal clusters forming.
🟠 ROUND 4 — OPEN LACE ACTION
- Ch 1, sc in first dc.
- Ch 4, skip 2 dc, sc in next dc.
- Continue ch 4, skip 2, sc in next dc around.
- Join with sl st to first sc.
This introduces delicate lace spaces between petals.
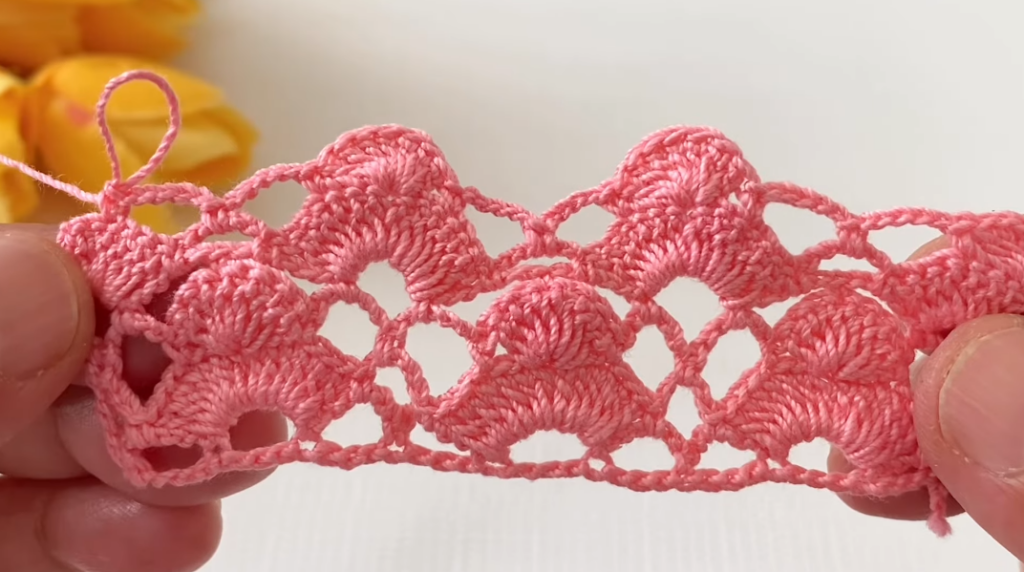
🟣 ROUND 5 — SECOND PETAL LAYER
This round expands petals into a fuller shape.
- Sl st into first ch-4 space.
- Ch 3, 4 dc in same space.
- Ch 3, sc in next ch-4 space.
- Ch 3, 5 dc in next ch-4 space.
- Repeat around.
- Join with sl st.
✔ The motif now has two layers of petal texture.
🟡 ROUND 6 — BROADENING
This builds strength and shape outward.
- Ch 3, dc across next 4 sts.
- Ch 3, sc into next chain space.
- Ch 3, dc in next 5 sts.
- Repeat around.
- Join with sl st.
🔷 ROUND 7 — EXTENDED LACE
This round makes the lace open and decorative.
- Ch 3, dc over next 4 sts.
- Ch 5, sc in next chain space.
- Ch 5, dc in next 5 sts.
- Repeat.
- Join with sl st.
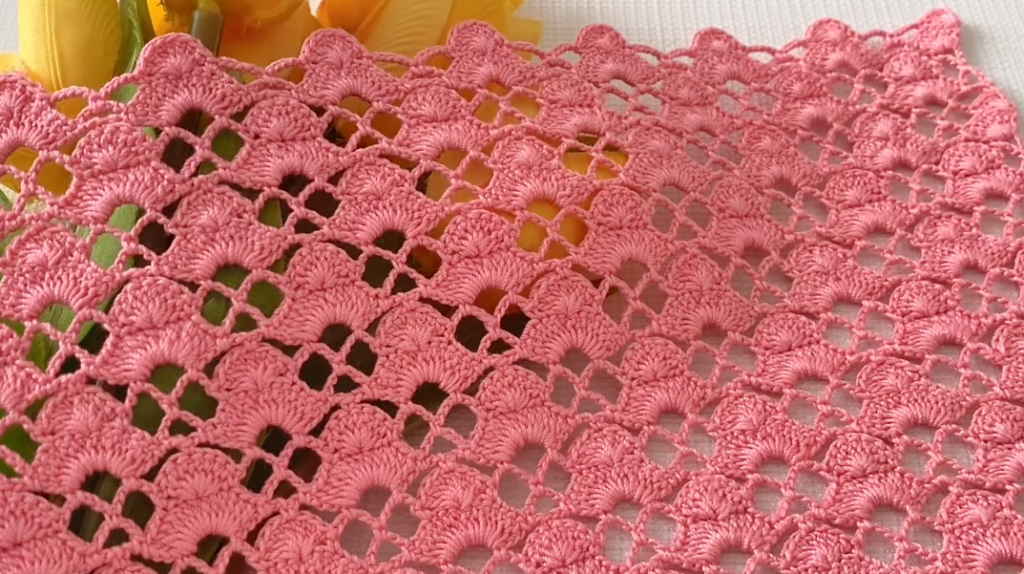
🔶 ROUND 8 — EXPANDED DESIGN
- Ch 3, dc over next 4 sts.
- Ch 7, sc in next chain space.
- Ch 7, dc over next 5 sts.
- Repeat.
- Join with sl st.
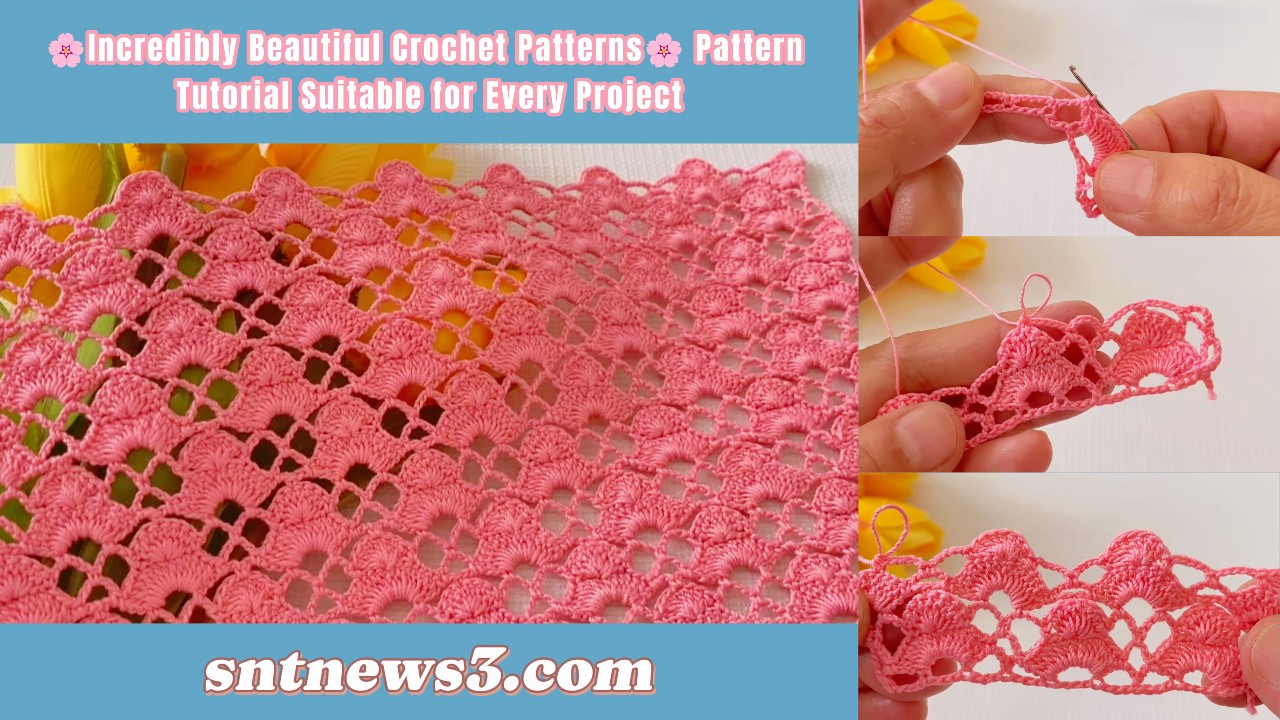
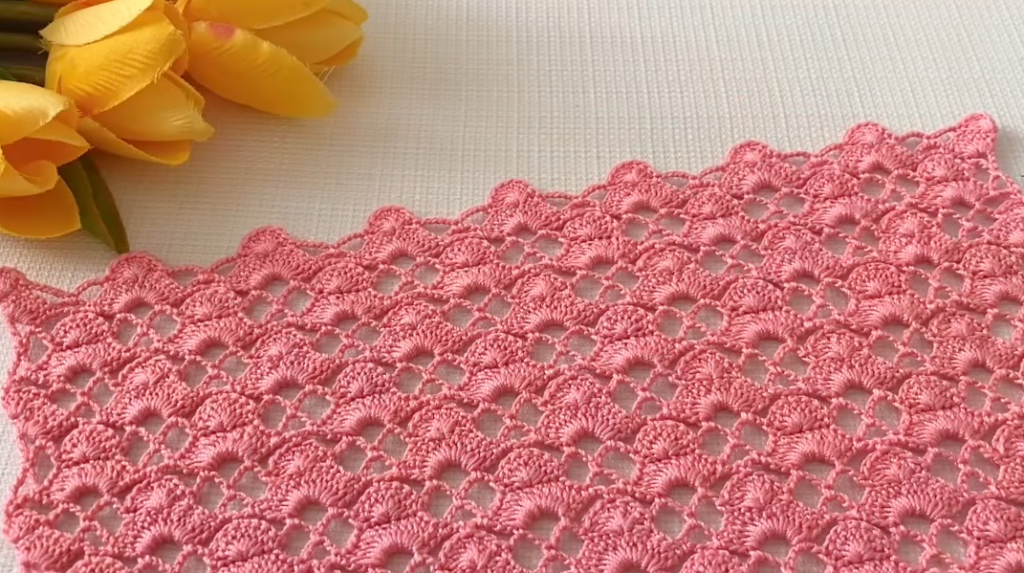
✔ By now, your motif is showing a big, ornate lace look.
✨ OPTIONAL PICOT EDGING (FINAL ROUND)
- Ch 1, sc in next st.
- Ch 3, sl st in 2nd ch from hook (makes a picot).
- Sl st in next st, sc in the next st.
- Repeat all around.
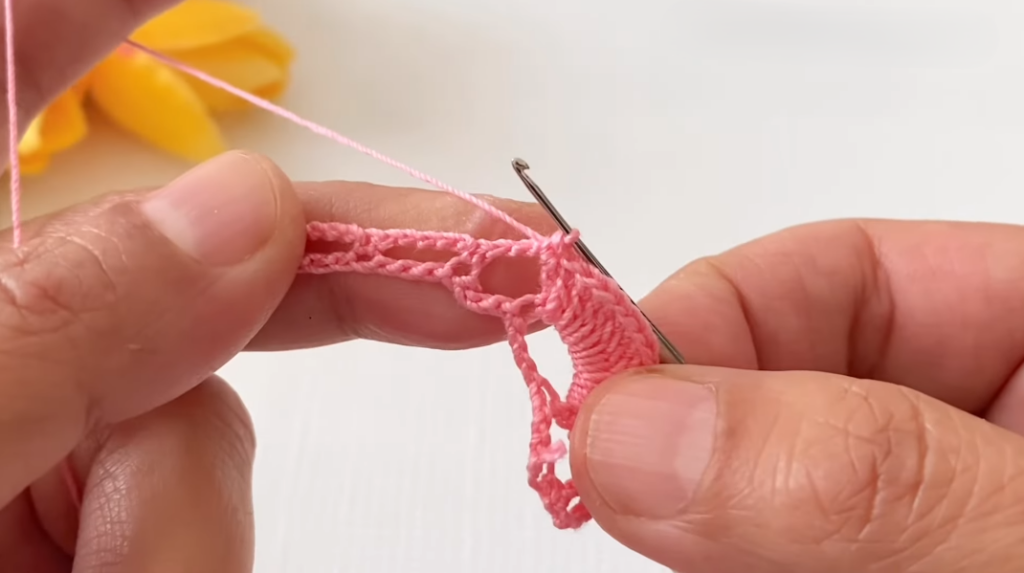
- Fasten off and weave in ends.
The picot edge gives a refined decorative finish suitable for blankets, shawls, or decorative panels.
🧵 FINISHING STEPS
Weaving Ends
Weave all loose tails into the back of the motif using a tapestry needle.
Blocking (Highly Recommended)
Gently wet block the motif on a flat surface — pin each edge point out — and let dry. This opens the lace and stabilizes your square shape.
🧠 NOTES FOR BEST RESULTS
- Consistent tension is key — too tight stitches make lace bunch up; too loose makes it floppy.
- Stitch markers help keep track of round beginnings.
- If motif doesn’t lie flat, carefully check stitch counts and tension.
🧶 USAGE IDEAS
You can join these motifs into:
- Blankets
- Bags
- Shawls
- Home décor pieces
- Table runners
This square motif pattern can be repeated or color-blocked for beautiful project gradients.
VIDEO: