by
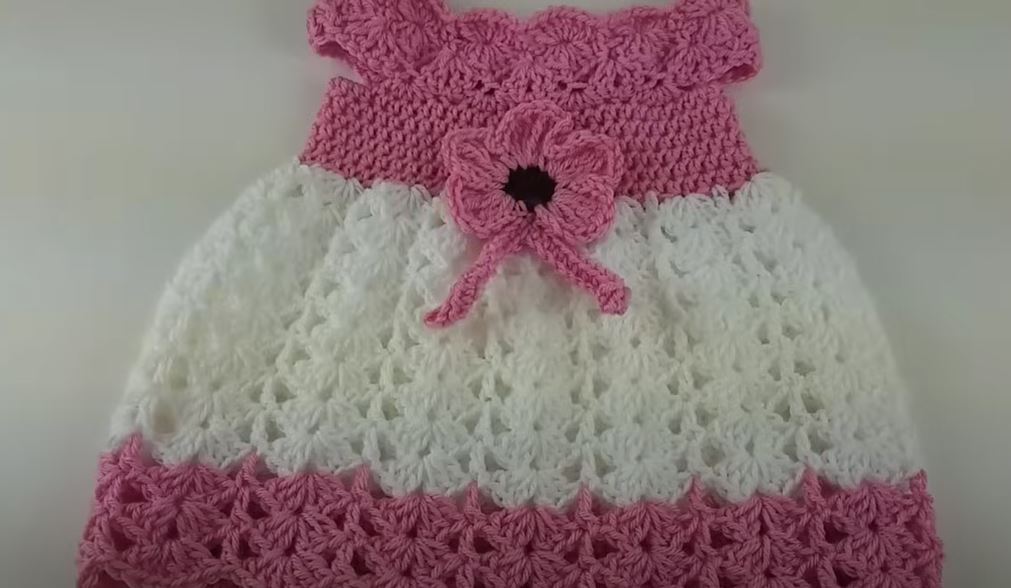
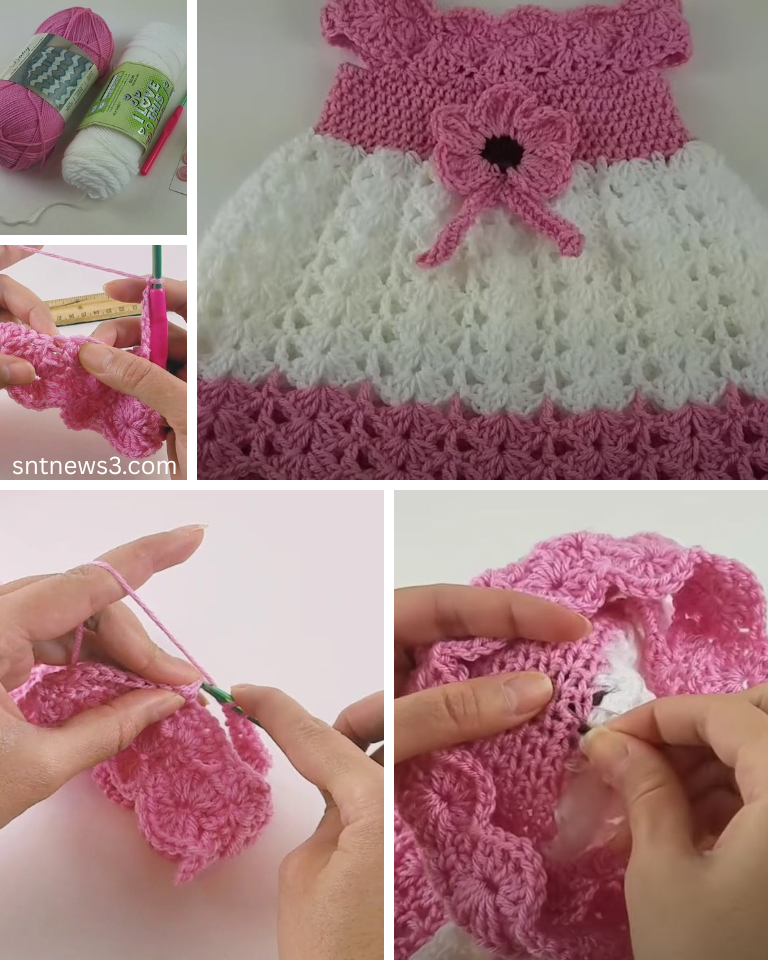
by There’s something incredibly special about dressing a new baby in a handmade garment. A crocheted baby dress for a 0-3 month old isn’t just adorable; it’s a labor of love, a thoughtful gift, and a cherished keepsake. While creating a garment might seem a bit daunting for beginners, this detailed guide will break down the process step-by-step, making it an achievable and joyful project for anyone comfortable with basic crochet stitches.
Imagine the little one looking precious in a dress made with your own hands! This tutorial focuses on a simple design that’s perfect for new crocheters and adaptable for endless customization.
Why Crochet a Baby Dress?
- Heartfelt Gift: A handmade dress is a deeply personal and meaningful present for baby showers, christenings, or welcoming a new arrival.
- Creative Outlet: It’s a wonderful opportunity to play with soft yarns, delicate stitches, and charming details.
- Skill Builder: Moving from blankets to garments helps you learn shaping, working in the round, and creating finished edges.
- Adorable Photo Prop: Perfect for those early baby photoshoots!
- Customizable: Easily change colors, add embellishments, or alter the skirt pattern to make it uniquely yours.
Key Considerations Before You Begin
Making a garment for a baby requires a bit of thoughtful planning to ensure it’s safe, comfortable, and beautiful.
- Yarn Choice (The Most Important!):
- Fiber: Prioritize softness, breathability, and non-irritating qualities. Baby acrylic (often labeled specifically for babies), Pima cotton, bamboo, or superwash merino wool are excellent choices. Avoid scratchy wools or fibers that might pill easily.
- Weight: DK (Light Worsted / Category 3) is usually ideal for baby garments. It creates a soft, pliable fabric with good drape that isn’t too bulky.
- Washability: Babies are messy! Ensure your yarn is machine washable and dryable (check the label). This is crucial for busy parents.
- Color: Pastels are classic, but soft neutrals, gentle brights, or even self-striping yarns work beautifully.
- Hook Size: Use the hook size recommended for your chosen yarn, but err on the side of a slightly smaller hook if you want a denser fabric with fewer gaps, or a slightly larger hook for more drape. For DK weight, a 3.5mm (US E/4) or 4.0mm (US G/6) hook is common.
- Gauge (Crucial for Sizing!): For a garment, gauge is important to ensure the dress fits the 0-3 month size. Make a small swatch (e.g., 4×4 inches / 10×10 cm) to check your stitches per inch/cm. Adjust your hook size until your gauge matches the pattern’s recommendation (or approximate, as this is a forgiving project for babies).
- Buttons/Closures: If using buttons, choose flat, baby-safe buttons that are securely sewn on. Ensure they are large enough not to be a choking hazard.

Materials You’ll Need
- Yarn: Approx. 150-200 yards of DK (Category 3) soft baby yarn.
- Crochet Hook: 3.5mm (US E/4) or 4.0mm (US G/6) (adjust based on gauge).
- Yarn Needle (Tapestry Needle): For weaving in ends and seaming.
- Scissors:
- Stitch Markers (optional but helpful): For marking armholes or stitch counts.
- 2-3 Small, Baby-Safe Buttons: (Approx. 0.5 inch / 1.25 cm diameter).
Essential Crochet Abbreviations
- ch: chain
- sl st: slip stitch
- sc: single crochet
- hdc: half double crochet
- dc: double crochet
- dc inc: double crochet increase (2 dc in same st)
- sk: skip
- sp: space
- st(s): stitch(es)
- FO: Fasten off
- (): indicates instructions to be worked into the same stitch/space
- …: repeat instructions within asterisks
- RS: Right Side
- WS: Wrong Side
Super Easy Baby Dress Pattern (0-3 Months)
This pattern starts with the yoke (top part), works downwards for the skirt, and includes a simple button placket.
Finished Measurements (approximate):
- Chest Circumference: 16-17 inches (40-43 cm)
- Yoke Depth (shoulder to underarm): 4-4.5 inches (10-11 cm)
- Total Length: 12-13 inches (30-33 cm)
Gauge (for DK yarn, 3.5mm hook): 5 dc = 1 inch (2.5 cm), 2.5 rows of dc = 1 inch (2.5 cm)
Part 1: The Yoke (Top of the Dress)
We’ll work this flat, back and forth in rows, to create the opening for buttons.

- Starting Chain: Ch 53.
- Row 1 (RS): Dc in 4th ch from hook (counts as 1st dc). Dc in next 6 ch. (dc inc) in next ch. Dc in next 10 ch. (dc inc) in next ch. Dc in next 10 ch. (dc inc) in next ch. Dc in next 10 ch. (dc inc) in next ch. Dc in last 7 ch. Turn. [56 dc]
- This row establishes the increases for the shoulders and forms the rounded shape of the yoke.
- Row 2 (WS): Ch 3 (counts as 1st dc). Dc in each dc across. Turn. [56 dc]
- Row 3 (RS): Ch 3 (counts as 1st dc). Dc in next 7 dc. (dc inc) in next dc. Dc in next 11 dc. (dc inc) in next dc. Dc in next 12 dc. (dc inc) in next dc. Dc in next 11 dc. (dc inc) in next dc. Dc in last 8 dc. Turn. [60 dc]
- Row 4 (WS): Ch 3 (counts as 1st dc). Dc in each dc across. Turn. [60 dc]
- Row 5 (RS): Ch 3 (counts as 1st dc). Dc in next 8 dc. (dc inc) in next dc. Dc in next 12 dc. (dc inc) in next dc. Dc in next 14 dc. (dc inc) in next dc. Dc in next 12 dc. (dc inc) in next dc. Dc in last 9 dc. Turn. [64 dc]
- Row 6 (WS): Ch 3 (counts as 1st dc). Dc in each dc across. Turn. [64 dc]
- Your yoke should now be about 4-4.5 inches deep at the shoulders when measured flat.
—
Part 2: Joining the Yoke & Starting the Skirt
Now we’ll close the yoke to form the armholes and begin working in rounds for the skirt.
- Row 7 (RS – Join Round): Ch 3 (counts as 1st dc). Dc in next 10 dc (this is the first front panel). Ch 2. Sk 10 dc (this forms the first armhole). Dc in next 22 dc (this is the back panel). Ch 2. Sk 10 dc (this forms the second armhole). Dc in last 11 dc (this is the second front panel).
- Join with a sl st to the top of the beginning ch-3 to form a loop. You are now working in the round. [44 dc + 4 ch-sp (2 ch-2 sps)]
- Make sure your yoke isn’t twisted before joining!
—
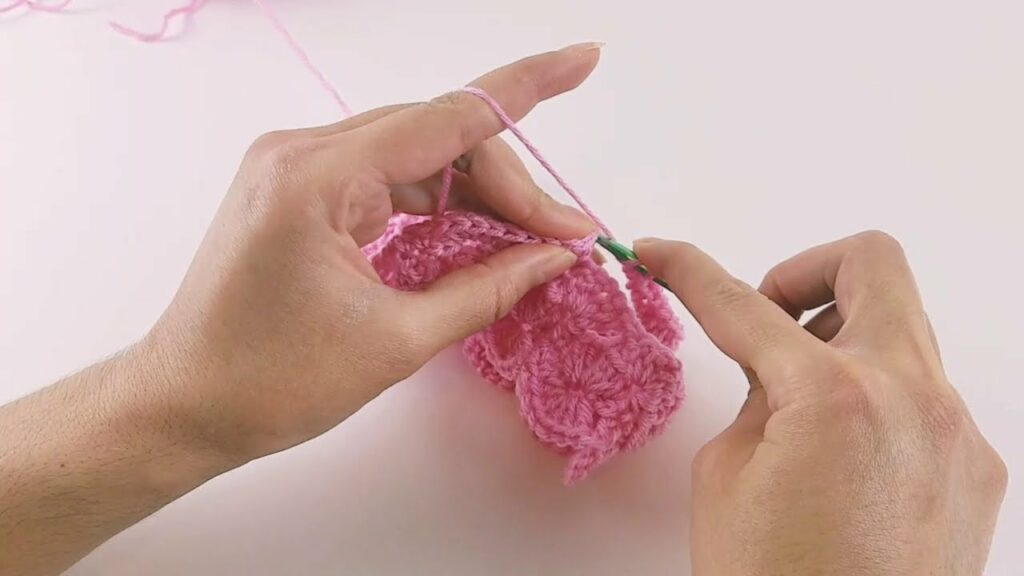
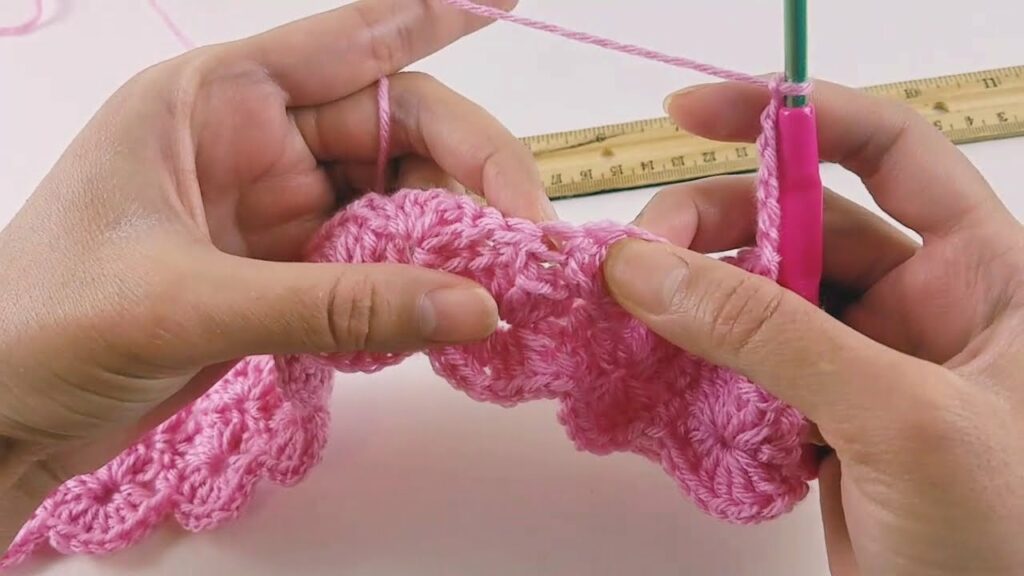
Part 3: The Skirt (Simple Shells)
This creates the lovely, flowing bottom of the dress. We’ll use a simple shell stitch pattern.
- Round 8: Ch 3 (counts as 1st dc). Dc in each dc around, working 2 dc into each ch-2 sp from the previous row. Join with a sl st to the top of the beginning ch-3. [48 dc]
- Round 9 (Shells): Ch 3 (counts as 1st dc). Dc in same st. Sk 2 sts. *Work (2 dc, ch 1, 2 dc) in next st (this is your shell). Sk 2 sts.* Repeat from * around. Join with a sl st to the top of the beginning ch-3. [16 shells]
- Round 10: Sl st into the ch-1 sp of the first shell. Ch 3 (counts as 1st dc). Dc in same ch-1 sp. Work (2 dc, ch 1, 2 dc) into each ch-1 sp around. Join with a sl st to the top of the beginning ch-3.
- Repeat Round 10 until the skirt reaches your desired length (approx. 8-9 inches / 20-23 cm from underarm, or total length of 12-13 inches / 30-33 cm).
- FO, leaving a short tail to weave in.
—
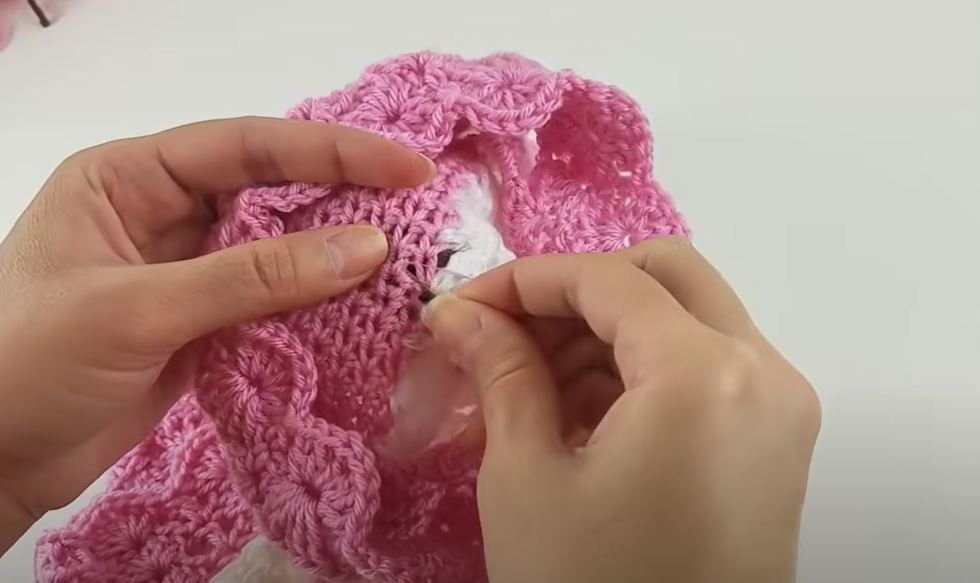
Part 4: Finishing Touches (Button Placket & Edging)
These steps give your dress a neat, finished look.
- Button Placket Edging:
- With RS facing, attach yarn with a sl st to the bottom corner of the button placket (the short edge of your yoke).
- Row 1: Ch 1. Sc evenly up the first side of the placket (approx. 1 sc per dc row end). Work (3 sc) in the top corner of the yoke. Sc evenly along the neckline edge. Work (3 sc) in the second top corner of the yoke. Sc evenly down the second side of the placket.
- FO.
- Buttonhole Loops:
- With RS facing, attach yarn with a sl st to the top corner of the side of the yoke you chose for buttonholes (e.g., if right-handed, the left side of the back when looking at the back).
- Ch 1. Sc in same st. Ch 2-3 (adjust based on button size). Sk 1-2 sts. Sc in next st. Repeat for 2-3 buttonholes evenly spaced down the placket. Sc in remaining sts to the bottom. FO.
- Alternatively, you can just sew the buttons directly opposite the gaps created by the dc pattern in the yoke.
- Sleeve Edging (Optional):
- Attach yarn with a sl st to any stitch around one armhole opening.
- Ch 1. Sc evenly around the armhole. Join with a sl st to the first sc.
- Repeat for the second armhole. FO.
- Weave in All Ends: Securely weave in every single yarn tail using your yarn needle. This is especially important for baby items to prevent unraveling and discomfort.
- Sew on Buttons: Carefully sew your chosen buttons onto the placket, aligning them with your buttonholes. Make sure they are very securely attached and flat.
- Blocking (Recommended!): Gently mist your finished dress with water (or wet block if using cotton/wool). Lay it flat on a towel or blocking mat, gently shaping it to its final dimensions. Allow it to air dry completely. Blocking helps to even out stitches, relax the fabric, and gives the dress a professional finish.
Tips for Success & Making It Special:
- Read the Whole Pattern: Before you start, read through all the instructions to get a good overview.
- Use Stitch Markers: Place stitch markers in the corners of your yoke on initial rows to easily see where increases occur.
- Don’t Rush: Take your time with each stitch. The joy is in the process!
- Check Gauge: While not absolutely essential, if you want it to truly fit 0-3 months, checking your gauge after the first few yoke rows is a good idea.
- Custom Skirt: Instead of shells, you could do all double crochet for a simpler skirt, or explore other beginner-friendly stitch patterns like moss stitch for texture.
- Ribbon Detail: Weave a thin satin ribbon through one of the dc rows in the skirt or around the waist for an extra charming touch.
- Care Instructions: Always include a small tag with washing instructions (from your yarn label) when gifting the dress.
You’ve now created a beautiful, handmade baby dress filled with love! It’s a wonderful accomplishment and a truly precious item for any little one.
Video tutorial: