 by
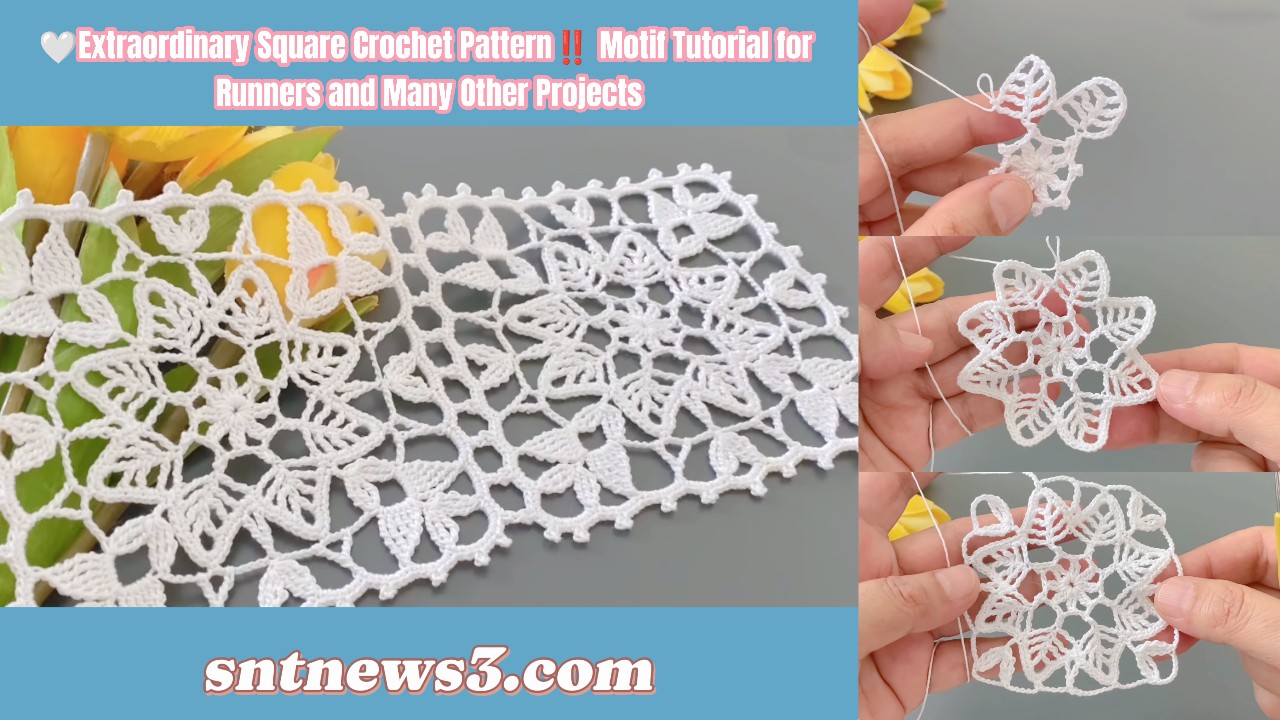
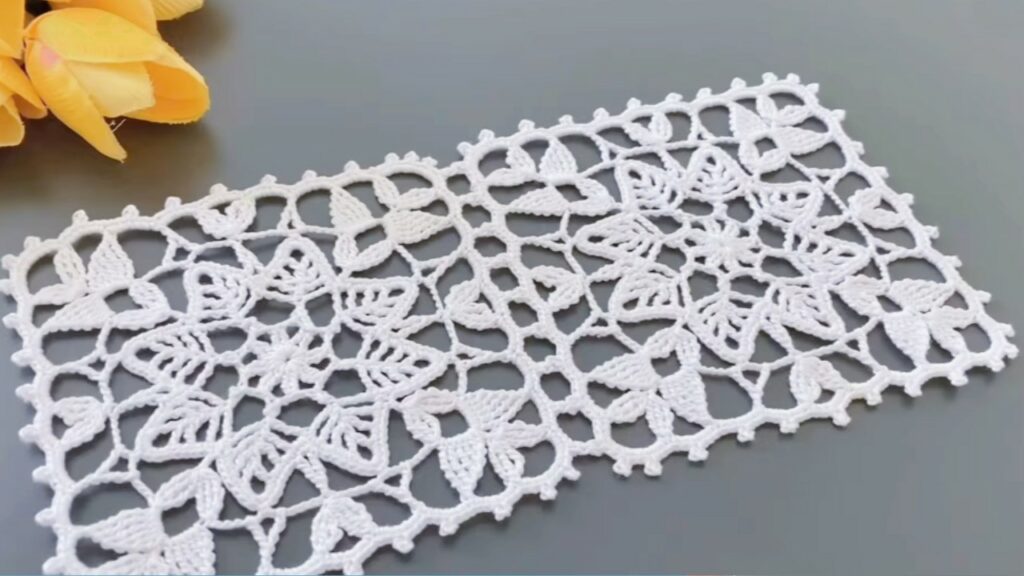
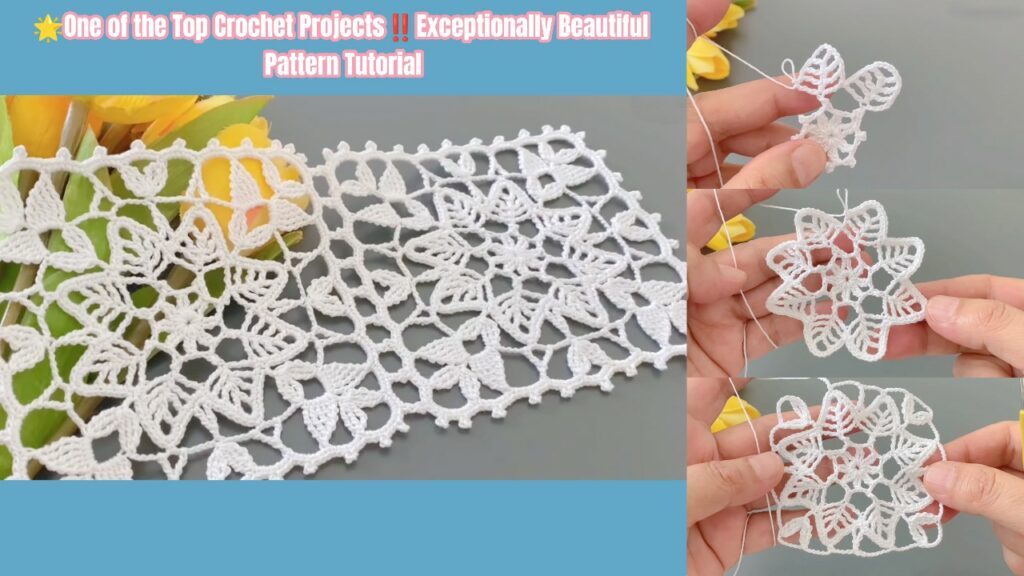
by 🤍 Extraordinary Square Crochet Pattern
Motif Tutorial for Runners and Many Other Projects
Channel: Crochet with Nese
Style: Elegant • Vintage • Beginner-Friendly • Multi-Purpose
US Crochet Terms
This tutorial is written slowly, clearly, and carefully, explaining every stitch, every space, and every idea, so even confident beginners can follow it easily.
🌸 WHAT YOU ARE MAKING
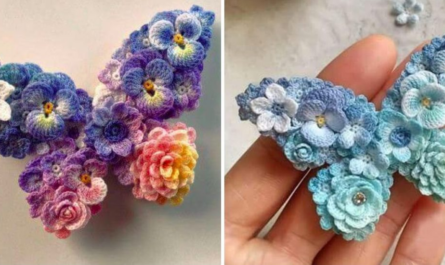
You are crocheting one extraordinary square motif with:
- A beautiful textured center
- Lace-style chain spaces
- A clean square shape
- Perfect for:
- Table runners
- Blouses
- Shawls
- Bedspreads
- Cushion covers
- Curtains
- Blankets
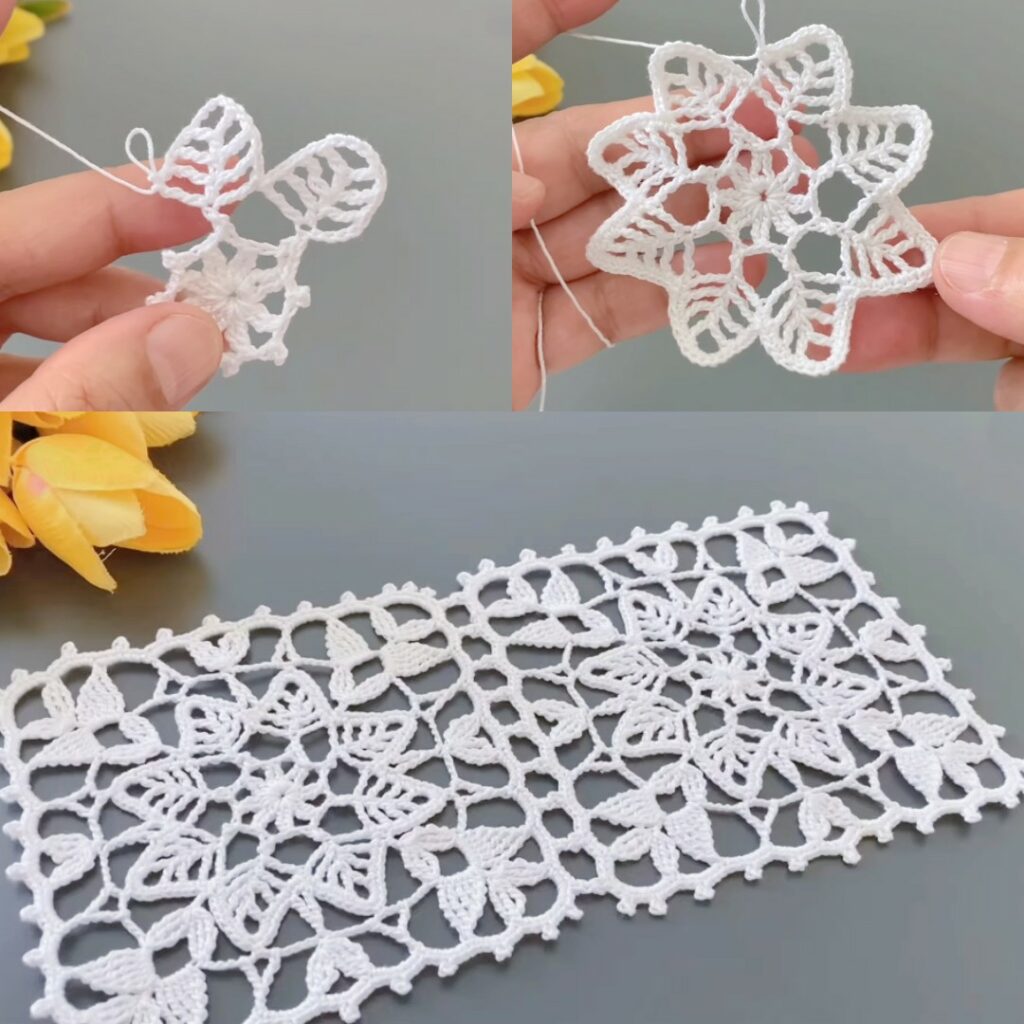
Each motif is made in rounds, starting from the center and growing outward.
🧶 MATERIALS YOU NEED
Take your time preparing these — good materials make crocheting easier.
- Yarn:
Cotton or cotton-blend yarn (recommended)
Weight: Sport / DK / Light Worsted
(Cotton shows stitches clearly and blocks beautifully) - Crochet Hook:
3.0 mm – 3.5 mm
(Choose the hook that gives you neat stitches, not too tight) - Other Tools:
✂ Scissors
🧵 Tapestry needle
📍 Stitch markers (optional but helpful)
🧺 Blocking board or towel + pins
✂️ STITCH ABBREVIATIONS (US TERMS)
Read this slowly — you will use these stitches many times.
- ch = chain
- sl st = slip stitch
- sc = single crochet
- hdc = half double crochet
- dc = double crochet
- tr = treble crochet
- sp = space
- st = stitch
- rep = repeat
- Rnd = round
📏 FINISHED SIZE (Approx.)
- One square motif after blocking:
10–12 cm (4–4.7 inches)
Size depends on:
- Yarn thickness
- Hook size
- Your tension
🧵 STEP-BY-STEP CROCHET INSTRUCTIONS
🔵 ROUND 1 — CENTER RING (FOUNDATION)
This is the heart of your motif.
Step-by-step:
- Make a magic ring
(If you don’t know magic ring: ch 4 and join with sl st) - ch 3
👉 This counts as your first double crochet - Work 11 dc into the ring
- Pull the ring tight so there is no hole
- Join with sl st into the top of the beginning ch-3
Result:
- You now have 12 dc in a circle
- This is your solid center
📝 Tip: Count carefully. This round controls everything later.
🔵 ROUND 2 — CHAIN SPACES (AIRY FOUNDATION)
Now we create spaces for the decorative stitches.
Step-by-step:
- ch 1
- sc into the same stitch
- ch 3
- Skip 1 dc
- sc into next dc
- ch 3
Repeat:
- Repeat (sc, ch 3) all the way around
- Join with sl st into the first sc
Result:
- You now have 6–12 chain-3 spaces (depending on spacing)
- These create an open lace effect
📝 Important: Keep chains loose, not tight.
🔵 ROUND 3 — PETAL-STYLE FANS
This round creates the beautiful flower-like look in the center.
Step-by-step:
- sl st into the first ch-3 space
- Into the same space, work:
- sc
- ch 1
- hdc
- 3 dc
- hdc
- ch 1
- sc
- sl st into the next ch-3 space
Repeat:
- Repeat this fan/petal in every ch-3 space
- Join with sl st
Result:
- You now see a soft flower shape
- Each petal sits neatly in its own space
💡 Tip: Don’t rush — this is the decorative heart.
🔵 ROUND 4 — CONNECTING CHAINS
This round gives breathing space and prepares the square shape.
Step-by-step:
- ch 1
- sc in the middle stitch between two petals
- ch 5
- sc in the next middle space
Repeat:
- Continue sc, ch 5 around
- Join with sl st
Result:
- Large chain loops surround the flower
- Motif begins to expand
🔵 ROUND 5 — DECORATIVE LACE FANS
This round adds depth and elegance.
Step-by-step:
- sl st into first ch-5 space
- Into the same space, work:
- sc
- ch 1
- hdc
- 5 dc
- hdc
- ch 1
- sc
- In the next ch-5 space:
- sc
- ch 3
- sc
Repeat:
- Alternate these two patterns all around
- Join with sl st
Result:
- Rich lace texture
- Balanced open and solid areas
📝 Tip: Fans should lie flat. If curling, loosen tension.
🔵 ROUND 6 — TALL CHAIN LOOPS
This round prepares the motif to become a square.
Step-by-step:
- ch 1
- sc in the next sc
- ch 7
- sc in next sc
Repeat:
- Continue sc, ch 7 around
- Join with sl st
Result:
- Large loops around motif
- Perfect foundation for squaring
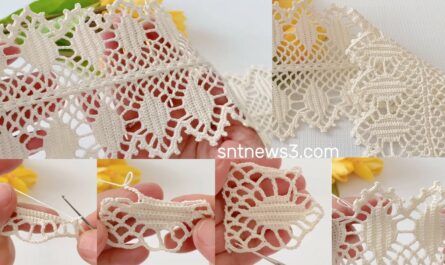
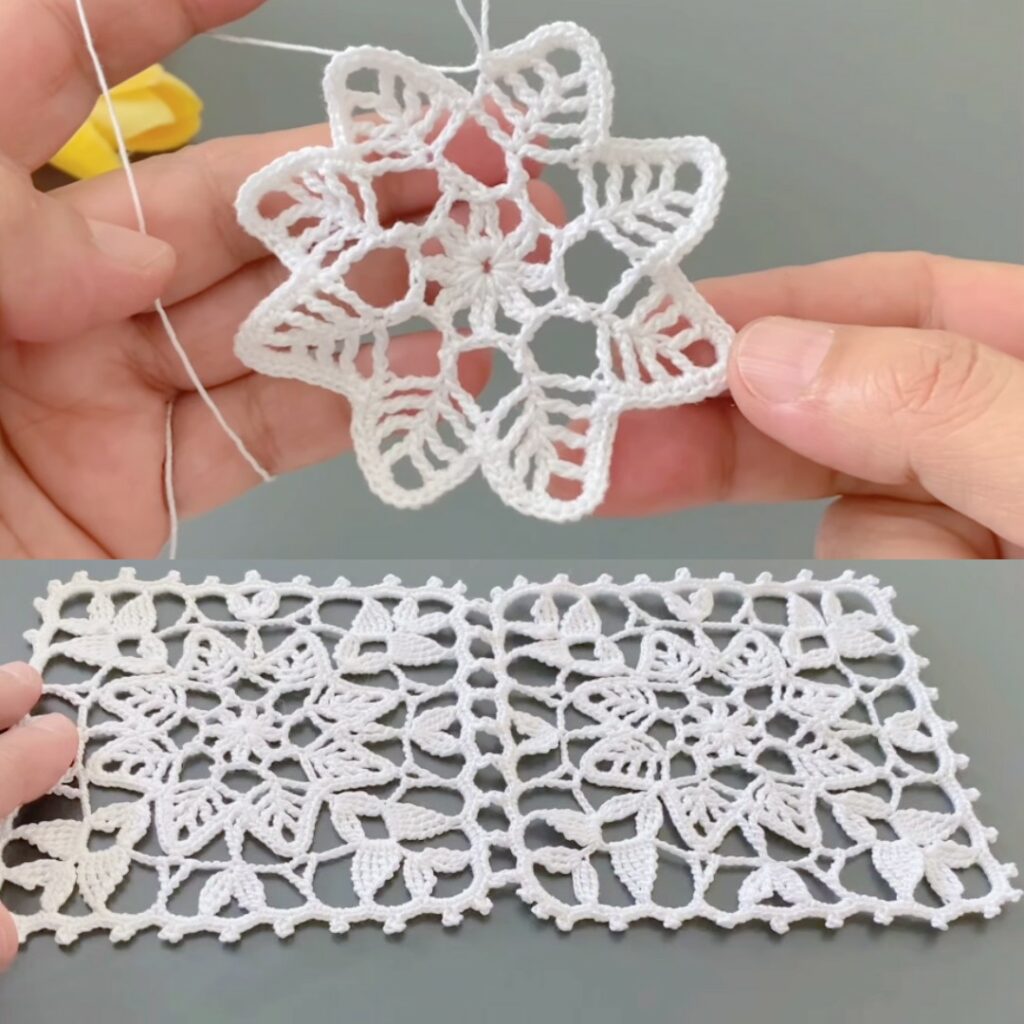
🔵 ROUND 7 — SMALL FANS IN LOOPS
Step-by-step:
- sl st into first ch-7 space
- Into the same space work:
- sc
- ch 2
- 3 dc
- ch 2
- sc
- sl st into next ch-7 space
Repeat:
- Repeat in every loop
- Join with sl st
Result:
- Soft scallops around motif
- Shape is almost square
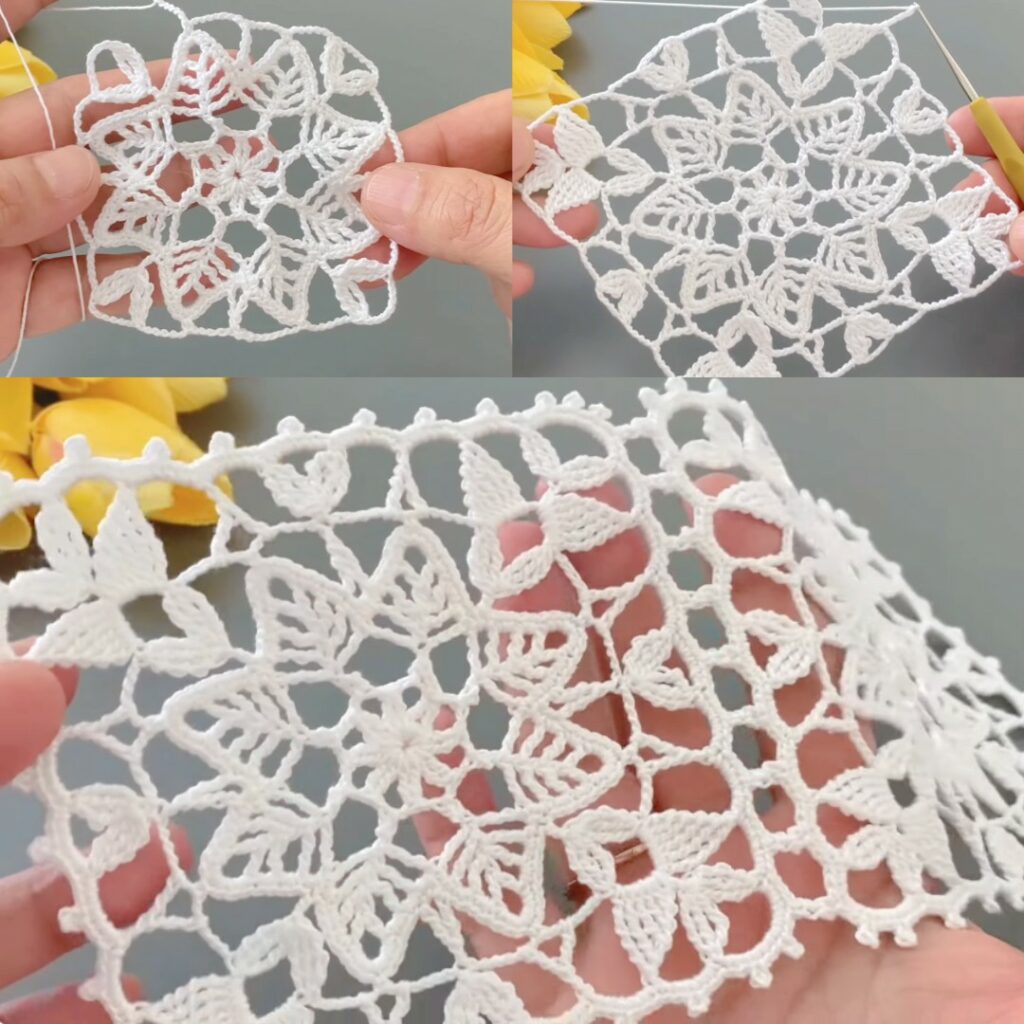
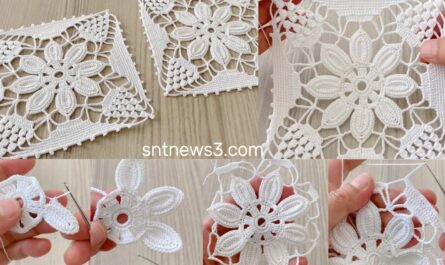
🔵 ROUND 8 — SQUARING ROUND (VERY IMPORTANT)
Now we turn the motif into a real square.
Step-by-step:
- ch 3 (counts as dc)
- dc in next 2 stitches
Corner:
- In the next space work:
- 3 dc
- ch 3
- 3 dc
Sides:
- Work 3 dc in each side space
Repeat:
- Create 4 corners total
- Join with sl st
Result:
- Clear square shape
- 4 corners visible
📌 Tip: Corners must align — count carefully.
🔵 ROUND 9 — FINAL SINGLE CROCHET EDGE
This round cleans and strengthens the motif.
Step-by-step:
- ch 1
- sc in every stitch around
- In each corner ch-3 space:
- work 3 sc
- Join with sl st
- Fasten off
- Weave in all ends neatly
🌸 BLOCKING (DO NOT SKIP)
Blocking makes this motif extraordinary.
How to block:
- Pin square to exact measurements
- Gently spray with water or steam
- Let dry completely
✨ After blocking, stitches open beautifully.
🧩 JOINING IDEAS
- Join-as-you-go (best for runners)
- Whip stitch through back loops
- Mattress stitch for invisible seams
🪡 PROJECT IDEAS USING THIS MOTIF
- Table runner
- Blouse panels
- Shawl
- Bedspread
- Pillow covers
- Curtains
- Baby blanket
💡 FINAL BEGINNER TIPS
✔ Always count stitches
✔ Keep tension relaxed
✔ Block every motif before joining
✔ Use cotton yarn for best results
✔ Make 2–3 practice motifs first
Video: