by
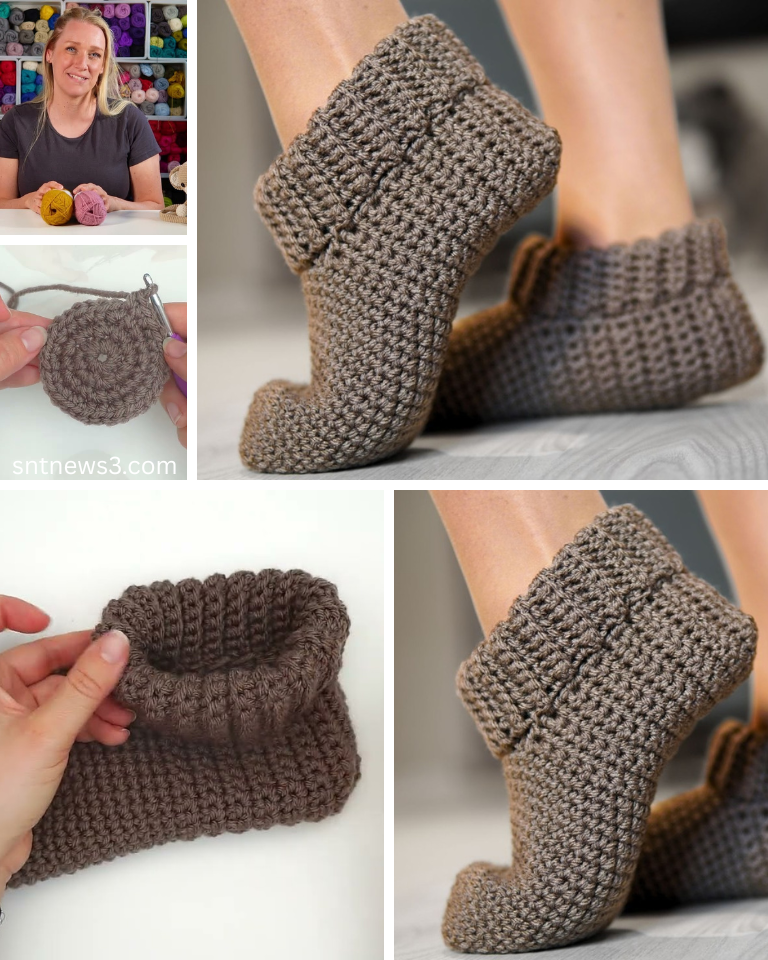
by Crochet slippers are a timeless favorite among DIY enthusiasts and cozy comfort seekers alike. One of the most popular and practical variations is the ribbed slippers crochet pattern. These slippers are not only stylish and modern but also highly functional, thanks to their snug fit and flexible ribbed design. Whether you’re a beginner or an experienced crocheter, this pattern is a rewarding and enjoyable project.
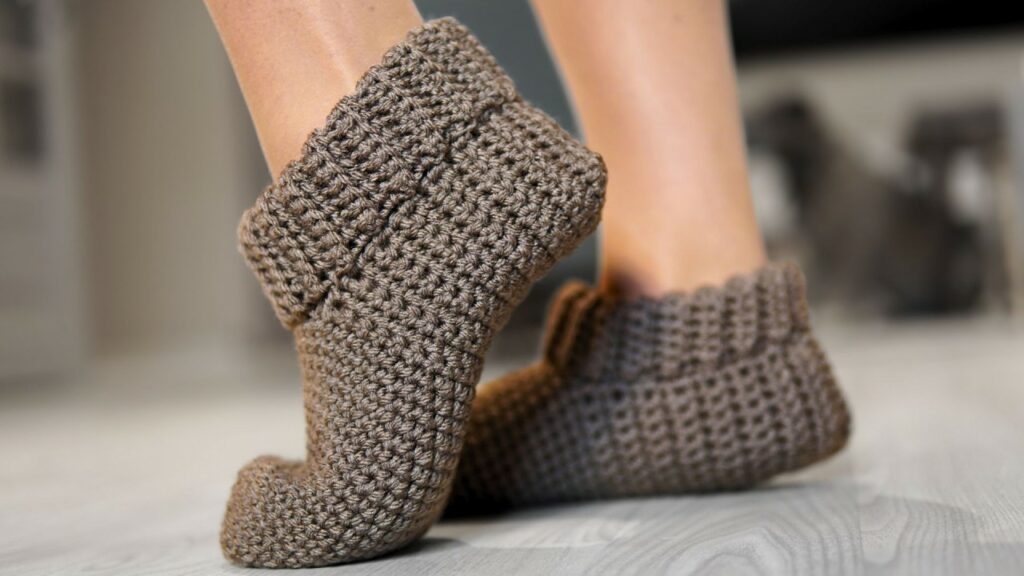
Why Choose a Ribbed Crochet Slipper Pattern?
The ribbed texture in crochet is achieved through specific stitch placement that creates ridges—similar to knitted ribbing. This technique offers several benefits:
- Comfort & Stretch: Ribbed slippers mold well to the foot, offering both structure and elasticity.
- Warmth: The dense stitch work creates a warm, cushioned fabric ideal for chilly weather.
- Style: Ribbing adds a contemporary, polished look that can be dressed up or kept casual.
- Customization: Easily adjustable for various sizes and yarn types.
🧶 RIBBED SLIPPERS CROCHET PATTERN – Step-by-Step Tutorial
✅ Skill Level: Beginner–Easy
⏱️ Estimated Time: 2–3 hours
🔄 Worked Flat, Then Seamed
🧵 Materials
- Worsted weight yarn (Category 4): 150–200 yards
- Acrylic or wool blends work great (e.g., Red Heart Super Saver, Vanna’s Choice)
- Hook: Size 5.0 mm (H/8)
- Yarn needle
- Scissors
- Stitch marker (optional)
- Measuring tape
✨ Stitches & Abbreviations
| Abbreviation | Stitch Name |
|---|---|
| ch | chain |
| sc | single crochet |
| BLO | back loop only |
| sl st | slip stitch |
| st(s) | stitch(es) |
| RS/WS | right/wrong side |
Back Loop Only (BLO): Insert your hook into just the back loop of each stitch, instead of through both loops.
👣 FINISHED SIZE (ADULT MEDIUM – US Women’s 7-9)
- Length: About 9.5 inches
- Width (before stretch): About 7 inches (flat, wraps around foot)
This is adjustable — instructions included below.
📏 Step-by-Step Instructions
🔸 STEP 1: Create the Ribbed Base
This is the flat rectangle that wraps around your foot.
- Ch 31 (This creates the length of the slipper — adjust up/down for longer/shorter feet.)
- → Approx. 9.5″ long (fits US women’s size 7–9)
- Row 1:
- Sc in 2nd ch from hook and in each ch across.
- (30 sc total)
- Row 2:
- Ch 1, turn.
- Sc in BLO of each stitch across. (30 sts)
- Repeat Row 2 for 28 rows
- This gives you the width of the slipper, wrapping around the foot.
- You should now have a 30 x 28 ribbed rectangle.
✅ Sizing Note: Wrap your work around your foot. It should snugly fit without being tight, since the ribbing stretches.
🔸 STEP 2: Fold & Seam the Toe
- Fold the rectangle in half lengthwise, bringing the short edges together.
- Use a slip stitch or whip stitch to seam across one short edge — this becomes the toe area.
- To shape the toe:
- Use your yarn needle and weave a running stitch along the toe seam.
- Pull tightly to gather and close the front of the slipper like a drawstring.
- Secure with a knot and weave in the tail.
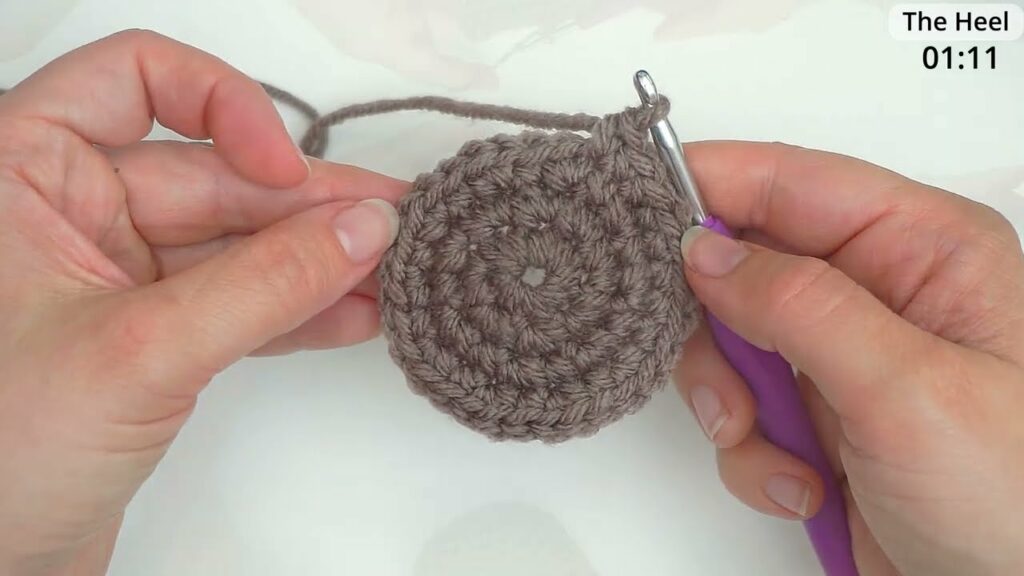
🔸 STEP 3: Create the Heel Opening
- On the opposite end (the heel), fold the rectangle again so the toe is still closed.
- Seam up about 2.5″ from the edge — this forms the back of the heel.
- Leave the rest open for the ankle/foot to slip in.
- Tie off and weave in ends.
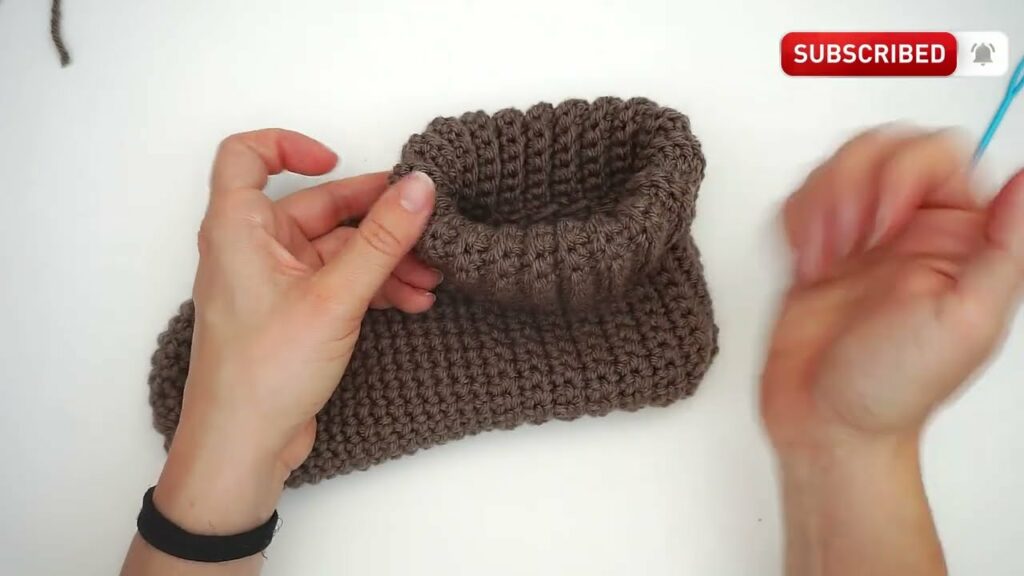
✅ You now have a slipper with:
- A closed toe
- A snug back heel seam
- An open top

🧵 How to Adjust Sizing
| Foot Size | Starting Chain (Length) | Row Count (Width) |
|---|---|---|
| Small | ch 27–29 | 26 rows |
| Medium | ch 30–32 | 28–30 rows |
| Large | ch 33–35 | 32–34 rows |
- Always measure around the widest part of the foot.
- More rows = wider slipper (wraps more around foot)
- More starting chains = longer slipper (toe to heel)
🎨 Optional Customizations
- Cuffs: Add 4–5 rounds of sc around the opening for a bootie style.
- Sole reinforcement: Use non-slip fabric or puff paint for safety.
- Color changes: Stripe every 5 rows or use variegated yarn.
- Embellishments: Add bows, pompoms, or buttons to the front.

🧼 Care Tips
- Most acrylic yarns: Machine wash cold, tumble dry low
- Wool blends: Hand wash & lay flat to dry for longevity
🧦 Pattern Recap Summary
- Ch 31
- Sc across, 30 sc per row
- Repeat in BLO for 28 rows
- Seam short edge & cinch toe
- Seam 2.5″ of heel
- Finish and repeat for second slipper!
Tips for Success
- Gauge matters: If your slippers come out too big or small, adjust your hook size accordingly.
- Stretch factor: Ribbed crochet stretches significantly—take that into account when sizing.
- Make it double-layered: For extra warmth, sew in a soft fleece lining.
Conclusion
Crocheting ribbed slippers is a quick and satisfying project that blends functionality with flair. Whether you’re crafting a cozy gift or upgrading your own home comfort, this pattern offers endless possibilities for customization. With a simple stitch pattern and easy construction, these slippers are perfect for makers of all skill levels.
So grab your yarn and hook, and get ready to step into something handmade and cozy!
Video tutorial: