 by
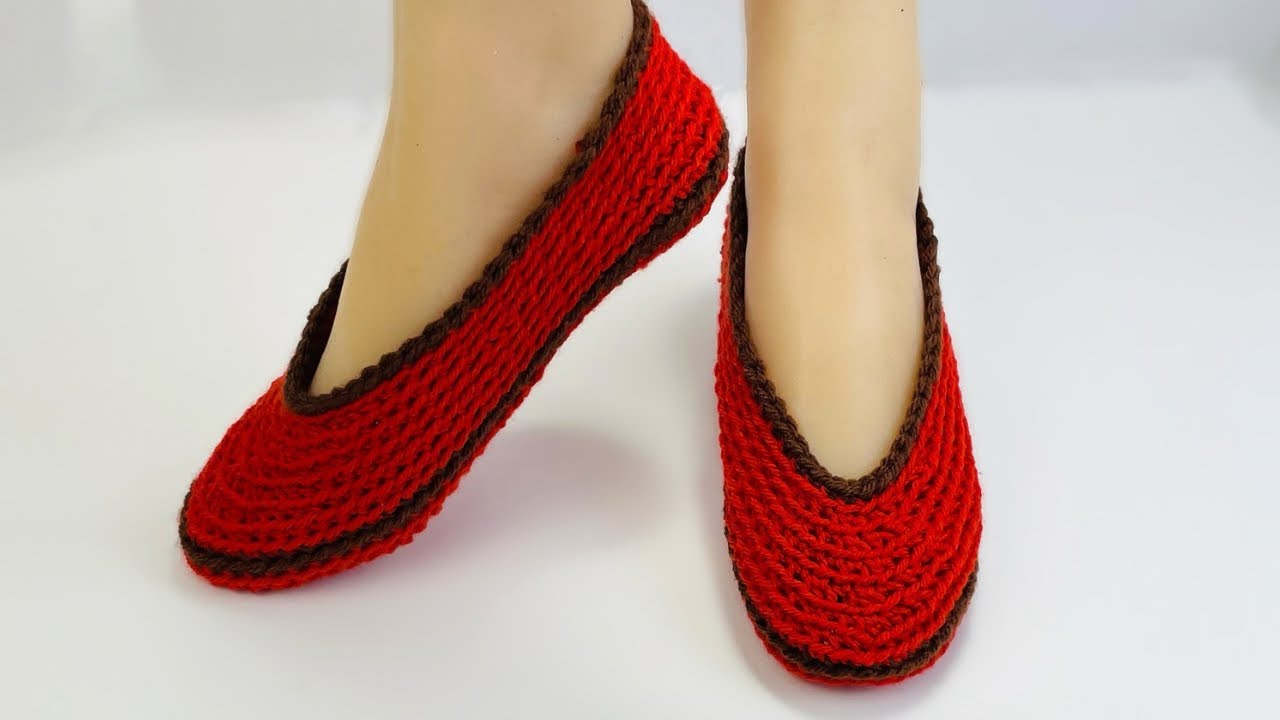
by Crochet slippers are a staple for handmade comfort, and when you need a pair fast — without sacrificing fit — this Quick Crochet Slippers Pattern is your go-to. Designed for speed, simplicity, and a perfect fit, this pattern is ideal for beginners and seasoned crocheters alike. It’s worked in one piece, requires minimal sewing, and molds perfectly to the foot.

✅ Why This Pattern?
Many slipper patterns are either too loose, too bulky, or require complex shaping. This perfectly fitted version is different:
- Fast: Make a pair in under 2 hours.
- Fitted: Hugs the foot comfortably.
- Customizable: Easily adjusted for any size.
- Seamless look: Only minimal seaming.
- Beginner-friendly: Simple stitches, easy construction.
🧵 Materials Needed
| Item | Description |
|---|---|
| 🧶 Yarn | Worsted Weight Yarn (Category 4) – about 120–150 yds per pair |
| 🪝 Hook | Size 5.0 mm (H/8) |
| ✂️ Notions | Yarn needle, scissors, measuring tape, stitch marker (optional) |
✅ Recommended Yarn: Acrylic or acrylic blends for durability and stretch (e.g., Red Heart, I Love This Yarn, or Vanna’s Choice)

📐 Sizes
This pattern is easily adjustable and written for adult sizes. Size changes are noted throughout.
| Size | US Women’s | Adjustments |
|---|---|---|
| S | 5–6 | Fewer rows/chains |
| M | 7–8 | Standard as written |
| L | 9–10 | Add a few rows/chains |
| XL | 11–12 | Add more rows & stitch count |
✨ Stitches Used (US Terms)
| Stitch | Abbreviation |
|---|---|
| Chain | ch |
| Single Crochet | sc |
| Half Double Crochet | hdc |
| Slip Stitch | sl st |
No complicated shaping — the magic happens with simple increases and folding!
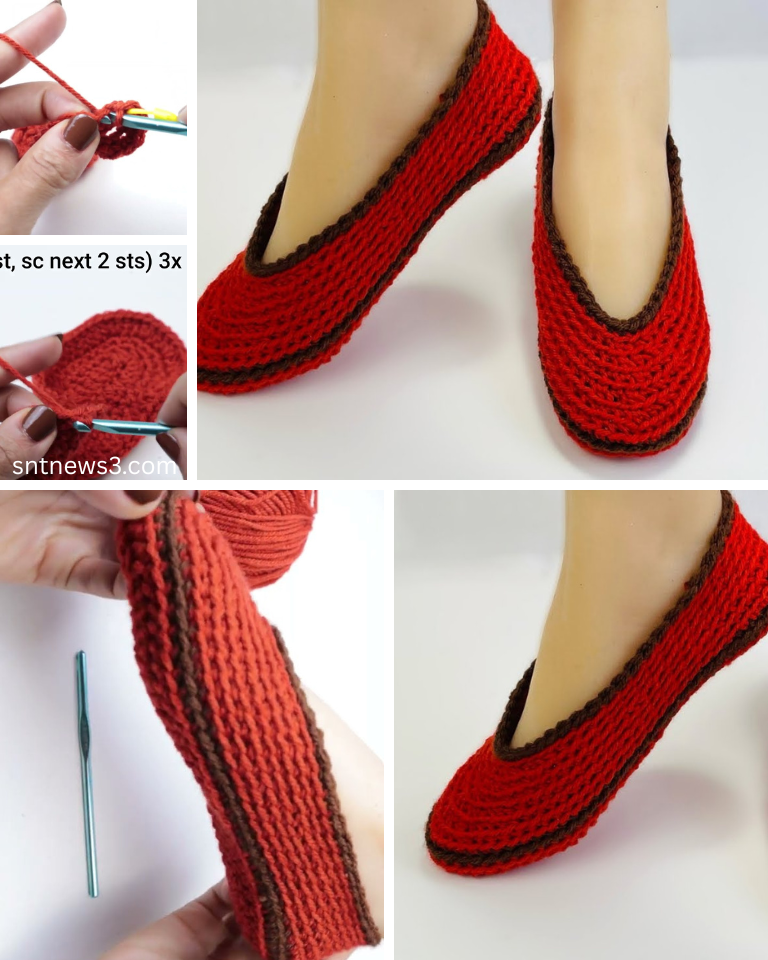
👣 Pattern: Quick & Perfectly Fitted Crochet Slippers
This pattern is worked flat, then folded and seamed to form a slipper.
🧶 Step 1: Begin with the Toe Section
- Ch 2
- Round 1: 6 hdc in 2nd ch from hook. Join with sl st. (6 sts)
- Round 2: Ch 1. 2 hdc in each st around. Join. (12 sts)
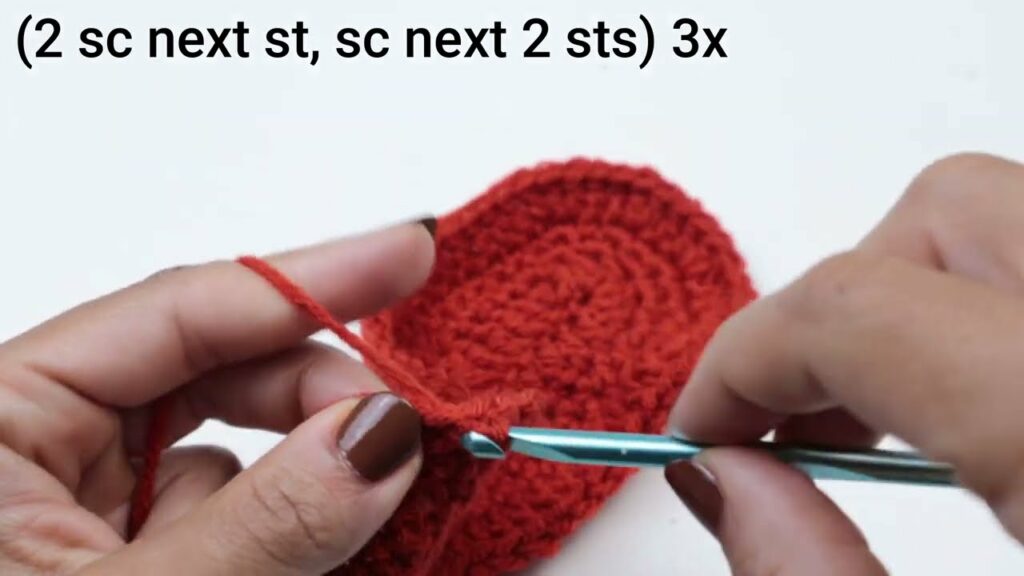
- Round 3: Ch 1. 1 hdc, 2 hdc in next – repeat around. Join. (18 sts)
- Round 4: Ch 1. 2 hdc, 2 hdc in next – repeat around. Join. (24 sts)
✅ Stop increasing once the circle is the same width as the top of your foot (about 3.5–4.5” for adults). You can stop at 24 or go up to 30 or 36 stitches, depending on size.
🧶 Step 2: Work the Top of the Foot
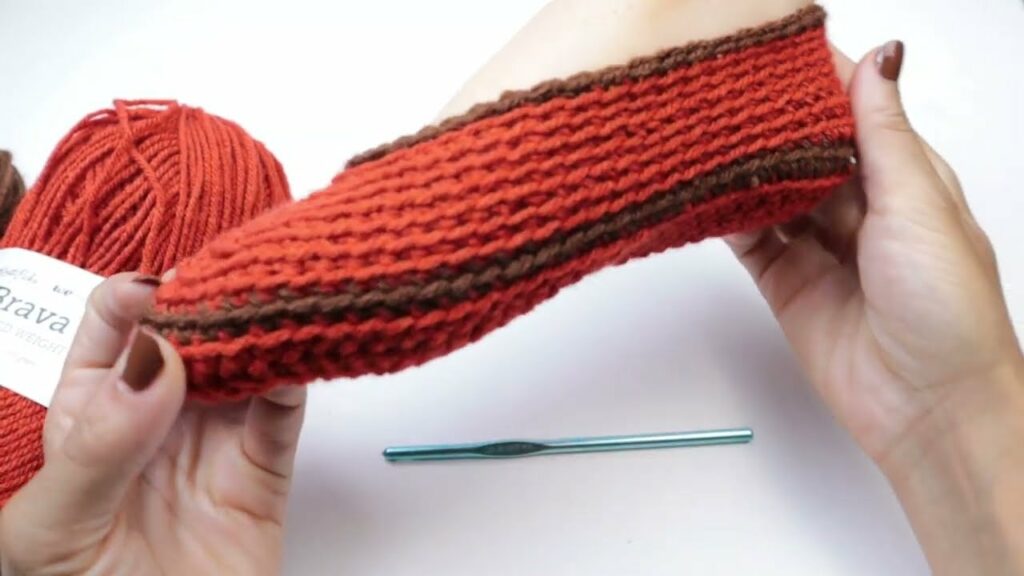
- Rows: Ch 1, turn. Hdc in back loops only (BLO) across half the stitches. (e.g., 12 hdc if working with 24)
- Repeat this row (ch 1, turn, BLO hdc) for approx. 12–16 rows, or until it reaches from the toe to your ankle.
- Try it on as you go!
- This creates a ribbed top that stretches snugly over your foot.
🧶 Step 3: Shape the Heel & Seam
- Fold the slipper flat lengthwise.
- Seam the heel closed (the back edge) using sl st or whip stitch.
- Top cuff (optional): Sc evenly around the ankle opening for 1–2 rounds to create a smooth edge or short bootie look.
🎨 Customization Ideas
- Cuff Style: Add 2–3 inches of ribbed rows for a cozy ankle cuff.
- Colors: Use self-striping yarn or color block with 2–3 shades.
- Soles: Add faux suede patches or puff paint dots for grip.
- Lining: Sew in fleece for extra warmth in winter.
🧼 Care Instructions
- Acrylic Yarn: Machine wash cold, tumble dry low.
- Wool or Blends: Hand wash, lay flat to dry.
🧦 Perfect Pair Every Time
This pattern is so quick and versatile, you can make:
- A pair for every family member
- Last-minute gifts
- Donation items for shelters or hospitals
- Cozy replacements for worn-out socks
🧶 Conclusion
Crocheting your own slippers doesn’t have to be complicated or time-consuming. With this Quick Crochet Slippers Perfectly Fitted Pattern, you can create a pair that’s not only stylish and cozy but also customized exactly to your foot size. The simple construction, minimal seaming, and stretchy fit make this pattern ideal for beginners and experienced crocheters alike.
Whether you’re making a pair for yourself, gifting loved ones, or building up a batch for craft fairs or donations, these slippers are sure to impress. Best of all, they’re fast — giving you a sense of accomplishment in just an hour or two.
So grab your yarn, hook, and get stitching — your feet (or someone else’s) will thank you!
Video tutorial: