 by
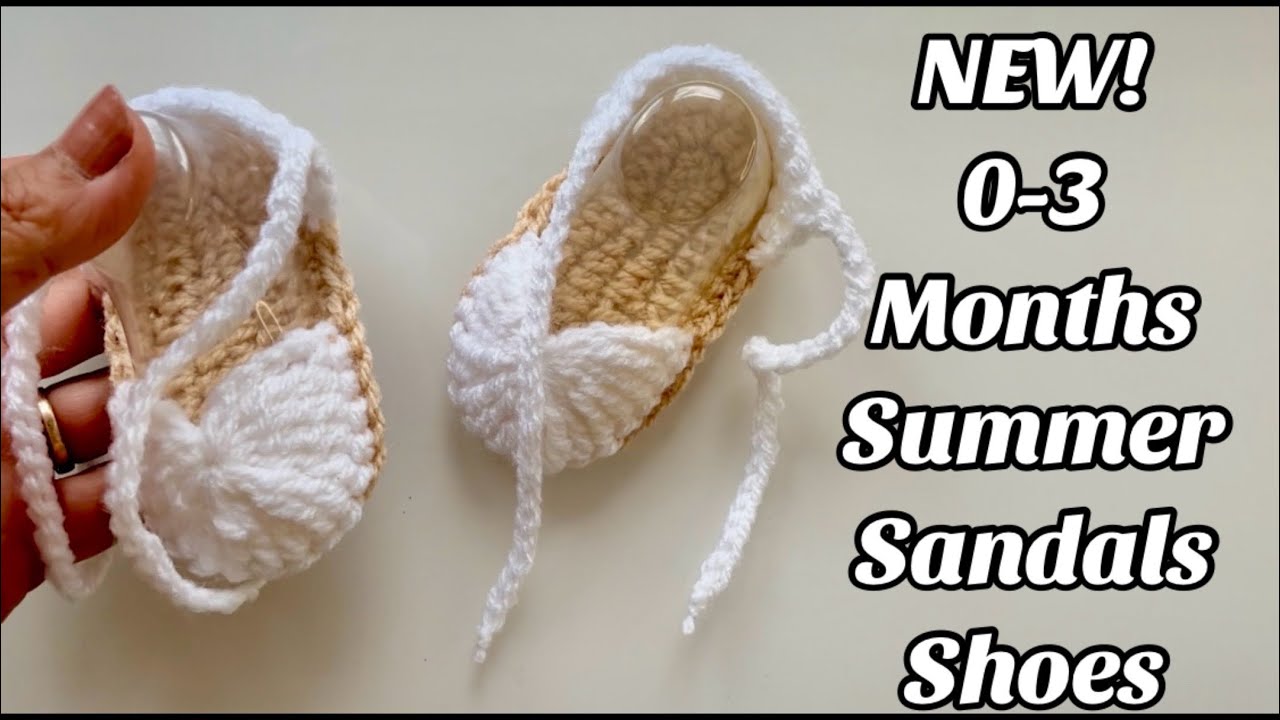
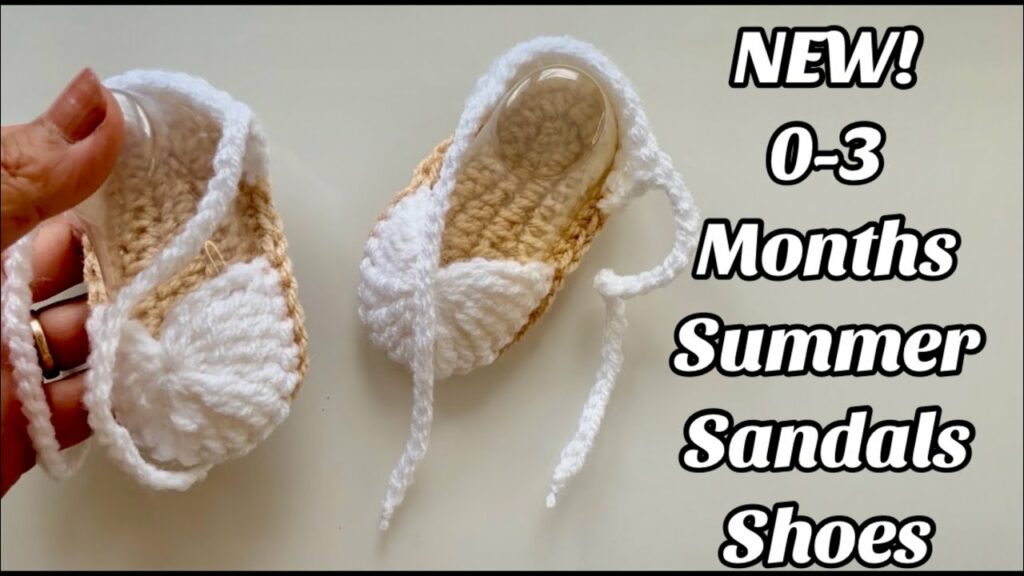
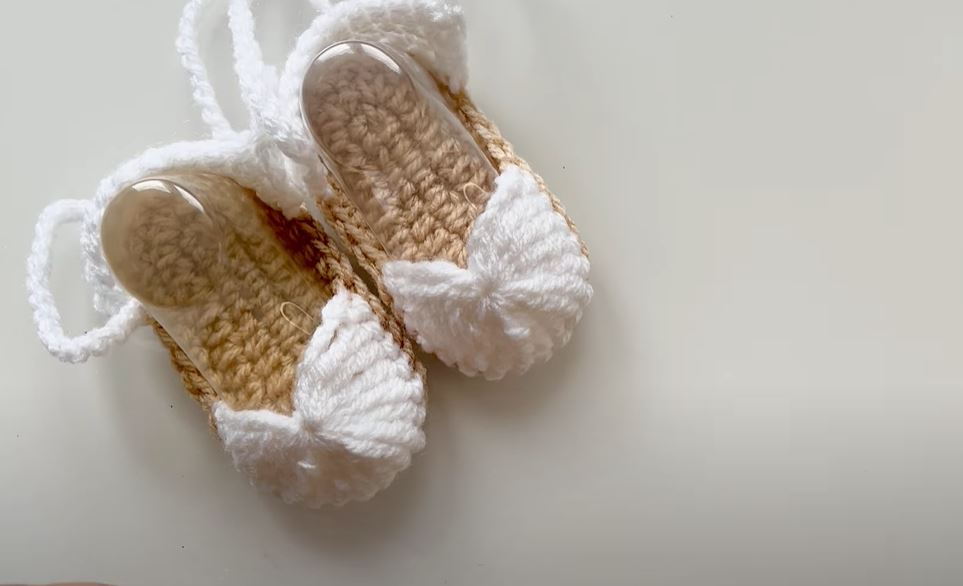
by There’s nothing cuter than tiny baby feet, and in the warmer months, dressing them in lightweight, adorable sandals is a must! Crocheting baby sandals is a delightful and quick project that even beginners can master. These little creations are not only charming gifts for new parents but also a wonderful way to add a handmade touch to a little one’s summer wardrobe.
This detailed guide will walk you through creating precious crochet baby summer sandals, perfect for the 0-3 and 3-6 month age ranges. We’ll focus on simple stitches and clear instructions, ensuring you can create a beautiful pair of soft, breathable footwear for those precious tiny toes.
Why Crochet Baby Summer Sandals?
- Adorable & Practical: They add an undeniable cuteness factor while keeping baby’s feet cool and comfortable in warm weather.
- Heartfelt Gift: A handmade pair of sandals is a truly cherished and personal gift for baby showers, birthdays, or just because.
- Beginner-Friendly: Uses basic stitches and straightforward construction, making it an excellent project for those new to crochet garments/accessories.
- Quick Project: Being small, these sandals work up very quickly, offering satisfying results in a short amount of time.
- Stash Buster: Perfect for using up smaller amounts of leftover cotton or baby yarn.
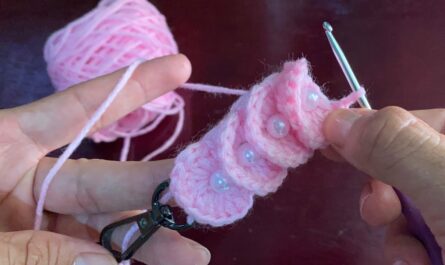
- Customizable: Easily change colors, add tiny flowers, buttons, or bows to personalize each pair.
Key Considerations for Baby Footwear
When crocheting for babies, especially footwear, comfort and safety are paramount.
- Yarn Choice (Softness & Breathability!):
- Fiber: 100% cotton or a cotton blend is highly recommended. Cotton is breathable, soft, absorbent, and non-irritating to delicate baby skin. Avoid wool or synthetic yarns that might be too warm or cause sweating.
- Weight: DK (Light Worsted / Category 3) yarn is ideal. It creates a lightweight fabric with good stitch definition, perfect for tiny sandals.
- Washability: Absolutely essential! Ensure your yarn is machine washable and dryable (check the label).
- Color: Light, cheerful colors are perfect for summer. Pastels, soft neutrals, or gentle brights all work beautifully.
- Hook Size: A hook size that creates a relatively dense but not stiff fabric is best for baby sandals. For DK weight yarn, a 3.0mm (US C/2) or 3.5mm (US E/4) hook is usually appropriate. You want the stitches to be close enough to provide good coverage but still flexible.
- Gauge (Crucial for Sizing!): For baby items, gauge is important to ensure the sandals fit the intended age range. Make a small swatch (e.g., 2×2 inches / 5×5 cm) to check your stitches per inch/cm. Adjust your hook size until your gauge matches the pattern’s recommendation for the sole.
- No Choking Hazards: If adding embellishments like buttons or beads, ensure they are very securely sewn on and large enough not to be swallowed. For safety, it’s often best to omit small, loose embellishments for very young babies.
- Softness: Ensure all seams are on the outside or very flat to prevent rubbing on baby’s skin.
Materials You’ll Need
- Yarn: Approx. 50-80 yards per pair of DK (Category 3) soft cotton or cotton blend yarn.
- Crochet Hook: 3.0mm (US C/2) for 0-3 months, 3.5mm (US E/4) for 3-6 months (or adjust based on gauge).
- Yarn Needle (Tapestry Needle): For weaving in ends.
- Scissors:
- Stitch Markers (optional): Helpful for marking the beginning of rounds or specific stitches.
Essential Crochet Abbreviations
- ch: chain
- sl st: slip stitch
- sc: single crochet
- hdc: half double crochet
- dc: double crochet
- sc inc: single crochet increase (2 sc in same st)
- hdc inc: half double crochet increase (2 hdc in same st)
- dc inc: double crochet increase (2 dc in same st)
- st(s): stitch(es)
- FO: Fasten off
- (): indicates instructions to be worked into the same stitch
- …: repeat instructions within asterisks

Baby Summer Sandals Pattern (0-3 Months & 3-6 Months)
This pattern starts with an oval sole, then builds the straps. The key difference between sizes is the length of the starting chain and the number of rounds for the sole.
Finished Sole Lengths (approximate):
- 0-3 Months: 3.5 inches (9 cm)
- 3-6 Months: 3.75 – 4 inches (9.5 – 10 cm)
Part 1: The Slipper Sole (Make 2 – one for each sandal)
We’ll work this in continuous rounds to create a sturdy, flat base.
- Starting Chain (Adjust for Size):
- 0-3 Months: Ch 10
- 3-6 Months: Ch 12
- Round 1:
- 0-3 Months (using Ch 10): Hdc in 2nd ch from hook. Hdc in next 7 ch. Work (5 hdc) in the very last ch. Working down the opposite side of the starting chain: Hdc in next 7 ch. Work (4 hdc) in the very first ch (where your first hdc was made). Do not join. Place stitch marker in the first hdc of the round. (24 hdc)
- 3-6 Months (using Ch 12): Hdc in 2nd ch from hook. Hdc in next 9 ch. Work (5 hdc) in the very last ch. Working down the opposite side of the starting chain: Hdc in next 9 ch. Work (4 hdc) in the very first ch. Do not join. Place stitch marker in the first hdc of the round. (30 hdc)
- Round 2:
- 0-3 Months: Sc inc in first hdc. Sc in next 8 hdc. (Sc inc) in next 3 hdc. Sc in next 8 hdc. (Sc inc) in next 2 hdc. Move stitch marker. (30 sc)
- 3-6 Months: Sc inc in first hdc. Sc in next 10 hdc. (Sc inc) in next 3 hdc. Sc in next 10 hdc. (Sc inc) in next 2 hdc. Move stitch marker. (36 sc)
- Round 3:
- 0-3 Months: Sc in BLO of each sc around. Join with a sl st to the first sc. (30 sc)
- 3-6 Months: Sc in BLO of each sc around. Join with a sl st to the first sc. (36 sc)
- FO, leaving a short tail to weave in.
- This BLO round creates a neat ridge, separating the sole from the upper part of the sandal.
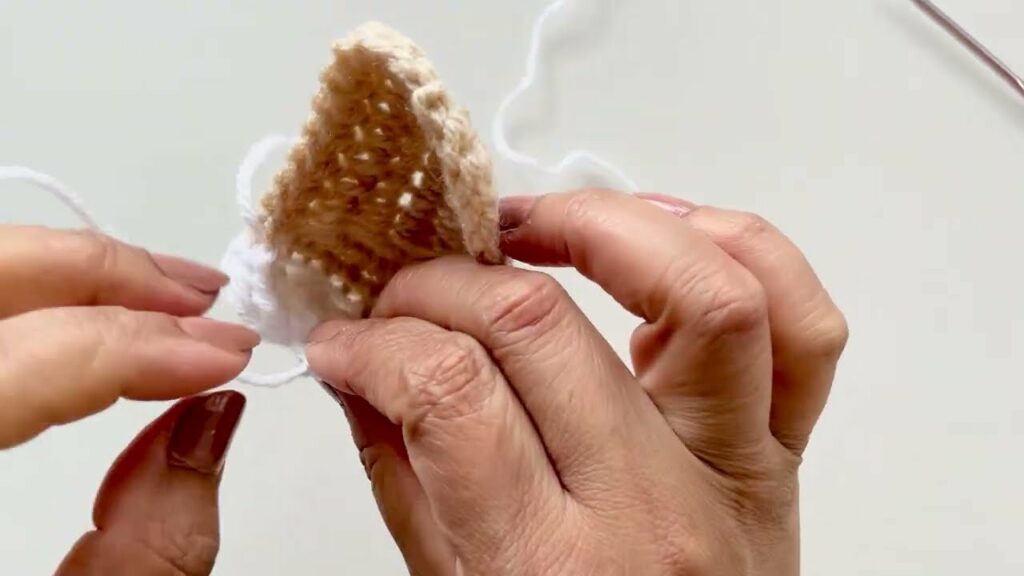
Part 2: The Toe Strap (Make 2 per sandal)
These straps will secure the front of the foot.
- Placement: With the sole’s RS facing up (the ridge should be visible), find the exact center of the toe end. Count 3 stitches back from the center on each side (total 7 stitches in the front middle).
- Strap 1:
- Attach yarn with a sl st to the 3rd stitch to the right of the center toe (counting from the front point).
- Ch 1. Sc in the same st and in the next 6 sts. Turn. (7 sc)
- Ch 1. Sc in each sc across. Turn. (7 sc)
- FO, leaving a long tail (approx. 10 inches / 25 cm) for sewing.
- Strap 2:
- Attach yarn with a sl st to the 3rd stitch to the left of the center toe (counting from the front point). This will be where the next strap will overlap.
- Ch 1. Sc in the same st and in the next 6 sts. Turn. (7 sc)
- Ch 1. Sc in each sc across. Turn. (7 sc)
- FO, leaving a long tail (approx. 10 inches / 25 cm) for sewing.
Part 3: The Ankle Strap & Closure (Make 2 per sandal)
This strap goes around the ankle and will have a button or tie closure.
- Placement: With the sole’s RS facing up, find the stitch exactly above the middle of the arch of the foot, on the right side.
- Strap:
- Attach yarn with a sl st to this stitch.
- Ch 1. Hdc in same st. Hdc in next 3 sts. Turn. (4 hdc)
- Ch 1. Hdc in each hdc across. Turn. (4 hdc)
- Repeat this row until the strap measures approx. 5 inches (12.5 cm) for 0-3 months, or 6 inches (15 cm) for 3-6 months.
- Buttonhole Loop: On the last row, ch 1. Hdc in first 2 hdc. Ch 2 (adjust for button size). Sk 2 hdc. Hdc in last 2 hdc. Turn. (This creates the buttonhole).
- Ch 1. Sc evenly across the strap, working 2 sc into the ch-2 loop. FO, leaving a long tail for sewing.
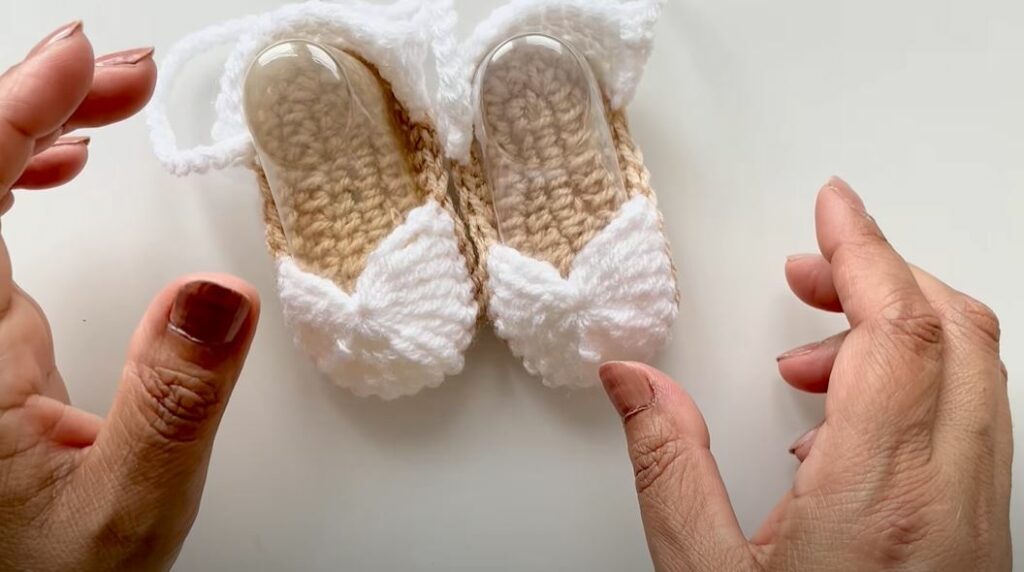
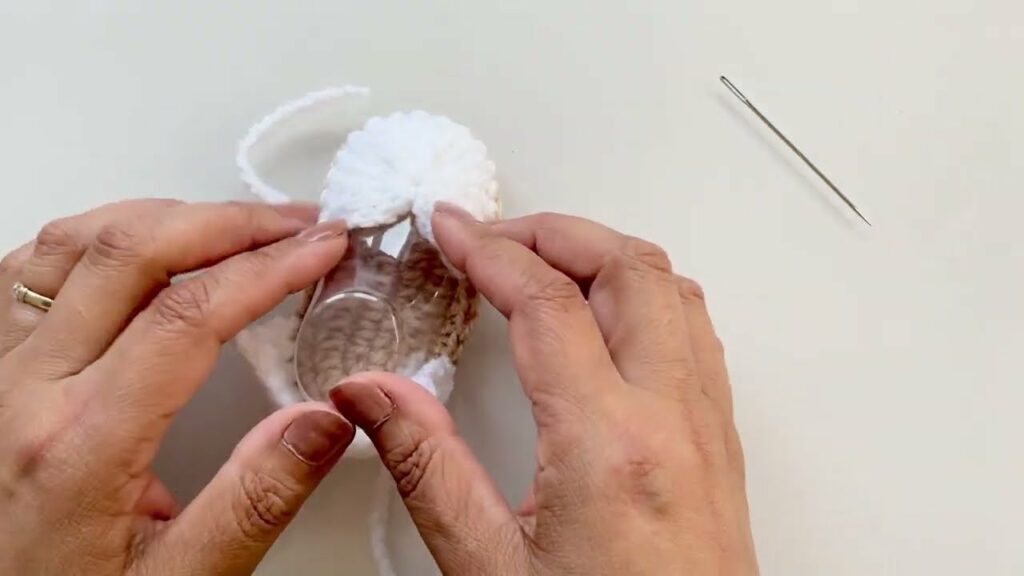
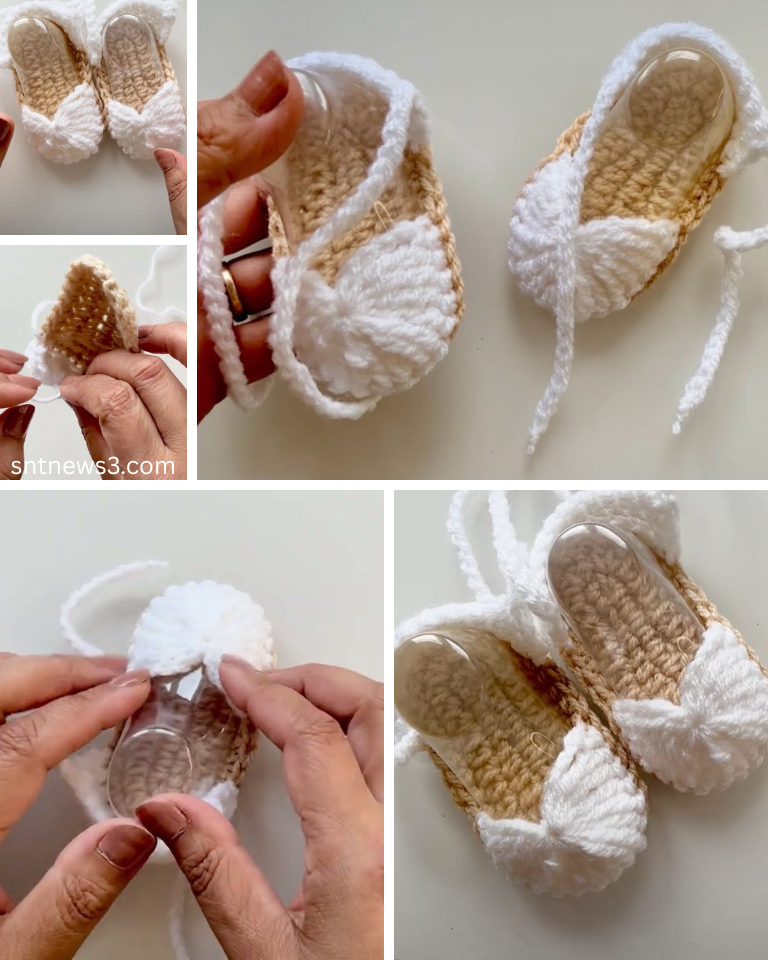
Part 4: Assembly & Finishing
This brings your sandal together!
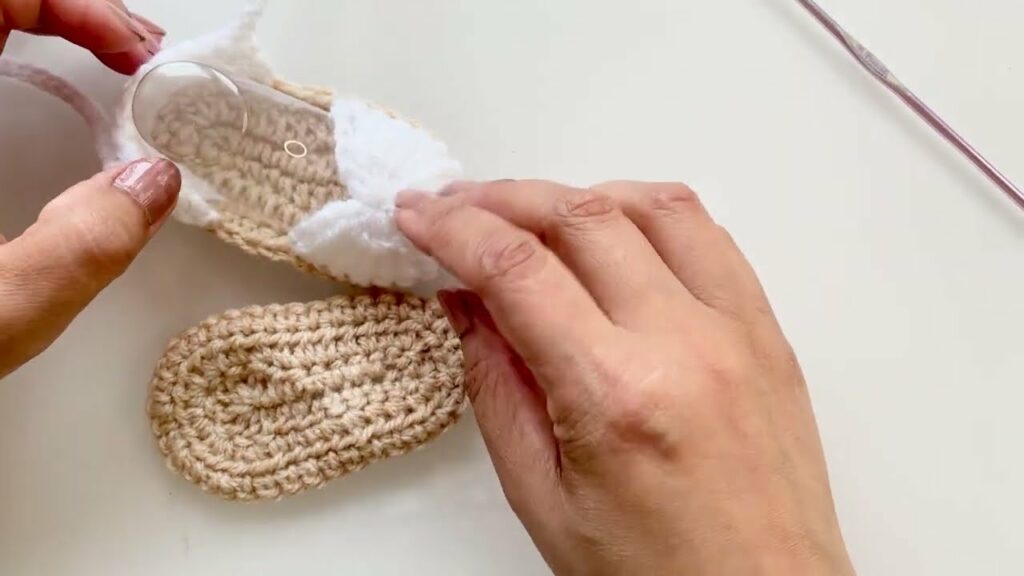
- Attach Toe Straps:
- Lay the sole flat. Position Strap 1 across the top of the sole, slightly angled towards the opposite side of the sandal’s opening.
- Position Strap 2 across the top of the sole, overlapping Strap 1 in the middle to create a criss-cross or straight toe. Securely sew the starting edge of each strap to the sole using your yarn needle.
- Sew the ends of the straps where they meet/overlap in the middle, creating the toe opening.
- Sew the ends of the straps to the side of the sole, ensuring they curve comfortably over where a baby’s toes would be.
- Attach Ankle Strap:
- Position the starting end of the ankle strap to the outside arch of the sole (opposite the side where you attached the strap). Sew securely.
- The buttonhole end will wrap around the back of the ankle to the other side.
- Sew on Button: Choose a baby-safe, flat button. Sew it securely to the inside arch of the sole, directly opposite the buttonhole loop on the ankle strap.
- Weave in All Ends: Meticulously weave in every single yarn tail on both sandals. This is crucial for neatness and to prevent any irritation to baby’s delicate skin.
- Make Second Sandal: Repeat all steps to create the matching sandal!
- Blocking (Optional): Gently mist the finished sandals with water. Stuff them lightly with tissue paper or a small sock to help them hold their shape. Let them air dry completely. This helps to even out stitches and give a more polished look.
Tips for Perfect Baby Sandals:
- Try on a Baby Foot (Carefully!): If you have a baby of the target age, gently try the sole on their foot to check the length, and the straps to check placement.
- Consistent Tension: This is key for creating evenly sized and shaped sandals.
- Secure Attachments: When sewing on straps and buttons, make extra stitches to ensure they are very secure and durable.
- Color Play: Use contrasting colors for the sole and straps for a fun look, or a single color for a classic touch.
- Embellishments (Be Safe!): If adding flowers or bows, crochet them separately and sew them securely to the top of the toe strap. Avoid small beads or anything that could come loose.
- Gift-Giving: Pair these sandals with a matching crocheted headband or a cute romper for a complete outfit!
You’ve now created an adorable pair of handmade baby summer sandals, ready for those precious tiny feet to take on the sunny days!
Video tutorial: