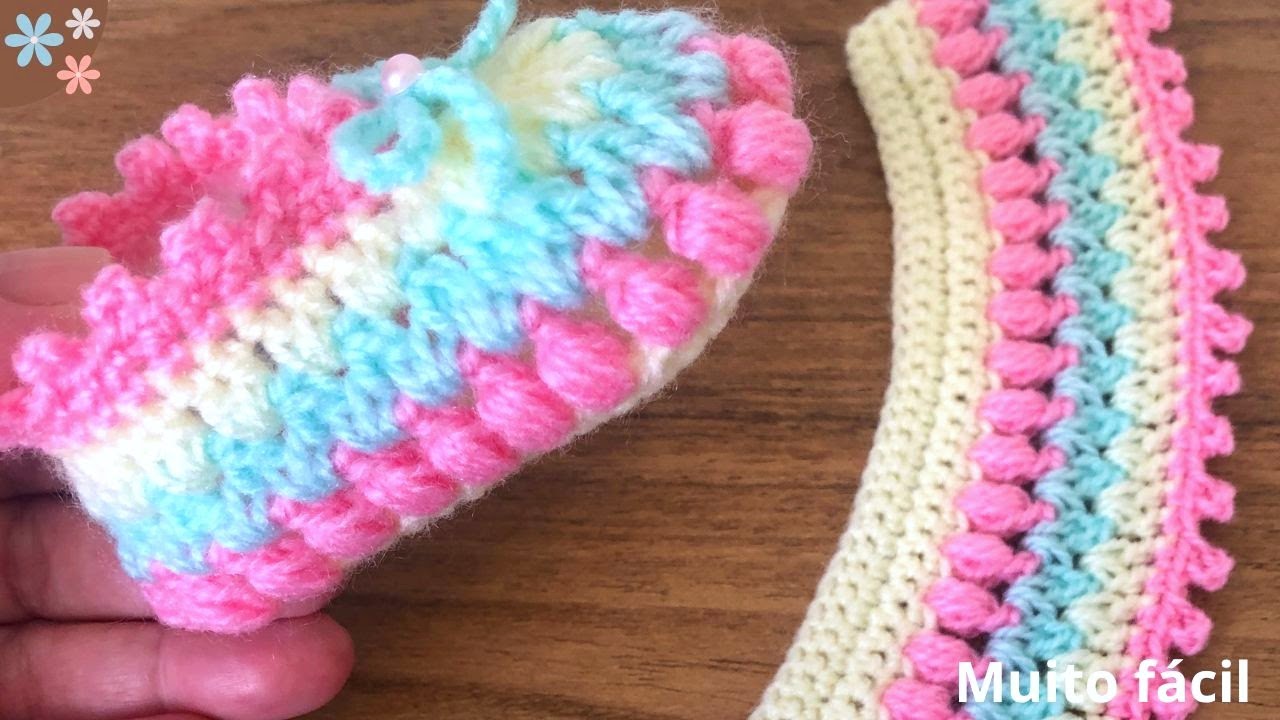
There’s an undeniable charm to tiny baby shoes, and when they’re handmade with love, their appeal multiplies. The good news is that creating truly easy and beautiful crochet baby shoes doesn’t require complex stitches or intricate patterns. Elegance can be achieved through thoughtful yarn choices, neat finishing, and the addition of subtle, delicate details.
This detailed article will guide you through crocheting a pair of exquisite baby shoes, focusing on a beginner-friendly approach for a 0-3 month size (approx. 9-10 cm sole). We’ll emphasize techniques that result in a polished, charming finish, proving that even the simplest stitches can create something wonderfully beautiful. Get ready to crochet a pair of shoes that are as lovely to look at as they are soft for tiny feet!
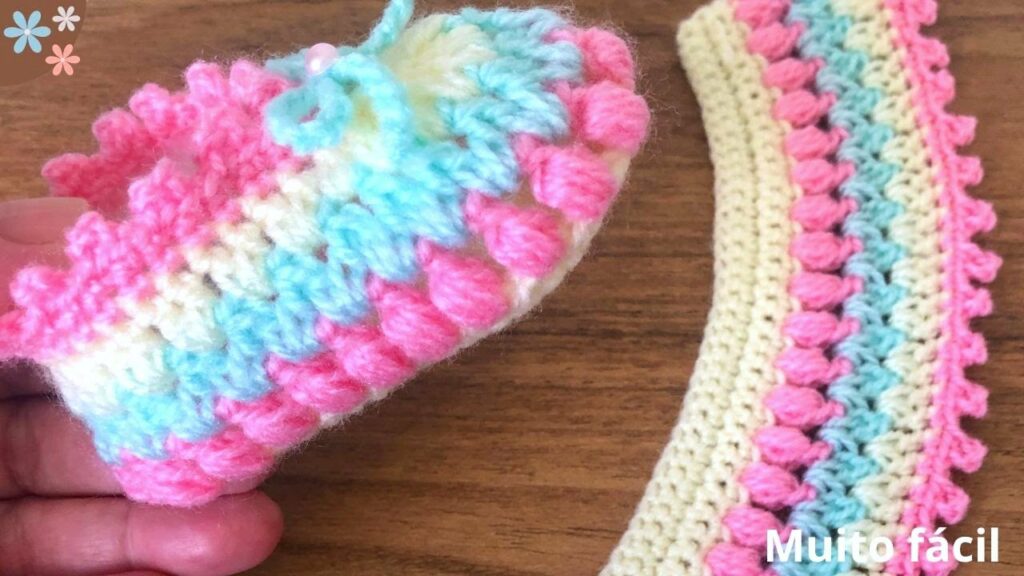
Why Crochet Easy & Beautiful Baby Shoes?
- Simplicity Meets Elegance: Master basic crochet techniques while creating a surprisingly sophisticated finished product.
- Heartfelt & Cherished Gift: Handmade baby shoes are a unique and personal gift that often become treasured keepsakes.
- Endless Customization: Experiment with a vast array of colors, from soft pastels to vibrant hues. Add your personal touch with tasteful embellishments.
- Practical & Cozy: Provide warmth and comfort for tiny feet, perfect for any season.
- Confidence Booster: Perfect for beginners, this project builds foundational skills in shaping, working in the round, and finishing garments, preparing you for more complex projects.
Key Considerations Before You Start:
- Size (0-3 Months Focus):
- This pattern targets a finished sole length of 9-10 cm (3.5-4 inches), ideal for newborns up to 3 months.
- To adjust for larger sizes: Increase your initial chain length, add more increase rounds for the sole, and add more straight rounds for the height before beginning toe shaping. (Adding 2 chains to the foundation usually adds about 1 cm to the sole length).
- Yarn Choice (The Foundation of Beauty):
- Fiber: Prioritize softness, breathability, and washability.
- Baby Acrylic: Super soft, durable, easy to care for, and widely available in baby-friendly colors.
- Cotton or Cotton Blends: Excellent for breathability, stitch definition, and softness, especially in warmer climates.
- Bamboo Blends: Incredibly soft, with a lovely drape and subtle sheen.
- Superwash Merino Wool: Luxuriously soft, warm yet breathable, and often machine washable (check label!).
- Weight: DK (Light Worsted / Category 3) or Worsted (Category 4) are versatile choices. DK creates a finer, more delicate shoe, while Worsted works up quicker with a bit more substance.
- Colors for “Beautiful”: Consider soft pastels, classic whites, creams, muted tones, or elegant variegated yarns. Subtle contrasts for trim can also enhance beauty.
- Fiber: Prioritize softness, breathability, and washability.
- Hook Size:
- Match your hook size to your chosen yarn weight. For shoes, often going down half a size from the yarn label’s recommendation helps create a denser fabric that holds its shape. However, for a softer, more draped look, staying true to the label or even going up a half size might be preferred, especially if you plan to block them.
- For DK yarn, try 3.5 mm (US E/4) or 4.0 mm (US G/6).
- For Worsted yarn, try 4.0 mm (US G/6) or 4.5 mm (US 7).
- Gauge (Essential for Fit!):
- Always crochet a small swatch of the sole section (Part 1) and measure its length. This is crucial for ensuring the shoe fits the intended size. Adjust your hook size if your swatch is significantly off.
- Construction Method:
- We’ll use the classic bottom-up approach: crocheting a flat oval for the sole, then building up the sides of the shoe, shaping the toe with simple decreases, and finally adding the decorative ankle trim.
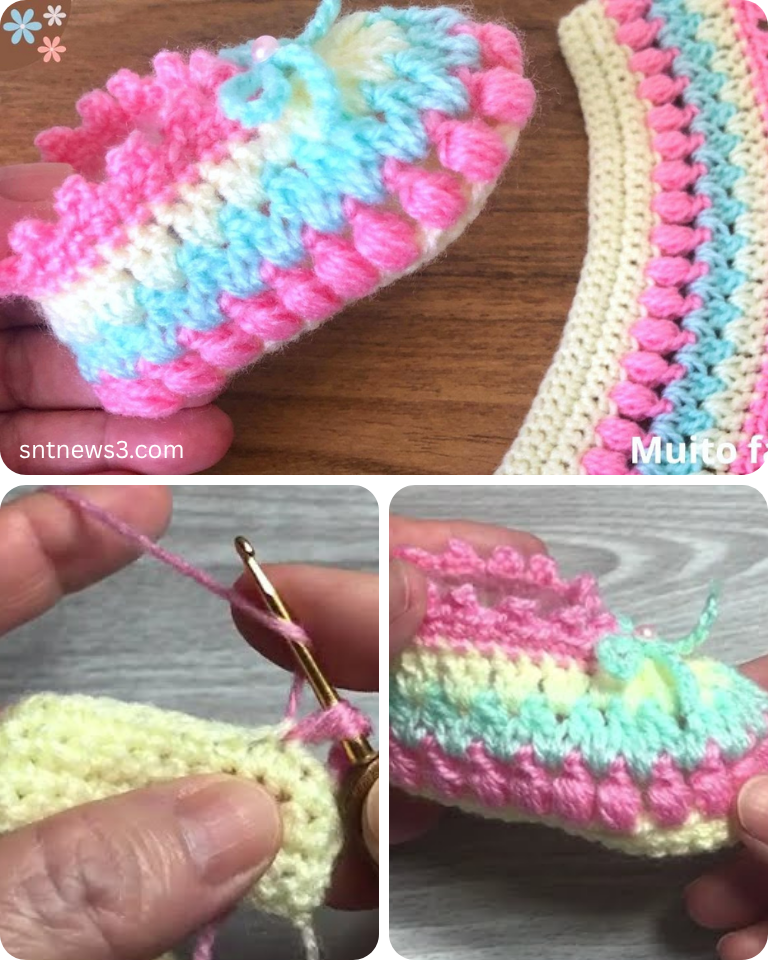
Materials You’ll Need:
- Yarn: Approx. 50-70 yards of DK (Category 3) or Worsted Weight (Category 4) soft baby yarn in your main color.
- (Optional) Small amount of accent color yarn for trim.
- Crochet Hook: Size G/6 (4.0 mm) or 7 (4.5 mm) (adjust for gauge).
- Yarn Needle (Tapestry Needle): For weaving in ends.
- Scissors: For cutting yarn.
- Stitch Marker (optional but helpful): To mark the beginning of rounds.
- Optional Embellishments: Small satin ribbon, tiny buttons, seed pearls, or small crocheted flowers.
Essential Crochet Abbreviations:
- ch: chain
- sl st: slip stitch
- sc: single crochet
- hdc: half double crochet
- sc inc: single crochet increase (2 sc in same st)
- hdc inc: half double crochet increase (2 hdc in same st)
- sc2tog: single crochet 2 together (decrease)
- hdc2tog: half double crochet 2 together (decrease)
- st(s): stitch(es)
- BLO: back loop only
- (): indicates instructions to be worked into the same stitch/space
- ***…***: repeat instructions within asterisks
- []: indicates stitch counts at the end of a round/row
Easy & Beautiful Crochet Baby Shoes Tutorial (0-3 Months)
All parts are worked in continuous rounds unless specified. Use a stitch marker to mark the first stitch of each round if desired.
Gauge Swatch (Sole Check): Work Part 1: The Sole. Measure the length. It should be approximately 9-10 cm (3.5-4 inches). Adjust hook size if significantly different.
Part 1: The Sole (Foundation for Beauty)
We begin with a flat oval base for the bootie. Using Main Color.
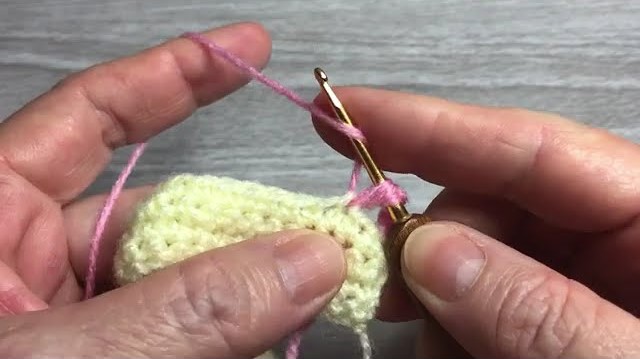
- Starting Chain: Ch 13.
- Round 1:
- Hdc in the 3rd ch from hook (counts as 1st hdc).
- Hdc in each of the next 9 ch.
- Work (7 hdc) in the very last ch (toe end curve).
- Working along the opposite side of the starting chain: Hdc in each of the next 9 ch.
- Work (6 hdc) in the very first chain stitch where you made your first hdc (heel end curve).
- Join with a sl st to the top of the beginning Ch 2.
- [32 hdc]
- Round 2:
- Ch 2 (does NOT count as a st).
- Hdc inc in the first st.
- Hdc in the next 9 sts.
- Hdc inc in the next 7 sts.
- Hdc in the next 9 sts.
- Hdc inc in the next 6 sts.
- Join with a sl st to the top of the first hdc.
- [46 hdc]
- Round 3:
- Ch 2.
- Hdc inc in the first st, hdc in next st.
- Hdc in the next 9 sts.
- (Hdc inc in next st, hdc in next st). Repeat from * 7 times.
- Hdc in the next 9 sts.
- (Hdc inc in next st, hdc in next st). Repeat from * 6 times.
- Join with a sl st to the top of the first hdc.
- [59 hdc]
- At this point, your sole should measure approx. 9-10 cm (3.5-4 inches) in length.
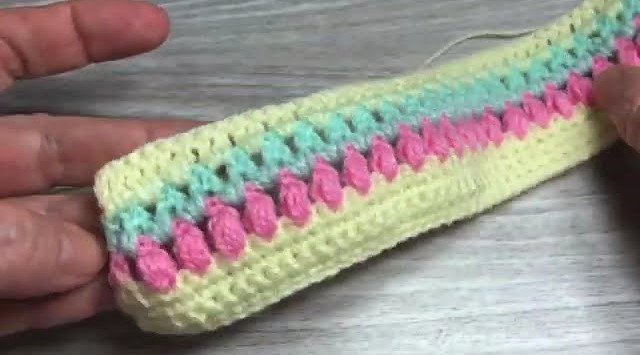
Part 2: Building the Shoe Body (Simplicity in Form)
This creates the defined edge for the sides and builds the main height.
- Round 4 (Defining Edge):
- Ch 1 (does NOT count as a st).
- Sc in the back loop only (BLO) of each st around.
- Join with a sl st to the first sc.
- [59 sc]
- Round 5 (First Body Round):
- Ch 1. Sc in each sc around.
- Join with a sl st to the first sc.
- [59 sc]
Part 3: Shaping the Toe (Gentle Curves)
We’ll introduce decreases only at the front to shape the toe.
- Round 6 (Toe Shaping 1):
- Ch 1. Sc in the first 17 sts.
- Sc2tog. Repeat from * 8 times.
- Sc in the remaining 26 sts.
- Join with a sl st to the first sc.
- [51 sc]
- Round 7 (Toe Shaping 2):
- Ch 1. Sc in the first 15 sts.
- Sc2tog. Repeat from * 6 times.
- Sc in the remaining 24 sts.
- Join with a sl st to the first sc.
- [45 sc]
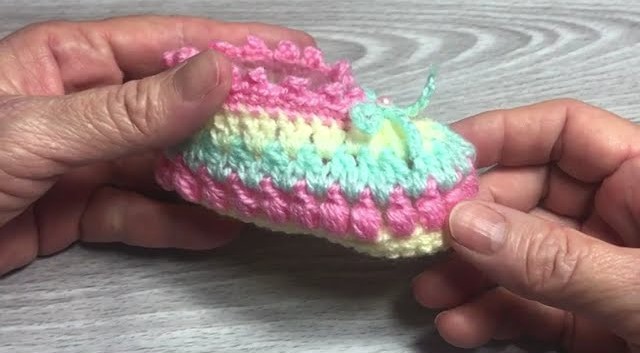
Part 4: The Ankle & Delicate Touches (The “Beautiful” Details)
This finishes the opening and adds a decorative element.
- Round 8 (Ankle Height & Optional Color Trim):
- Ch 1. Sc in each sc around.
- Join with a sl st to the first sc.
- [45 sc]
- If you want a contrasting trim, make your last yarn over of the sl st join with your new accent color.
- Round 9 (Delicate Edging – Picot Stitch):
- (With current color, or accent color) Ch 1. Sc in first st.
- Sc in next 2 sts. (Ch 3, sl st into the first of those 3 chains – this makes a picot).
- Repeat from * around the entire ankle opening.
- Join with a sl st to the first sc.
- FO, leaving a short tail.
- Alternative Delicate Edging (Mini Shells):
- (With current color, or accent color) Ch 1. Sc in first st.
- Skip 1 st, (dc, ch 1, dc) in next st, skip 1 st, sc in next st. Repeat from * around.
- Join with a sl st to the first sc.
- FO, leaving a short tail.
Part 5: Finishing Touches
- Weave in All Ends: Use your yarn needle to carefully weave in all starting and ending tails. For a truly beautiful finish, ensure all ends are completely hidden and secure.
- Make a Second Shoe! Repeat all steps to create a matching pair.
- Optional Embellishments (Subtle is Key):
- Ribbon Threading: Thread a thin satin ribbon through the stitches of Round 8 around the ankle. Tie a delicate bow at the front or side.
- Tiny Bows: Make a small, simple crocheted bow (or use a fabric bow) and sew it securely onto the front or side of the shoe.
- Single Button/Pearl: Sew a single, small, flat decorative button or a securely attached seed pearl onto the side of the ankle.

Your Easy and Beautiful Crocheted Baby Shoes are Complete!
You’ve crafted a pair of charming and elegant booties that showcase the beauty of handmade items, even with simple techniques.
Tips for Success & Enhancing Beauty:
- Yarn Quality & Color Harmony: High-quality yarn will always elevate the finished look. Choose colors that complement each other and the baby’s potential outfits.
- Blocking (Highly Recommended!): Gently wet your finished booties (or mist them with water). Carefully shape them, gently stretching the sole and opening up the stitches for a more polished look. Pin them onto a foam mat or clean towel if desired. Allow them to air dry completely. Blocking makes a huge difference in the drape and professional appearance of crochet.
- Neatness is Key: Consistent tension throughout the project, invisible joins, and meticulously woven-in ends are crucial for a truly beautiful result. Take your time with these steps.
- Subtle Embellishments: For baby items, less is often more. A simple ribbon, a single pearl, or a tiny bow can add immense charm without overwhelming the shoe.
- Care Instructions: Always refer to your yarn label for specific care. Most baby yarns are machine washable on a gentle cycle, but laying flat to dry will help the shoes maintain their shape and beauty longer.
Enjoy the satisfaction of creating something both easy and exquisitely beautiful for tiny feet!
Video tutorial:
