by
by Skill Level: Intermediate
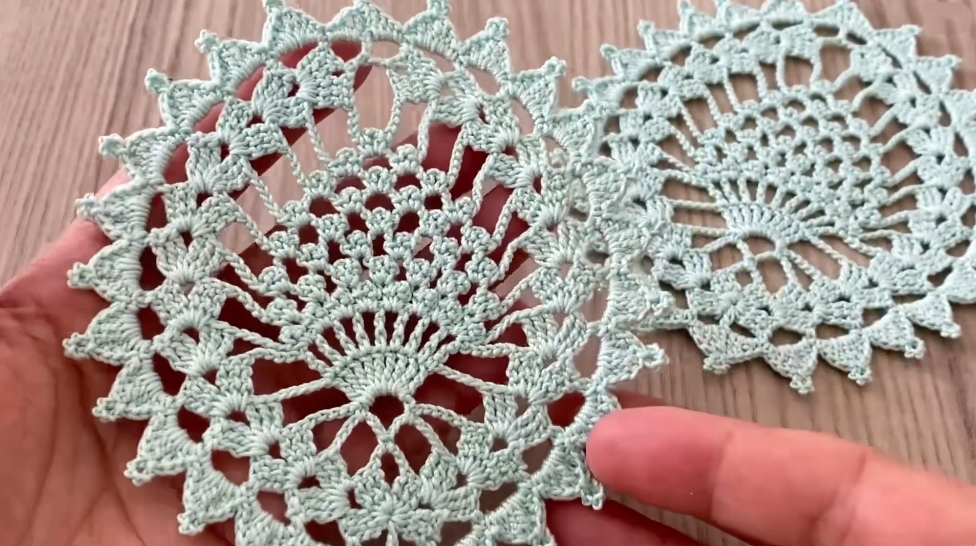
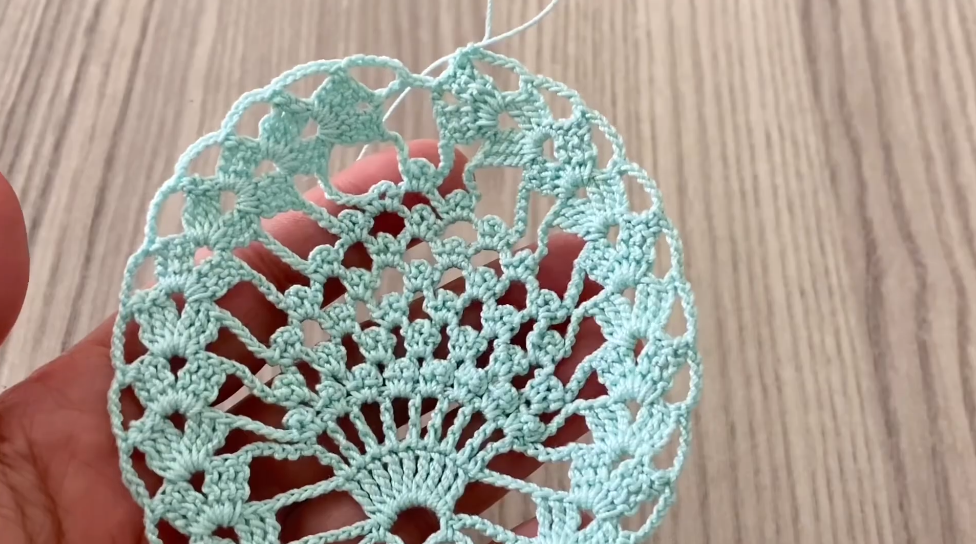
Construction: Worked in rounds building pineapple lace segments outward
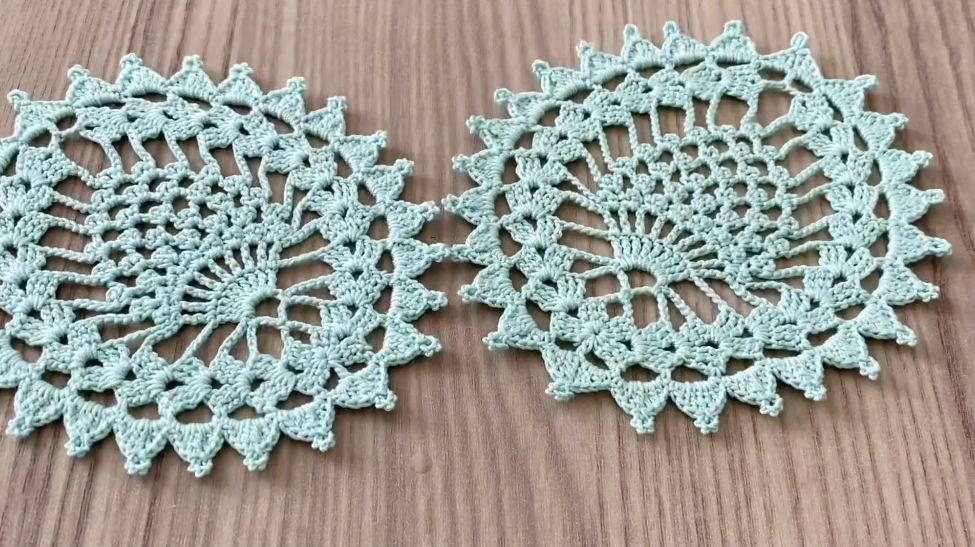
🧵 This motif creates the characteristic “pineapple” shape using chain spaces and increasing stitch clusters. You can make multiple motifs and join them for larger projects.
🧶 Materials
- Yarn (light or medium-weight cotton or acrylic)
- Crochet hook matched to yarn (e.g., 3.0 mm–4.5 mm)
- Scissors
- Tapestry needle for weaving in ends
- Stitch marker (optional — helps mark round starts)
📌 Common Stitches & Abbreviations (US Terms)
| Abbrev | Meaning |
|---|---|
| ch | chain |
| sl st | slip stitch |
| sc | single crochet |
| dc | double crochet |
| tr | treble crochet |
| sp | space |
| st | stitch |
| rep | repeat |
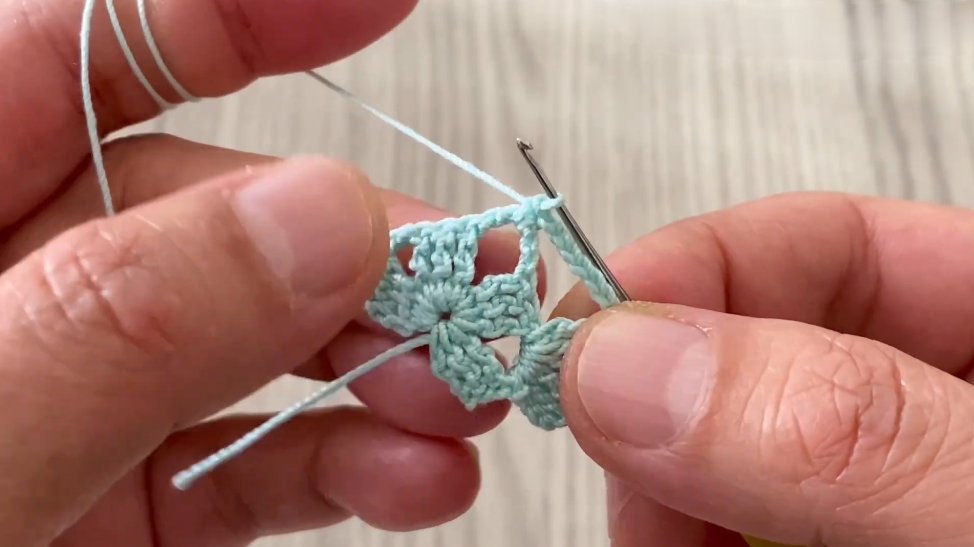
🟡 ROUND 1 — START WITH CENTER RING
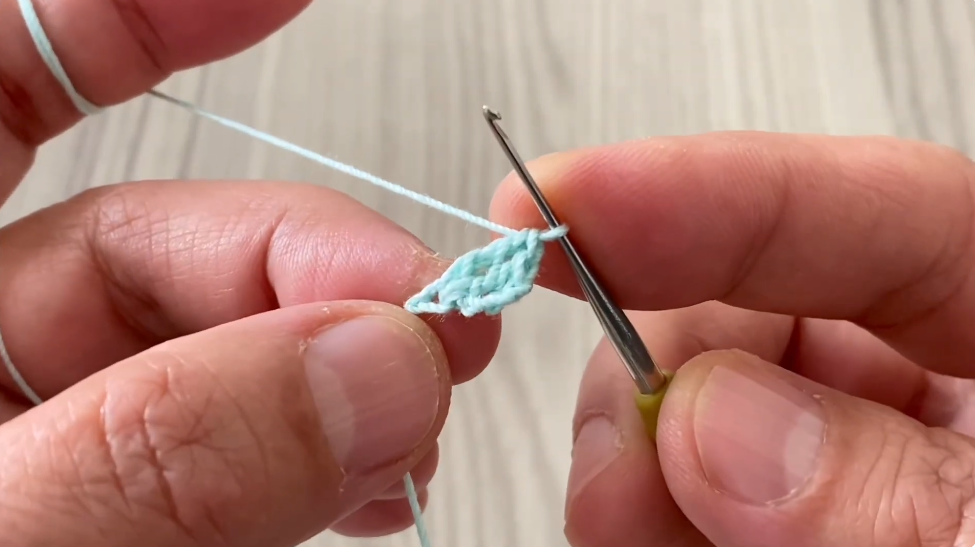
- Make a magic ring (adjustable loop).
This lets you pull the center closed neatly with no hole. - Ch 3 — this counts as your first dc.
- Work 11 dc into the magic ring.
After working, you have 12 dc total including the starting ch-3. - Pull the tail of your magic ring to tighten the center completely.
- Sl st to top of the beginning ch-3 to join the round.
✔ You now have a neat flat circle forming the motif’s center.
🟢 ROUND 2 — FORMING BASIC ARCHES
This round creates foundational chain spaces for pineapple lace segments.
- Ch 1, sc into same stitch.
- Ch 5, skip next stitch, sc into next stitch.
- Ch 5, skip 1 stitch, sc into next stitch.
- Continue repeating ch-5 + sc all the way around.
- Sl st to first sc to join.
✔ You should have a ring of even chain-5 arches around the center.
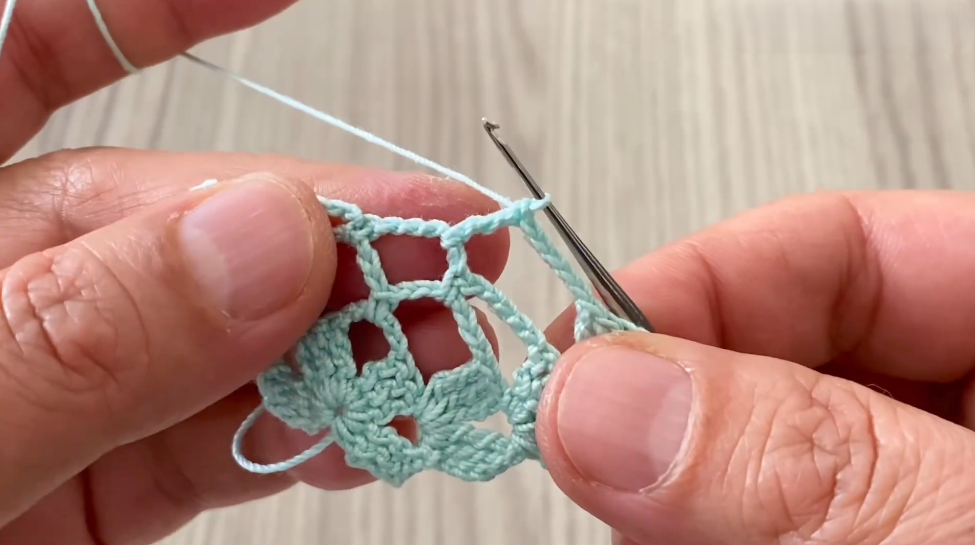
🔵 ROUND 3 — SHELL CLUSTERS
- Sl st into the first ch-5 space.
- Ch 3 (counts as dc), then work dc 4 into same ch-5 space — making a shell cluster of 5 dc total in that space.
- Sc into the next ch-5 space.
- Dc 5 into the next ch-5 space.
- Continue alternating sc + 5 dc around the circle.
- Sl st to top of beginning ch-3 to join.
✔ This round creates the first layer of decorative shell clusters.
🟣 ROUND 4 — OPEN LACE SPACES
- Ch 1, sc in first dc (not the shell).
- Ch 4, skip 2 dc, sc in next stitch.
- Ch 4, skip 2 dc, sc — continue all around.
- Sl st to first sc to join.
✔ You now have chain-4 lace loops circulating around the shell clusters, creating pineapple lace effect.
🟡 ROUND 5 — SECOND LAYER OF PINEAPPLE
- Sl st into the first ch-4 space.
- Ch 3, work dc 4 into same space — another shell cluster.
- Ch 3, sc into the next ch-4 space.
- Ch 3, dc 5 into next ch-4 space.
- Repeat shell + sc around until all lace loops are worked.
- Sl st to joining point.
✔ This adds texture and expands the motif outward.
🔶 ROUND 6 — EXPAND THE MOTIF SHAPE
- Ch 3 (counts as dc), dc into next 4 stitches.
- Ch 3 (creates separation space), sc into chain-3 space below.
- Ch 3, dc into next 5 stitches.
- Repeat these groups across the round.
- Sl st to join.
✔ This round strengthens the outer structure while continuing the pineapple look.
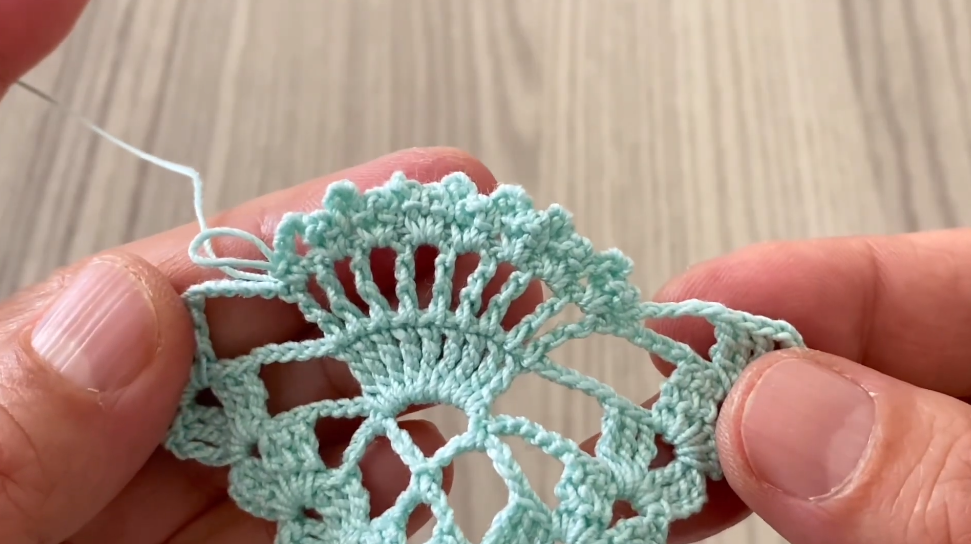
🔷 ROUND 7 — LACE EXTENSION
This round makes the motif more lacy and open:
- Ch 3, dc across next 4 stitches.
- Ch 5, sc in next chain space.
- Ch 5, dc across next 5 stitches.
- Repeat around.
- Sl st to join.
✔ Longer chain loops add airy pineapple lace texture.
🔹 ROUND 8 — FINAL EXPANSION
- Ch 3, dc over next 4 stitches.
- Ch 7, sc in next chain space.
- Ch 7, dc over next 5 stitches.
- Repeat around.
- Sl st to join.
✔ Your pineapple motif now has a beautifully open feel and dimension.
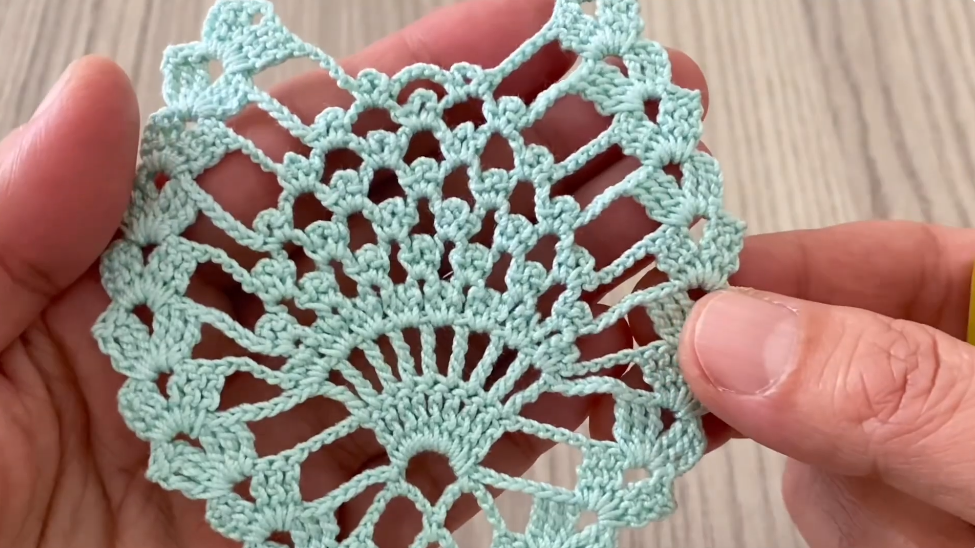
🧵 OPTIONAL BORDER — PICOT EDGE
(This edge makes motifs easy to join later.)
- Ch 1, sc in next stitch.
- Ch 3, sl st into the 2nd ch from hook → this forms a picot.
- Sl st in next stitch to anchor.
- Sc + picot + sc around the motif edge.
- Sl st to join and finish off.
✔ Picot border gives a neat decorative finish that also helps with joining motifs.
🪡 WEAVING & BLOCKING
🧶 Weaving in Ends
Use a tapestry needle to weave all loose ends into the back of your motif — hiding them neatly.
📏 Blocking (recommended)
- Lightly mist the motif with water.
- Pin it to shape (flat and even).
- Let dry completely.
Blocking opens lace loops and helps all motifs match in size and shape — especially useful if you plan to join multiple motifs for larger projects.
🪢 JOINING MULTIPLE MOTIFS
To join pineapple motifs into larger fabrics like blankets, shawls, or table runners:
🧵 Join-as-You-Go
- While working the final round of a new motif, connect it to already finished motifs with slip stitches through corresponding picot edges or spaces.
🪡 Sew Together
- Lay motifs as you want in your project layout.
- Use yarn and a tapestry needle to sew edges together.
🧠 BEGINNER TIPS
✔ Use a stitch marker to mark the beginning of each round so you don’t lose your place.
✔ Count stitches at the end of each round to ensure symmetry.
✔ If your motif cups or ripples, adjust tension slightly or block after finishing.
✔ Practice one motif first to get comfortable before making many.
🧶 PROJECT IDEAS
✨ Pineapple Lace Blanket or Throw
✨ Elegant Shawl or Wrap
✨ Table Runner or Doily
✨ Blouse Panels or Vest
✨ Decorative Curtain or Scarf
Pineapple motifs add beautiful open lace and texture to garments and decor alike.
VIDEO: