 by
by 🧶 MATERIALS
- Yarn: Choose a light-to-medium weight yarn (cotton or acrylic recommended for garments)
- Crochet hook: Appropriate for your yarn (typically 3.5 mm–4.5 mm)
- Scissors
- Tapestry needle (for weaving in ends)
- Stitch markers (optional — helps mark rounds)
📌 STITCH ABBREVIATIONS (US Terms)
| Abbreviation | Meaning |
|---|---|
| ch | chain |
| sl st | slip stitch |
| sc | single crochet |
| hdc | half-double crochet |
| dc | double crochet |
| tr | treble crochet |
| st | stitch |
| sp | space |
| rep | repeat |
🟡 FORMS & SHAPES USED
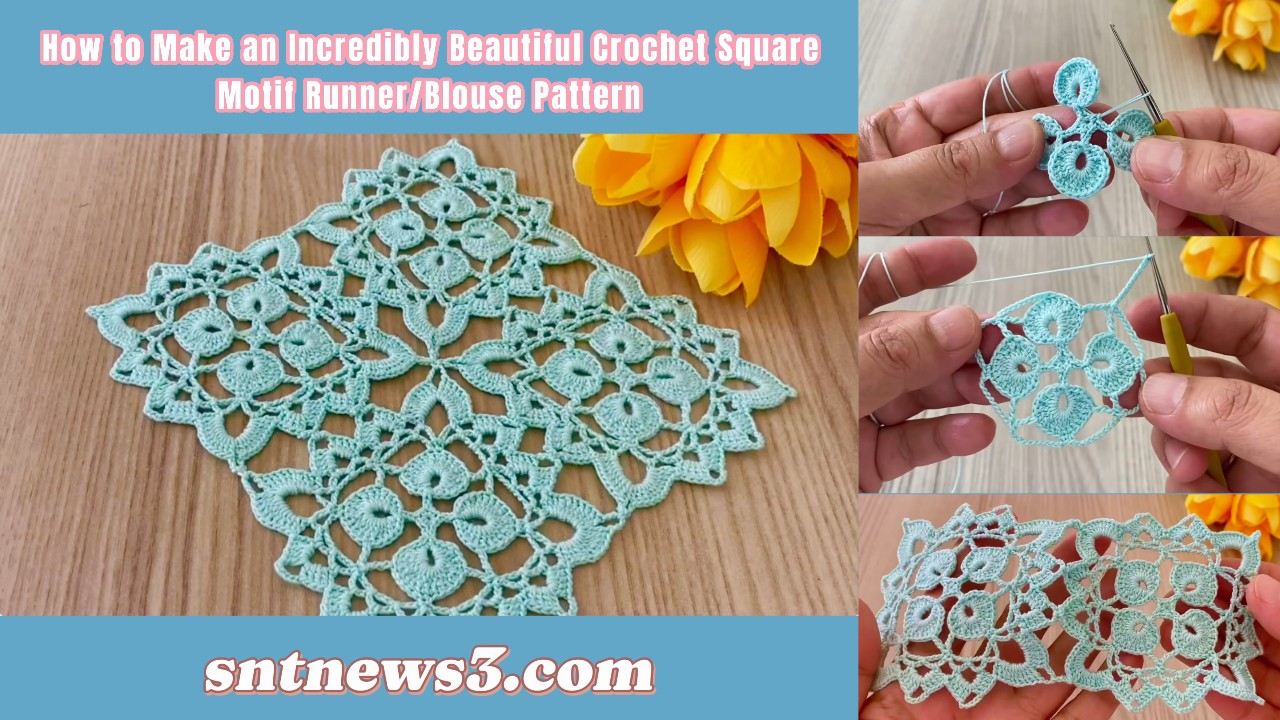
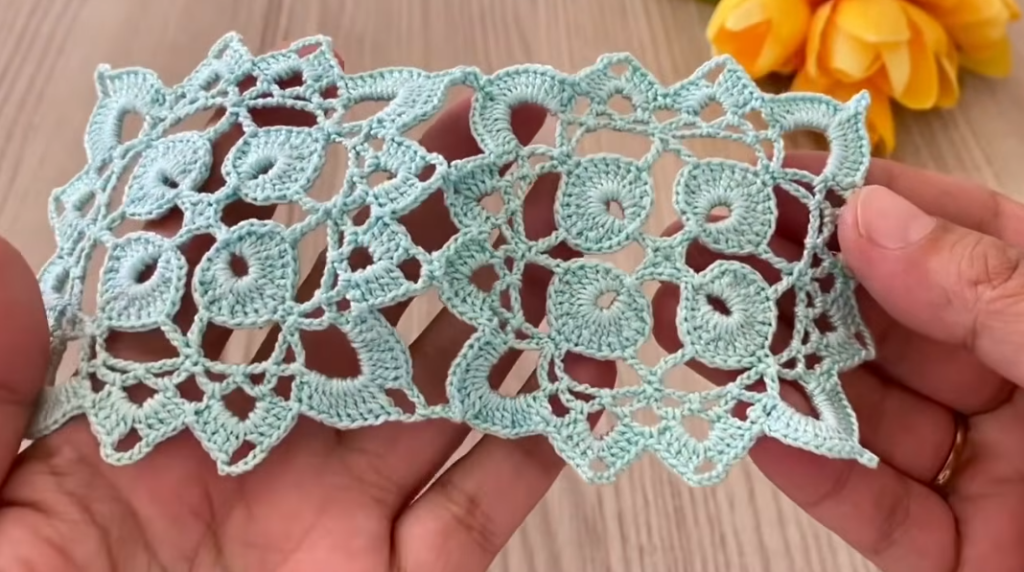
This pattern works in rounds, starting from the center and building outward to make a square motif with decorative lace and shells. Multiple motifs can then be joined together (e.g., for a runner or blouse panel).
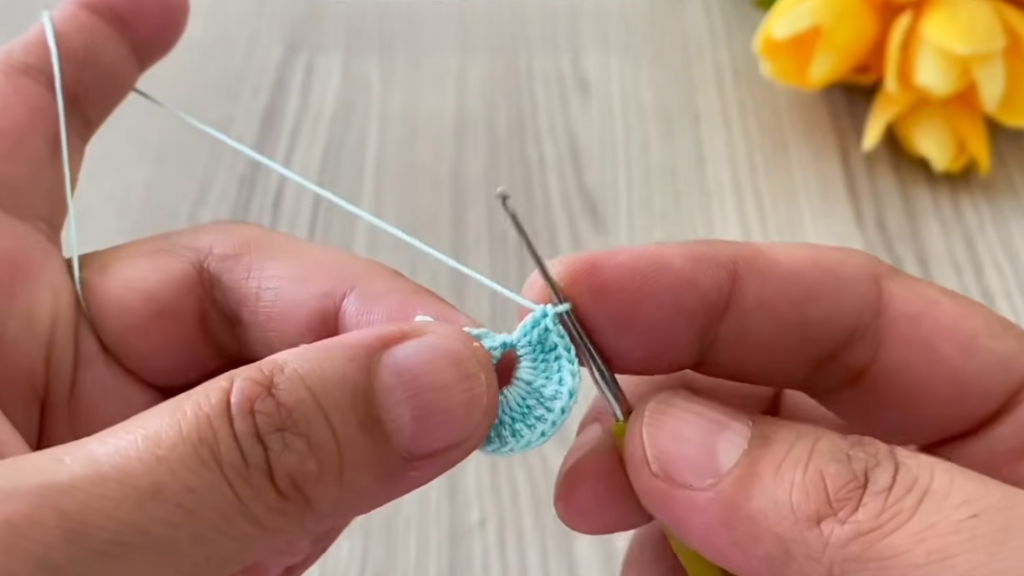
🌀 ROUND 1 — START THE MOTIF CENTER
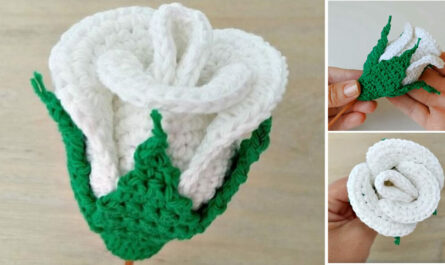
- Make a magic ring — this lets you tighten the center neatly and avoids a hole.
- Ch 3 (counts as first dc).
- Dc 11 into the magic ring.
- At this point you have 12 dc including ch-3.
- Pull the tail to close the center tight.
- Sl st to the top of the beginning ch-3 to join.
✔ You now have a neat round of 12 dc forming the motif center.
🟢 ROUND 2 — FOUNDATION LOOP ROUND
This round creates arch loops that will be the base for decorative clusters in later rounds.
- Ch 1 (does NOT count as a stitch).
- Sc into the same stitch where ch-1 sits.
- Ch 5, skip 1 dc, sc in next dc.
- Ch 5, skip 1 dc, sc in next dc.
- Repeat ch 5, skip 1, sc around until you have worked around the circle.
- Sl st to first sc to join.
✔ You will have 6 ch-5 loops evenly spaced around the motif.
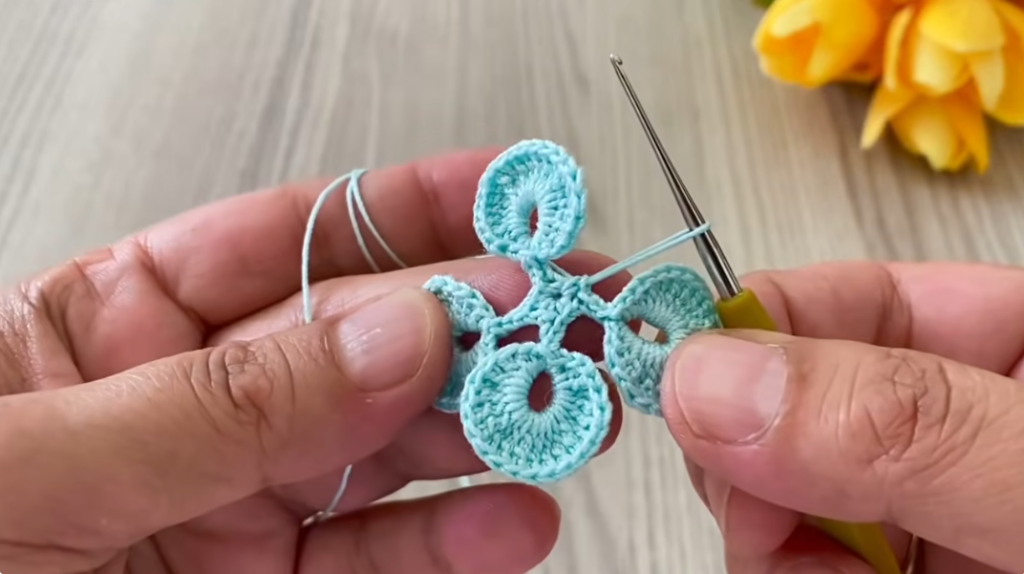
🔵 ROUND 3 — FIRST LACE CLUSTERS
This creates petal-like clusters that give the motif its decorative texture.
- Sl st into the first ch-5 loop.
- Ch 3 (counts as dc), then work 4 dc into same loop.
- This makes a shell of 5 dc.
- Sc in next ch-5 loop.
- 5 dc in next ch-5 loop.
- Repeat sc + shell around the circle.
- Sl st in top of beginning ch-3 to join.
✔ You now have 6 shell clusters around the center.
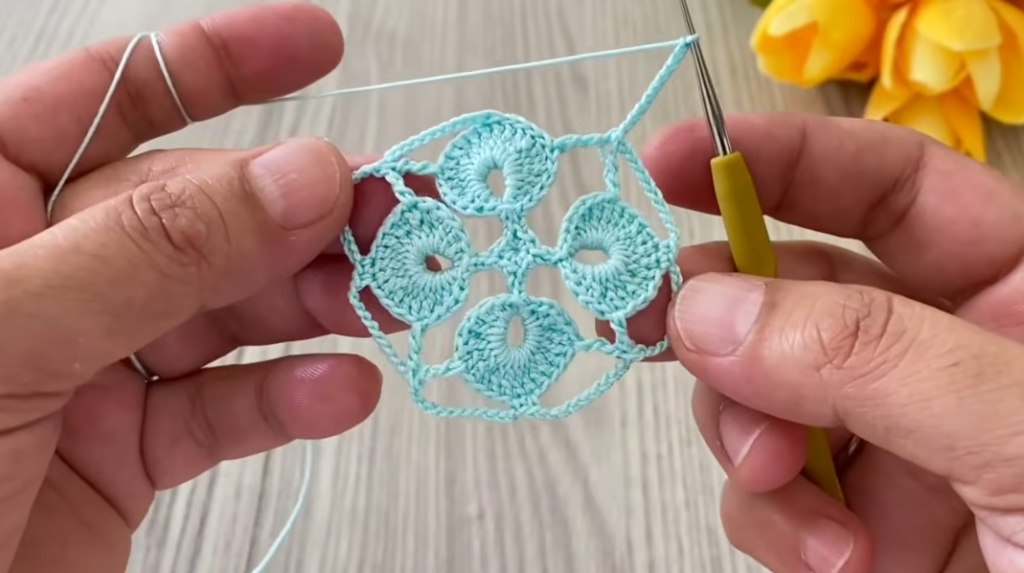
🟠 ROUND 4 — LACY CHAIN ROUND
This opens up the motif with decorative chain spaces.
- Ch 1.
- Sc in first dc of previous shell round.
- Ch 4, skip 2 dc, sc in next dc.
- Ch 4, skip 2 dc, sc in next dc.
- Repeat ch 4, skip 2, sc around, keeping shells centered.
- Sl st to first sc to join.
This gives you decorative open loops that break up the shells into lacy sections.
🟣 ROUND 5 — DECORATIVE SECOND LAYER
This round builds on the previous chain spaces with another level of texture.
- Sl st into the first ch-4 space.
- Ch 3, work 4 dc into the same space.
- Shell of 5 dc.
- Ch 3, Sc in next ch-4 space.
- Ch 3, 5 dc in next ch-4 space.
- Repeat ch 3, sc + 5 dc across all spaces.
- Sl st to beginning ch-3 to join.
✔ You’ve built a second textured layer that gives depth and dimension.
🟡 ROUND 6 — EXPANDING THE MOTIF
This round continues extending the motif outward for size and shape.
- Ch 3 (counts as dc).
- Dc in next 4 stitches.
- Ch 3, Sc in next ch-3 space from previous round.
- Ch 3, Dc in next 5 stitches.
- Repeat these groups all around.
- Sl st to top of beginning ch-3 to join.
This round forms a more structured edge that will help define a square shape later.
🔷 ROUND 7 — LACE REPEAT
- Ch 3, Dc over next 4 stitches.
- Ch 5, Sc in next chain space.
- Ch 5, Dc in next 5 stitches.
- Repeat dc + chain + sc + chain + dc around.
- Sl st to join.
This adds mesh-like openwork between textured segments.

🔶 ROUND 8 — FINAL MOTIF EXPANSION
- Ch 3, Dc over next 4 stitches.
- Ch 7, Sc in next chain space.
- Ch 7, Dc in next 5 stitches.
- Repeat around.
- Sl st to join.
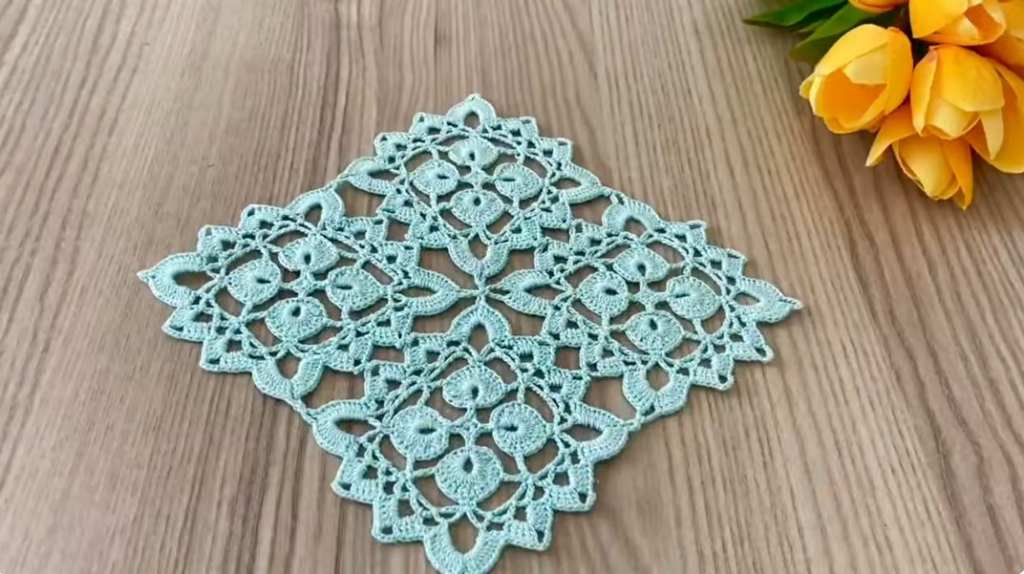
At this point your motif should be clearly expanded with decorative open sections and strong structure.
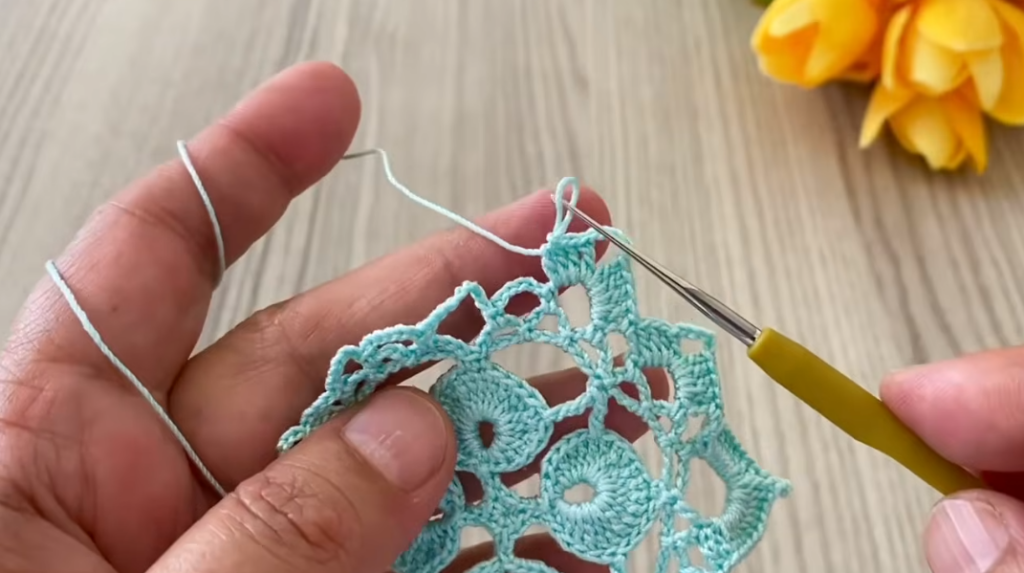
✨ OPTIONAL BORDER — DECORATIVE EDGE
To give a finished look and make joining motifs easier:
- Ch 1, Sc in next stitch.
- Ch 3, sl st into second chain from hook to make a picot.
- Sl st into next stitch, Sc in next.
- Repeat sc + picot + sc around the motif edge.
- Sl st to join and fasten off.
Picot edges give a tidy finish and can make seams nicer when joining motifs.
🧵 WEAVING ENDS & BLOCKING
- Use a tapestry needle to weave in all loose ends along the motif back.
- Blocking: Gently dampen the motif, pin it flat to shape, and let it dry. This opens the lace and keeps edges flat — important if you are making a runner or blouse, especially for lace motifs.
🪡 JOINING MOTIFS
After making multiple motifs using the steps above:
🧵 Join-As-You-Go
- Join motifs directly on the last round by slip stitching edges together as you crochet.
- Make sure edges align so your fabric stays flat and square.
🪡 Sewing Join
- Lay motifs side by side and sew them together with yarn and needle for a neat seam.
Joining motifs lets you create:
- Table runners (long row of motifs)
- Blouse panels (grid of motifs for front/back)
- Shawls (rectangular or triangular fabric)
- Blankets (larger grid)
🧠 TIPS FOR BEST RESULTS
✔ Ensure each motif is the same size (block if needed).
✔ Keep consistent tension — motifs that are too loose or tight won’t match.
✔ For blouses, plan how many motifs you need across and down before starting.
🧶 FINAL NOTES
This pattern gives you a beautiful lacy square motif you can expand into garments or decorative items like runners. It’s intermediate — requiring familiarity with crochet basics like shells, clusters, chain spaces, and motif joining.
VIDEO: