by
by You’ve picked a fantastic project! A super easy crochet clutch purse with ruffles is the perfect blend of simplicity and chic style. It’s an ideal project for beginners looking to create something truly beautiful and functional, and a quick, satisfying make for more experienced crocheters. The ruffles add a touch of whimsy and elegance, transforming a basic clutch into a statement piece.

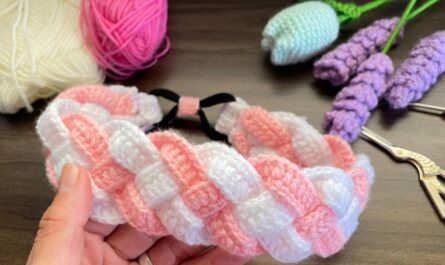
Ruffle Up Your Style: Crocheting a Super Easy Clutch Purse
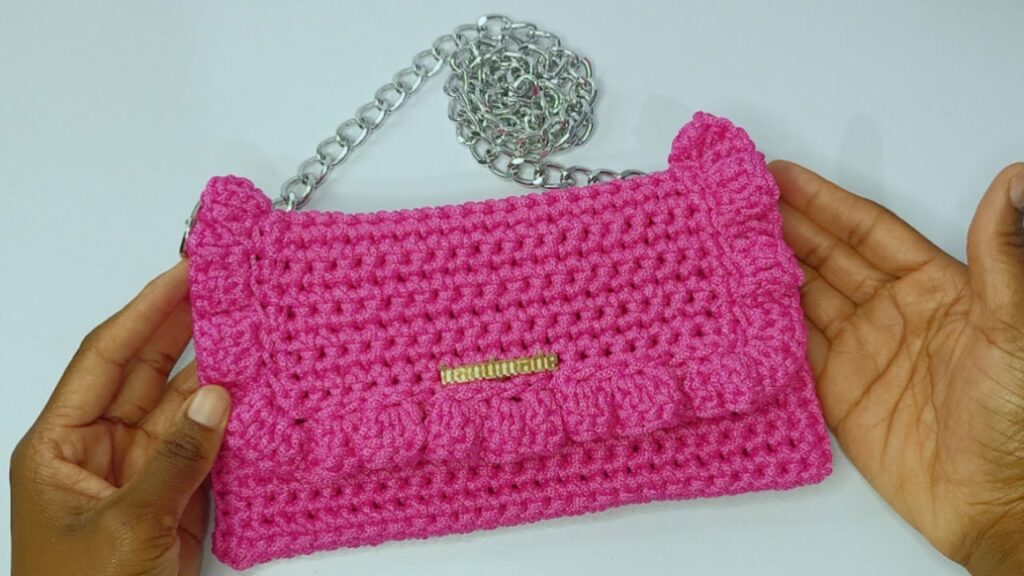
Imagine stepping out with a custom-made clutch that perfectly matches your outfit, boasts a delightful texture, and was surprisingly simple to create. That’s the charm of a crocheted clutch purse adorned with ruffles! This project is designed to be accessible for those new to crochet, yet yields a “gorgeous” result that looks far more intricate than it is.
This detailed article will guide you through crafting a charming, ruffled clutch, perfect for carrying your essentials or gifting to a friend. Get ready to add a touch of handmade elegance to your accessory collection!
Why Crochet a Ruffled Clutch Purse?
- Beginner-Friendly with a Flourish: While it might look fancy, the core of this clutch uses basic stitches. The ruffles are created with a simple technique that’s easy to master, adding a professional and stylish touch without complex shaping.
- Quick & Satisfying: As a relatively small project, you can likely whip up this clutch in just a few hours, offering immediate gratification and a tangible sense of accomplishment.
- Highly Customizable: Choose your favorite yarn colors, experiment with different button styles, or even add a lining for extra durability.
- Perfect for Gifts: A handmade clutch is a thoughtful and personal present for birthdays, holidays, or bridal party favors.
- Skill Booster: It’s a great way to practice consistent tension, work in rows, create texture, and learn basic finishing techniques like attaching a closure.
- Stash Buster: Have a beloved ball of yarn you’ve been saving? This is the perfect project to turn it into something fabulous.
Key Considerations Before You Start
Before grabbing your hook, a few choices will help define your clutch’s final look and feel.
- Yarn Choice:
- Fiber: For a clutch that holds its shape well and looks refined, consider cotton, cotton blends, or a sturdy acrylic yarn. Avoid overly stretchy or fuzzy yarns, especially if you want defined ruffles.
- Weight: Worsted weight (Category 4) is a great choice as it works up quickly and provides good structure. DK (Category 3) can also work for a slightly smaller or finer clutch.
- Colors: Solid colors will make your ruffles pop and show off the texture beautifully. Variegated yarns can also create an interesting effect.
- Hook Size: Match your hook size to your chosen yarn weight. Often, going down half a size from the yarn label’s recommendation is beneficial for bags. This creates a denser fabric, which helps the clutch maintain its shape and prevents gapping.
- Stitch Pattern: The body of the clutch will use simple, dense stitches like single crochet (sc) or half double crochet (hdc) for firmness. The ruffles are created by working multiple stitches into a single stitch or space, creating that lovely wavy effect.
- Closure: A button and loop are simple and classic. Magnetic snaps can also be sewn in.
- Lining (Optional but Recommended): A fabric lining adds a professional finish, prevents stretching over time, and ensures small items don’t slip through stitches. While optional for a “super easy” project, it elevates the final look.

Materials You’ll Need
- Yarn: Approx. 100-150 yards of Worsted weight (Category 4) cotton or acrylic yarn.
- Crochet Hook: Appropriate for your yarn (e.g., 4.0mm (US G/6) or 4.5mm (US 7)).
- Yarn Needle (Tapestry Needle): For weaving in ends and sewing on the button.
- Scissors:
- Button: 1 decorative button (approx. 0.75 – 1 inch / 2-2.5 cm diameter).
- Optional: Fabric for lining, matching thread, sewing needle, pins.
Essential Crochet Abbreviations
- ch: chain
- sl st: slip stitch
- sc: single crochet
- hdc: half double crochet
- dc: double crochet
- st(s): stitch(es)
- FO: Fasten off (cut yarn and pull through loop)
- (): indicates instructions to be worked into the same stitch/space
- ***…***: repeat instructions within asterisks
- []: indicates stitch counts at the end of a row
Super Easy Crochet Clutch Purse with Ruffles Tutorial
This clutch will be worked in rows, then folded and seamed. It measures approximately 9 inches (23 cm) wide by 5 inches (13 cm) tall when finished.
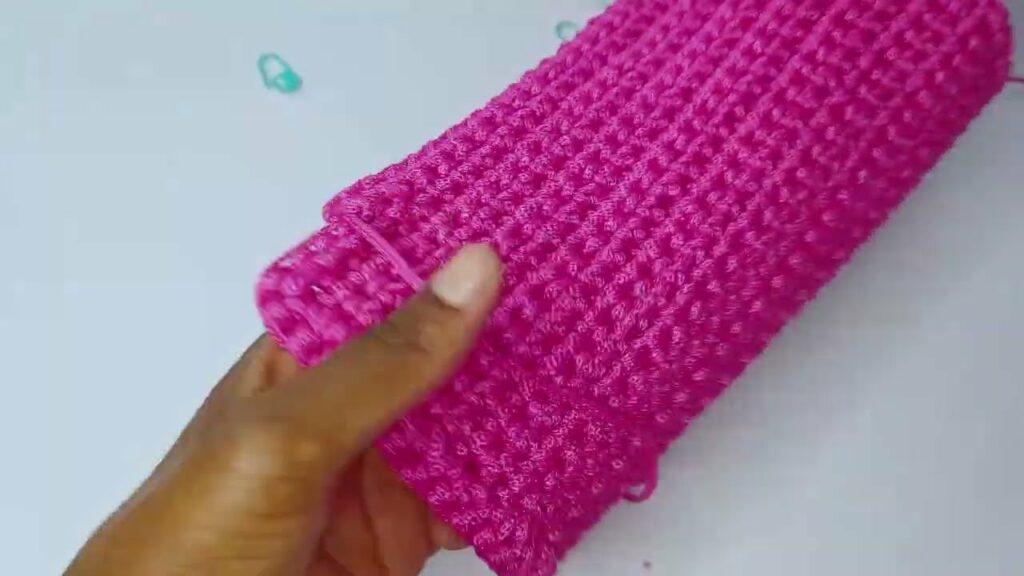
Part 1: The Clutch Body (Simple Rectangle)
We’ll create a flat rectangle that will be folded into the clutch. Using single crochet (sc) creates a dense, sturdy fabric.
- Starting Chain: Ch 35. (This will be the width of your clutch. Adjust more or fewer chains in multiples of 2 if you want a wider/narrower clutch).
- Row 1: Sc in 2nd ch from hook and in each ch across. Turn. [34 sc]
- Row 2: Ch 1 (does NOT count as a st). Sc in each sc across. Turn. [34 sc]
- Rows 3 – 30: Repeat Row 2 until your rectangle measures approximately 15 inches (38 cm) in length (or your desired length for folding).
- FO, leaving a long tail (approx. 20 inches / 50 cm) for seaming.
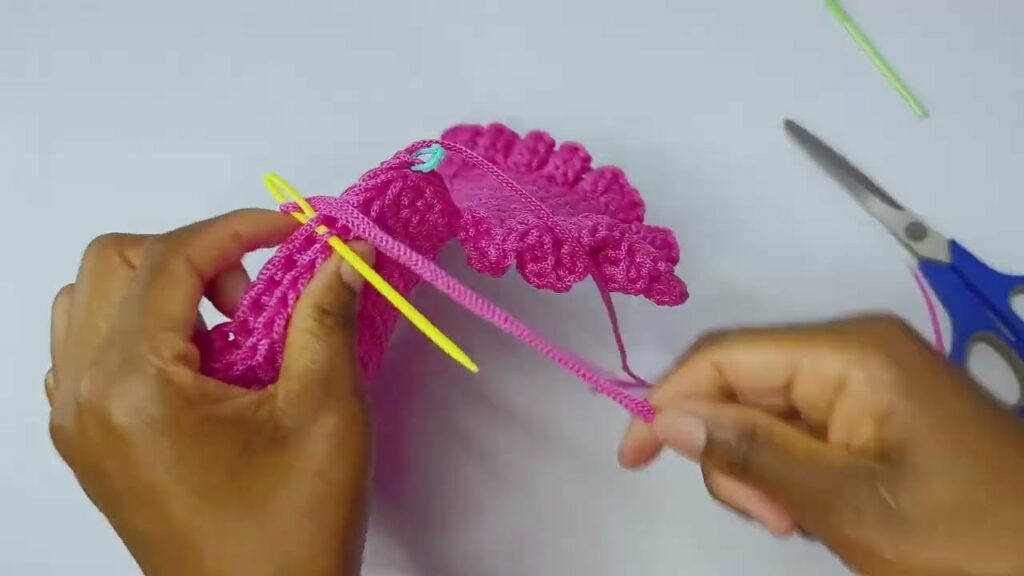
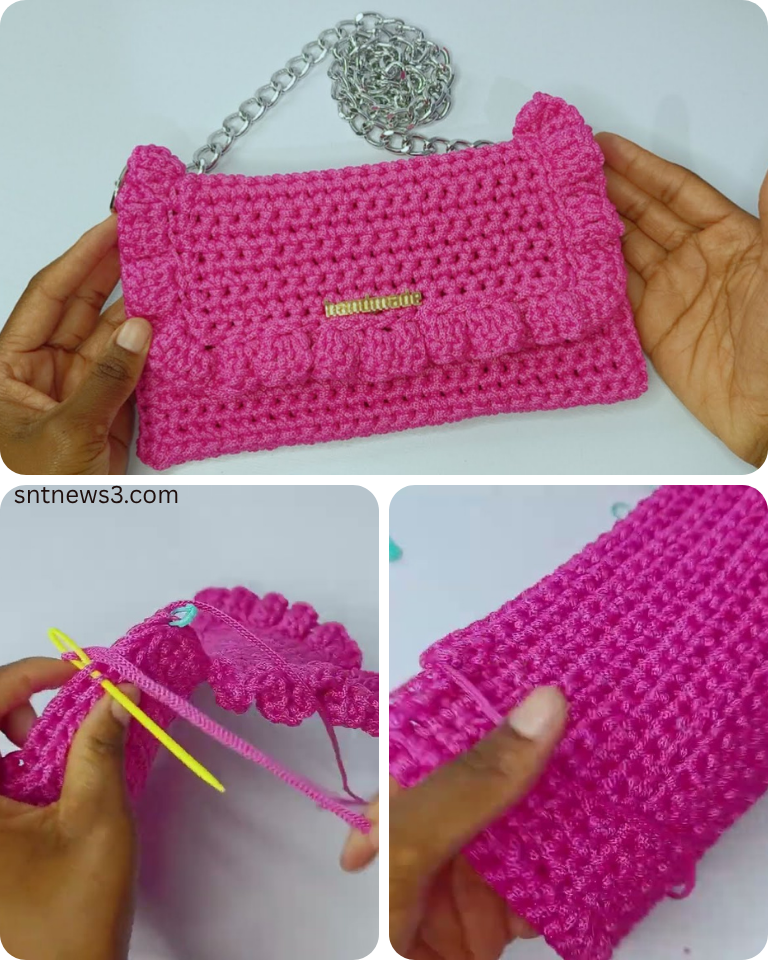
Part 2: Adding the Ruffles
This is where the magic happens! We’ll add ruffles to one short end of the rectangle, which will become the flap of your clutch.
- Attach Yarn: With the right side of your work facing you, attach your yarn with a sl st to the first sc on one of the short ends of your rectangle.
- Ruffle Row 1: Ch 2 (does NOT count as a st).
- Work (3 dc) into each sc stitch across the short end.
- Turn. [90 dc] (approx., depending on your starting chain and stitch count on the short end)
- Ruffle Row 2: Ch 2.
- Work (3 dc) into each dc stitch across.
- FO, leaving a short tail to weave in.
- You should now have a wavy, ruffled edge. Don’t worry if it looks very full; that’s the point of ruffles!
Part 3: Assembling the Clutch
Now we’ll fold and seam the clutch.
- Fold the Body: Lay your crocheted rectangle flat with the wrong side facing you.
- Fold the end opposite the ruffles upwards, about 5 inches (13 cm), to form the bottom pocket of the clutch.
- Now, fold the ruffled end downwards over the bottom pocket. The ruffles should spill over nicely, creating a flap that extends about 5 inches (13 cm) down the front of the clutch.
- Seaming the Sides: Use the long tail you left from Part 1 and your yarn needle.
- Fold the clutch carefully, ensuring the sides are aligned.
- Starting from the bottom corner (where the first fold begins), whip stitch or single crochet stitch the two layers together along one side, all the way up to the top of the bottom pocket.
- FO, weave in the tail.
- Repeat on the other side, using a new piece of yarn if you don’t have a tail long enough.
- FO, weave in the tail.
- You now have a main pocket with a ruffled flap.
Part 4: Adding the Button Closure
A simple button and loop will secure your clutch.
- Button Placement: Position your button on the front of the clutch, centered, just below where the ruffled flap naturally ends. Securely sew the button in place using your yarn needle and matching yarn or sewing thread.
- Button Loop:
- With the ruffled flap folded down, attach yarn with a sl st to the back center of the flap (where the button would sit).
- Ch 8-12 (or enough chains to create a loop that easily fits over your button).
- Sl st into the same stitch where you attached the yarn, forming a loop.
- FO, weave in ends securely.
- Test the loop to ensure your button fits snugly but not too tightly.
Part 5: Finishing Touches (Weaving & Optional Lining)
- Weave in All Ends: This is crucial for a professional finish. Use your yarn needle to neatly weave in all loose yarn tails into the fabric of the clutch.
- Blocking (Optional): Gently mist your clutch with water and shape it. You can stuff it lightly with tissue paper or a small towel to help it hold its form as it dries. Allow it to air dry completely. Blocking helps to even out stitches and can make your ruffles lay perfectly.
- Adding a Fabric Lining (Optional but Recommended):
- Measure the inside dimensions of your finished clutch.
- Cut fabric pieces to create a simple fabric pouch that fits snugly inside.
- Hem the top edge of your fabric lining.
- Carefully hand-stitch the fabric lining to the inside top edge of your crocheted clutch, just below the flap. This adds durability and a polished look.
Tips for Success & Making It Truly “Gorgeous”
- Consistent Tension: Maintaining even tension throughout your single crochet rows and your ruffle rows is key for a neat, structured clutch and beautifully flowing ruffles.
- Neat Seaming: Take your time when seaming the sides of the clutch. A clean seam makes a big difference in the finished appearance.
- Button Choice: Choose a button that complements your yarn color and adds a touch of personality. A wooden, pearl, or vintage button can elevate the look.
- Ruffle Volume: If you want even fuller ruffles, you can work (4 dc) or even (5 dc) into each stitch in the ruffle rows. Just be aware this will use more yarn.
- Contrast: Consider making the clutch body in one solid color and the ruffles in a contrasting or complementary shade for an eye-catching design.
- Gift-Ready: Fill your finished clutch with a small gift, some lip balm, or a cute scrunchie to create an extra special present.
You’ve now created a truly gorgeous and functional accessory that’s sure to turn heads. Enjoy showcasing your super easy, ruffly creation!
Video tutorial: