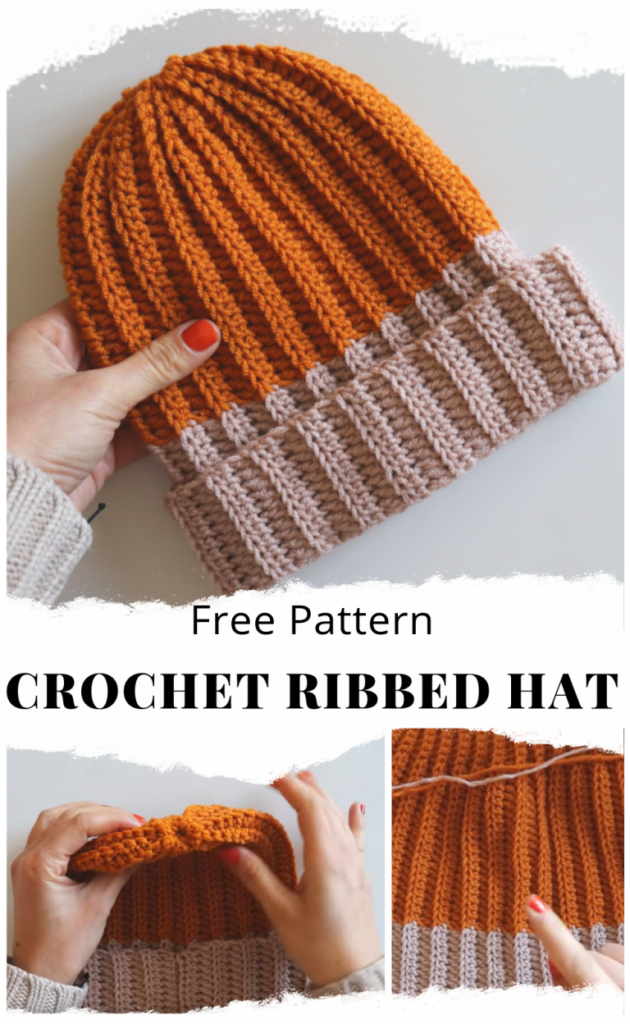
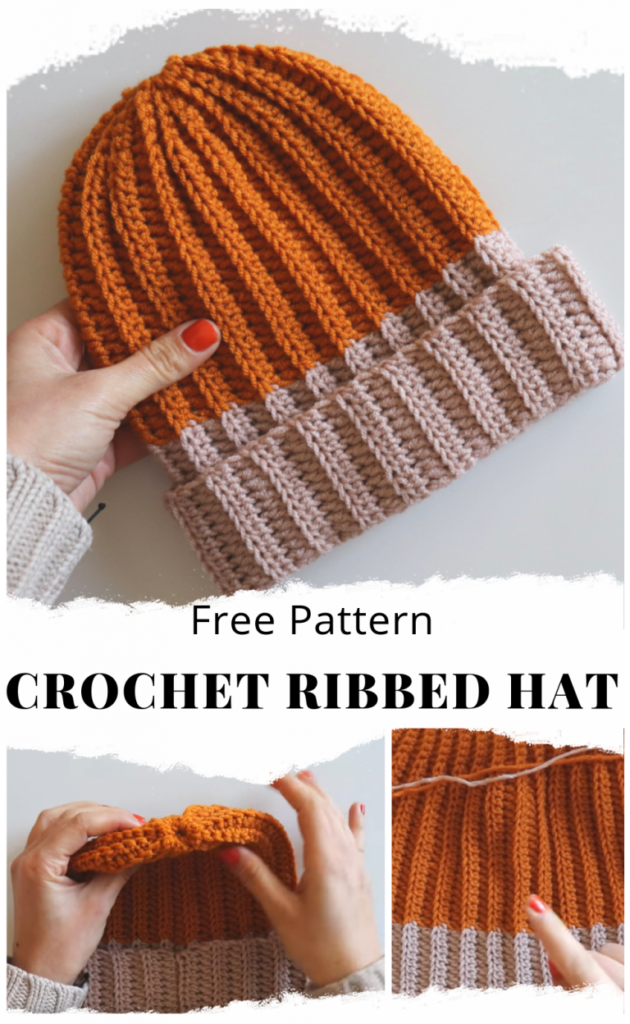
Handmade hat is special because you made it by your hand with someone in mind the whole time you were creating it. Whether you’re new to crocheting or just need a project that works up quickly, this free crochet hat pattern for beginners is surprisingly easy.
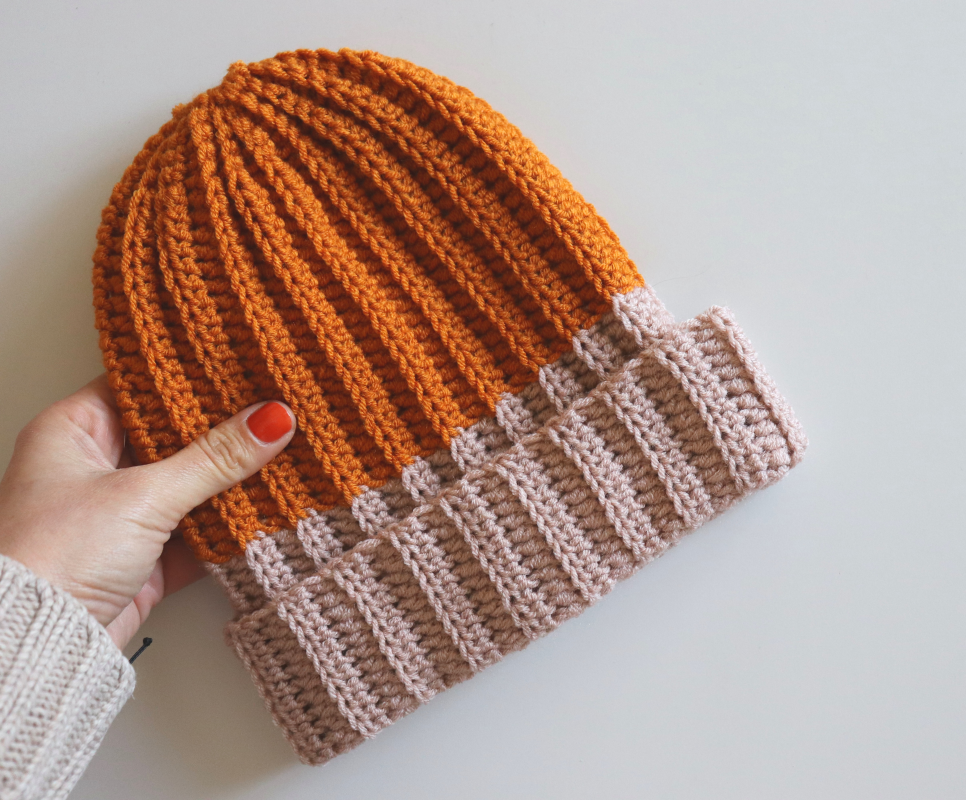
Many hats are made by crocheting in the round with increases and decreases, but it’s possible to work a hat flat and then seam the edges together. This hat is a good example of this.
Materials
Size 4 yarn 180mt-196 yards
5.0mm hook
Tapestry needle
Stitches used
Chain: ch
Back post single crochet: bpsc
Back post half double crochet: bphdc
Stitch: st
Space: sp
Single crochet: sc
Notes
When you see ( )* it means you repeat the instructions in between ( )* Where you see the word turn it means to turn your work clockwise and work back down the row.
Ch25 with colour A and get your second colored yarn and Ch25 with colour B. (for the bigger sizes you can add more chains as you like)
Row 1: Ch1,turn. Startin from 2nd st and make 25hdc with colour B+ 20hdc with colour A+5sc with colour A (Top of the hat)
Row 2: Ch1,turn. 5bpsc with colour A+20bphdc with colour A+25bphdc with colour B.
Row 3: Ch1,turn. 25bphdc with colour B+20 bphdc with colour A+5bpsc with colour A.
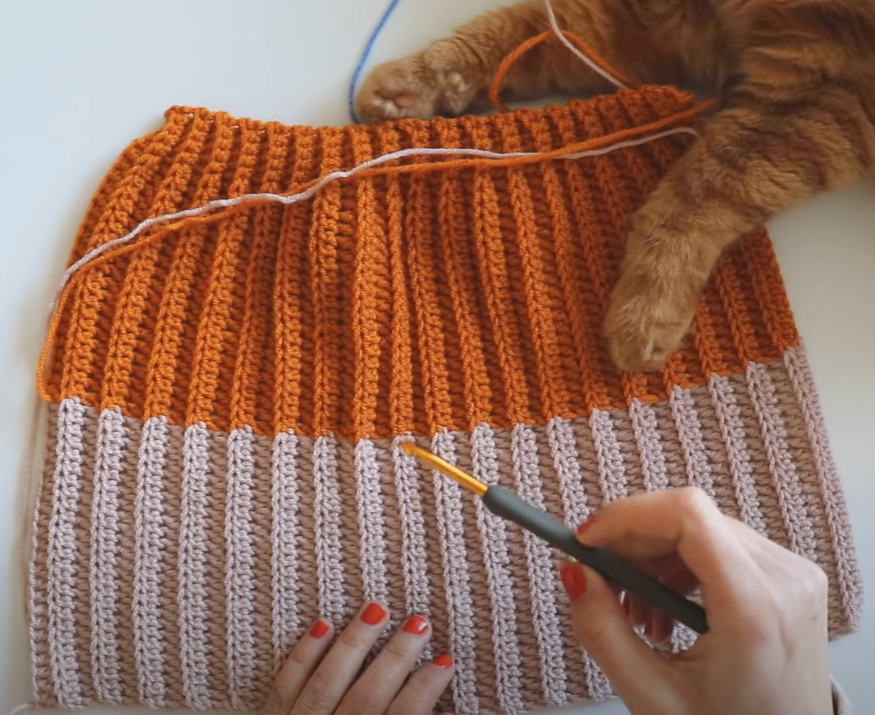
Repeat row 2-3 until your beanie enough to surround your head.
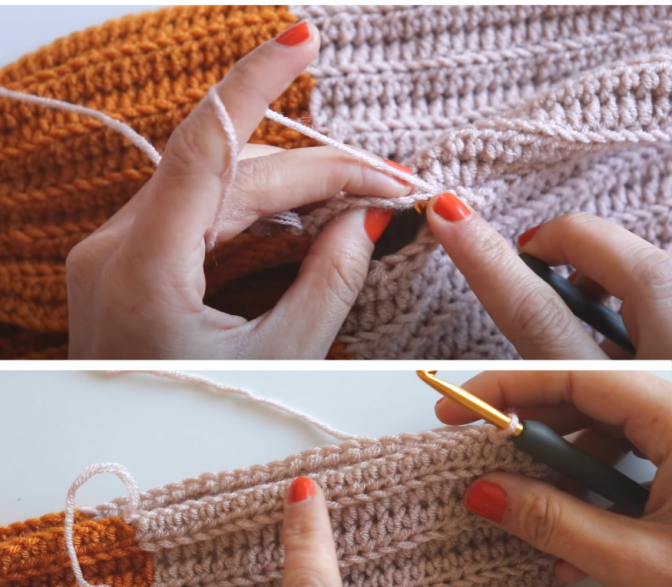
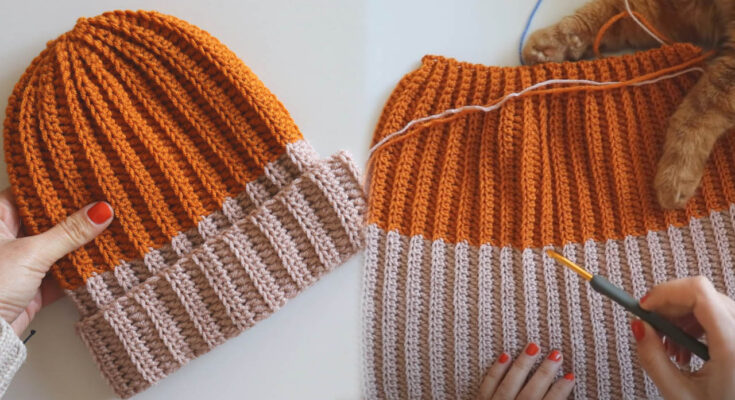
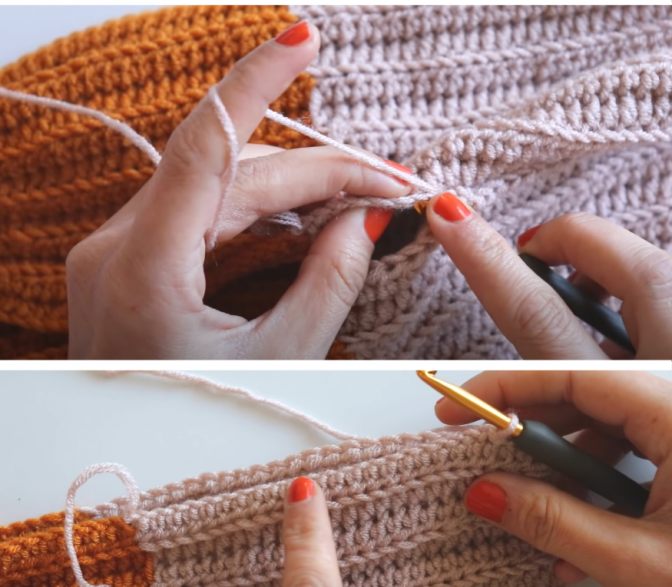
When you crochet enough size, fold the two sides. Insert your hook from the first st and only back loop of opposite side+Ch1. Continue for 18 st like that. Then turn your work. This time you, insert your hook , all the loops of both sides. Continue at the end of the row. Don’t forget change your yarn colour on the 26th st.
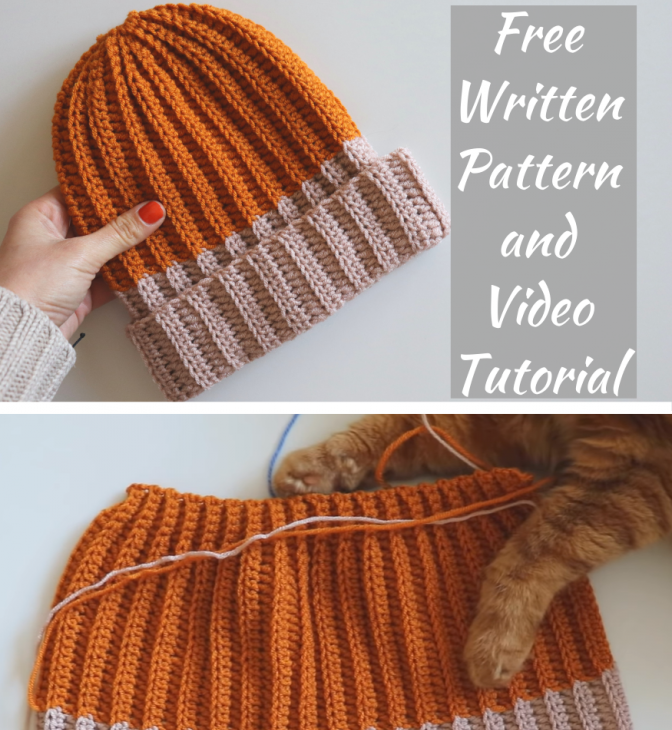
To shirring the top of the beanie; insert your needle from only front loops.
Pattern created by Sirin’s Crochet
Written by Gozde Gunes Tezcan (@crochetwithGG)
Please feel free to visit YouTube channel at Sirin’s crochet free video tutorials
