 by
by Looking for a stylish and practical crochet project? A crochet basket is not only functional but also a chic addition to your home decor. Whether you want to organize yarn, store toiletries, or create a rustic centerpiece, this step-by-step guide will walk you through making a gorgeous crochet basket from scratch!

🧶 What You’ll Need
Before diving into stitches, gather your materials:
Materials:
- Yarn: Super bulky weight yarn or T-shirt yarn (for sturdy structure)
- Crochet Hook: 8mm – 10mm (L or N), depending on yarn thickness
- Scissors
- Stitch marker (optional)
- Yarn needle (for finishing ends)
- Measuring tape (optional, for sizing)
✂️ Skill Level: Beginner to Intermediate
Stitches You’ll Use:
| Abbreviation | Stitch Name |
|---|---|
| ch | chain |
| sl st | slip stitch |
| sc | single crochet |
| BLO | back loop only |
| inc | increase (2 sc in 1 st) |
No fancy stitches here—just solid fundamentals used creatively.
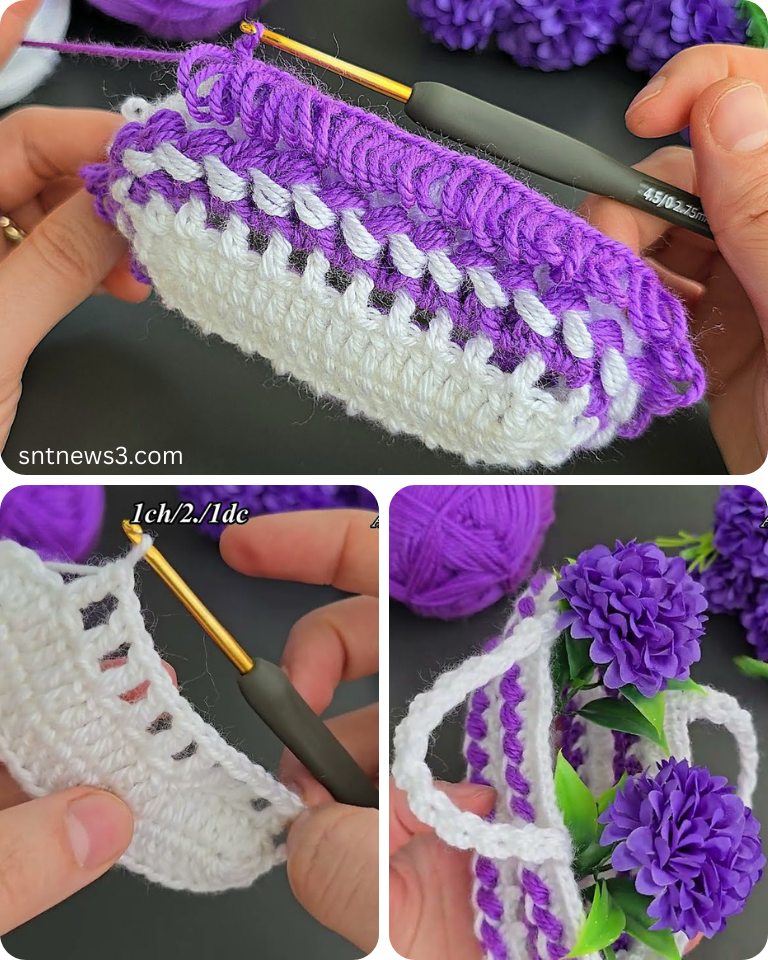
🧺 Crochet Basket – Step-by-Step Instructions
We’ll break this into three parts: Base, Walls, and Finishing Touches.
🧱 Part 1: Crochet the Basket Base (Flat Circle)
- Make a Magic Ring
- Ch 1 inside the ring (does not count as a stitch).
- Work 6 sc into the ring. Pull to tighten.
- Round 2: 2 sc in each st around (12 sts)
- Round 3: [1 sc, inc] repeat around (18 sts)
- Round 4: [2 sc, inc] repeat (24 sts)
- Round 5: [3 sc, inc] repeat (30 sts)
👉 Continue increasing in this pattern until your base reaches the desired diameter. For example:
- Small basket: ~5 inches
- Medium basket: ~8 inches
- Large basket: ~10+ inches
Use a stitch marker to mark the beginning of each round if working continuously.
🧱 Part 2: Crochet the Basket Walls
Time to build up the sides!
- Foundation Wall Round (BLO):
- Sc in back loop only of each stitch around.
- This creates a clean “edge” between base and wall.
- Next Rounds:
- Sc through both loops in every stitch.
- Continue working in the round (or join each round with sl st + ch 1 if you prefer clean edges).
- Keep going until your basket reaches your desired height.
- Example: 6–8 rounds for a small basket, 10–15 for larger.
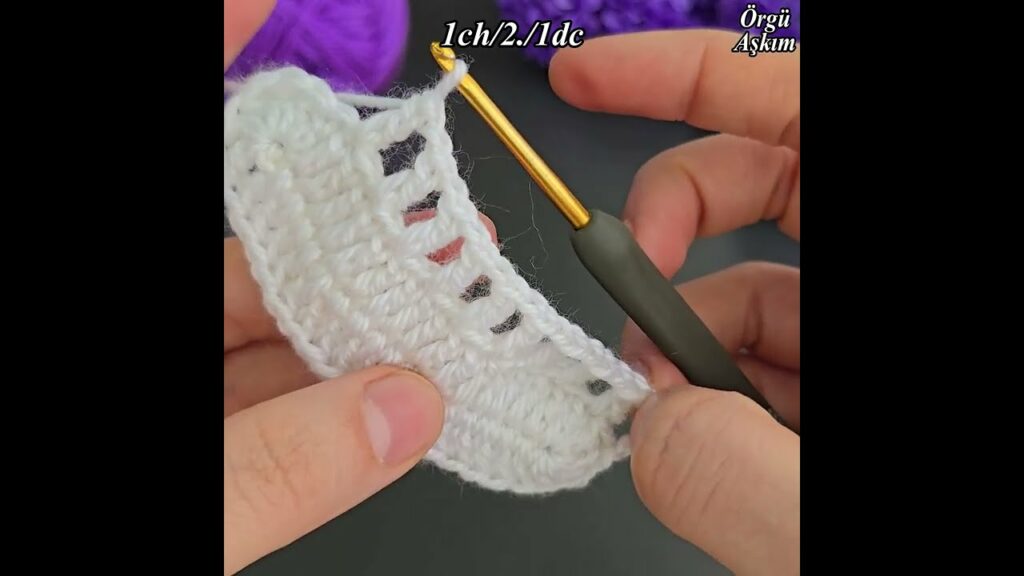
🪝 Optional: Add Handles
Add two small handle holes on opposite sides of the basket:
Handle Round:
- Sc until you reach the spot where you want the first handle.
- Ch 4–6 (depending on hook/yarn size), skip same number of stitches.
- Continue sc to opposite side, repeat for second handle.
- Next round: sc into each stitch and each ch space to reinforce handles.
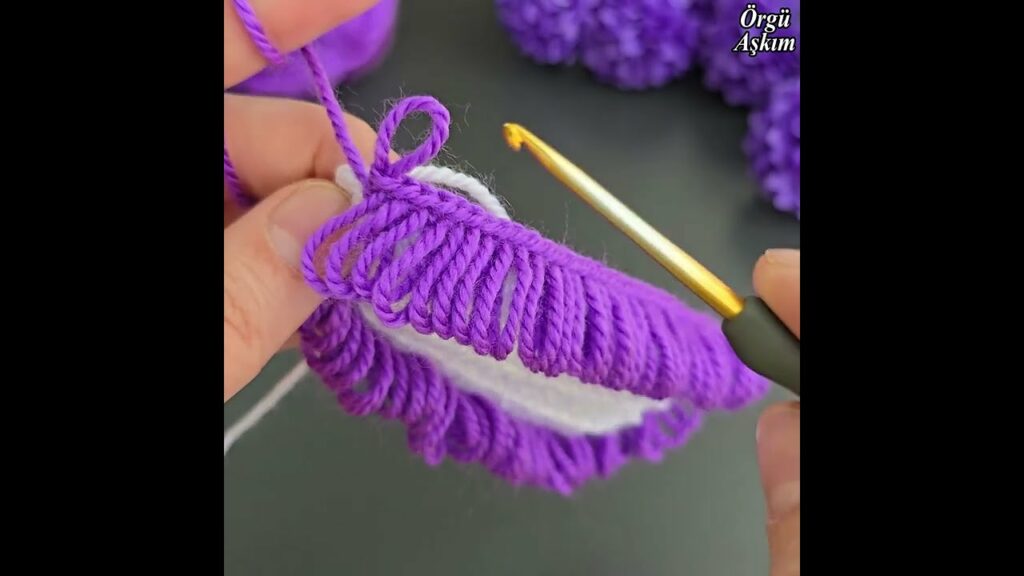
🧵 Part 3: Finishing Touches
- Final Round:
- Sc loosely around for a smooth, clean finish.
- Optional: Use reverse sc (crab stitch) for a decorative edge.
- Fasten Off:
- Cut yarn, pull through final loop, and weave in all ends with yarn needle.
- Shape It:
- Gently mold your basket with your hands.
- You can spray lightly with water and stuff it to block into shape.
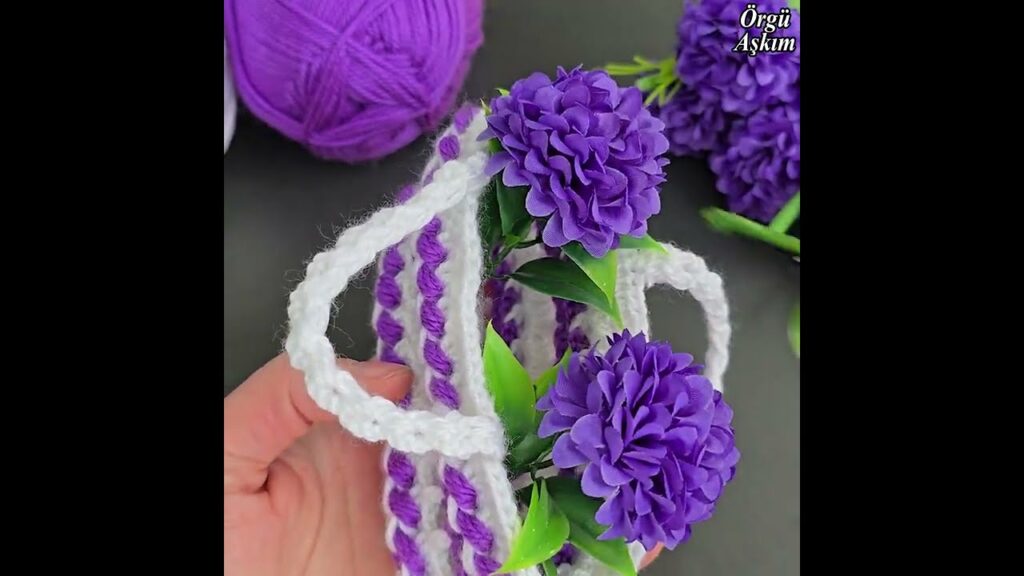
🎨 Customization Ideas
Make your basket uniquely yours:
- Two-tone stripes: Switch colors every 2-3 rounds.
- Color block: Use a bold color for the base, neutral for sides.
- Label it: Sew a leather or canvas tag for a professional touch.
- Add a liner: Use fabric to give your basket an even cleaner finish.
🪴 What Can You Use Crochet Baskets For?
- Yarn or craft storage
- Plant holders (with waterproof liner)
- Bathroom or vanity organizers
- Entryway catch-alls
- Gift baskets or hampers
- Nursery storage for baby items
✅ Pro Tips for Sturdy Baskets
- Tension matters: Keep your stitches tight to help the basket stand on its own.
- Use stiff yarn: T-shirt yarn, rope yarn, or adding two strands of worsted yarn works great.
- Double up: Use two strands held together for thicker walls.
Video tutorial:
Final Thoughts
A crochet basket is a quick, satisfying project that blends form and function beautifully. Whether rustic, modern, or whimsical, you can tailor your design to suit your space. It’s the perfect handmade piece that’s both decorative and useful—and once you make one, you’ll probably want to crochet more for every room!