by
by Blanket motifs are one of the most enjoyable and rewarding parts of crochet. They’re bite-sized pieces of a larger whole, making them easy to learn, fast to make, and endlessly customizable. Whether you’re crocheting a baby blanket, throw, or heirloom afghan, mastering easy crochet motifs is the first step to building something warm and beautiful.
In this article, you’ll learn how to make a basic yet beautiful square motif that can be joined with others to create a unique crocheted blanket.
🌟 Why Use Motifs for Blankets?
Using motifs (small repeated shapes) for blanket-making offers several benefits:
- Portability: Work on small pieces anywhere.
- Customization: Mix colors and patterns for a patchwork look.
- Scalability: Add more motifs for a larger blanket.
- Flexibility: Fix or replace sections without redoing the whole project.
🧵 Materials You’ll Need
- Yarn: Worsted or DK weight yarn in your choice of colors (acrylic, cotton, or blends work well)
- Crochet hook: 4.0 mm – 5.5 mm, depending on yarn thickness
- Tapestry needle: For weaving in ends and joining
- Scissors
- Stitch markers (optional)
📖 Basic Terminology (US Crochet Terms)
- ch = chain
- sl st = slip stitch
- sc = single crochet
- dc = double crochet
- sp = space
- st(s) = stitch(es)
- beg = beginning
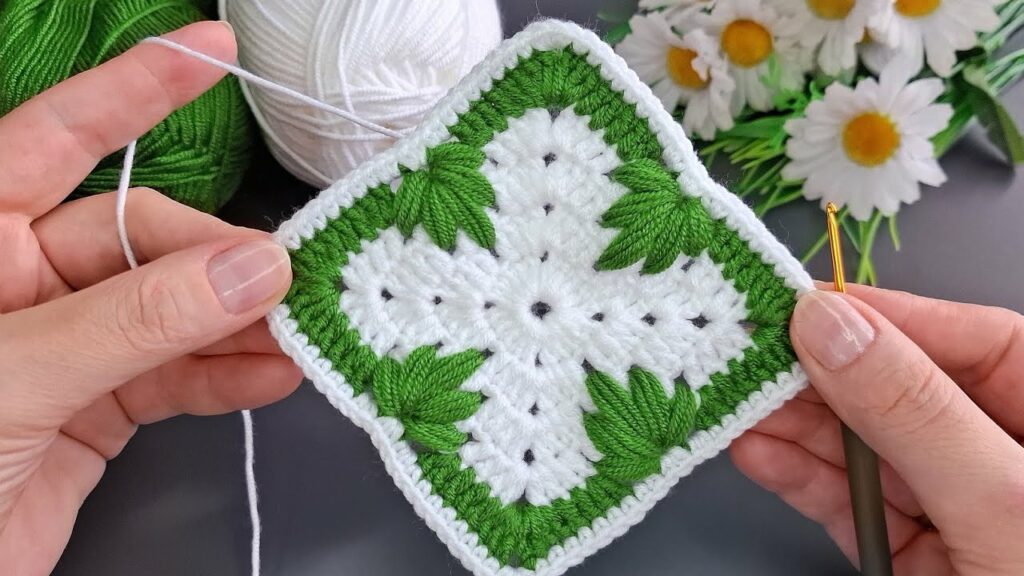
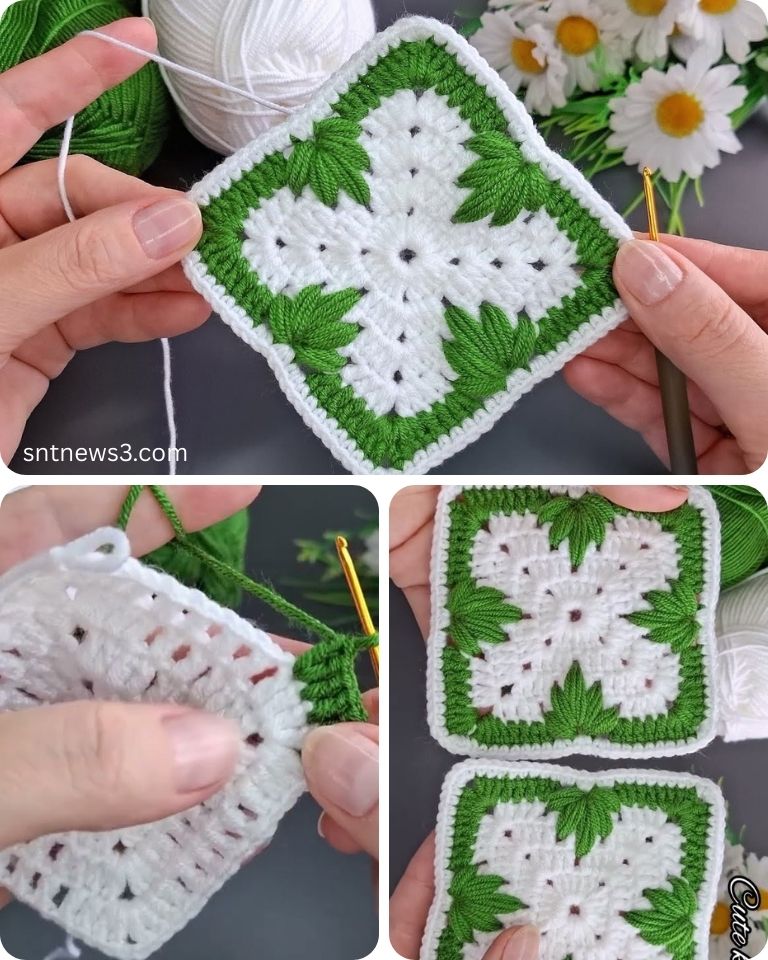
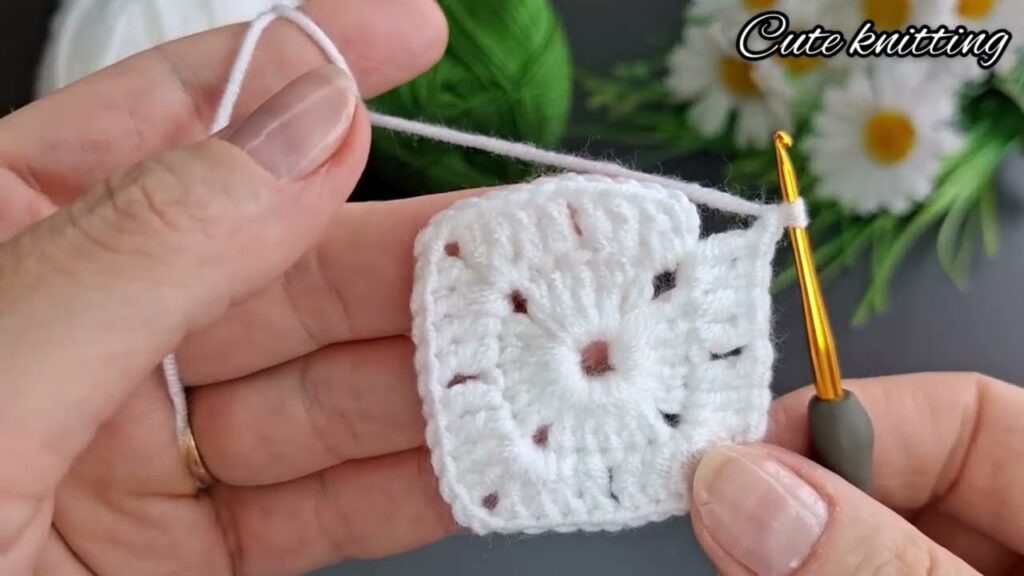
🔲 Pattern: Easy Granny Square Motif
This is a classic and beginner-friendly square motif — the cornerstone of many crocheted blankets.
✅ Round 1: Start the Center
- Make a magic ring (or ch 4 and sl st to form a ring).
- Ch 3 (counts as 1 dc), work 2 dc into ring, ch 2.
- (3 dc, ch 2) × 3 more times into the ring.
- Sl st to top of beg ch-3 to join.
→ You now have 4 clusters of 3 dc with ch-2 spaces between (the corners).
✅ Round 2: Build the Square
- Sl st in the next 2 dc and into the next ch-2 corner space.
- Ch 3 (counts as 1 dc), 2 dc into corner sp, ch 2, 3 dc into same sp.
- (In next corner sp: 3 dc, ch 2, 3 dc) × 3 more times.
- Sl st to join.
🔁 Your motif is growing, with corners forming clearly now.
✅ Round 3: Add Side Stitches
- Sl st into next 2 dc and into corner space.
- Ch 3, 2 dc, ch 2, 3 dc in corner.
- (3 dc in side sp, 3 dc, ch 2, 3 dc in next corner sp) around.
- Join with sl st.
You can repeat this pattern as many rounds as you’d like to make larger motifs, or stop here and make more of the same size for a modular blanket.
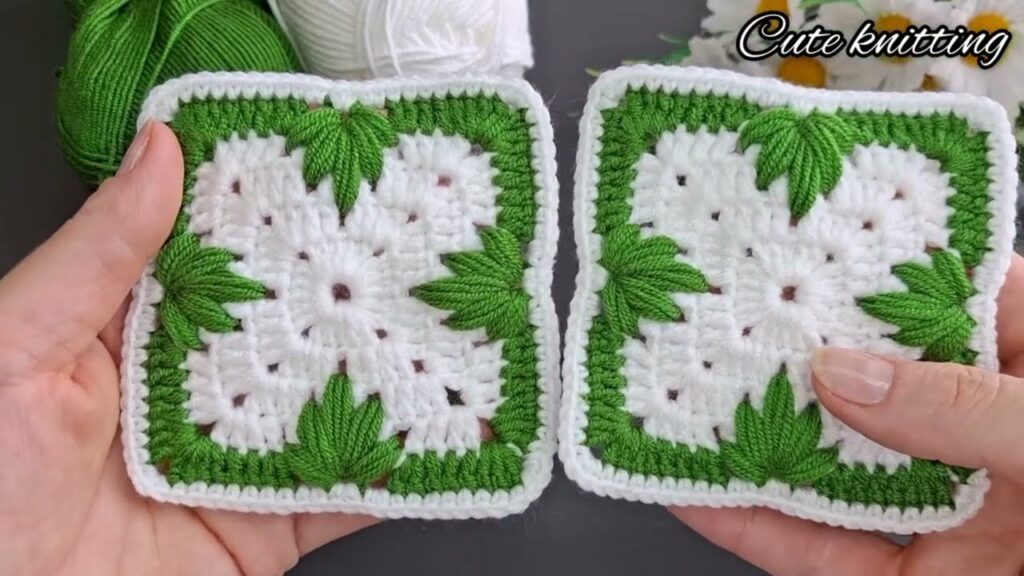
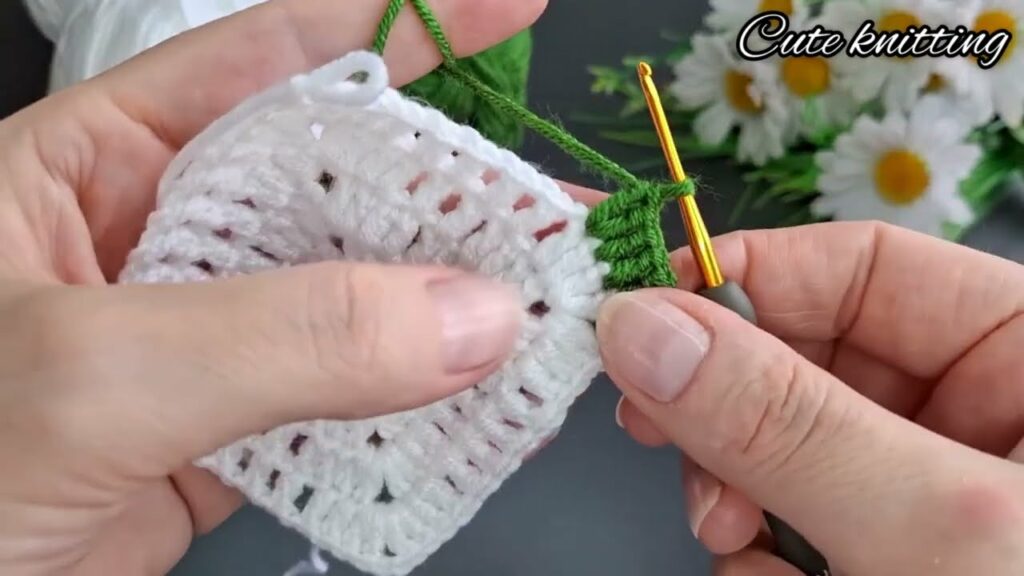
🎨 Color and Style Variations
- Striped squares: Change colors every round.
- Solid squares: Use one color throughout for a minimalist look.
- Multi-style blanket: Mix solid and multicolor motifs.
- Textured stitches: Replace dc with puff stitches or bobbles for a different texture.
🪡 Joining Your Motifs
Once you’ve made several motifs, it’s time to join them! Here are a few simple methods:
1. Slip Stitch Join (Flat and Easy)
Place two motifs wrong sides together, insert hook through both edges, and slip stitch across. Neat and secure.
2. Whip Stitch Join (Sewing Method)
Use a tapestry needle to stitch through the edges of two motifs. Great for invisible seams.
3. Join-As-You-Go (JAYGO)
Attach motifs during the final round of each square. Ideal for saving time and reducing sewing.
🧺 Finishing Your Blanket
After joining all your motifs:
- Add a border around the entire blanket using single crochet or a decorative stitch.
- Weave in ends carefully for a tidy finish.
- Block your blanket to ensure all motifs lie flat and even.
📌 Blanket Motif Project Ideas
| Project Type | Recommended Motif Size | Colors |
|---|---|---|
| Baby Blanket | 4″ – 5″ squares | Soft pastels or brights |
| Lapghan | 6″ – 8″ squares | Solid or striped |
| Full Throw | 6″ – 10″ squares | Mixed patterns |
| Wall Art/Grid Decor | 4″ motifs | Bold contrast |
🧶 Tips for Success
- Use consistent tension in every square.
- Keep a notebook of color combinations and stitch counts.
- Lay out your motifs before joining to visualize your final design.
- Save your yarn scraps — they’re perfect for small motif rounds!
Video tutorial:
💬 Final Thoughts
Making an easy crocheted blanket motif is a fun and fulfilling way to create something both beautiful and functional. From choosing your yarn colors to joining the last square, every step allows you to express creativity and care.
With just a simple granny square or circle-to-square motif, you can design anything from cozy lapghans to bold artistic pieces — all from your own hands.