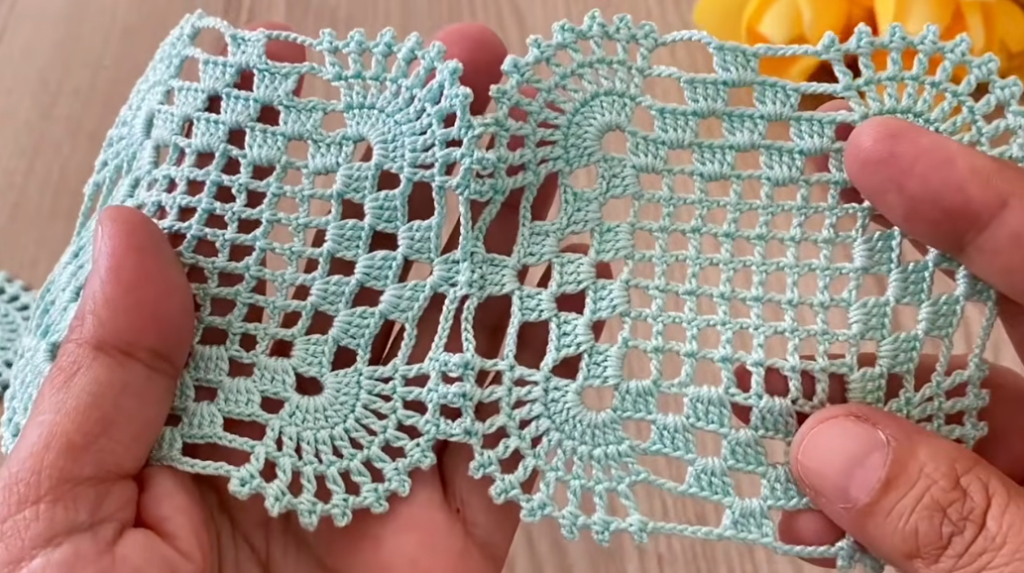
 by
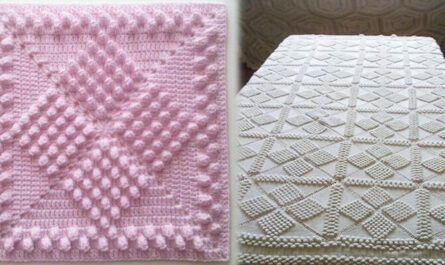
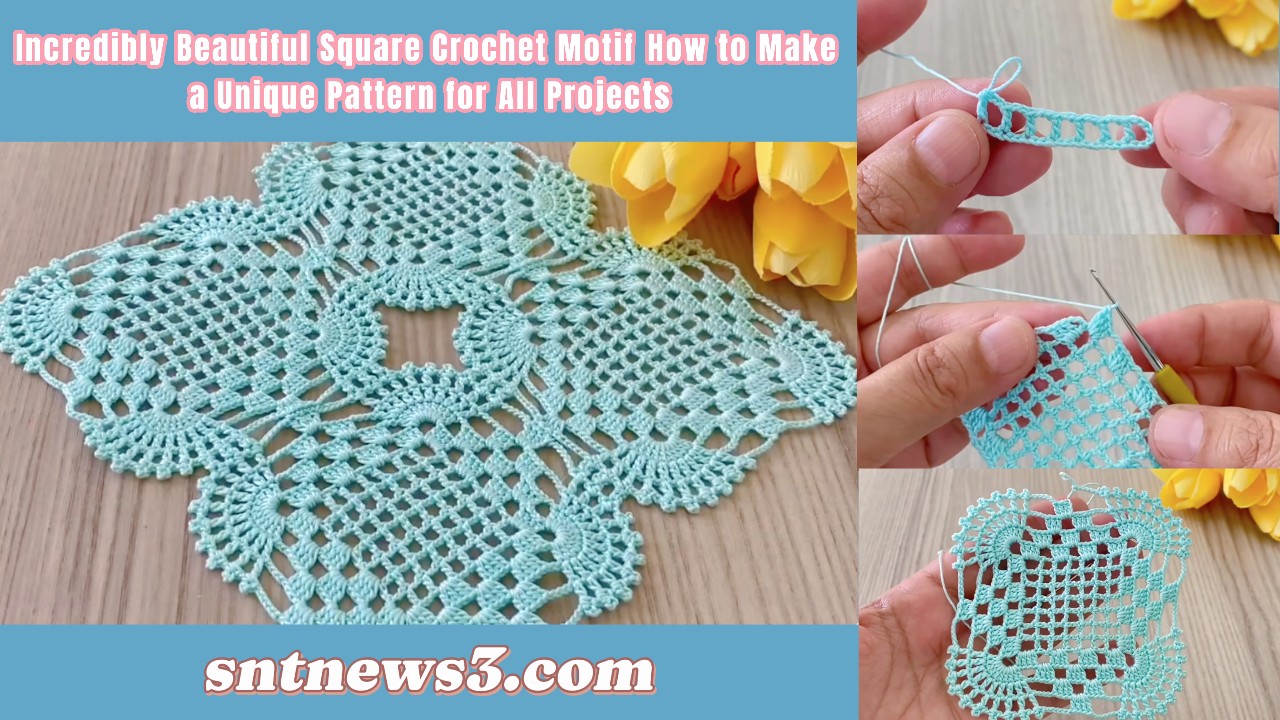
by 🧶 Pattern Overview (Important)
- Worked in rounds (not rows)
- Starts from center circle → flower → square
- Uses:
- Double crochet (dc)
- Chains (ch)
- Cluster/petal stitches
- Then transforms into a square with corners
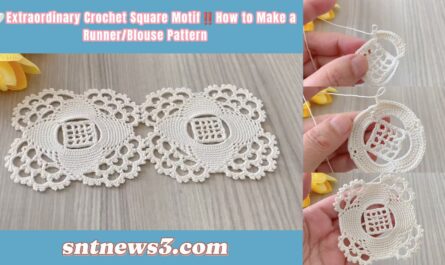
👉 This “flower → square” structure is typical for motif designs
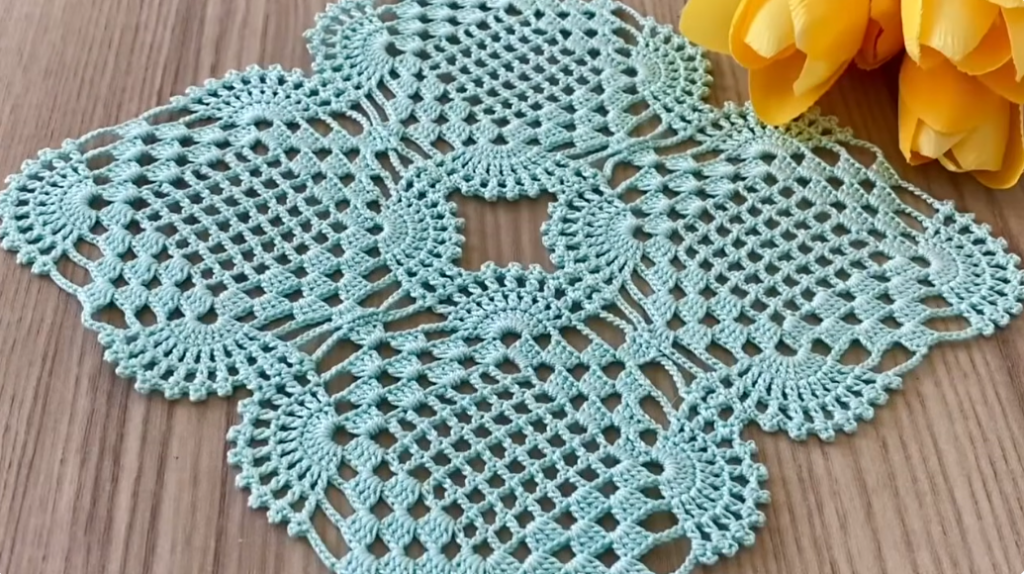
🟦 PART 1: Center Circle
Step 1: Make ring
- Ch 4
- Join with sl st to form a ring
Step 2: Round 1 (base circle)
- Ch 3 (counts as dc)
- Work 15 dc into the ring
- Join with sl st
👉 You now have a full round circle (16 dc total)

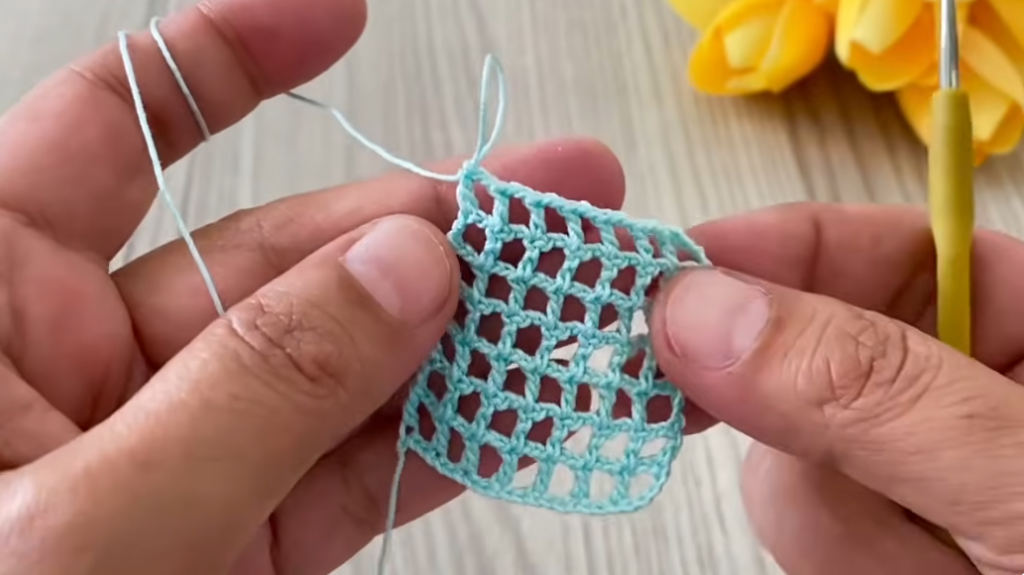
🟦 PART 2: Creating Petal Base
Step 3: Round 2 (cluster spacing)
- Ch 1
- Work pattern around:
Repeat:
- 1 sc
- ch 2
- skip 1 stitch
👉 Continue around entire circle
- Join with sl st
👉 You now have chain spaces all around
(these will hold petals)
🟦 PART 3: Flower Petals (Main Beauty Step)
Step 4: Round 3 (petal clusters)
👉 Work into each ch-2 space
In each space:
- (dc, tr, dc) OR similar tall cluster (as shown)
Repeat in every space around
👉 Each space becomes:
🌸 one petal
Important:
- All petals are worked into spaces, not stitches
- This gives soft, rounded flower shape
👉 This technique is common in floral motifs
🟦 PART 4: Stabilizing Round
Step 5: Round 4 (locking petals)
- Ch 1
- Work between petals:
Repeat:
- sc between petals
- ch 2
👉 This creates:
- Structure
- New spaces for next round
🟦 PART 5: Turning Flower into Square ⭐
This is the MOST IMPORTANT part.
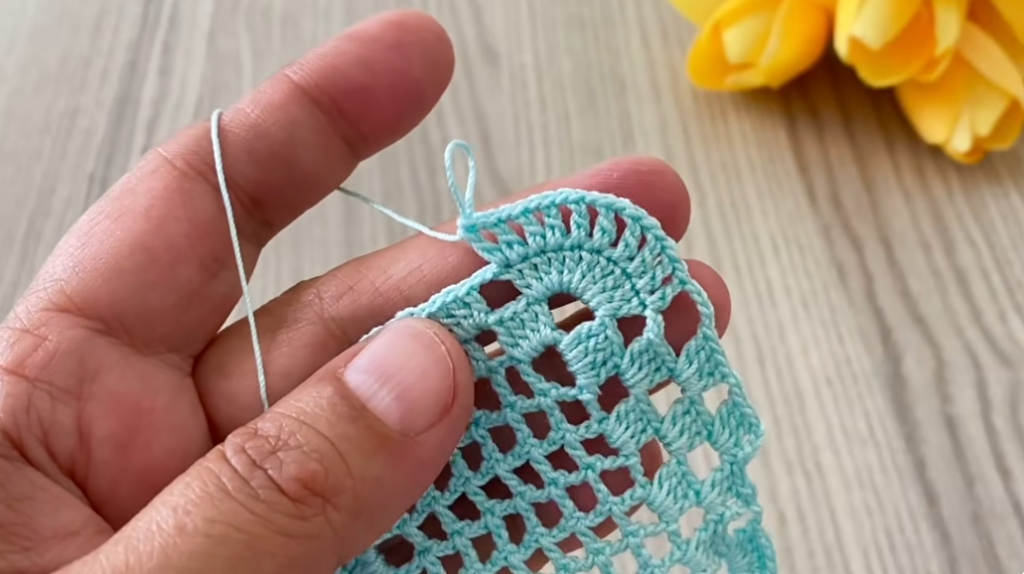
Step 6: Round 5 (forming corners)
Work around motif:
On sides:
- dc in spaces
At 4 points (corners):
Work in same space:
- (2 dc, ch 2, 2 dc)
👉 Do this exactly 4 times
Result:
- Shape changes from round → square
👉 Corners are created using increases
(standard square technique)
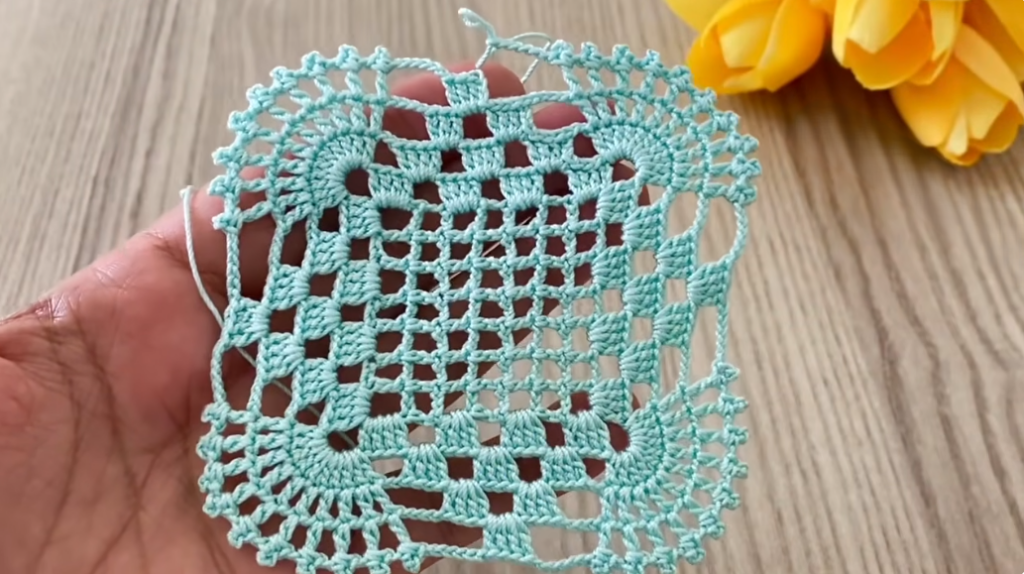
🟦 PART 6: Expanding the Square
Step 7: Next round
- Move to corner space
- In each corner:
- (2 dc, ch 2, 2 dc)
- Along sides:
- dc in each stitch
👉 This sharpens square edges
🟦 PART 7: Lace / Decorative Layer
Step 8: Pattern round
In spaces:
- (dc, ch 1, dc) OR small shell groups
👉 Creates:
- Open lace look
- Elegant texture
🟦 PART 8: Final Border
Step 9: Finishing edge
Options (as shown style):
✔ Simple:
- sc around
✔ Decorative:
- (sc, ch 3, sc) in same stitch
🟦 PART 9: Final Step
- Fasten off
- Weave in ends
- Light blocking
👉 This makes the square:
- Flat
- Clean edges
- Professional look
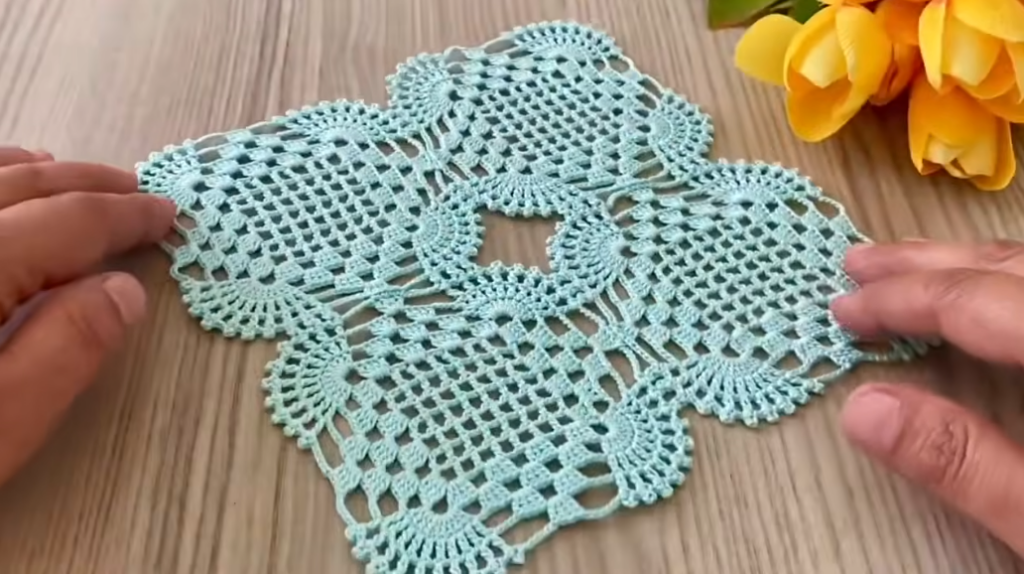
❤️ Key Details From THIS Video (Very Important)
✔ Starts with 16 dc circle (not granny square)
✔ Petals made using tall stitches (dc + tr combination)
✔ Uses chain spaces as main structure
✔ Square is formed later (not from beginning)
✔ Elegant flower-in-square design
💡 Simple Summary
- Make circle → 16 dc
- Create chain spaces
- Build flower petals
- Add spacing round
- Form 4 corners
- Expand square
- Add border
VIDEO: