 by
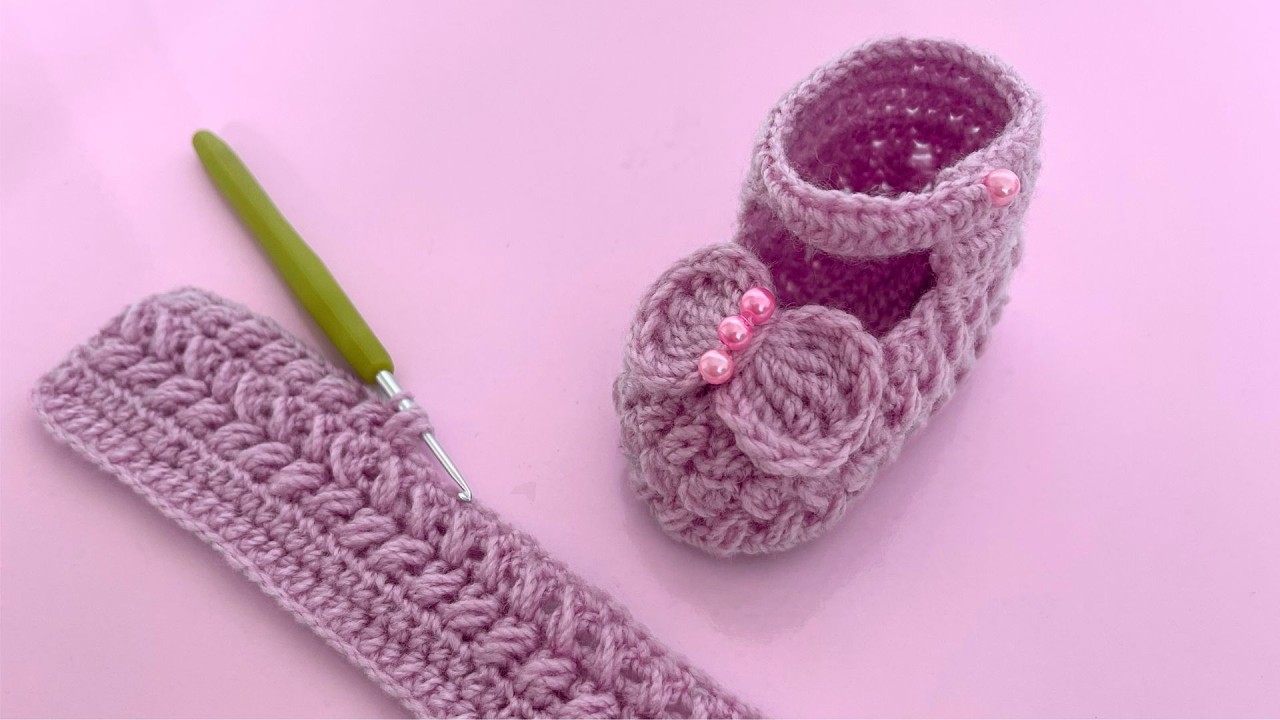
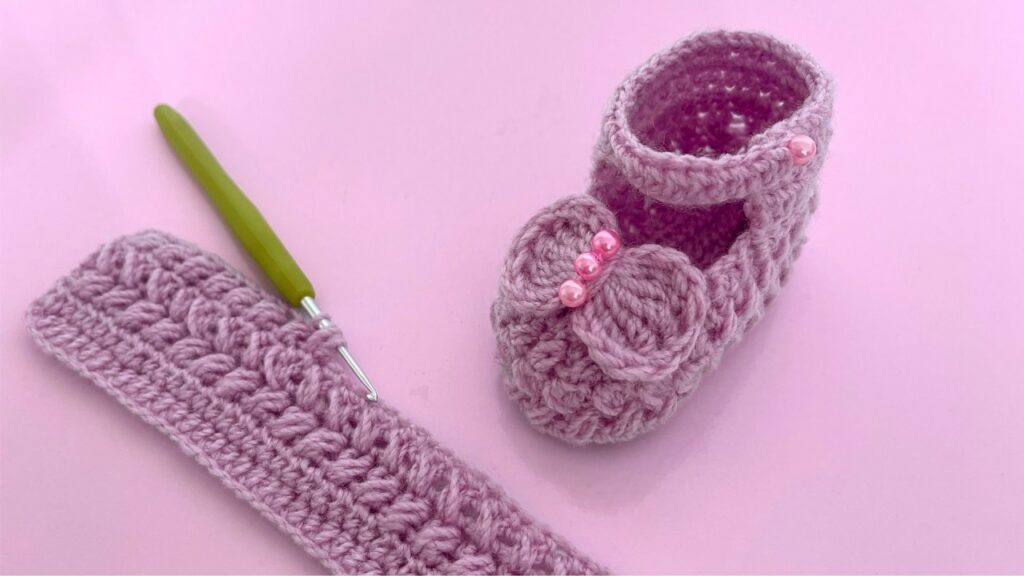
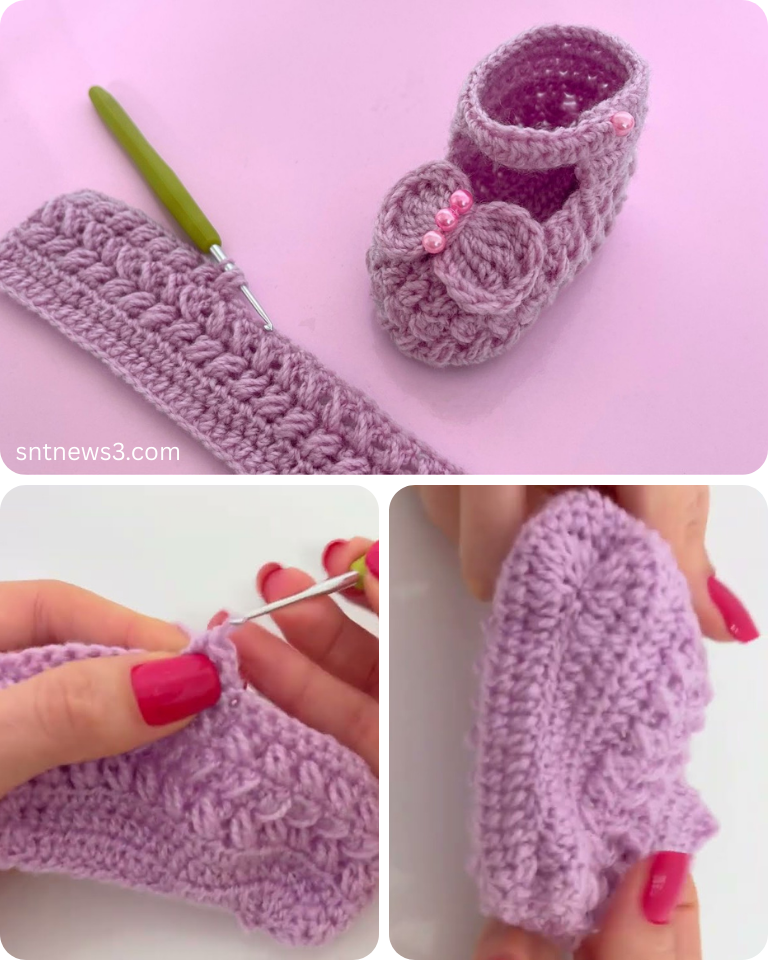
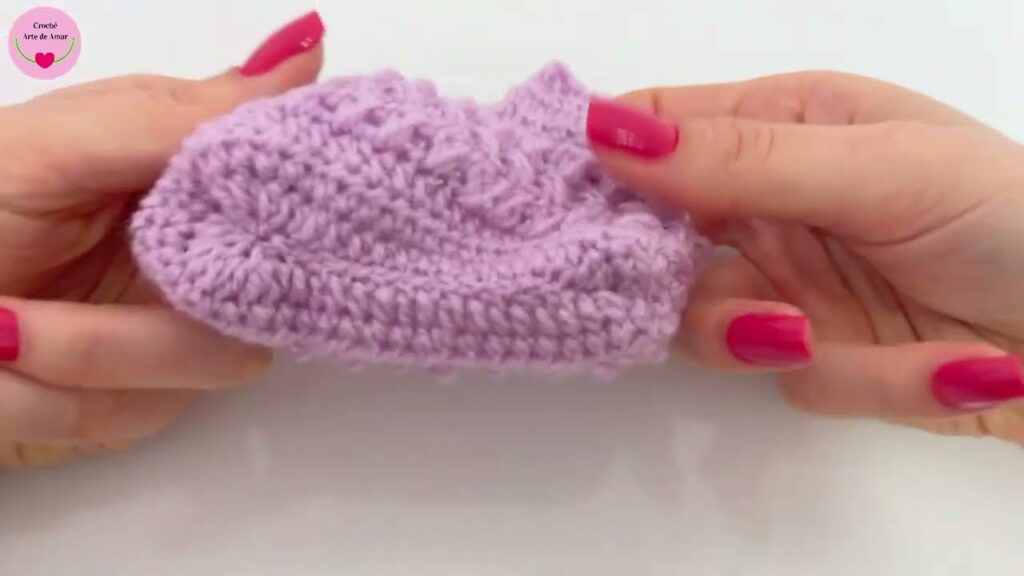
by Crochet shoes are a charming blend of coziness, creativity, and style. In this tutorial, we’ll guide you through making easy and very delicate crochet shoes – perfect as house slippers, gifts, or baby shower surprises. These soft shoes are made with simple stitches and can be customized in size and color.
🧵 Materials Needed
Before we start, gather the following materials:
- Yarn: Soft cotton or acrylic yarn (DK or worsted weight; adjust depending on size)
- Crochet hook: Size 3.5 mm to 4.5 mm (check yarn label for hook size recommendation)
- Scissors
- Tapestry needle (for weaving in ends)
- Stitch markers (optional)
- Measuring tape
Optional:
- Soft insole or felt (for extra comfort)
- Hot glue or fabric glue (if attaching soles)
- Non-slip fabric paint (for added grip)
🪡 Sizing the Shoe
This pattern is customizable. Use this simple foot measurement guide:
- Measure the length of the foot (heel to toe).
- Measure the width (ball of the foot).
- Use a gauge swatch to determine your stitch and row count per inch.
🧶 Basic Stitches Used
- ch – chain
- sl st – slip stitch
- sc – single crochet
- hdc – half double crochet
- dc – double crochet
- inc – increase (2 stitches in same stitch)
- dec – decrease (crochet 2 stitches together)
🩰 Crochet Shoe Pattern (Adult Small/Medium)
We’ll break this into three parts: Sole, Upper, and Assembly.
🔸 Part 1: Crochet the Sole
We’ll start with a basic oval sole. This version fits around US women’s size 6–8. Adjust by increasing/decreasing rounds or changing yarn/hook size.
Ch 11

Round 1: Starting in 2nd ch from hook, sc 9, 3 sc in last ch. Continue on opposite side of chain, sc 8, 2 sc in last ch. (22 sts)
Round 2: 2 sc in first st, sc 8, 2 sc in next 3 sts, sc 8, 2 sc in last 2 sts. (28 sts)
Round 3: sc in next, 2 sc in next, sc 8, (sc, 2 sc) x 3, sc 8, (sc, 2 sc) x 2. (34 sts)
Round 4: sc around. (34 sts)

Optional: Repeat a 5th round for longer sole (increase evenly at toe and heel).
Fasten off and weave in ends.
✅ Tip: Make two identical soles (one for each foot).
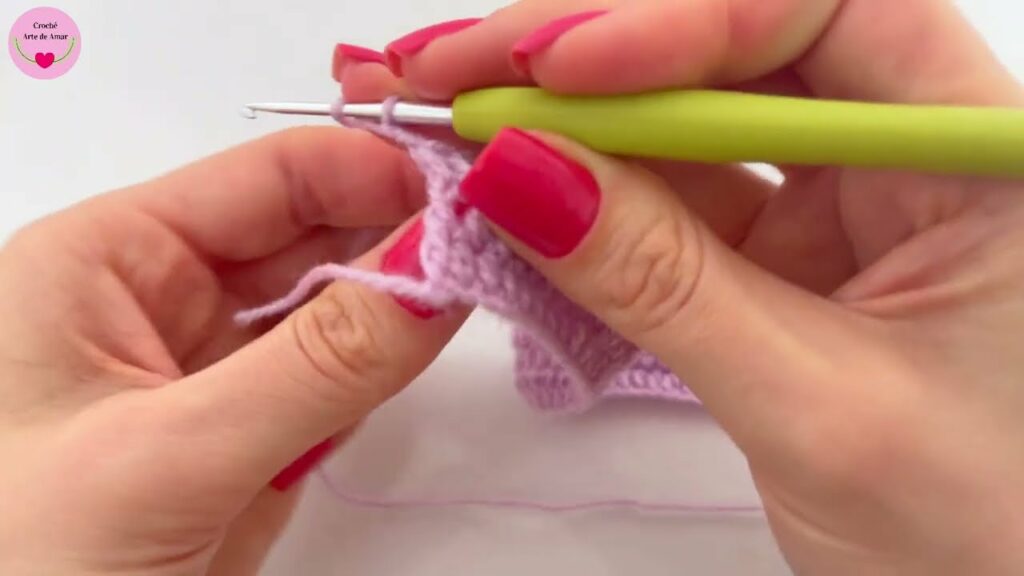
🔸 Part 2: Crochet the Upper Part
Join yarn to the center heel stitch of the sole.
Round 1: Working in BLO (Back Loops Only), sc around the edge of the sole. Sl st to join. (This forms the shoe wall)
Round 2: ch 1, sc around, sl st to join.
Round 3: sc 10, hdc 8, dc 8 (top of shoe), hdc 8, sc to end. Join.
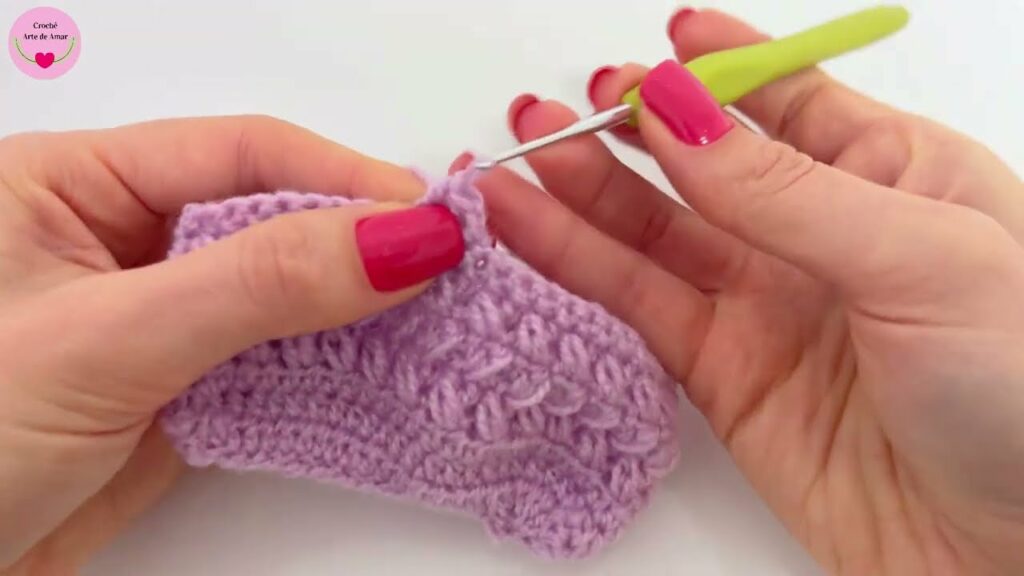
Round 4: sc around. Repeat as needed to desired height.
Toe Shaping:
Row 5: Start decreasing at the toe (center front): dec 2 dc together in middle 6 stitches (3 times).
Repeat 1–2 more rounds with decreases until shoe fits snugly.
🔸 Part 3: Finishing Touches
Heel Tab (Optional):
Attach yarn at back center of heel.
Row 1: ch 1, sc 6, turn.
Row 2–4: sc across, turn.
Fasten off, weave in ends.
Edge Trim (Optional):
Add a decorative border:
Join contrasting yarn and work reverse sc (crab stitch) or picot edging around the opening.
Add Sole Padding:
- Cut felt or foam to shape of sole.
- Attach using fabric glue or hand-stitch around the edge.
- Add dots of hot glue or non-slip paint for grip.
🧼 Care Instructions
To preserve the softness and shape of your crochet shoes:
- Hand wash in cold water
- Air dry flat
- Avoid bleach or fabric softener
💡 Customization Tips
- 🧒 For babies: Use thinner yarn (like sport or baby weight) and a 3mm hook.
- 🎨 Add embroidery, buttons, or bows for flair.
- 👣 Make men’s or larger sizes by adding rounds to the sole and adjusting toe shaping.
🧵 Final Thoughts
These easy and delicate crochet shoes are not only practical but carry the warmth of something handmade. Whether for yourself or as a gift, each pair is unique and customizable. The pattern can be a relaxing weekend project or a thoughtful DIY addition to your handmade wardrobe.
Happy Crocheting! 🧶💕
Video tutorial: