 by
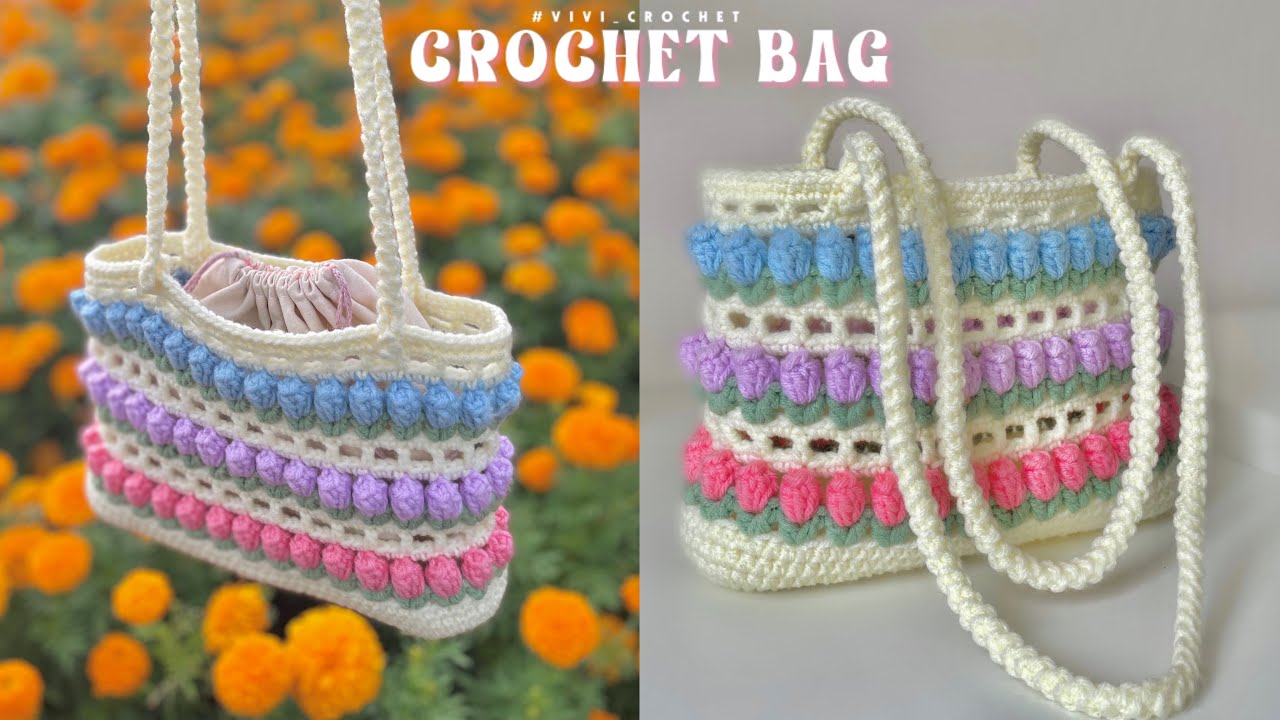
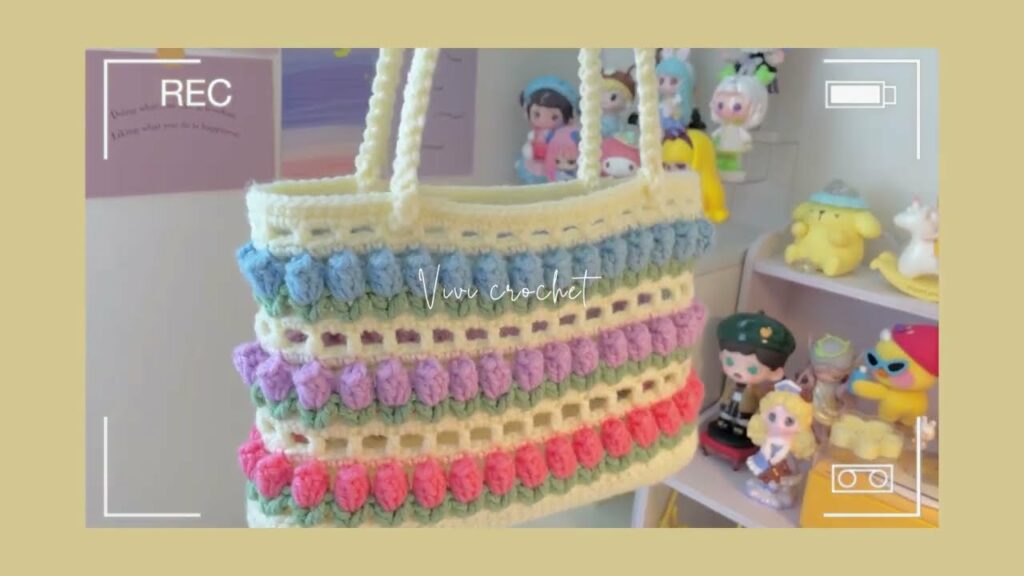
by The Tulip Crochet Bag is a stunning, floral-themed accessory perfect for spring and summer. With its petal-inspired textures and feminine flair, this bag is not only stylish but also surprisingly easy to make. Whether you’re a beginner looking for your next project or an experienced crocheter wanting a fresh design, the Tulip Bag adds charm to any outfit.

🌷 Why You’ll Love the Tulip Crochet Bag
- ✅ Elegant tulip stitch texture
- ✅ Beginner-friendly construction
- ✅ Customizable size and color
- ✅ Perfect for casual outings, markets, or gifting
- ✅ Lightweight but sturdy with cotton yarn
📦 Materials You’ll Need
| Item | Description |
|---|---|
| Yarn | Worsted weight cotton yarn (approx. 250–300 g) |
| Hook | 4.0 mm (G) or 4.5 mm hook |
| Scissors | Yarn scissors |
| Tapestry Needle | For sewing and weaving ends |
| Stitch Markers | Helpful for working in the round |
| Bag Lining (Optional) | For durability |
| Handles/Straps | Crochet or attachable handles |
| Magnetic Button or Zipper | Optional closure method |
🧵 Crochet Stitches Used (US Terms)
- ch – chain
- sc – single crochet
- dc – double crochet
- sl st – slip stitch
- tr – treble crochet
- Tulip stitch – (dc, ch 1, dc) in the same stitch
- Shell stitch – 5 dc in the same stitch (used optionally for top border)
👜 Finished Size (Approximate)
- Width: 12–13 inches (30–33 cm)
- Height: 10 inches (25 cm)
- Strap Length: 18–20 inches (adjustable)
🌷 Step-by-Step Tulip Crochet Bag Tutorial
✅ Step 1: Create the Base
You can start with a flat circle or an oval base. For simplicity, we’ll use a flat oval base:
- Ch 31.
- Row 1: Dc in 3rd ch from hook, dc across (29 dc), 5 dc in the last chain. Rotate, dc back down the opposite side of the chain. Place 3 dc in the last chain. Sl st to join.
- Round 2–4: Continue working in the round, increasing at both ends (total 4 increases per round) until the base is approx. 10 inches long. End with an even number of stitches.
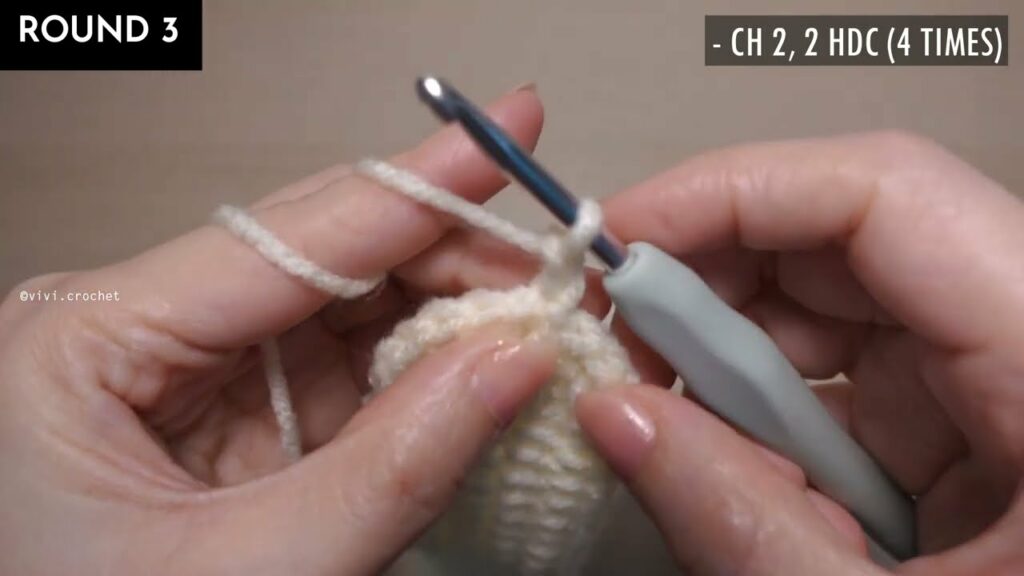
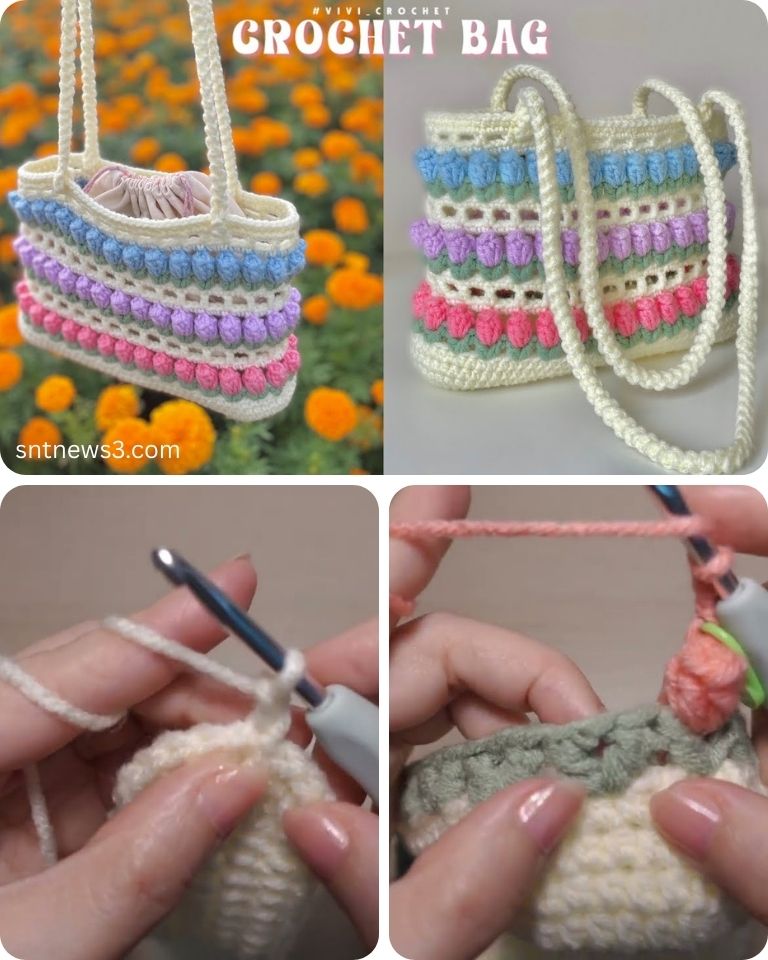
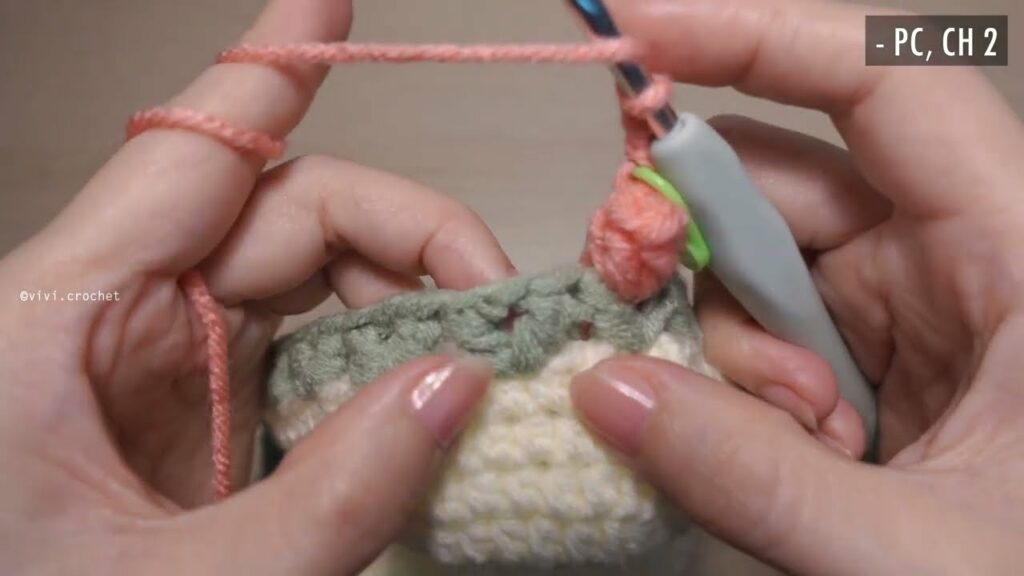
✅ Step 2: Work the Body in Tulip Stitch 🌷
Tulip Stitch Round (in multiples of 2):
- Round 1: Ch 3 (counts as dc), skip 1 st, (dc, ch 1, dc) in next st (this is the tulip stitch), skip 1 st. Repeat around. Sl st to join in top of ch 3.
- Round 2: Sl st into the next ch-1 space, ch 3, dc in same space, ch 1, dc in same space again. Skip next tulip, (dc, ch 1, dc) in ch-1 space of next tulip. Repeat around.
- Repeat Round 2 until desired height is reached (around 20 rounds for medium size).
The tulip stitch gives the bag its elegant floral texture and a breathable, decorative look.
✅ Step 3: Create the Top Border
- Optional Shell Border:
- Ch 1, skip 1 st, 5 dc in next st, skip 1 st, sc in next st. Repeat around for a scalloped edge.
- Simple Border Option:
- Work 2–3 rounds of sc or hdc for a clean, sturdy top band.
✅ Step 4: Add Straps
Option 1: Crochet Handles
- Ch 80–100 (for shoulder straps).
- Sc back across the chain for 2–3 rows.
- Sew the ends firmly to the inside of the bag, spaced evenly.
Option 2: Pre-Made Handles
- Attach using metal rings or crochet loops sewn into the top border.
✅ Step 5: Optional Lining & Closure
Lining (Recommended for durability):
- Cut fabric 1 inch larger than the bag dimensions.
- Sew lining sides and fold the top hem.
- Hand-sew or machine-stitch the lining to the inside top of the bag.
Closure Options:
- Magnetic snap
- Button and loop
- Zipper (sewn between lining and crochet)
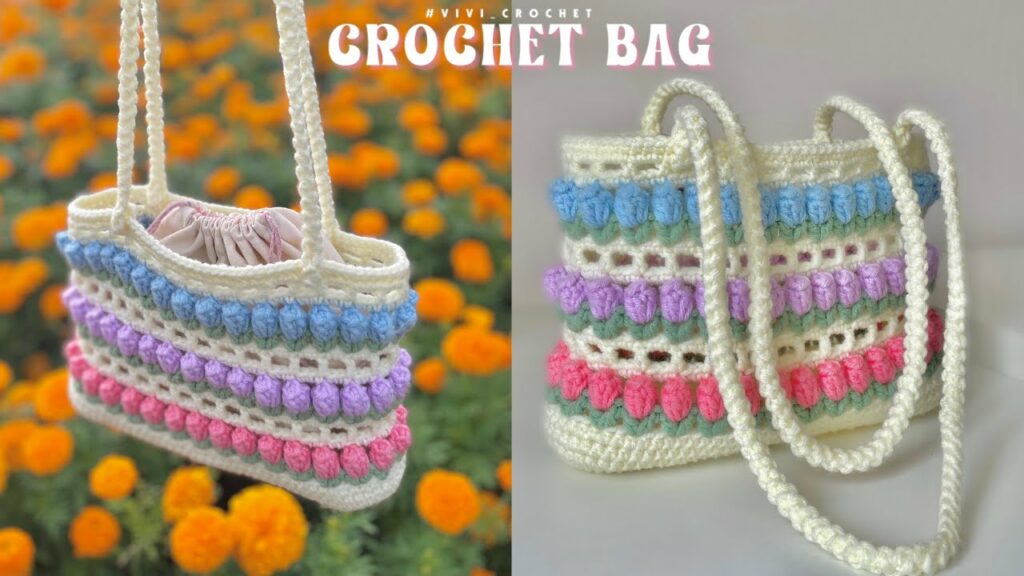
🎨 Customization Ideas
- Colors: Use tulip colors like pink, red, or yellow for the body and green for the top/straps.
- Ombre effect: Use gradient yarn for a floral fade.
- Decorations: Add a crochet flower, tassels, or a keychain.
- Mini Version: Use fewer stitches for a handbag or clutch.
🧺 How to Style the Tulip Bag
The Tulip Crochet Bag is versatile:
- Pair with spring dresses, jeans, or boho outfits.
- Great for picnics, markets, or brunch dates.
- Add a lining and it becomes a perfect purse or project bag.
💡 Tips for Success
- Use cotton or cotton-blend yarn for structure and breathability.
- Count your stitches regularly to keep your pattern even.
- Use stitch markers to track tulip placements.
- Block the bag before attaching handles to enhance the shape.
Video tutorial:
🌼 Conclusion
The Tulip Crochet Bag combines beauty and simplicity in one gorgeous project. With its floral stitch design and customizable structure, it’s perfect for adding a handcrafted touch to your wardrobe. Whether you’re making it for yourself or gifting it to someone special, this crochet bag is sure to bloom with compliments wherever it goes!