by
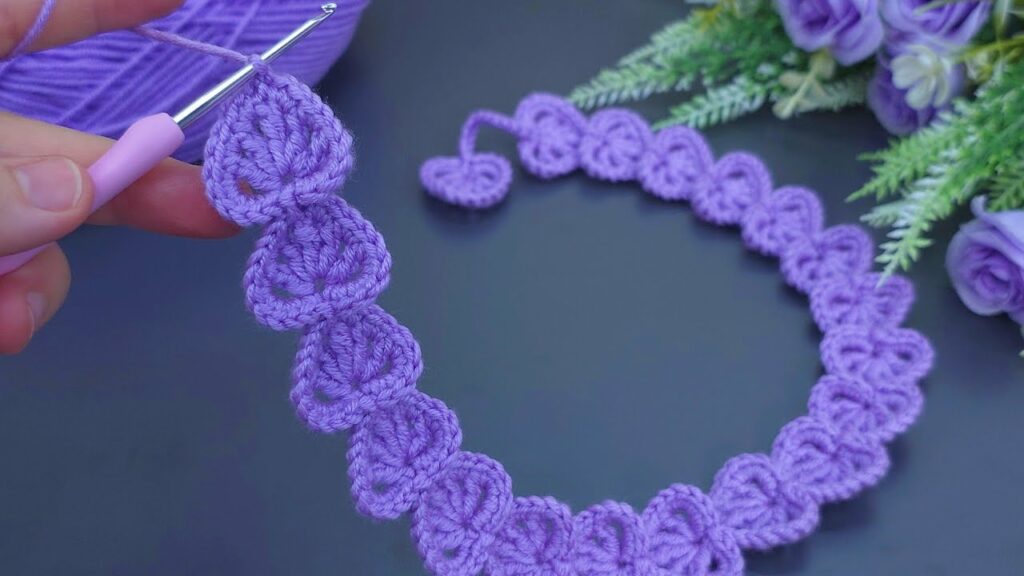
by Crochet projects don’t have to be big or complicated to be satisfying. In fact, some of the most fun (and fashionable!) creations come from the simplest patterns — like the crochet headband. Whether you want a cute accessory, a warm ear warmer, or a thoughtful handmade gift, this easy crochet headband pattern is perfect for beginners and pros alike.
In this article, we’ll guide you through the materials, stitches, and step-by-step instructions to create your own beautiful crochet headband in no time!
🧶 Why Make a Crochet Headband?
Crochet headbands are one of the fastest, easiest, and most versatile projects you can try. They’re beginner-friendly, use minimal yarn, and can be customized in countless ways — from thin and lacy to thick and cozy.
Benefits:
- ✅ Quick – Make one in under an hour.
- ✅ Simple – Uses basic crochet stitches.
- ✅ Practical – Keeps hair in place or ears warm.
- ✅ Stylish – A chic handmade accessory.
- ✅ Great for gifts or craft fairs – Lightweight, useful, and trendy.
🔧 Materials Needed
To make a basic crochet headband, gather the following supplies:
- Yarn – Worsted weight yarn (medium #4) works best. Cotton for warm weather, acrylic or wool for colder climates.
- Crochet hook – Size 5.0 mm (H-8) is standard for worsted yarn.
- Scissors
- Yarn needle – For weaving in ends.
- Measuring tape
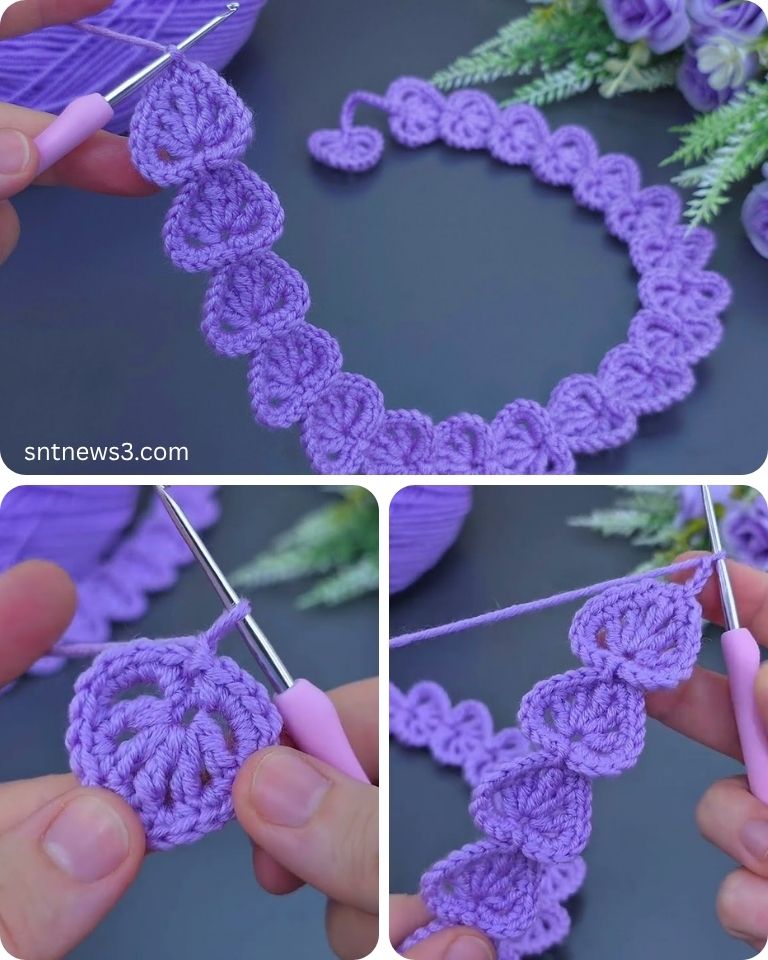
🧵 Easy Crochet Headband Pattern
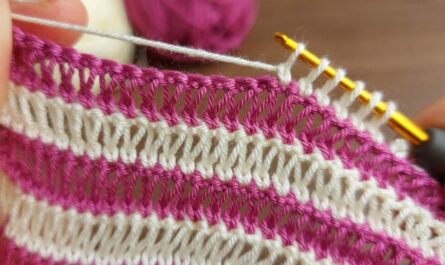
This pattern creates a flat, textured headband using the half double crochet (hdc) stitch — easy, stretchy, and perfect for beginners.
✨ Pattern Style:
- Stitches: Simple & stretchy ribbing
- Fit: Snug but comfortable
- Construction: Worked flat and sewn together
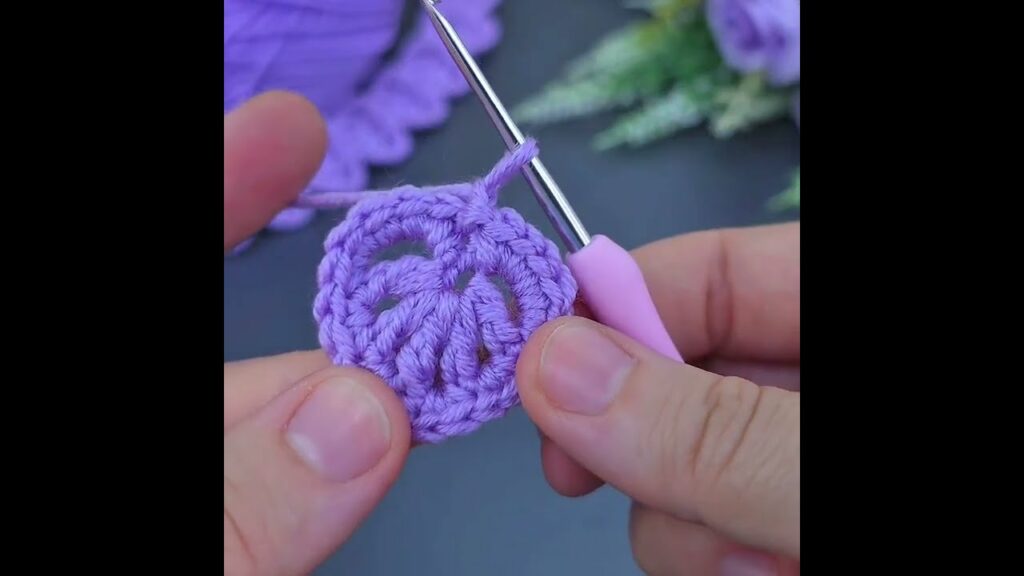
🔢 Step-by-Step Instructions
Step 1: Make a Slip Knot & Chain
- Chain 12 (this determines the width of your headband; adjust for wider or thinner styles).
Step 2: Work the First Row
- In the 3rd chain from the hook, work 1 half double crochet (hdc).
- Continue working 1 hdc in each chain across. (10 hdc total)
- Turn your work.
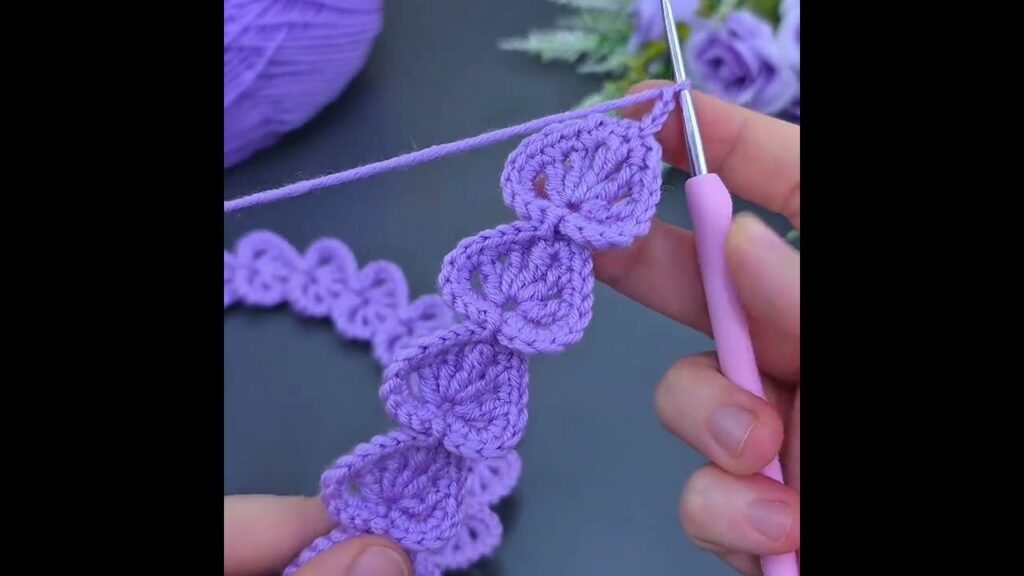
Step 3: Create Ribbing Effect
- Row 2 and onward: Chain 2 (counts as first hdc), then work hdc in the back loop only (BLO) of each stitch across.
- Turn your work after each row.
This creates the stretchy, ribbed texture.
Step 4: Measure & Repeat
- Continue repeating Row 2 until the piece is long enough to wrap snugly around your head (typically 18–22 inches, depending on size).
- You can measure by wrapping the strip around your head — it should fit snugly, not tight, since crochet stretches.
Step 5: Join the Ends
- Once long enough, fold the band in half and slip stitch or whip stitch the ends together using your yarn needle or hook.
- Weave in all yarn ends neatly.
🧣 Optional: Add a Twist or Knot
To make your headband trendier:
- Fold the two ends together in a zigzag (one half over the other).
- Sew through all four layers (two from each side).
- When you flip the headband right-side out, it forms a stylish twisted front.
🎨 Customization Ideas
Want to make your headband truly unique? Try these options:
- Color changes – Use two or more colors for stripes or ombré.
- Add a bow or button – Sew a decorative touch in the center.
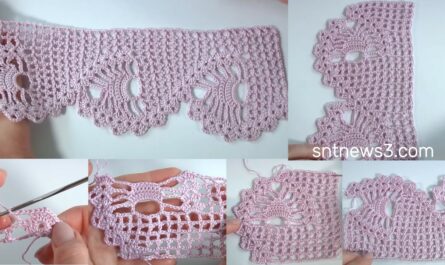
- Use puff stitch, bobbles, or shell stitch – For texture and flair.
- Add an edging – Like picot or crab stitch for a pretty border.
📏 Sizing Guide
| Age Group | Head Circumference | Finished Length (before stretch) |
|---|---|---|
| Baby (0–6 mo) | 13–15 in (33–38 cm) | 12 in (30 cm) |
| Child | 17–19 in (43–48 cm) | 16–17 in (41–43 cm) |
| Teen/Adult S | 20–21 in (51–53 cm) | 18–19 in (46–48 cm) |
| Adult M/L | 22–23 in (56–58 cm) | 20 in (51 cm) |
Always measure and adjust according to your yarn’s stretch and head size.
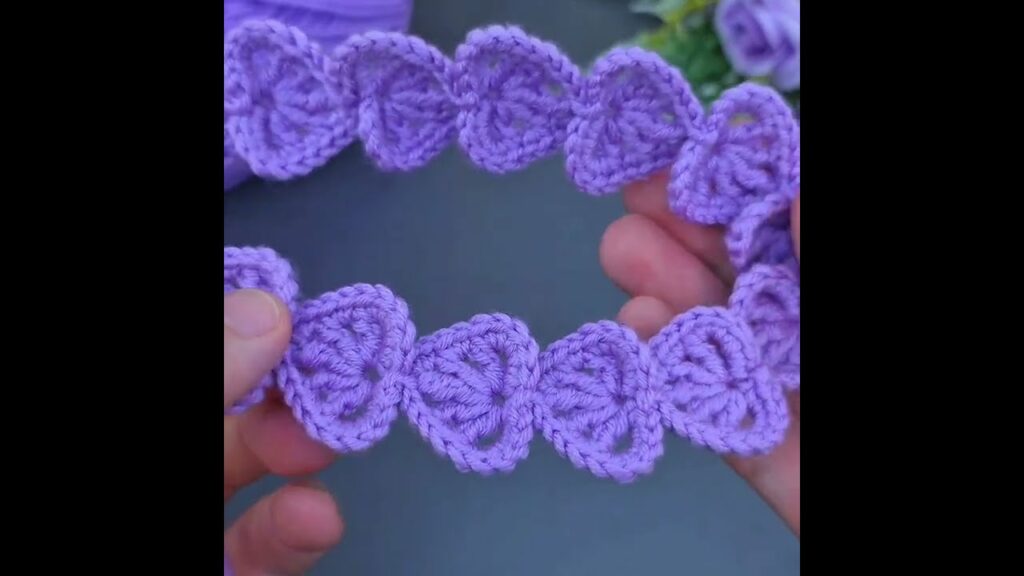
✅ Final Thoughts
The easy crochet headband pattern is a fast, fun, and fulfilling project. It’s perfect for beginners learning new stitches or for experienced crocheters looking for a quick win. With just a hook and some yarn, you can create a stylish accessory that’s as functional as it is fashionable.
Whether you’re making gifts, stocking up for winter, or adding to your handmade wardrobe, this headband is a go-to pattern you’ll use again and again.
Video tutorial: