🧶 Materials
- Fine cotton or mercerised cotton yarn (the video uses lace/tape‐lace weight)
- Small crochet hook suitable for the yarn (e.g., 1.5 mm – 2.5 mm depending on yarn)
- Scissors and tapestry needle
- Stitch marker (optional)
✏️ Abbreviations (US terms)
- ch = chain
- sl st = slip stitch
- sc = single crochet
- dc = double crochet
- tr = treble crochet (if used)
- st(s) = stitch(es)
- rep = repeat
🌿 Pattern Overview
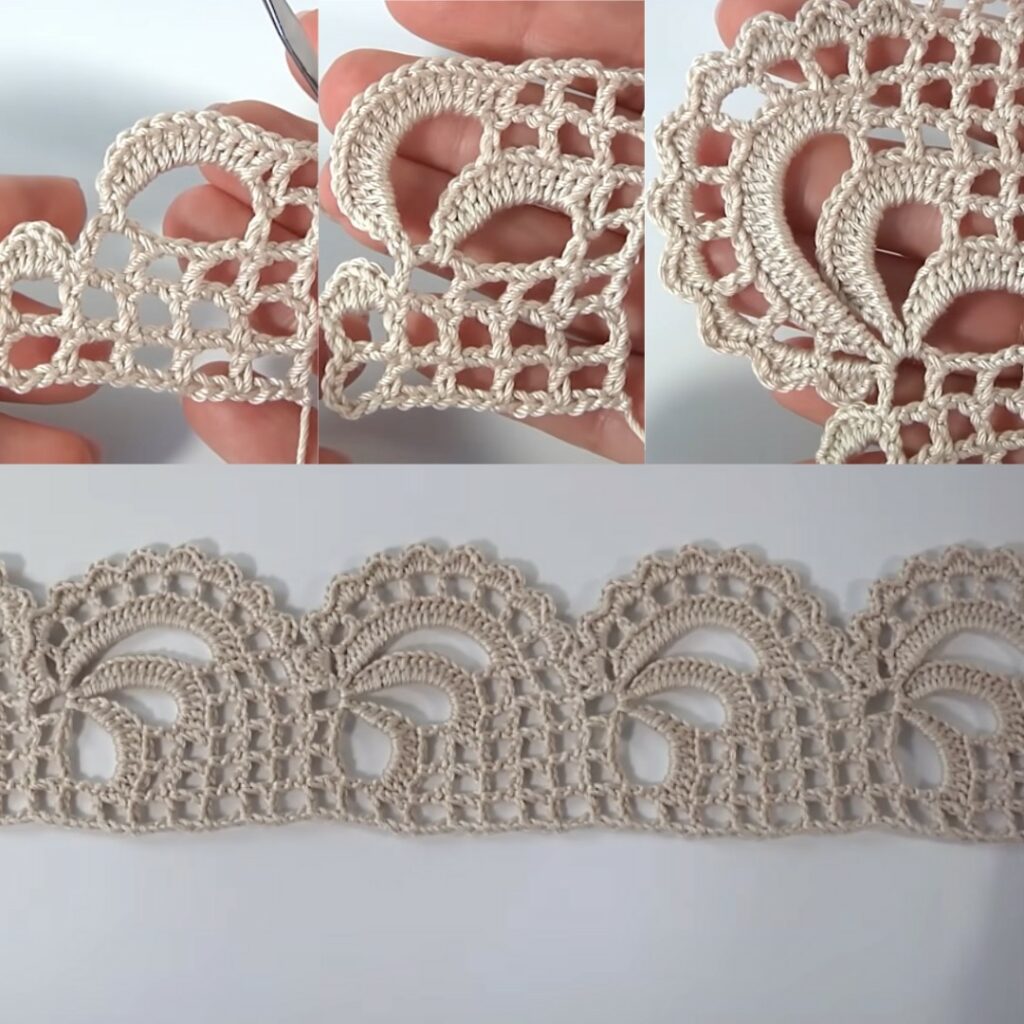
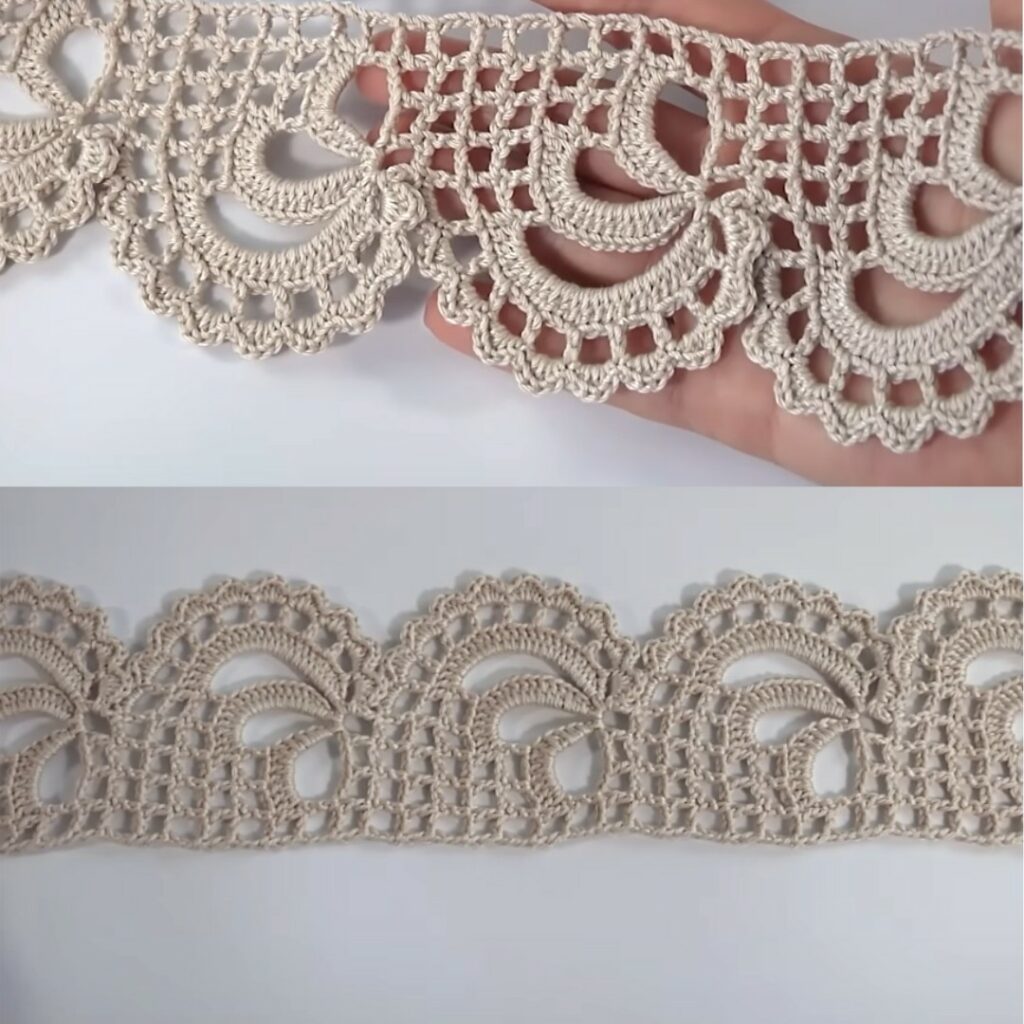
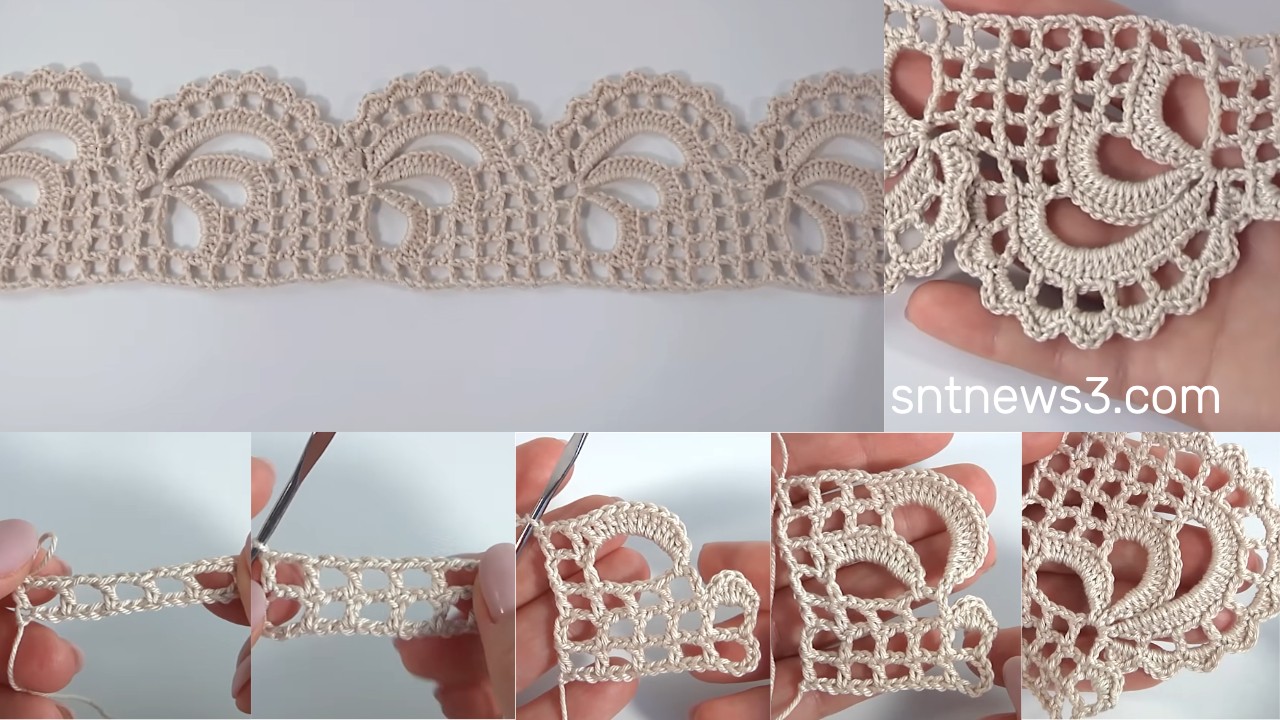
This tutorial is for a tape‐lace style crochet trim or narrow panel (often called “lace tape”). You create a narrow chain foundation and then build up delicate lace stitch rows that form a continuous “tape” which you can use as an edging, belt, trim, or decorative band. It’s delicate and gorgeous — the video emphasises that you can use it for many applications.

✅ Step-by-Step Tutorial
Step 1 – Foundation Chain
- Chain a small number of stitches to get your starting width. The video suggests a narrow width; e.g., ch 20 (you may adjust depending on how wide you want the tape).
- Optional: Turn and ch 1, or work the first row into the foundation chain depending on your preference.
Step 2 – Row 1 – Base Row
- Starting in the 2nd chain from the hook, work sc in each chain across.
- If the piece is narrow and tape-like, you may only have one or two stitches across.
- At end of row: ch 1 (does not count as a stitch), turn.
Step 3 – Row 2 – Begin Lace Pattern
- Work something like: (dc in next 2 sts, skip 1 st, chain‐2, dc in next st) — this creates an open loop.
- Then: sc in next st (or dc depending on pattern) to anchor the loop.
- Continue across: (dc x2, skip 1, ch 2, dc x1), sc in next – repeat.
- At end of row, turn, ch 1.
Step 4 – Row 3 – Expand Lace Variation
- In this row you’ll build on the loops: for each chain-2 loop from previous row, you might work (sc, ch 3, sc) or (dc x2) into the loop, and then anchor with sc or sl st into the next base stitch.
- Repeat across: Into loop: (sc, ch 3, sc) then skip anchor st, sc in next base st.
- Turn, ch 1.
Step 5 – Row 4 – Continue Build
- Alternate between loop building and base sc stitches. For example: sc in next 2 sts, then loop (dc x3) into chain space below, sc in next base st.
- Continue until the tape reaches your desired length.
Step 6 – Optional – Add decorative elements
- You can add picots, small tassel loops, bead drops, or more open chain loops to make it more ornate.
- For example: after a dc loop, chain 5, sl st into second chain of chain-5 to form a picot, then continue.
Step 7 – Finish Edge
- When the tape is long enough, work 1 row of sc across for a clean finish (sc in each stitch).
- Fasten off, cut yarn, and weave in ends with tapestry needle.

📋 Quick Reference Table
| Row | Action |
|---|---|
| 1 | sc across foundation chain |
| 2 | (dc x2, skip 1, ch 2, dc) then sc in next – repeat |
| 3 | Build loops into previous chain spaces + base sc stitches |
| 4+ | Continue alternating loop‐building and anchor stitches until length reached |
| Finish | 1 row sc across, fasten off, weave in ends |
✨ Tips & Adaptations
- Use lighter weight yarn (lace or fingering) and a small hook for delicate tape; or use heavier yarn/hook for a wider trim.
- For a wider tape, chain more stitches initially and add extra base stitches between loop clusters.
- Keep your loop sizes consistent (chain counts) so the design looks even.
- Use contrasting cotton colour for the loop rows to make the lace stand out.
- Because it’s a narrow tape, you can join ends to make a belt, headband, trim, or even curtain tie.
- When using the tape as an edging: leave one end free to sew onto your garment or piece; secure the other end in the end sc row.
Video Tutorial: https://www.youtube.com/watch?v=8Fd99nBHDPM


