Hello crochet friends!
This version makes a simple, soft baby vest built from one rectangular panel (worked like a baby blanket) that you fold and sew to form armholes and shoulders — no complicated shaping, perfect for beginners.
I’ll include: materials, sizes (newborn → 24 months), an easy stitch pattern (V-stitch mesh so the fabric is soft and stretchy), exact example chain counts for each size (based on an easy-to-measure gauge), step-by-step instructions, sewing/folding diagrams, edging & finishing, and troubleshooting tips.
What you’ll make
A cozy baby vest made from one rectangular crocheted panel (a “blanket vest”) that’s folded and seamed to make shoulders and armholes. It’s quick to work up and adjustable for several baby sizes.
Materials
- Yarn: baby / DK / light worsted (suggestion: soft acrylic or baby yarn — washable).
- Crochet hook: 4.0 mm (G) recommended for DK; adjust if your yarn label advises otherwise.
- Tapestry needle for sewing & weaving ends
- Scissors, tape measure, stitch marker or scrap yarn for marking folds
- Optional: buttons, ribbon, or ties for the front
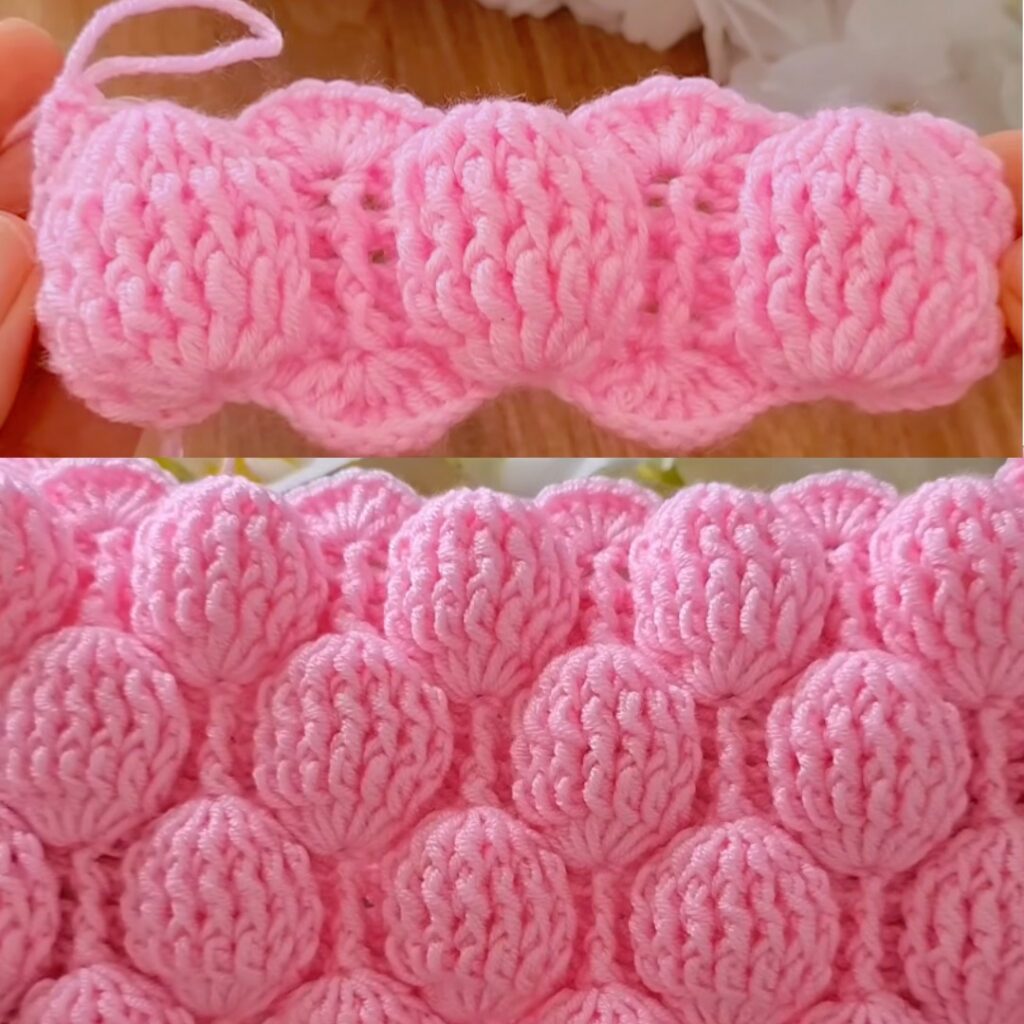
Abbreviations (US)
- ch = chain
- sl st = slip stitch
- sc = single crochet
- dc = double crochet
- st(s) = stitch(es)
- sp = space
- V-st = V-stitch = (dc, ch 1, dc) worked into the same stitch/space
Pattern logic (how it works)
- Crochet a rectangle: width = half the chest circumference + 1–2 cm seam allowance; length = desired vest length + 1–2 cm for shoulder seam.
- Fold so that the top edge becomes the neck/shoulder area and a gap remains for the neck. Sew the sides to form shoulder seams and body side seams, leaving armholes open.
- Add trim around neck/armholes and optional buttons.
This is beginner-friendly because the shaping is done with folding and sewing, not increases/decreases.
Gauge guidance (do this first)
Make a 10 × 10 cm (4″ × 4″) swatch in the stitch pattern (V-stitch) with the hook and yarn you chose, then measure:
- Gauge (stitches per inch) horizontally and rows per inch vertically.
You’ll use those numbers to calculate the starting chain for the size you want. If you skip swatching, the provided example chain counts below assume ~4 stitches per inch (common for DK with 4.0 mm hook). If your gauge is different, scale chains using the formula given below.

Sizes & example finished measurements
These are finished garment approximate chest widths (circumference), measured around the body:
| Size | Chest circumference (approx) | Half-width (front panel) |
|---|---|---|
| Newborn | 18 in / 46 cm | 9 in / 23 cm |
| 3–6 months | 20 in / 51 cm | 10 in / 25.5 cm |
| 6–12 months | 22 in / 56 cm | 11 in / 28 cm |
| 12–24 months | 24 in / 61 cm | 12 in / 30.5 cm |
When folded and seamed, the front width will be roughly the half-width above. Add 1–2 cm ease if you like a looser fit.
Quick calculation formula (if you swatched)
- Measure stitches per inch (spi).
- Desired half-width in inches × spi = number of stitches to chain (approximately).
- Add 2 extra chains for turning.
- If you prefer, round to an even number or to satisfy the stitch repeat (V-stitch doesn’t require a strict multiple).
Example: half-width 9 in × 4 spi = 36 stitches → ch 38 (add 2 turning chains).
Example starting chains (if you skip swatching)
Below are ready-to-use starting chains based on the assumed gauge 4 stitches per inch (this is common but not guaranteed — swatch if you want exact sizing):
- Newborn (half-width 9″): ch 38
- 3–6 months (half-width 10″): ch 42
- 6–12 months (half-width 11″): ch 46
- 12–24 months (half-width 12″): ch 50
(Each example includes +2 chains for turning; if your gauge differs, use the formula above.)
Length guidance (before folding / after blocking):
- Newborn length (shoulder to hem): 8″ (20 cm) — rows ≈ 8″ × rows per inch
- 3–6m length: 9″ (23 cm)
- 6–12m length: 10″ (25.5 cm)
- 12–24m length: 11″ (28 cm)
Use your swatch to compute how many rows you need: rows = inches × rows-per-inch.
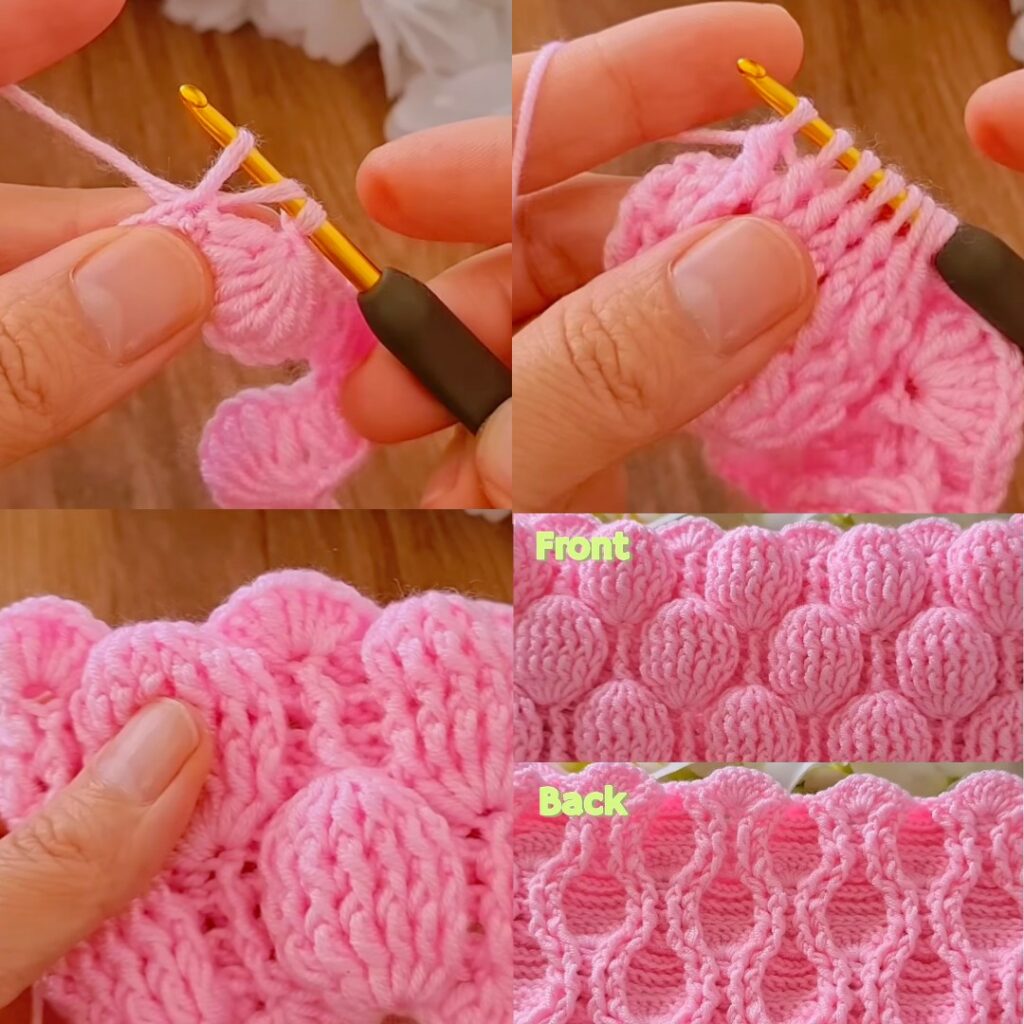
Stitch pattern (V-stitch mesh) — easy & stretchy
V-stitch produces a soft open fabric and is worked on odd/even rows:
Foundation chain: chain the number from the table above (for example ch 38 for newborn).
Row 1 (foundation row):
- Dc in 4th ch from hook (counts as dc), dc in each ch across. (You can also work a row of sc for a neater base — but dc base is faster.)
- Turn.
Row 2 (V-stitch row):
- Ch 3 (counts as dc), skip next st; V-stitch in next st (dc, ch 1, dc), skip next st; repeat across to last stitch, end with dc in top of turning chain. Turn.
Row 3:
- Ch 3, dc in next dc (the top of the V or dc from previous row), skip ch-1 space, V-st in next dc (dc, ch 1, dc); repeat to end. Turn.
Effectively: every V-stitch is worked into the “V” from previous row (the middle ch-1 space) so the fabric builds up evenly. Repeat Row 3 for the body until you reach the required length (see length guidance above).
(If you prefer a denser fabric, substitute hdc or increase the number of dc between V-sts; for a lighter shawl-like vest use a larger hook.)
Step-by-step: Make the rectangular panel
- Make your foundation chain (example: ch 38 for newborn).
- Row 1: dc in 4th ch from hook and in each ch across. Turn.
- Row 2: ch 3, skip 1 st, (dc, ch 1, dc) in next st (V-st), skip 1 st — repeat across; end with dc in top of turning ch. Turn.
- Row 3+: Repeat Row 2 (work V-stitches into the V-spaces of previous row) until the rectangle reaches desired length. Use measurements above (use rows per inch from swatch to calculate exact row count). For the newborn example, stop when panel measures ~8″ (20 cm) from top to bottom.
- Fasten off and weave ends. Block the rectangle lightly to open the V-stitch and even rows.
Folding & Sewing into vest (diagram + instructions)
We’ll fold the rectangle to form a vest with shoulder seams and armholes. See the ASCII fold diagram below — imagine the rectangle laying flat with long edge horizontal; fold top down as indicated to create shoulder openings.
Simple fold method (no shaping):
- Lay rectangle with RS (right side) facing up; mark center of top long edge with a stitch marker (this will be center of neck).
- Decide neck opening width — typical neck opening for baby is about 3″–4″ (7.5–10 cm) for newborn, larger for older sizes. Mark half the neck width on each side of center (so you’ll leave this gap unsewn). Example: for newborn, mark 1.5″ (3.8 cm) left and right of center.
- Fold the top edge down so the top raw edge lines up with a horizontal line that leaves shoulder width on both sides. Easiest method: Fold the rectangle so that the top (neck/shoulder area) forms two shoulder flaps and a center neck opening. A simple numeric method: fold 1/4 of length from each side toward center leaving neck gap: see steps below.
Concrete fold approach (works for all sizes):
- Let the finished rectangle be width W (full width from left-to-right) and height H (top-to-bottom). We will create a neck opening of width N (typical N = 3″ newborn, 3.5″ 3–6m, 4″ 6–12m, 4.5″ 12–24m).
- Mark the center of the top edge. Measure outward N/2 left and right from center and place two markers (these are the neck edges). Now fold each top corner down so that the top raw edge overlays the body and the area between the neck markers becomes the neck opening. A simpler way: fold the top edge down 1/3 of the rectangle height and overlap 2/3 across to form shoulders — this is forgiving.
If this sounds abstract, follow the practical sewing steps below — they are easy and work without precise math.
- Sew shoulder seams: With RS together, match folded edges and sew short seams from outer edges inward stopping at the neck marks — leave the neck gap unsewn. Use mattress stitch or whip stitch through back loops only for neater joins. Typical shoulder seam length: about 1.5″–2″ each side for newborn, increase for bigger sizes. Example: newborn shoulder seam 1.5″, 3–6m 1.75″, 6–12m 2″, 12–24m 2.25″. But you can eyeball: leave enough for the neck opening you marked.
- Sew side seams: Fold the rectangle so the shoulder seams are on top and raw side edges align. Starting from the bottom hem, sew up each side leaving an armhole open. The armhole height can be measured from shoulder seam down: newborn ~3.5–4″ (9–10 cm), 3–6m ~4–4.5″ (10–11.5 cm), 6–12m ~4.5–5″ (11.5–13 cm), 12–24m ~5–5.5″ (13–14 cm). Sew from bottom up to the desired armhole height; leave remaining upper edge unsewn as the armhole opening.
- Turn right side out and try on (or measure). Adjust seam allowance if necessary by unpicking and resewing.
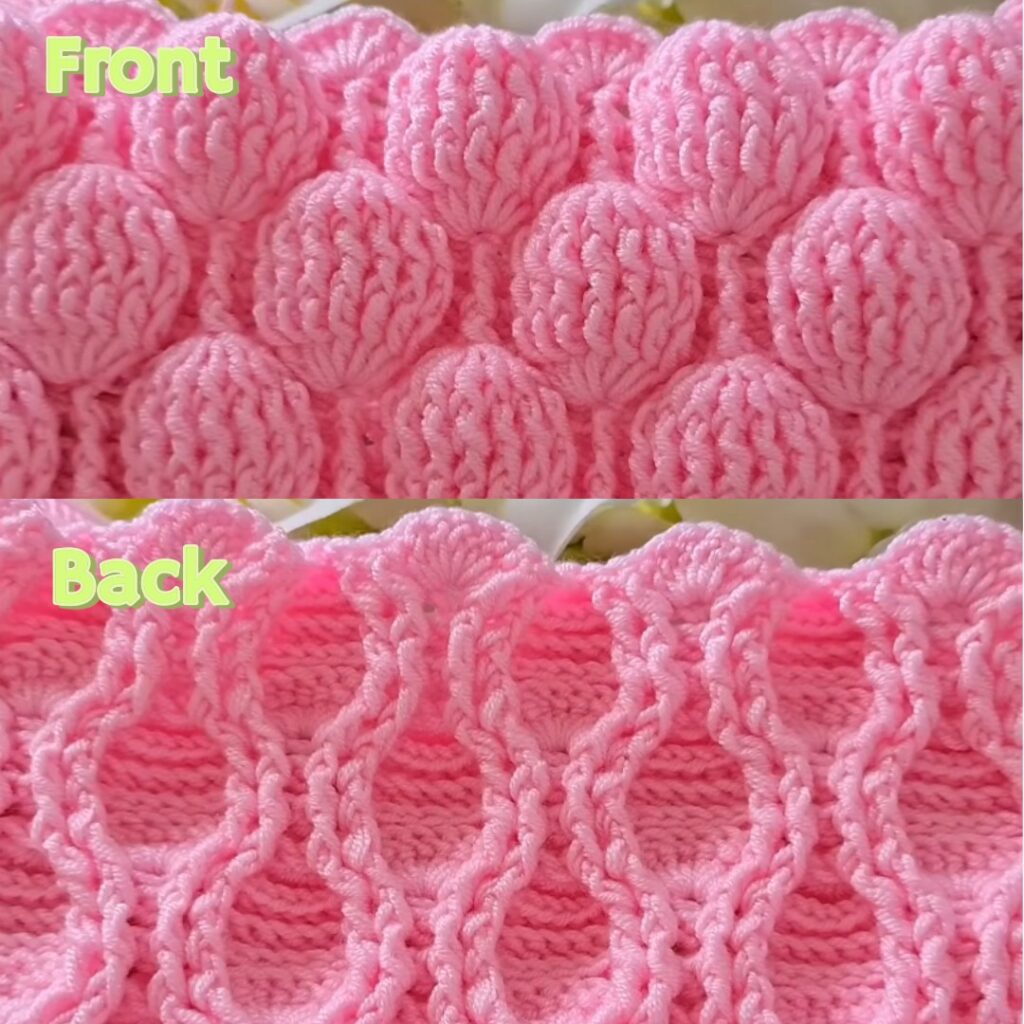
Neckline, armhole & hem edging
A neat edging makes the vest look finished.
Simple single-crochet edging (quick and neat):
- With RS facing, join yarn at neck edge with sc.
- Round 1 (neck): sc evenly around the neck opening, placing 3 sc in corner points if your fold created any. Join with sl st.
- Round 2 (neck): ch 1, sc in next 2 sc, ch 2, skip 1 sc repeat to create tiny arches, or simply do sc rounds until desired look.
- Armholes: Join yarn at armhole edge and sc evenly around each armhole (3 sc in corner points). Join with sl st. Add a second round of sc for stability or a decorative picot row (sc, ch 3, sl st in ch-3) if you like.
- Hem: Work 1–2 rounds of sc across bottom edge, or do a graceful shell border: (skip 2 sc, 5 dc in next sc, skip 2 sc, sc) repeat. This adds a pretty finish.
Button loops / closures (optional):
- If you want a front-close vest, add two small ties or buttons to one shoulder and corresponding loops on the other side: make a ch 8 loop then fasten off and sew, repeat for second closure. Or sew buttons and make a small button loop with ch 3 sl st into edge: ch 3 sl st into edge.
Decorative options
- Add a small pocket by crocheting a rectangle and sewing it to the front.
- Embellish with embroidery, small crocheted flowers, or sewn-on appliqués.
- Use stripes while working the main rectangle for color interest — change color every N rows.
Yarn amounts (approximate)
Using DK / light worsted:
- Newborn: ~150–200 g (one 200 g skein enough)
- 3–6 months: ~200–250 g
- 6–12 months: ~250–300 g
- 12–24 months: ~300–350 g
These are approximate; make a test panel and weigh to estimate precisely.
Troubleshooting & tips
- Panel too wide/narrow? Unravel last few rows and re-measure; you can always add/subtract width easily before seaming.
- Neck too tight? Leave a larger neck gap when sewing the shoulders. You can also remove a bit of shoulder seam to widen.
- Armholes too small after sewing? Remove some stitches from the side seam to enlarge the armhole. Because you’re using an open V-stitch, adjustments are easy.
- Fabric curling at beginning of rows: add a row of sc as a foundation row before starting V-stitch to stabilize edge. Also blocking helps greatly.
Quick summary — cut-to-the-chase steps
- Choose size and make a foundation chain (e.g., newborn ch 38).
- Work Row 1 dc across, then V-stitch rows repeating until rectangle length reached (e.g., 8″ for newborn).
- Fasten off, block.
- Fold top and sew shoulder seams leaving neck gap; fold and sew sides up leaving armholes.
- Add sc trim around neck, armholes, and hem. Add closures if desired.
- Weave ends and block again lightly.
VIDEO:
