 by
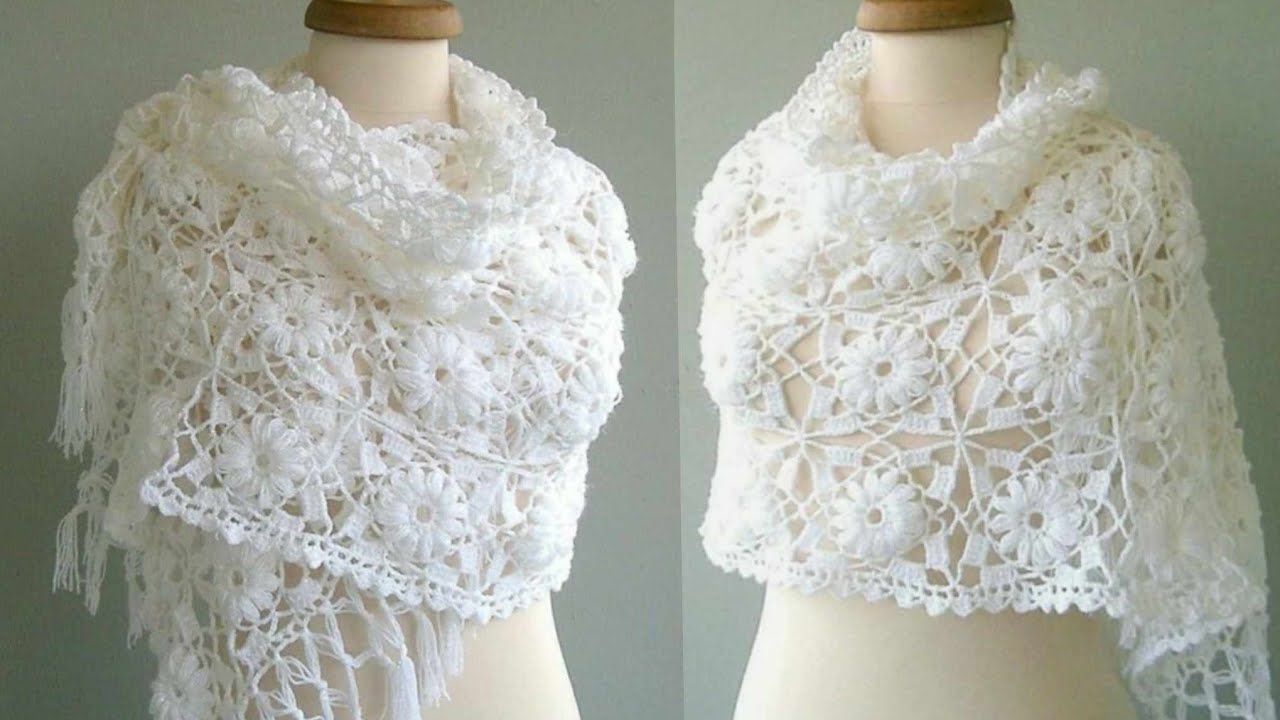
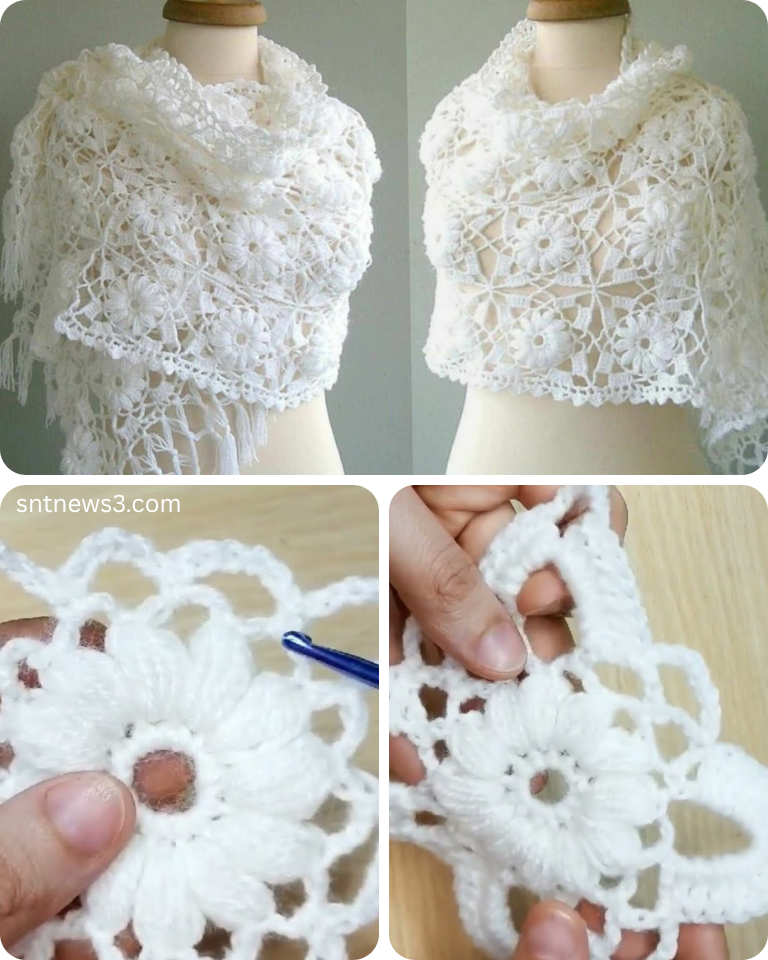
by Crocheting a shawl is one of the most satisfying and practical projects for any level of crocheter. Whether you’re looking for a stylish layering piece, a cozy wrap for cool evenings, or a heartfelt handmade gift, a women’s crochet shawl is the perfect choice.
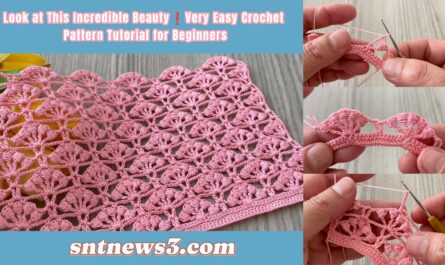
In this tutorial, you’ll learn how to crochet a quick and easy triangular shawl using a simple pattern that’s ideal for beginners and customizable for all skill levels.
🧶 Materials You’ll Need
Before you get started, gather the following supplies:
Supplies:
- Yarn: 2 to 3 skeins (approx. 600–800 yards) of worsted weight yarn or DK yarn
(Variegated or self-striping yarns add beautiful color without changing yarns!) - Crochet Hook: 6.0 mm (J-10) or 5.5 mm (I-9), depending on your yarn
- Scissors
- Yarn Needle (for weaving in ends)
- Measuring Tape (optional)
📝 Optional: Add a stitch marker to mark the center stitch if needed.
🌟 Pattern Overview: The Classic Triangle Shawl
This pattern works from the top down, increasing every row to create a wide triangular shape. It uses basic stitches, making it perfect for beginners.
🧵 Stitches Used (U.S. Terms)
- ch – chain
- dc – double crochet
- st – stitch
- sk – skip
- sp – space
- sl st – slip stitch
🔄 Pattern Repeat Summary
You will begin with a magic ring or starting chain and then repeat a series of increases in each row to widen the triangle. The increases happen at the beginning, center, and end of each row.
🧣 Step-by-Step Shawl Pattern Tutorial
🪡 Step 1: Starting Chain
Start by chaining 4.
- Row 1: In the 4th chain from hook, work 2 dc. (3 dc total – turning chain + 2 dc)
- Turn your work.
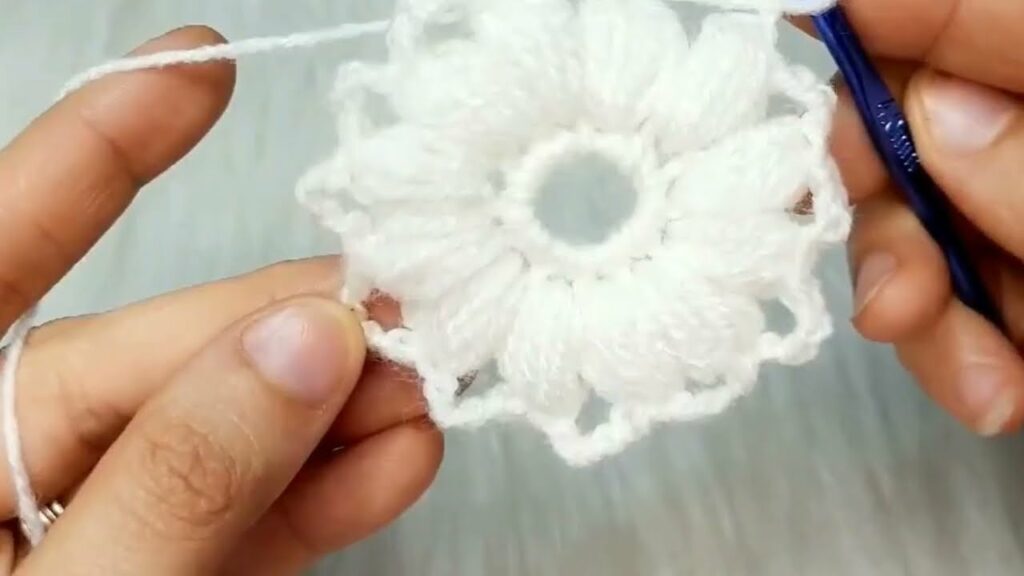
🪡 Step 2: Begin the Increase Rows
- Row 2: Ch 3 (counts as first dc), 1 dc in same st, ch 1, 2 dc in last dc. (You now have a V shape.)
- Turn.
- Row 3: Ch 3, 2 dc in same st, dc in next dc, (2 dc, ch 1, 2 dc) in ch-1 space, dc in next dc, 2 dc in last dc. Turn.
You should start seeing the triangle take shape with a V center.
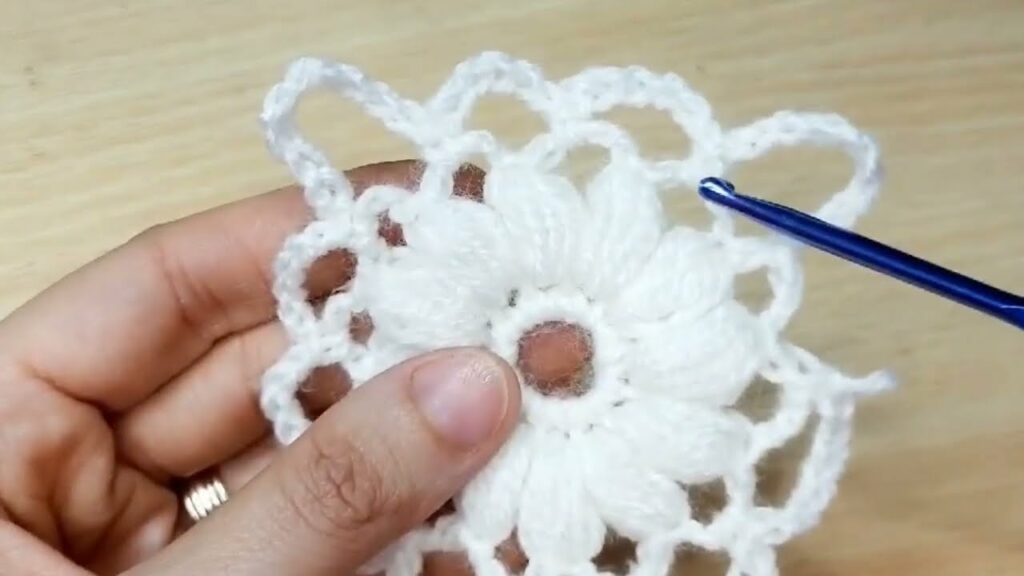
🪡 Step 3: Repeat the Pattern
From Row 4 onward, repeat this pattern:
Ch 3, 2 dc in same st, dc in each st to ch-1 space, (2 dc, ch 1, 2 dc) in ch-1 space, dc in each st to end, 2 dc in last st. Turn.
Continue working rows until the shawl reaches your desired size (usually 50–65 inches wide or 20–30 inches from top to bottom point).
🪡 Step 4: Fasten Off and Weave In Ends
Once you’re happy with the size:
- Cut the yarn, leaving a 6” tail.
- Pull through the last loop and tighten.
- Use your yarn needle to weave in any ends neatly.
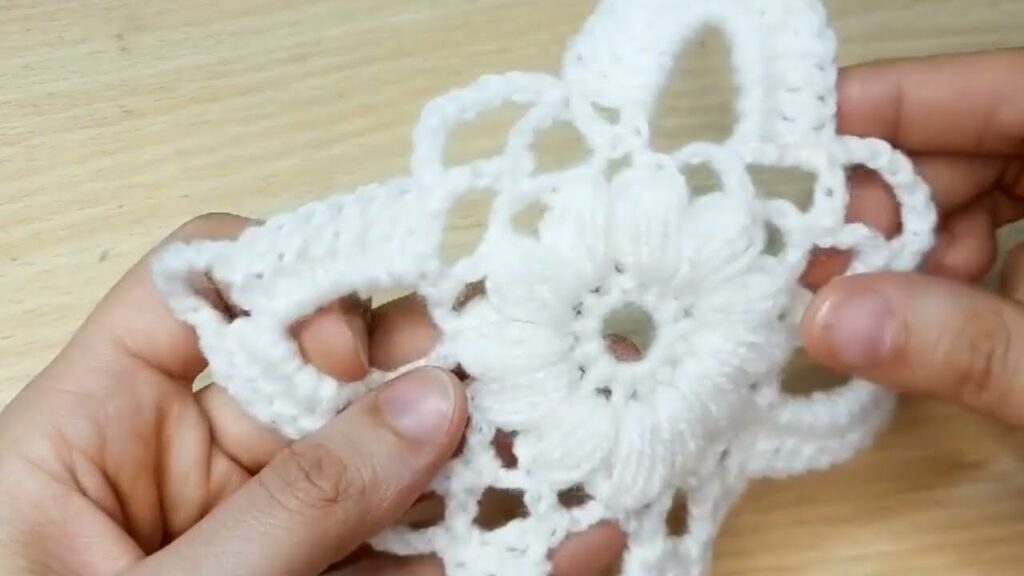
🎀 Optional Finishing Touches
Want to customize your shawl?
- Add Fringe: Cut equal-length yarn pieces and attach to the bottom edge.
- Edging: Crochet a simple scalloped or picot border around for elegance.
- Beads or Buttons: Sew on for added flair.
- Block Your Shawl: Wet blocking helps shape and smooth the final piece.
📏 Sizing Tips
| Shawl Size | Approx. Width | Depth (Point to Top) |
|---|---|---|
| Small Wrap | 45 in | 20 in |
| Medium Shawl | 55 in | 25 in |
| Large Cozy Shawl | 65–70 in | 30 in |
Adjust yarn and row count as needed for your preferred size.
💡 Tips for Success
- Use light-colored yarn if you’re a beginner – easier to see stitches.
- Use self-striping yarn for a color-shifting effect without weaving in ends.
- Don’t worry if the shape looks bunched at first – blocking smooths it beautifully.
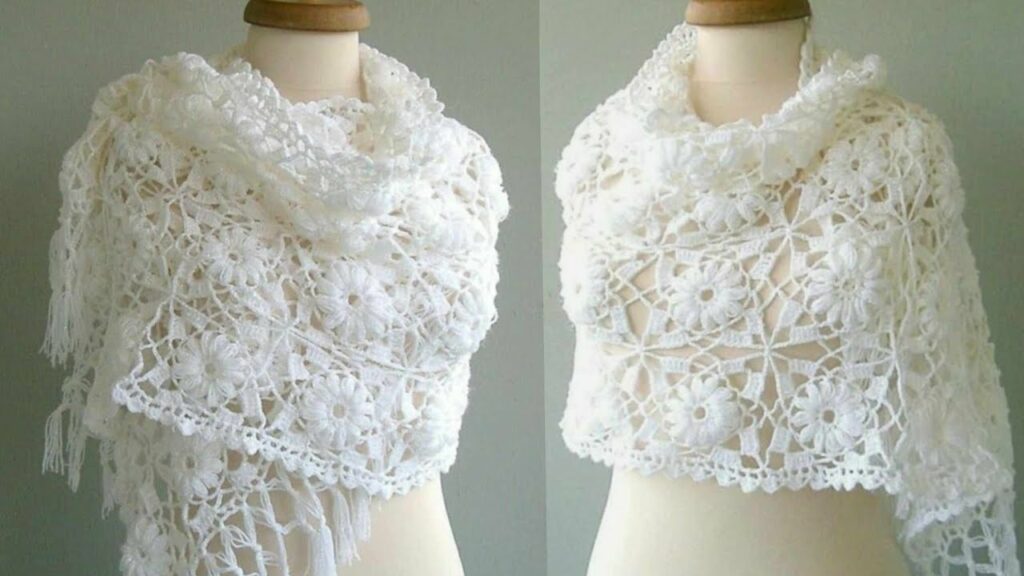
🧣 Perfect for Any Season
This shawl can be:
- A cozy winter wrap using chunky yarn
- A light spring or summer accessory in cotton or bamboo yarn
- A holiday gift or handmade Mother’s Day present
🪄 Final Thoughts
Crocheting a shawl doesn’t have to be time-consuming or complicated. This quick and easy pattern gives you the freedom to relax, stitch, and create something wearable and stylish. You can complete it in a weekend, and the results are both functional and beautiful.
So pick your favorite yarn, grab your hook, and start your new favorite project today! 💖
Video tutorial: