 by
by Step-by-Step Guide for Beginners to Create Stylish, Comfortable Footwear
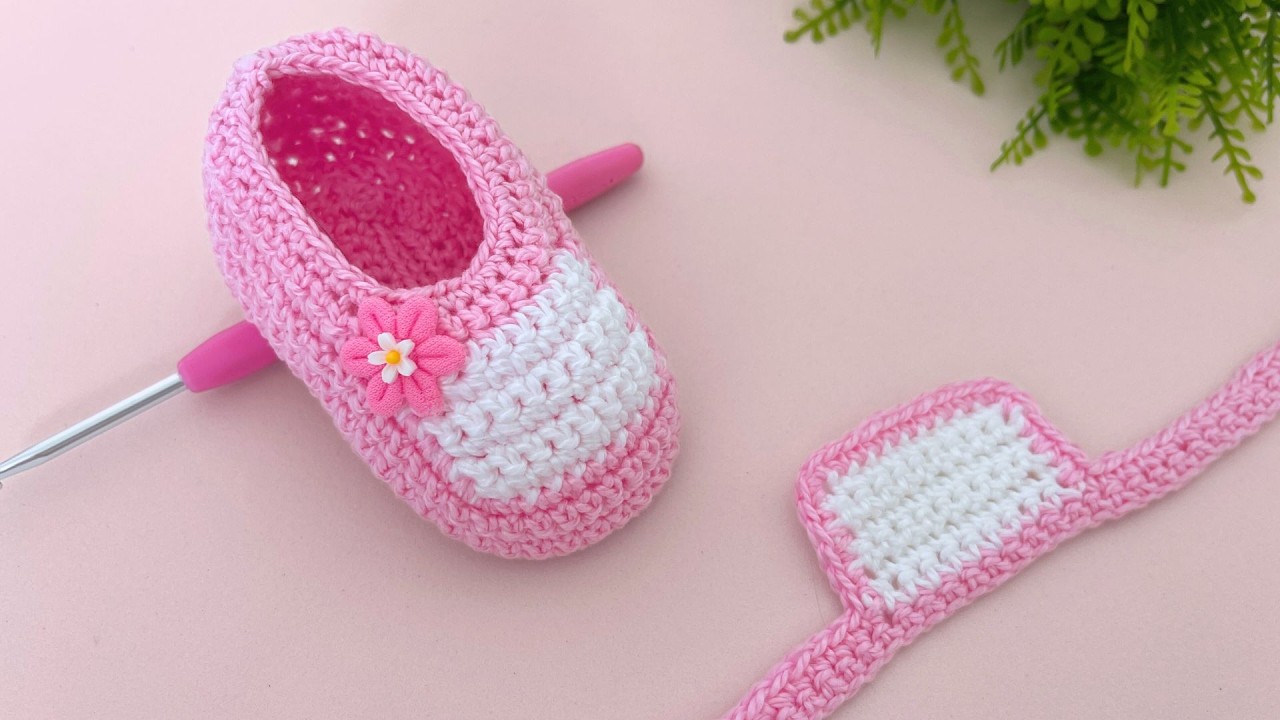
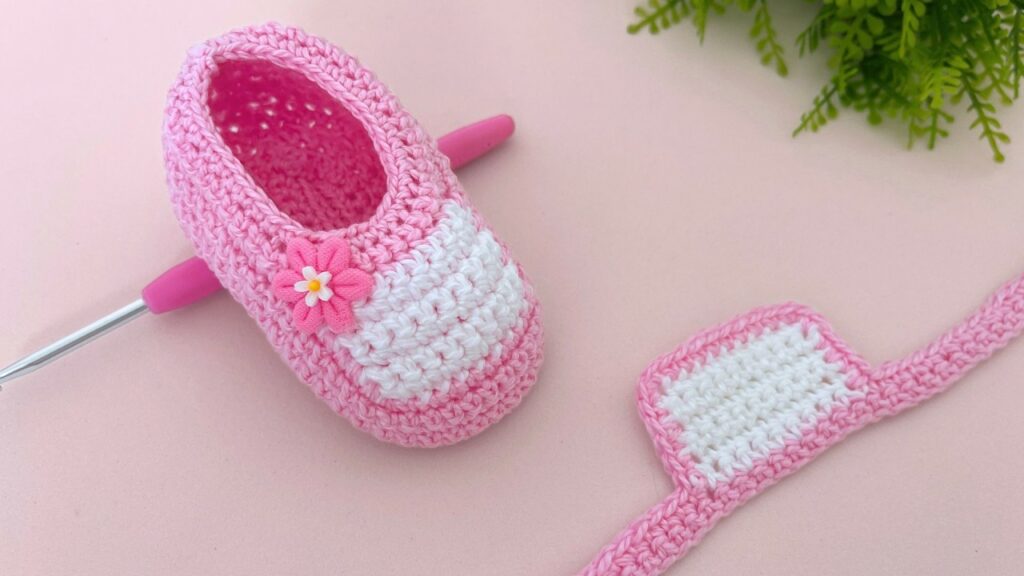
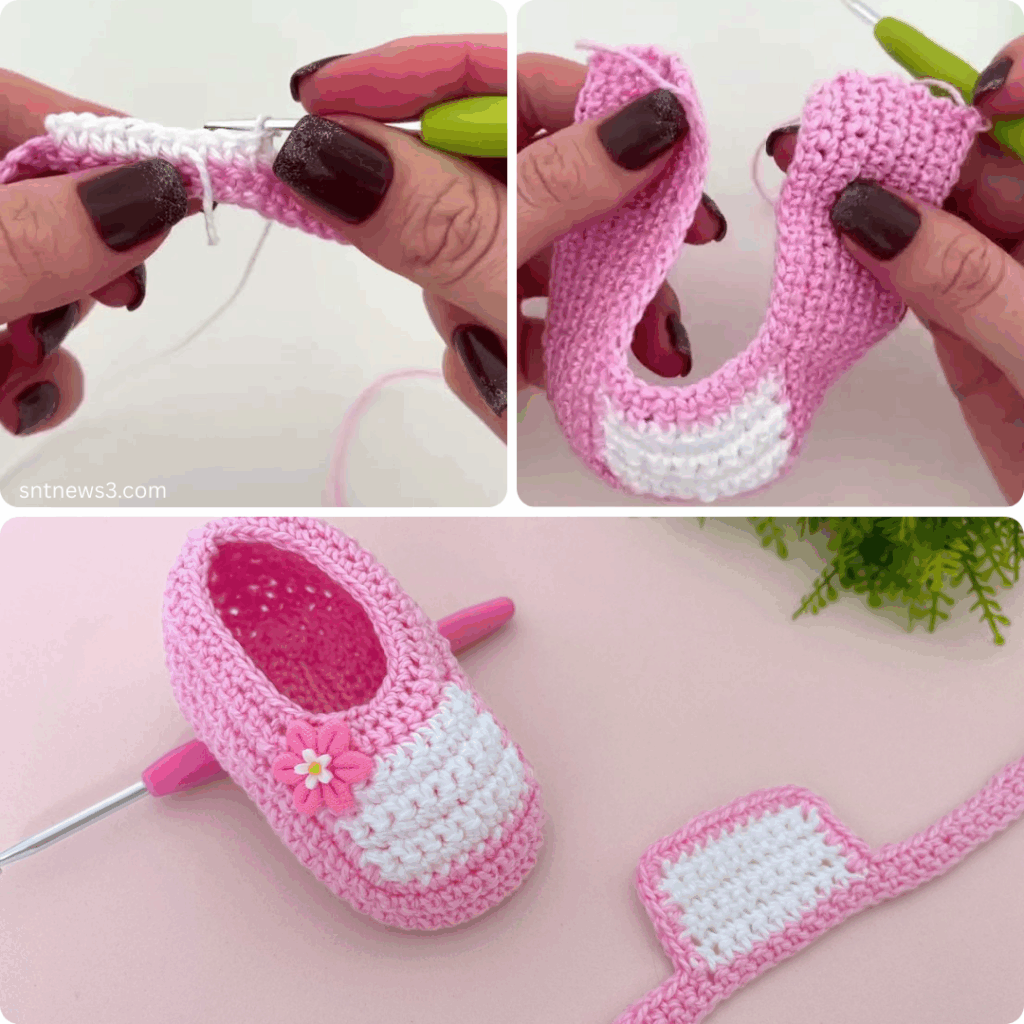
Crochet shoes are the perfect blend of comfort, style, and DIY charm. Whether you’re lounging at home or looking for a unique handmade gift, learning a new easy crochet shoe pattern can be both fun and rewarding. This article introduces a beginner-friendly pattern that helps you create lightweight and cozy crochet slippers (or indoor shoes) with minimal materials and basic techniques.
🧶 Why Crochet Shoes?
- Eco-friendly: Handmade and sustainable.
- Customizable: Pick your favorite yarn color, texture, and size.
- Cost-effective: Save money by making your own shoes.
- Skill-building: Great project to practice stitches, shaping, and seaming.
🧵 Materials You’ll Need
- Worsted weight yarn (Category 4) – approx. 150–200 yards
(Cotton or acrylic blends are ideal for breathability and stretch.) - Crochet hook – Size 5.0 mm (H-8) or as recommended on your yarn
- Scissors
- Yarn needle for weaving in ends
- Stitch markers (optional, but helpful)
🧷 Skill Level: Beginner-Friendly
You’ll need to know these basic stitches:
- Chain (ch)
- Slip Stitch (sl st)
- Single Crochet (sc)
- Half Double Crochet (hdc)
👣 Easy Crochet Shoe Pattern Instructions
Step 1: Crochet the Sole (Make 2)
Foundation:
plaintextCopyEditCh 12
Round 1:
plaintextCopyEditIn 2nd ch from hook, 2 sc. Sc in next 9 chains. 5 sc in last ch. Continue around to the other side of the chain. Sc in next 9 stitches. 3 sc in the first stitch (now the other side of the 2 sc). Join with sl st. (28 sc)
Round 2:
plaintextCopyEditCh 1. 2 sc in first stitch, sc in next 9, 2 sc in each of next 5 stitches, sc in next 9, 2 sc in each of last 3 stitches. Join. (38 sc)
Round 3:
plaintextCopyEditCh 1. Sc around, increasing 1 stitch at each end for shaping. Join. Fasten off. (40 sc approx.)
Step 2: Upper Shoe Body
Attach yarn at center back.
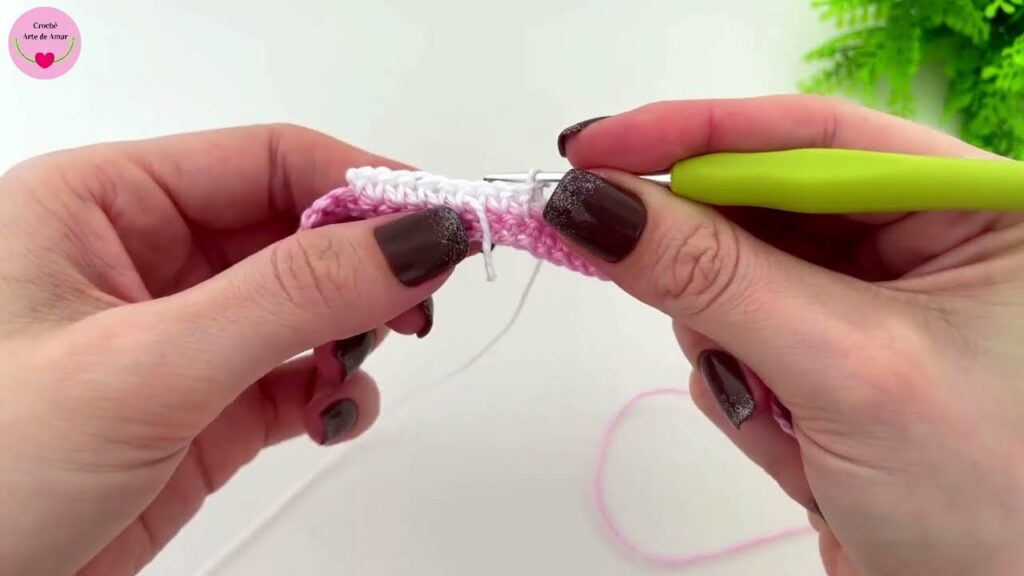
Round 1:
plaintextCopyEditCh 1. Sc in back loops only (BLO) around the sole to form a ridge for the upper. Join with sl st.
Rounds 2–5:
plaintextCopyEditCh 1. Hdc in each stitch around. Join. (You can add or subtract rows depending on foot height.)
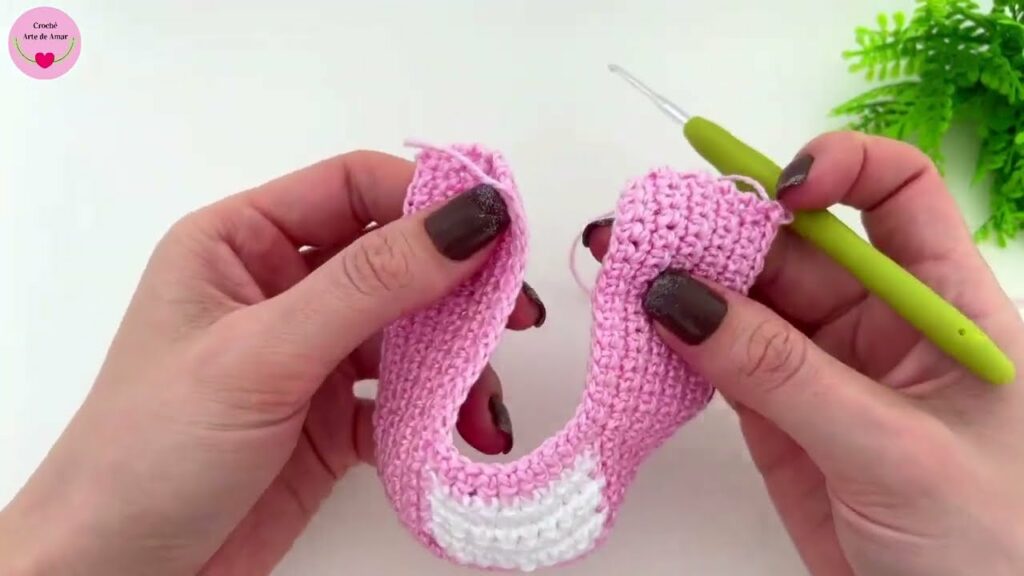
Toe Decrease (Rounds 6–8):
plaintextCopyEditCh 1. Hdc around until you're about 5 stitches before the front center. Begin decreasing by doing hdc2tog (half double crochet two together) across the front 10 stitches. Continue hdc around. Repeat for 3 rows to shape the toe.
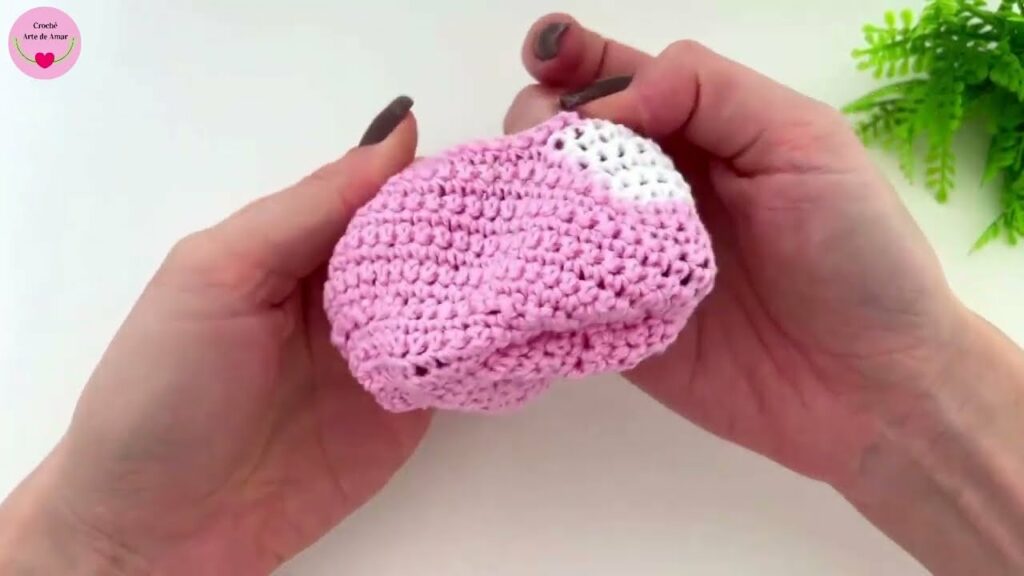
Step 3: Finish and Customize
- Optional Strap: Chain 20 and attach to sides of shoe with buttons or stitches.
- Edge Finishing: Add a round of single crochet or reverse single crochet for a clean edge.
- Add non-slip fabric or silicone on the soles if worn on slippery floors.
🧼 Care Instructions
- Hand wash gently in cool water
- Lay flat to dry
- Avoid machine drying to preserve shape
🧠 Tips and Tricks
- Use stitch markers to mark the start of each round.
- Try holding two strands of yarn together for thicker soles.
- Adjust sizing by adding/removing foundation chains or rounds.
👟 Make Them Your Own
- Color changes for stripes or blocks
- Flower appliqués or bows for a cute touch
- Embroidery for initials or fun patterns
Video tutorial:
📌 Final Thoughts
Learning this easy crochet shoe pattern can open the door to a world of creative footwear projects. With just a few hours, some yarn, and a crochet hook, you can whip up cozy shoes tailored perfectly to your feet or those of a loved one. It’s a satisfying way to use your crochet skills for a practical and stylish result.