 by
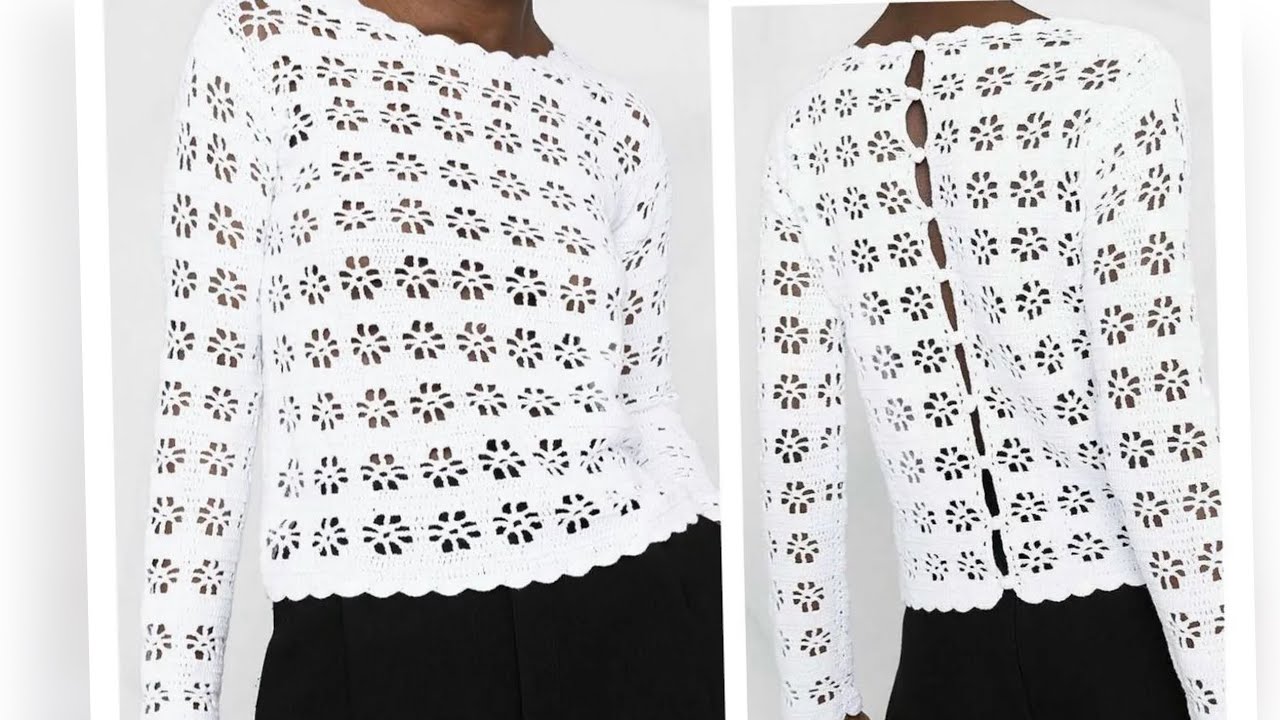
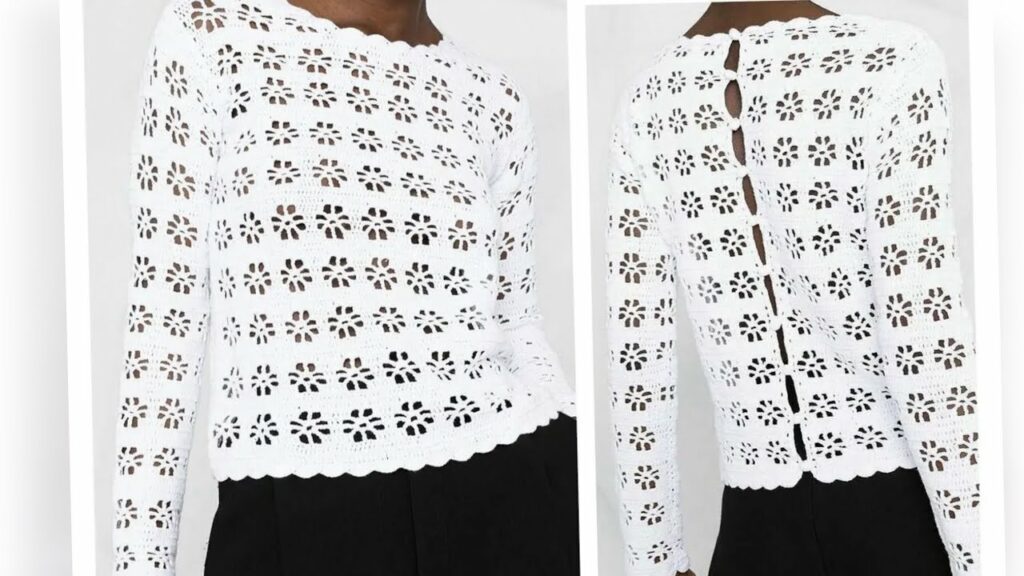
by Crocheting your own blouse or sweater is a fulfilling and creative journey that allows you to wear something made with love and skill. Whether you’re crafting for yourself, a friend, or a client, the result is a stylish, handmade piece that’s completely unique. This guide will walk you through the process of creating a beautiful crochet blouse or sweater with detailed steps and stitch instructions.
✨ What You’ll Need
Before diving into the pattern and stitches, gather your materials:
- Yarn: Choose a lightweight yarn (Category 2 or 3) for a blouse or medium weight (Category 4) for a sweater. Cotton blends are great for blouses; wool blends work well for sweaters.
- Hook: Use the hook size recommended for your yarn. Usually between 3.5 mm (E) and 5.0 mm (H).
- Scissors
- Tapestry needle
- Stitch markers
- Measuring tape
📏 Step 1: Measurements & Gauge
- Measure Yourself: Bust, length, shoulder width, and sleeve length.
- Gauge Swatch: Crochet a 4″x4″ swatch in your stitch pattern. Measure how many stitches and rows you have per inch to ensure proper sizing.
🔄 Step 2: Choose the Stitch Pattern
Here’s a beautiful stitch pattern ideal for a blouse or sweater:
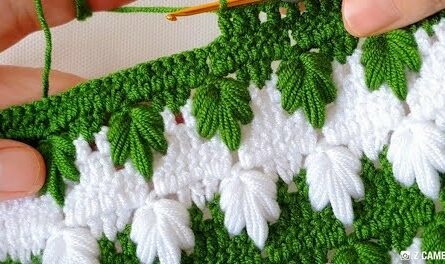
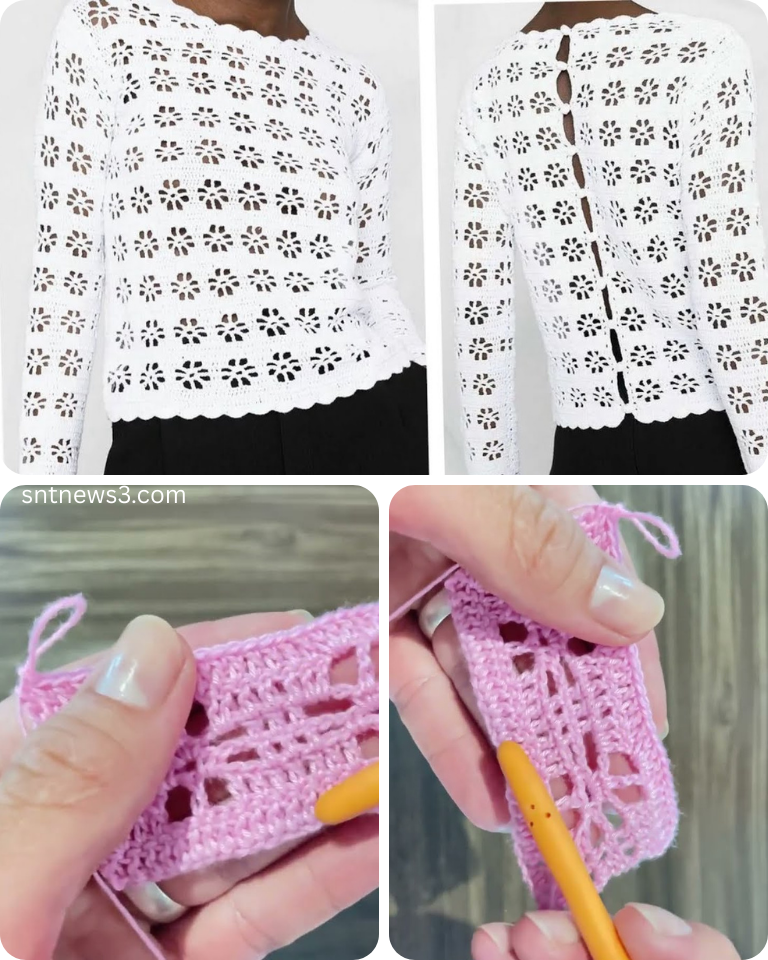
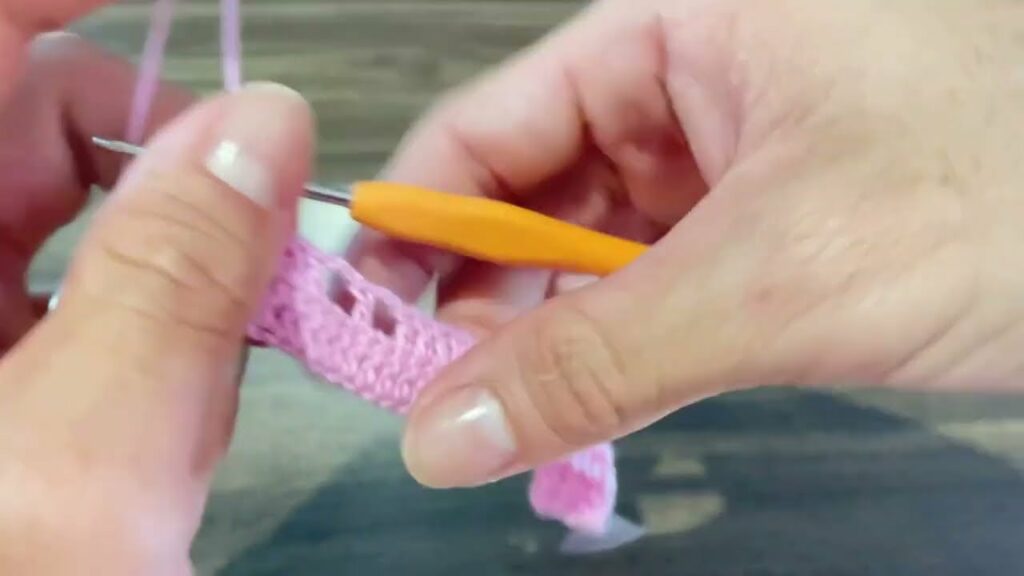
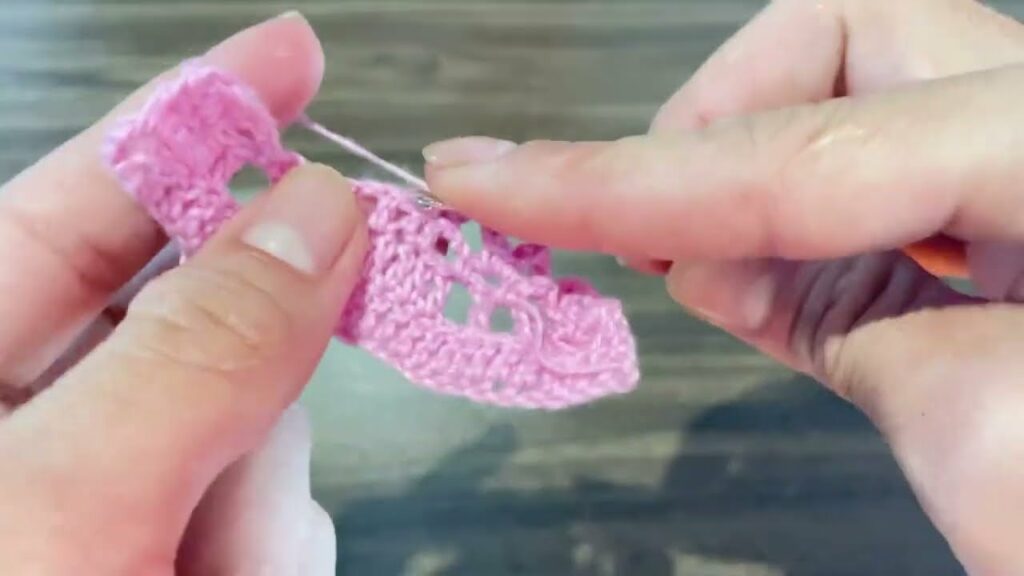
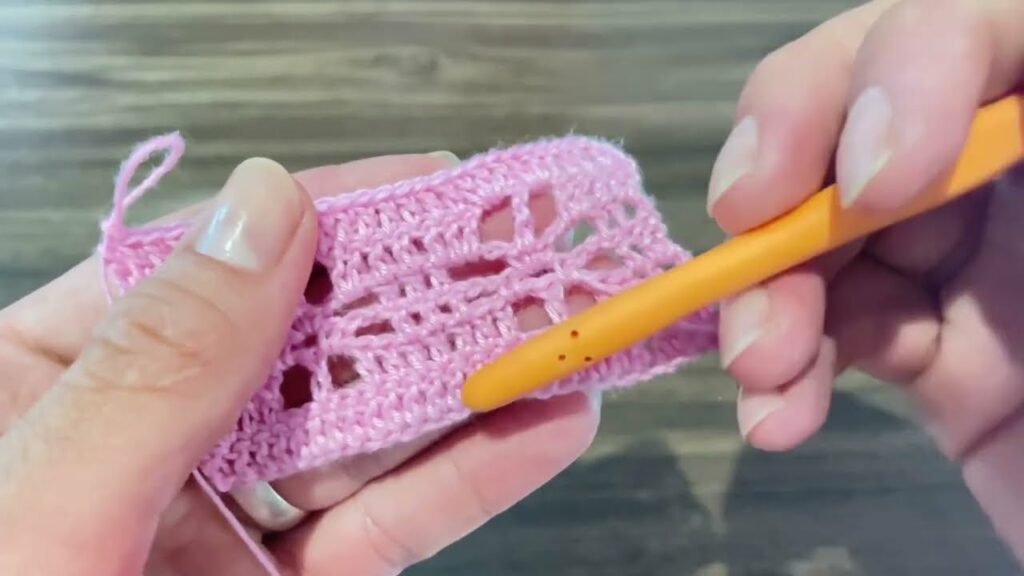
🌸 Lace Shell Stitch (for a delicate, openwork blouse)
Row Multiple: 6 + 1
Abbreviations:
- ch = chain
- dc = double crochet
- sc = single crochet
- sk = skip
- st = stitch
Pattern:
- Foundation Row: Chain a multiple of 6 + 1 (e.g., 61).
- Row 1: Sc in 2nd ch from hook, sk 2 ch, 5 dc in next ch (shell made), sk 2 ch, sc in next ch. Repeat * to end. Turn.
- Row 2: Ch 3 (counts as dc), 2 dc in 1st sc, sc in center dc of next shell, 5 dc in next sc. Repeat from * across, ending with 3 dc in last sc. Turn.
- Repeat Row 2 for the lace body.
🧵 Step 3: Constructing the Blouse or Sweater
OPTION A: Blouse (Worked in 2 Panels + Sleeves)
- Front Panel:
- Start with the foundation chain based on your bust measurement + 2 inches ease.
- Work the lace stitch pattern to the desired length (e.g., 18–22 inches).
- Fasten off and weave in ends.
- Back Panel:
- Make it identical to the front panel.
- Seaming:
- Align both panels, right sides facing each other.
- Seam the shoulders (use slip stitch or whip stitch).
- Leave openings for armholes.
- Seam sides from hem up to underarm.
- Sleeves (optional short or long):
- Attach yarn at the armhole.
- Work in rounds using the lace pattern or a simpler stitch like hdc or dc.
- Decrease slightly every few rows if making long sleeves.
OPTION B: Sweater (Worked Top-Down in the Round)
- Yoke:
- Start with a chain circle (e.g., 80 ch) to fit neckline.
- Work rounds of lace shell stitch.
- Increase evenly every few rounds (e.g., 2 dc extra per shell).
- After 6–8″ or when you reach desired yoke depth, divide for body and sleeves.
- Body:
- Continue working in rounds with lace pattern.
- Adjust width as needed.
- Work until desired length (e.g., 20–24″).
- Sleeves:
- Rejoin yarn at armhole.
- Work in rounds, decreasing every few rows.
- Finish with a ribbed or shell edging.
🎀 Step 4: Finishing Touches
- Neckline: Add a simple sc or reverse sc (crab stitch) border.
- Hem & Cuffs: Add ribbing (fpdc/bpdc) or scalloped shell edges.
- Blocking: Gently wash and shape your blouse/sweater flat to dry. This enhances stitch definition and fit.
💡 Tips for Success
- Use stitch markers to keep track of increases or rounds.
- Check fit frequently by trying on or measuring.
- Choose neutral or pastel yarns for a chic look or vibrant shades for statement pieces.
- Add decorative buttons, ties, or beads for extra flair.
📸 Showcase Your Work
Once finished, don’t forget to:
- Take photos in good lighting.
- Share on social platforms or Ravelry.
- Tag with hashtags like #crochetblouse or #handmadesweater.
Video tutorial:
🧶 Final Thoughts
Crocheting a blouse or sweater is not just a project—it’s a creative expression. With just a few basic stitches and this detailed guide, you’ll have a custom-fit, stylish piece that you can wear with pride. Whether you’re going for boho lace or cozy warmth, the beauty of crochet lies in how adaptable and personal it can be.
Happy stitching!