 by
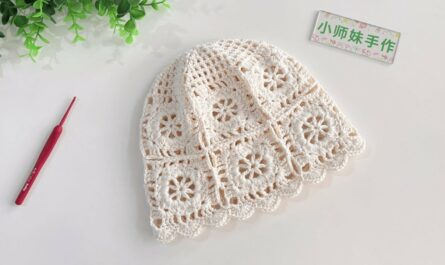
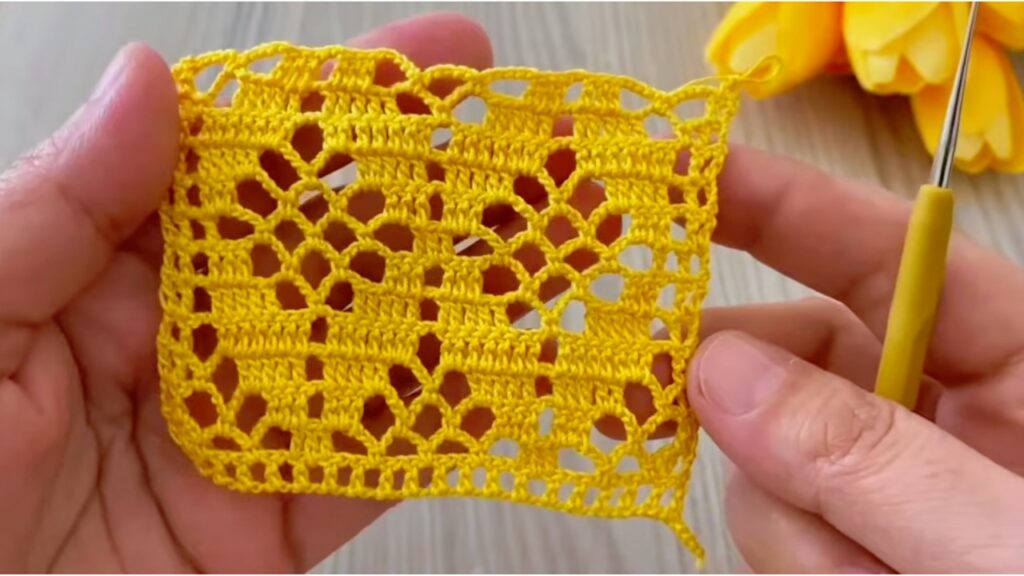
by ✨Overview — “Lacy Medallion → Square Block” (use for blouse or runner)
- Finished block (approx): 12–14 cm / 4.7–5.5 in (with DK yarn + 4.0 mm hook)
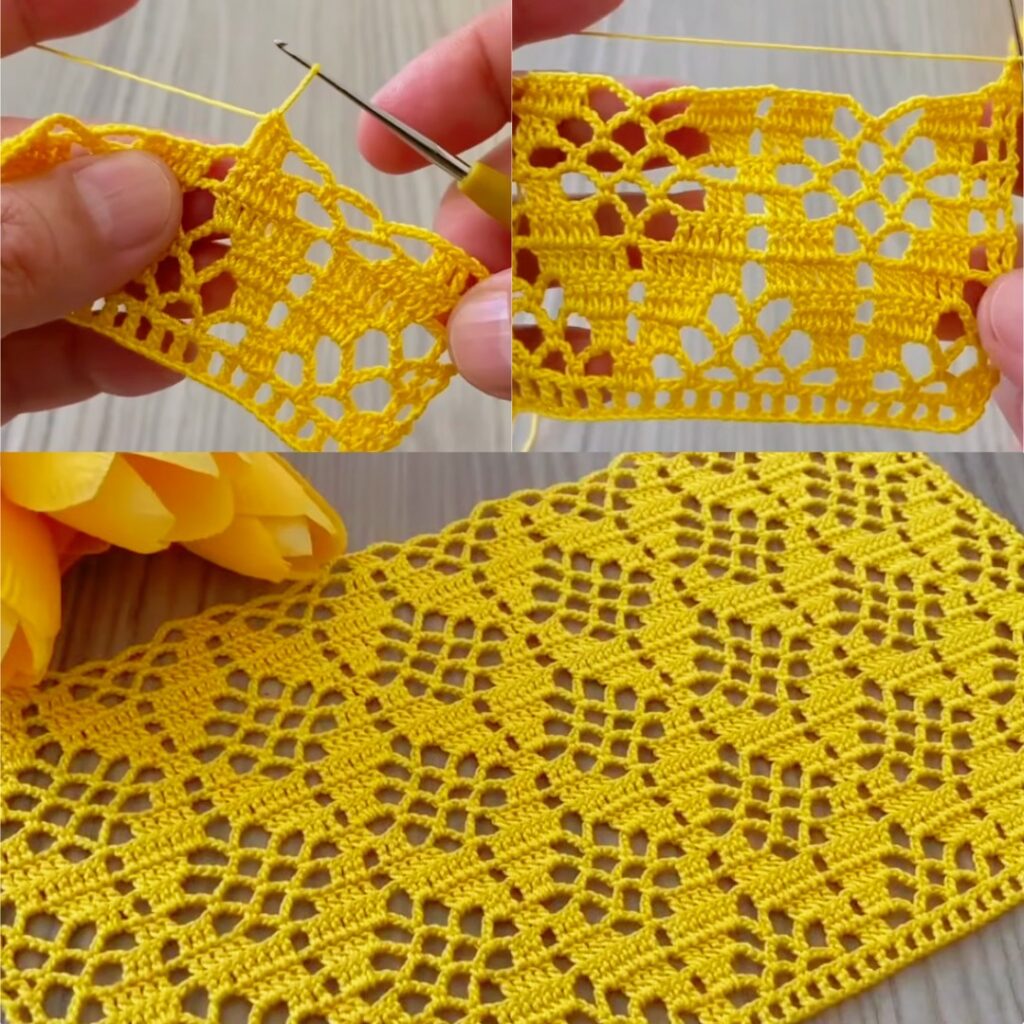
- Make many blocks and join them into panels for a blouse or into rows for a runner.
- Style: round floral center → chain arches → outer square frame with scalloped picot edge.
Materials & tools
- Yarn: DK / light worsted or mercerized cotton for crisp lace.
- Hook: 3.5–4.5 mm (adjust for gauge).
- Notions: yarn needle, blocking pins, scissors, measuring tape.
- Gauge: one finished block ≈ 12 cm with chosen yarn/hook. Make 1 test block to confirm.
Abbreviations
- ch = chain
- sl st = slip stitch
- sc = single crochet
- hdc = half double crochet
- dc = double crochet (US)
- tr = treble crochet (US)
- pic = picot (ch 3, sl st into base)
- st(s) = stitch(es)
- sp = space
- rep = repeat
Pattern — one block (round-by-round)
Work in joined rounds unless stated otherwise. I use US terms.
Foundation — magic ring
- Make a magic ring. (Alternative: ch 5, sl st to first ch to make ring.)
Round 1 — center petals
- ch 3 (counts as first dc). Work 15 dc into the ring (ch-3 + 15 dc = 16 dc total).
- Pull ring tight. sl st to top of ch-3 to join. (16 dc)
Round 2 — chain loops (8 loop base)
- ch 4, skip next dc, sc in next dc — repeat * until you complete the round.
- You should make 8 ch-4 loops and 8 sc between them. Join with sl st to first sc.
- (If you want larger openwork, use ch-5 loops.)
Round 3 — petals
- In each ch-4 loop work: (sc, hdc, 5 dc, hdc, sc) all into the same ch-4 loop.
- This creates a rounded petal: sc + hdc + 5 × dc + hdc + sc.
- Sl st to join after last petal. (8 petals total)
Round 4 — petal base tidy round
- Rejoin at a join between petals. Work sc evenly around the petal bases to even out the shape — about 10–12 sc per petal distributed (approx) so the motif becomes a neat circle. Join with sl st.
Round 5 — chain arches between petals (lacy ribs)
- sl st to top of petal → ch 7 → skip to the place between the next two petals (into the sc round you made) and anchor with sl st — repeat around to create 8 large ch-7 arches.
- Adjust ch length if your yarn/hook combination makes ch-7 too long/short (use ch 6 or ch 8).
Round 6 — arch decoration (three ribs)
- Working into each ch-7 arch: sl st into arch base → ch 3 → (dc in tr-like anchor or into sc below), ch 3 → sl st into next anchor — or make three evenly spaced dc separated by ch-1 inside each arch to create ribbing. Repeat around.
Round 7 — create square frame (convert circle to square)
We’ll turn the round medallion into a square block so blocks join easily.
- Place markers or mentally mark four positions at equal quarters (every 2 petals).
- Starting at one quarter point, ch 6, sc into next quarter marker — this makes a corner loop.
- Between quarter-corners: work (sc, ch 4, sc) evenly along the outer edge into the outermost round / arch tops so you form four chain-corner loops that define the square. In effect, you will make: Corner (ch6 loop), Side (sc, ch4, sc) repeat across, Corner (ch6), repeat for four sides.
- Join with sl st and fasten off. The result should be a medallion with four corner loops; once blocked, it becomes effectively square.
Round 8 — outer decorative scallop & picots
- Rejoin at any outer sc. Work: sc 3 across a small curved area, (pic: ch 3, sl st into same st), sc 4 — adjust counts so the edge sits flat.
- Make picots at regular intervals (one picot per outer bump) to get the delicate bobble look. Join and fasten off. Weave in ends.
Blocking
- Pin block into a square shape; gently stretch to make the corners definite. Pin individual picots to make them crisp. Spray with water or steam lightly and allow to dry. Blocking is essential to get square blocks that join evenly.
Joining blocks
Two good methods:
1) Join As You Go (JAYG) — recommended for flat joins on garments/runner
- Make your first block completely. For each subsequent block, work Rounds 1–7 as above. On Round 8 (outer scallop), when you reach a stitch that should meet an adjacent finished block:
- Instead of finishing your sc/picot there, sl st into the corresponding outer stitch of the finished block, then continue with your edge. Repeat at each corresponding join point (corners and side join points). This produces a smooth, nearly invisible seam.
2) Sew-after (hand-sewn join)
- Make all blocks, block them, pin them together in desired arrangement, then use a tapestry needle and yarn to mattress stitch or whipstitch through the outer sc round or corner loops so blocks align. This gives flexibility for adjustments.
Layouts & Projects
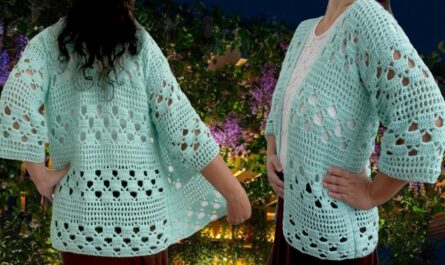
A) Blouse (simple pullover shell)
- Decide chest circumference (C cm) and motif size (M cm). Number of motifs across = round down of (C / M) for desired fit, then divide into front & back panels.
- Example (motif ≈ 12 cm): Small adult blouse might be 4 motifs across front (4 × 12 = 48 cm front) and 4 across back, joined at shoulders leaving neck opening of ~20–24 cm (leave 1–2 motif joins open at centre of top row). Adjust number of rows for desired length.
- Assembly steps:
- Make required motifs and block them.
- Join motifs into two rectangular panels for front and back. Leave the top centre of front panel open for neckline if you prefer a wider neckline — remove 1 motif or leave its joins open.
- Join shoulders: seam across top row leaving neckline opening.
- Join side seams up to underarm (leave armhole depth equivalent to 1–2 motif heights), or sew in short sleeve panels made from motifs.
- Add edging: pick up stitches around neckline and work 2–3 rounds of sc or hdc; add picot or shell border for decoration.
- Optionally add a lining if yarn is open/see-through.
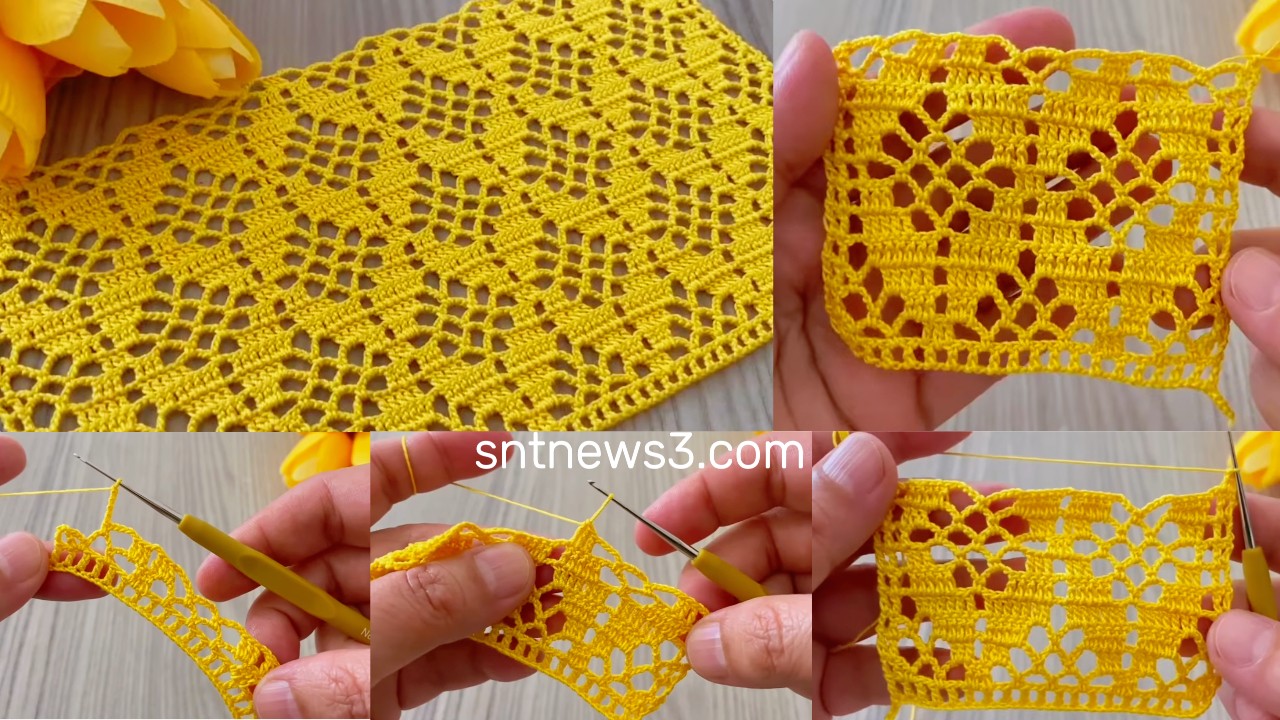
B) Table Runner
- Make a long strip of motifs joined in a row or two rows wide. Example runner 6 motifs long × 1 motif wide (for narrow runner) or 6 × 2 for wider runner. Add optional crochet border: shell scallop (5 dc shell) all around.
- For a rectangular runner, block and join motifs in rows; finish with 2 rounds of sc and a decorative scallop.

Edging suggestions
- Simple neat finish: sc around entire garment/runner (work 1 sc per st plus 1 sc in each ch space).
- Decorative scallop: skip 2 sts, 5 dc in next st, skip 2, sc in next st — repeat.
- Picot trim: after a sc round, ch 3, sl st into base every 3–4 sc for a delicate dotted border.
Size & tension adjustments
- Make motif larger: use thicker yarn / larger hook or increase petal dc counts (replace 5 dc with 7 dc in Round 3).
- Make motif smaller: smaller hook or reduce chains in arches (ch 5 instead of ch 7) and reduce petal dc (3 dc instead of 5 dc).
- For drapey blouse use a hook 0.5–1 mm larger than label recommends.

Troubleshooting
- Block carefully: if blocks are not flat, adjust arch chain length (shorten if ruffling, lengthen if cupping).
- If joins pull or gap: add an extra join point (sl st through one extra outer stitch) to stabilize.
- If neckline too tight: remove one motif from center or increase seam allowance by leaving extra space at shoulder joins.
Quick variations & styling ideas
- Two-color blocks: change color after Round 3 to make petals contrast with outer frame.
- Long lace runner: join motifs in offset (brick) pattern for visual interest.
- Decorative sleeves: make 2–3 motif rows and attach as flared sleeves for a boho blouse.
VIDEO: