 by
by Full Step-by-Step Tutorial (Beginner Friendly)
US Crochet Terms
🧶 SKILL LEVEL
Beginner – Easy (Relaxing pace)
🧵 MATERIALS
- Yarn: cotton or cotton-blend (recommended for best stitch definition)
- Hook: 3.0 – 4.0 mm (match your yarn)
- Scissors
- Yarn needle
- Stitch markers (optional)
✂️ ABBREVIATIONS (US TERMS)
- ch = chain
- sl st = slip stitch
- sc = single crochet
- hdc = half double crochet
- dc = double crochet
- tr = treble crochet
- sp = space
- st = stitch
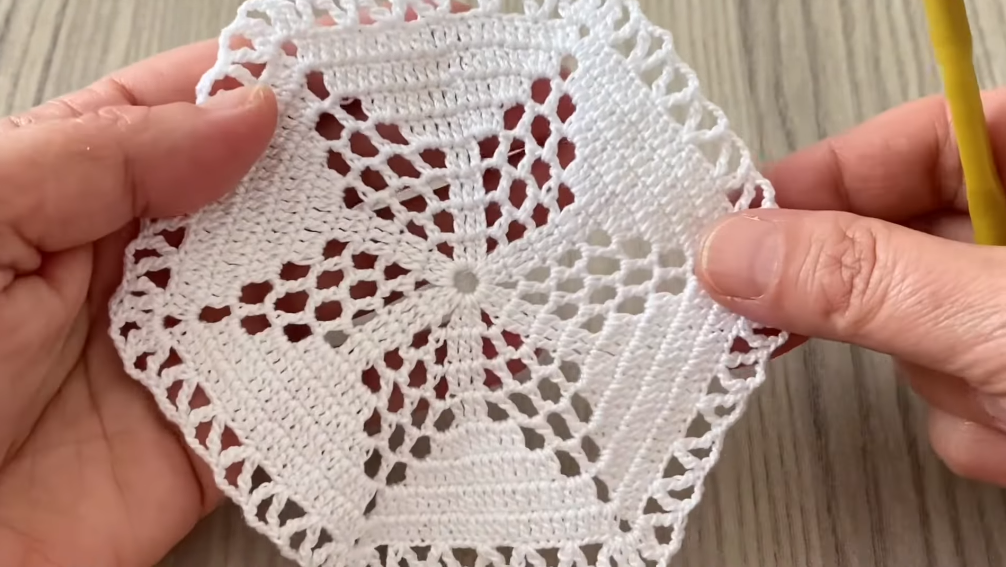
📐 MOTIF SIZE
- Square motif
- Size depends on yarn and hook
- Can be joined repeatedly for large projects
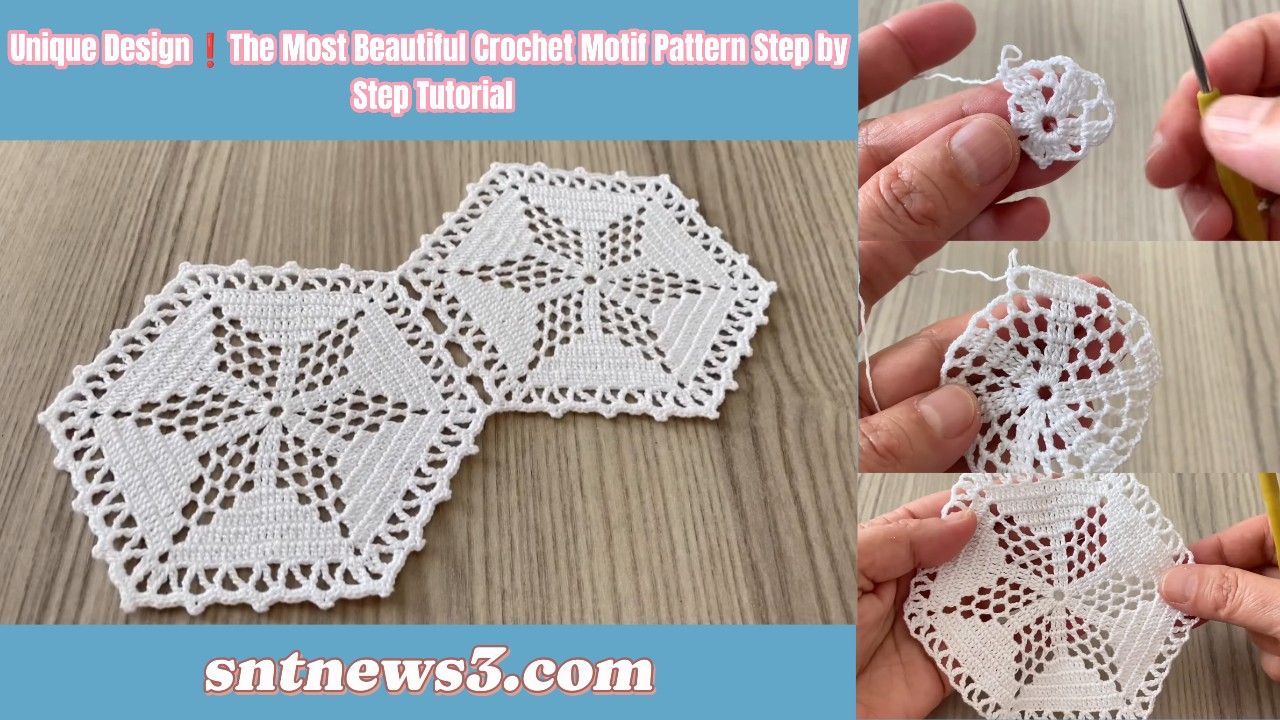
🪡 STEP-BY-STEP CROCHET INSTRUCTIONS
🔰 ROUND 1 – CENTER RING
- Make a magic ring
(or ch 4, sl st into first ch to form a ring). - Ch 3 (counts as first dc).
- Work 11 dc into the ring.
- Sl st into the top of ch-3.
✔ You now have 12 dc in the center.
🔹 ROUND 2 – SPACED FOUNDATION ROUND
- Ch 3.
- Dc in the same stitch.
- Ch 2.
- Skip 1 stitch.
- In next stitch work 2 dc.
- Ch 2.
- Repeat around:
- (2 dc, ch 2, sk 1 st)
- Sl st to join.
✔ Creates neat open spaces for the design.
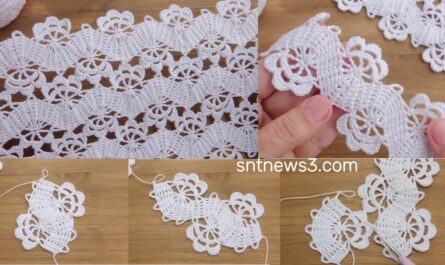
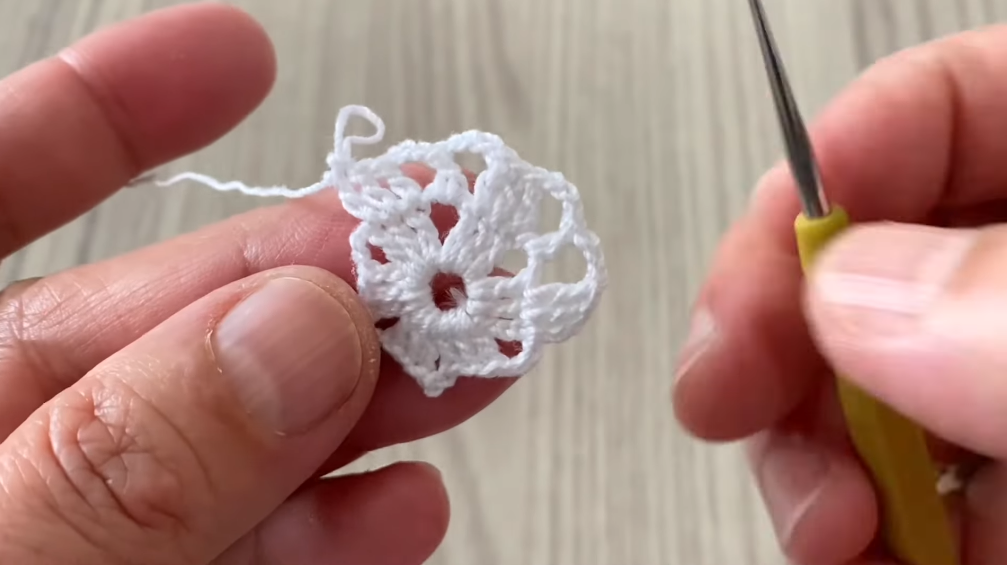
🔹 ROUND 3 – FLOWER PETAL ROUND
- Sl st into the ch-2 space.
- Ch 1.
- Into the same space work:
- sc
- hdc
- 3 dc
- hdc
- sc
- Sl st into the next ch-2 space.
- Repeat petals all the way around.
- Sl st to close the round.
✔ A beautiful flower appears 🌼
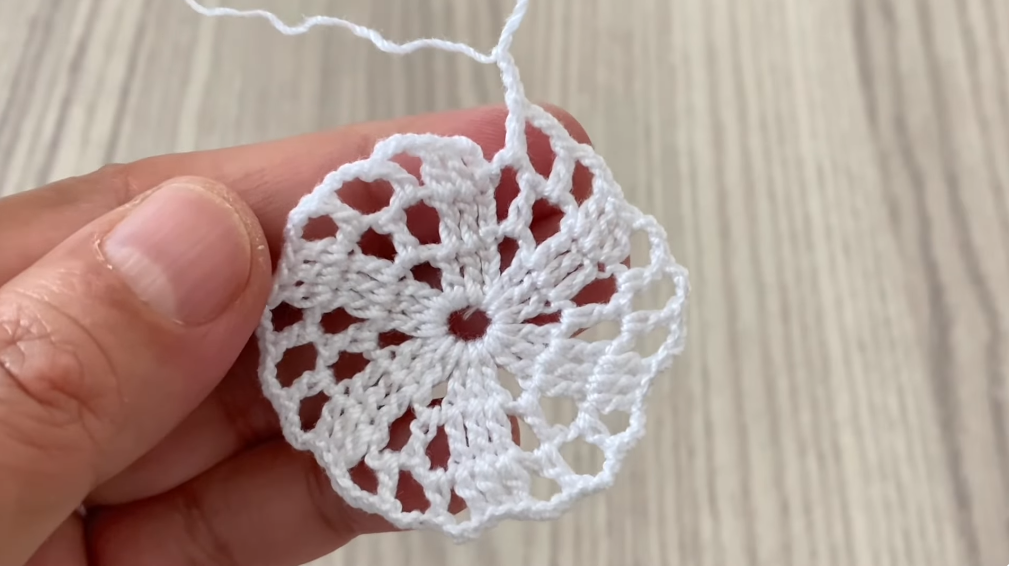
🔹 ROUND 4 – LACE CONNECTION ROUND
- Sl st to the center dc of a petal.
- Ch 3.
- Dc in the same stitch.
- Ch 2.
- Sl st into the center dc of the next petal.
- Ch 2.
- Repeat around evenly.
- Sl st to join.
✔ This round adds elegance and openness.
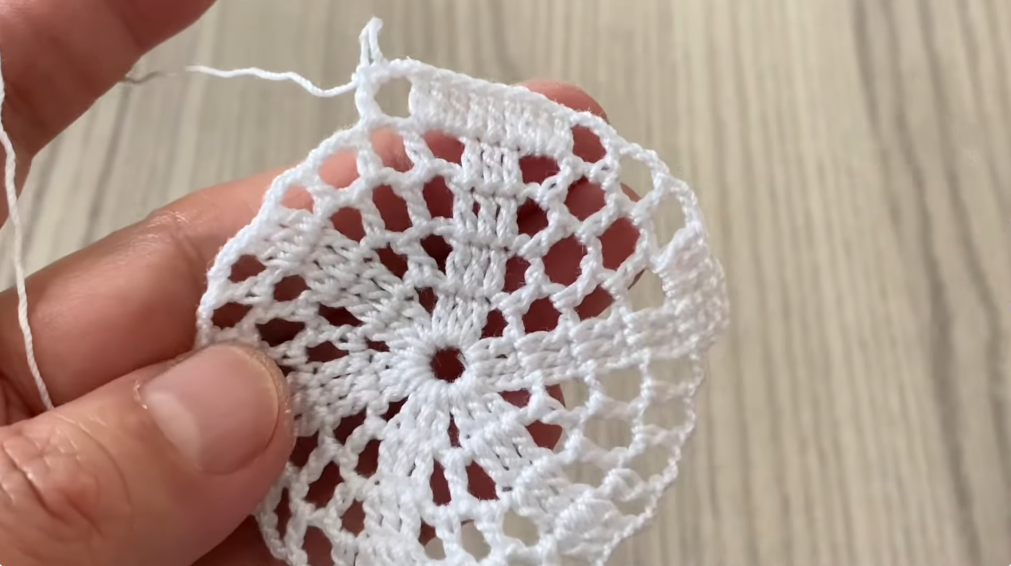
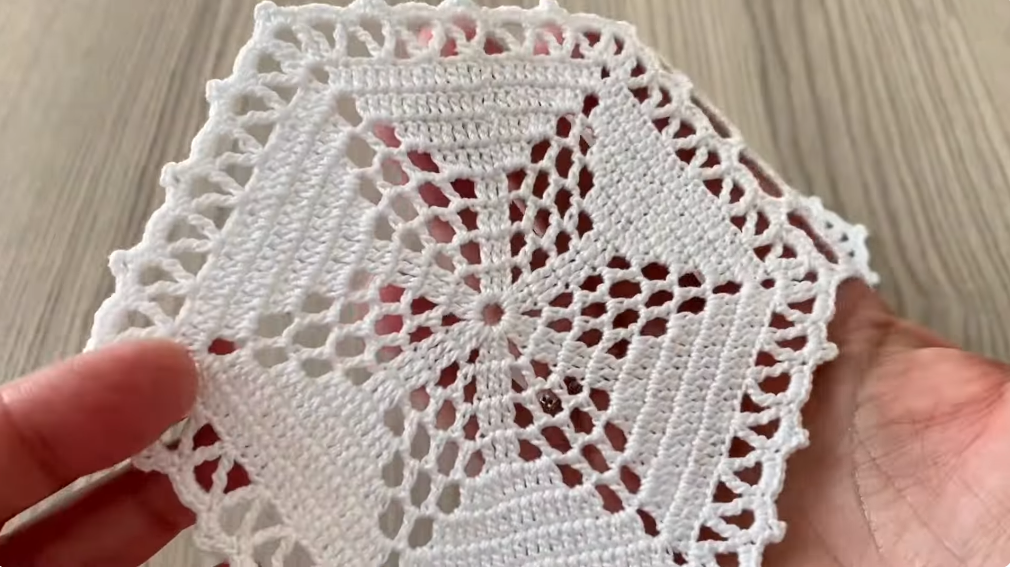
🔹 ROUND 5 – SQUARE SHAPING ROUND
- Sl st into the next ch-2 space.
- Ch 3 (counts as dc).
- Dc in the same space.
- Ch 1.
- Work 3 dc in next space.
- Ch 1.
- At every corner, work:
- (3 dc, ch 3, 3 dc)
- Continue around the motif.
- Sl st to finish.
✔ The motif becomes a neat square.
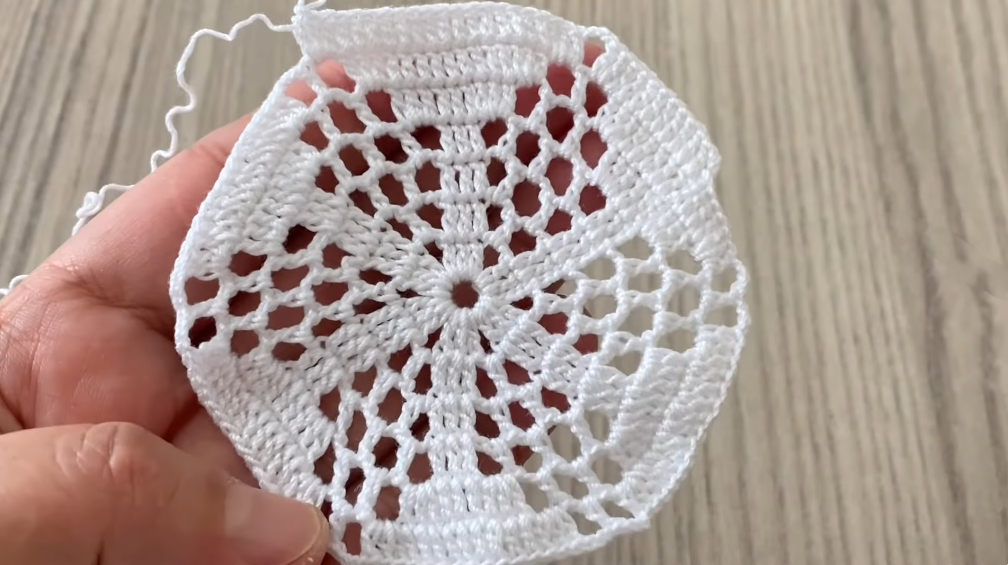
🔹 ROUND 6 – FINAL EDGE (OPTIONAL)
- Ch 1.
- Sc evenly around the square.
- In corner spaces:
- (sc, ch 2, sc)
- Sl st to close.
- Fasten off.
✔ Gives a clean, professional edge.
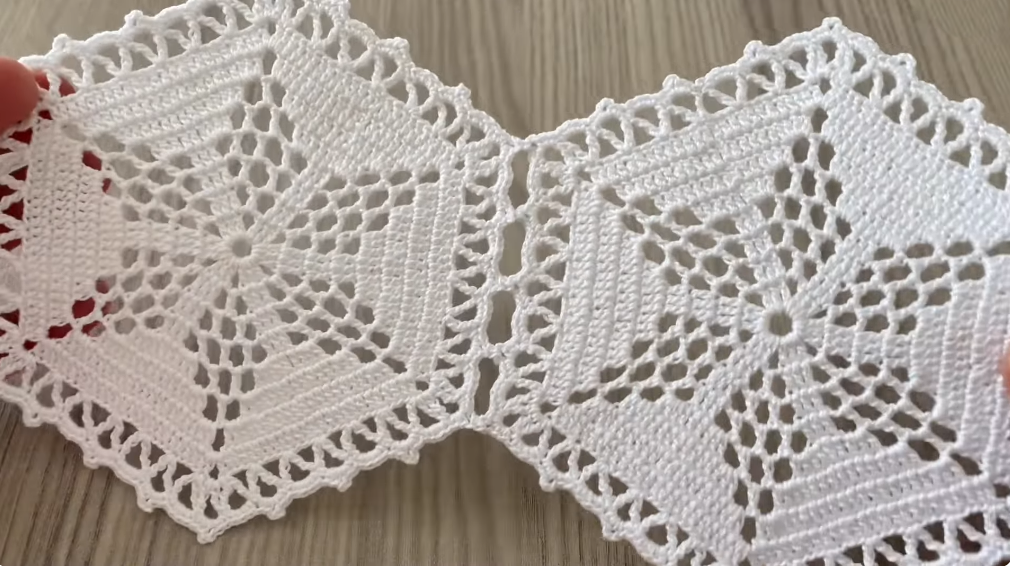
🔁 JOINING MOTIFS
Option 1 – Join As You Go
- Join motifs while working the final round.
Option 2 – Sewing
- Whipstitch or mattress stitch with yarn needle.
Option 3 – Crochet Join
- Single crochet through back loops only.
✔ For clothing, keep joins soft and flexible.
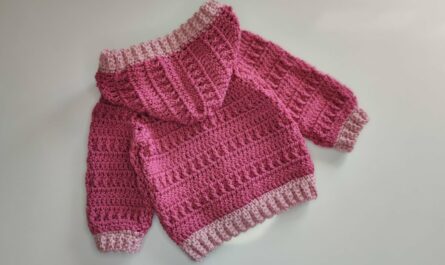
✨ PROJECT IDEAS
✔ Blanket or bedspread
✔ Elegant table runner
✔ Light summer blouse
✔ Shawl or wrap
✔ Cushion cover
✔ Decorative wall panel
✨ FINISHING & BLOCKING
- Weave in all ends neatly
- Light wet or steam block
- Shape corners carefully
- Allow to dry completely
✔ Blocking enhances stitch definition ✨
💡 BEGINNER TIPS
- Count stitches every round
- Use stitch markers at corners
- Keep tension relaxed
- Block motifs before joining
- Make one test motif first
🧠 QUICK MEMORY GUIDE
- Round 1: solid circle
- Round 2: open spacing
- Round 3: flower petals
- Round 4: lace connections
- Round 5: square shaping
- Round 6: neat edge
🌟 WHY THIS MOTIF IS SPECIAL
✔ Simple yet elegant
✔ Beginner friendly
✔ Endless project uses
✔ Beautiful texture
✔ Timeless design
VIDEO: