by
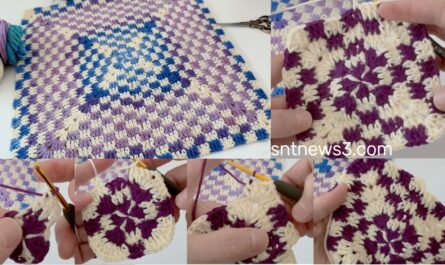
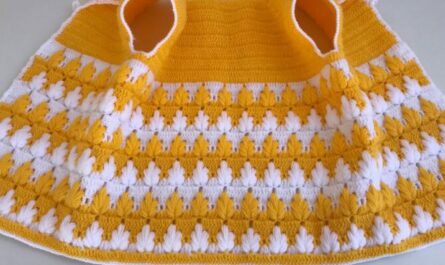
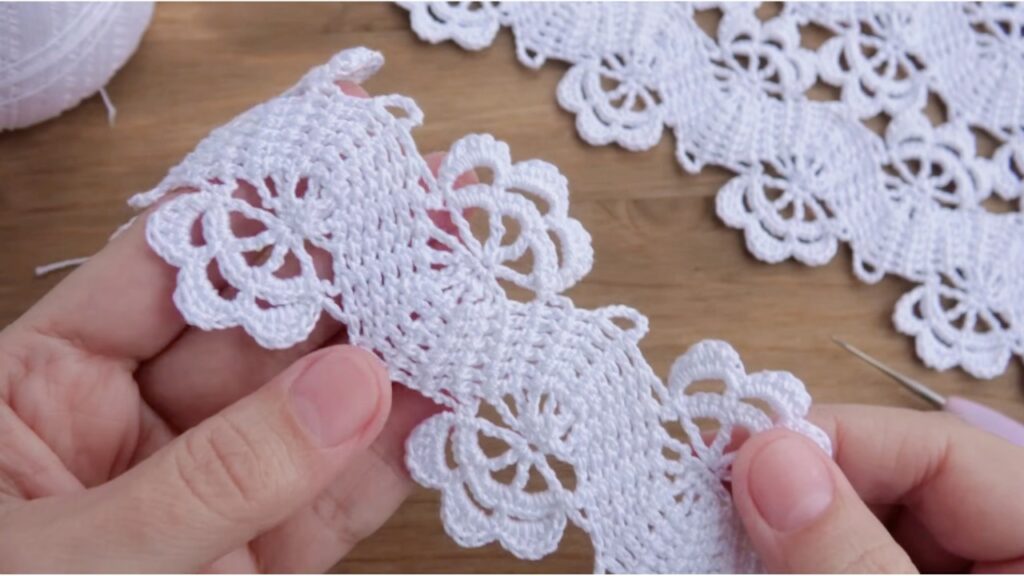
by This is a very easy, beginner-friendly wave (ripple / chevron) pattern that creates soft rolling waves. Works great for blankets, scarves, shawls, tunics and summer tops. I give the foundation math, a full row-by-row script, sizing examples, edging, and troubleshooting.
Materials
- Yarn: any yarn you like — sample uses DK / light worsted.
- Hook: use size recommended on yarn label (3.5–4.5 mm typical).
- Tapestry needle, scissors, blocking pins (optional).
- Abbreviations (US): ch, sc, hdc, dc, tr, sl st, st, sp, rep.
Pattern concept & multiple
Classic chevron/wave is made by increasing and decreasing in the same row to form peaks and valleys.
Multiple: work foundation chain in multiples of 12 + 3
(12 stitches make one full wave repeat; +3 for turning).
Example practice chain: ch 51 (12×4 = 48 + 3).
Stitch key used in this tutorial
- dc = double crochet
- tr = treble crochet (optional taller peak)
- ch = chain
- sk = skip
- st(s) = stitch(es)
You can substitute hdc for dc if you want shorter rows.
Gauge / swatch (recommended)
Make a small swatch 12×6 repeats to check look & drape. Gauge isn’t critical here — the pattern is modular.
Full written pattern — one-row repeat (DC version)
FOUNDATION
Chain a multiple of 12 + 3. Example: ch 51.
Row 1 (foundation row) — establish base
- Dc in 4th ch from hook (counts as first dc), dc in each ch across. Turn.
You now have a row of dc to work your wave into.
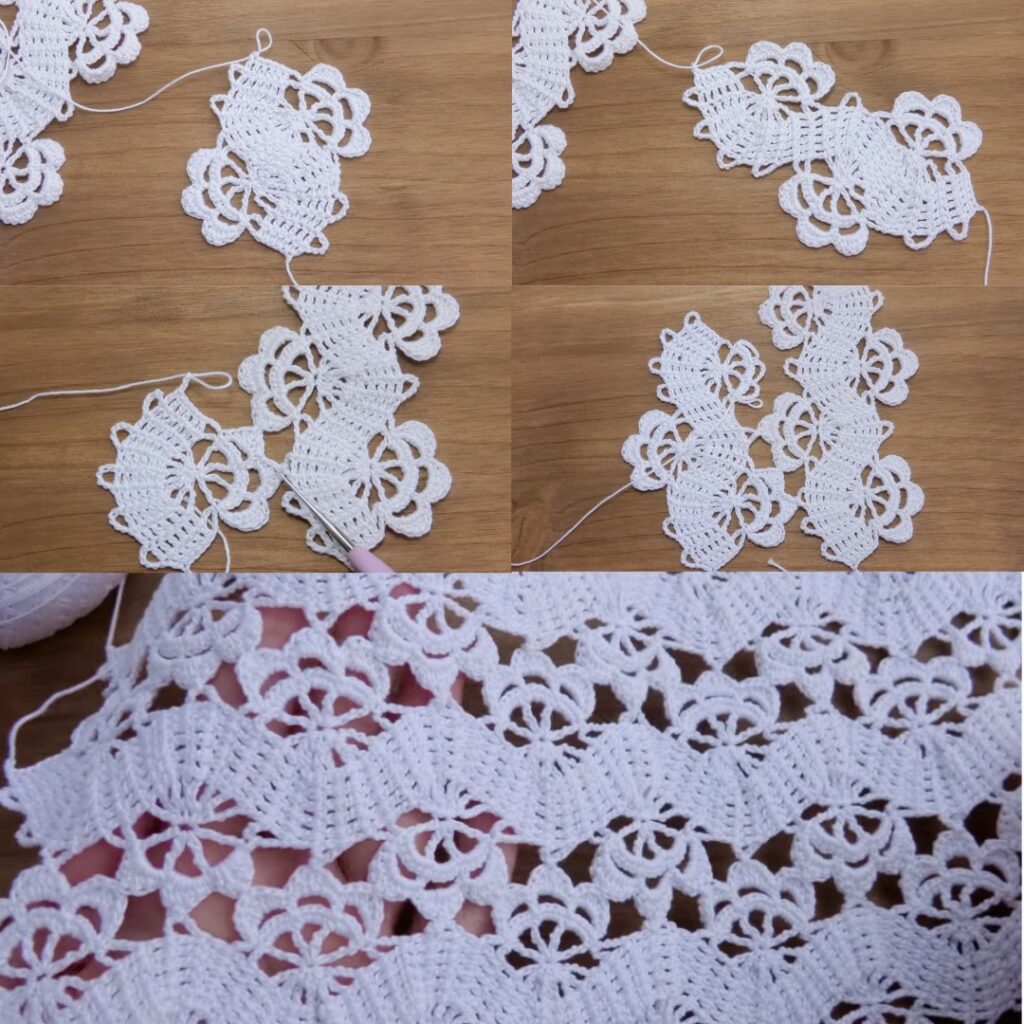
Row 2 — the Wave Row (this is the row you will repeat)
Work this row across; it creates the peaks (increases) and valleys (decreases).
Row 2 (and all odd-numbered pattern rows):
ch 3(counts as first dc), dc in next 2 sts. (You now have a 3-dc start.)- dc2tog over next 2 sts (decrease), dc2tog over next 2 sts (decrease) — repeat twice total to form the valley.
- Concretely:
dc2tog (over next st and next st), dc2tog (over next st and next st)→ you just removed 4 stitches across 4 sts to make the valley.
- Concretely:
- Peak (increase): in next stitch, work (3 dc) in same st; ch 1, (3 dc) in same st — this creates a tall, full peak (6 dc total with a ch-1 break in the middle).
- Many chevrons use 3dc, ch1, 3dc as the peak placed into one stitch/space.
- Repeat:
dc2tog, dc2tog (valley), peak (3dc,ch1,3dc)across the row until you reach the last few sts. - End the row with
dc in last 3 stsso edges match the start. Turn.
Notes on counts: the sequence of two dc2togs (removing 4 sts) + a 6-dc peak (adds 6 sts) yields the ripple shape while keeping the total stitch count same across rows.
How to do dc2tog (double crochet two together)
- Yarn over, insert hook in next stitch, yo, pull up loop (3 loops on hook).
- Yo, pull through 2 loops (2 loops left).
- Yo, insert hook in next stitch, yo, pull up loop (4 loops).
- Yo, pull through 2 loops (3 loops left).
- Yo, pull through remaining 3 loops.
Result: two dc become one tall stitch (a decrease).
Worked example — explicit demo (ch 51)
- ch 51.
- Row 1: dc in 4th ch from hook and each ch across. Turn. (Total 49 dc if counting from 4th ch = chain-3 counts as dc)
- Row 2:
ch 3, dc in next 2 dc, *dc2tog, dc2tog, (3 dc in next st, ch1, 3 dc in same st)*repeat across, finish withdc in last 3 sts. Turn. - Repeat Row 2 until desired length.
(If you prefer symmetry, ensure that your first peak and your last peak line up — if edges look odd, adjust by adding/removing a dc at each side before repeating.)
Variations & quick swaps
- Taller, softer waves: use
trinstead ofdcfor peak and base stitches (make ch-4 turning). - Subtler waves: use
hdcinstead ofdc. - Different peak shape: use
(2 dc, ch 2, 2 dc)for a 4-dc peak instead of 6 dc. Then change multiple to match (you can keep 12+3 but counts of peak vs valley shift — see tests). - Add color bands: Change color every N rows (e.g., every 4 rows) for stripes following waves. Carry color up side or weave in.
Edging suggestions
After finishing body, add one of these edges:
Simple sc border
- Round 1: sc evenly around, work 3 sc in each corner (if rectangle) to keep flat. Join. Fasten off.
Scalloped edge
- Round 1: sc around.
- Round 2: skip 2 sc, 5 dc in next sc, skip 2, sc repeat around for scallops. Block.
Picot finish
- Round 1: sc around.
- Round 2: sc, ch 3, sl st into top of last sc (picot), continue.
Making common projects
Baby blanket (example)
- Decide finished size, e.g., 36″ × 36″ (91 × 91 cm).
- Make a gauge swatch to find how many repeats per inch/10 cm. Suppose one repeat (12 sts) = 2.5″ wide. Then you need about 14.5 repeats ≈ 174 sts => foundation ch ≈ 12×14 + 3 = 171 (or nearest). Work until length reaches 36″. Add border.
Scarf
- Chain narrower multiple: e.g.,
ch 27(12×2 + 3 = 27) for a narrow scarf. Repeat the wave row until scarf length reached. Finish with simple border.
Throw or shawl
- Make wide number of repeats for wingspan and repeat rows until desired depth. Blocking opens waves nicely.
Tips & troubleshooting
- Edges look uneven: Make sure you always begin with ch-3 and end with dc in last 2–3 sts to match pattern. If edges still ripple, add an extra sc round before the scallop border to stabilize.
- Peaks not sharp: Use a smaller hook or place the full
(3dc, ch1, 3dc)into a single stitch/space exactly. Tension there is important. - Valleys too deep / holey: If the two
dc2togsequences make large holes, replace the doubledc2tog, dc2togwith a singledc3tog(three dc together) to make a narrower valley. That change alters look but is fine. - Stitch count drifting: Count your peaks and valleys per row — you should maintain the same number of repeats across rows; if not, adjust by adding or subtracting a dc near edge as needed.
Quick cheat-sheet (one line)
- Multiple: 12 + 3.
- Repeat row:
ch3, dc 2, *dc2tog, dc2tog, (3dc, ch1, 3dc)*across, enddc2(ordc in last 3 sts). Repeat.
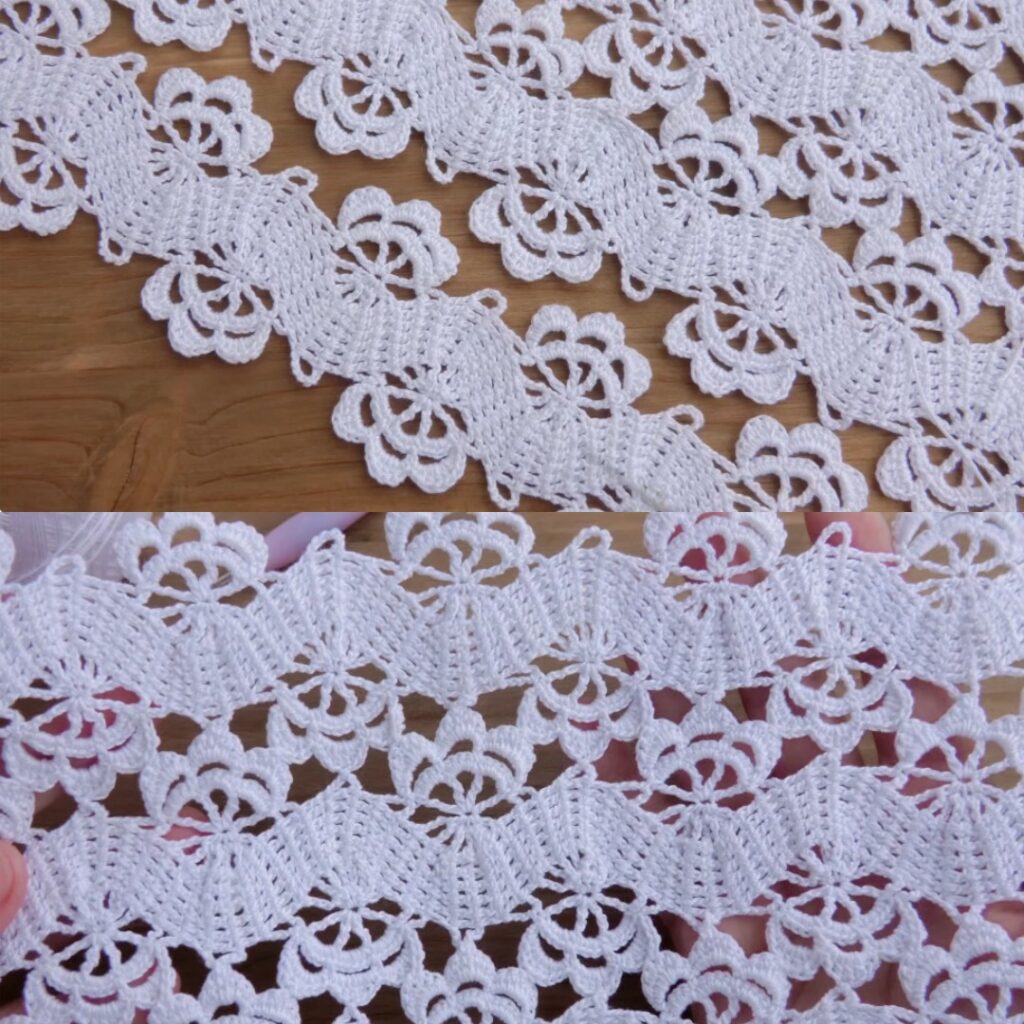
Finishing & blocking
- Wet-block to open waves and flatten edges: pin to rectangular shape so peaks and valleys spread evenly. Let dry fully. This improves final look dramatically, especially for cotton yarn.
VIDEO: